
As the leaves begin to change colors creating a vibrant mess on lawns and the air begins feeling so very cool, we curl into the warmth of our sweater. Fall, all as we know it, is upon us. Fall is not only a sign for cozy sweaters and yummy scented candles, fall also means many delicious baked goods! Autumn is such a lovely time of year which calls for some lovely little autumn treats. One of my personal favorites I have recently discovered this year is apple pie in a jar. This easy treat will be the highlight of your chilly weather with just a few simple steps you’ll be able to enjoy apple pie in a jar just like I have.
Ingredients:
- 1 package of pie crust
- 1 cans of apple pie filling
- 2 half pint mason jars
- Baking sheet
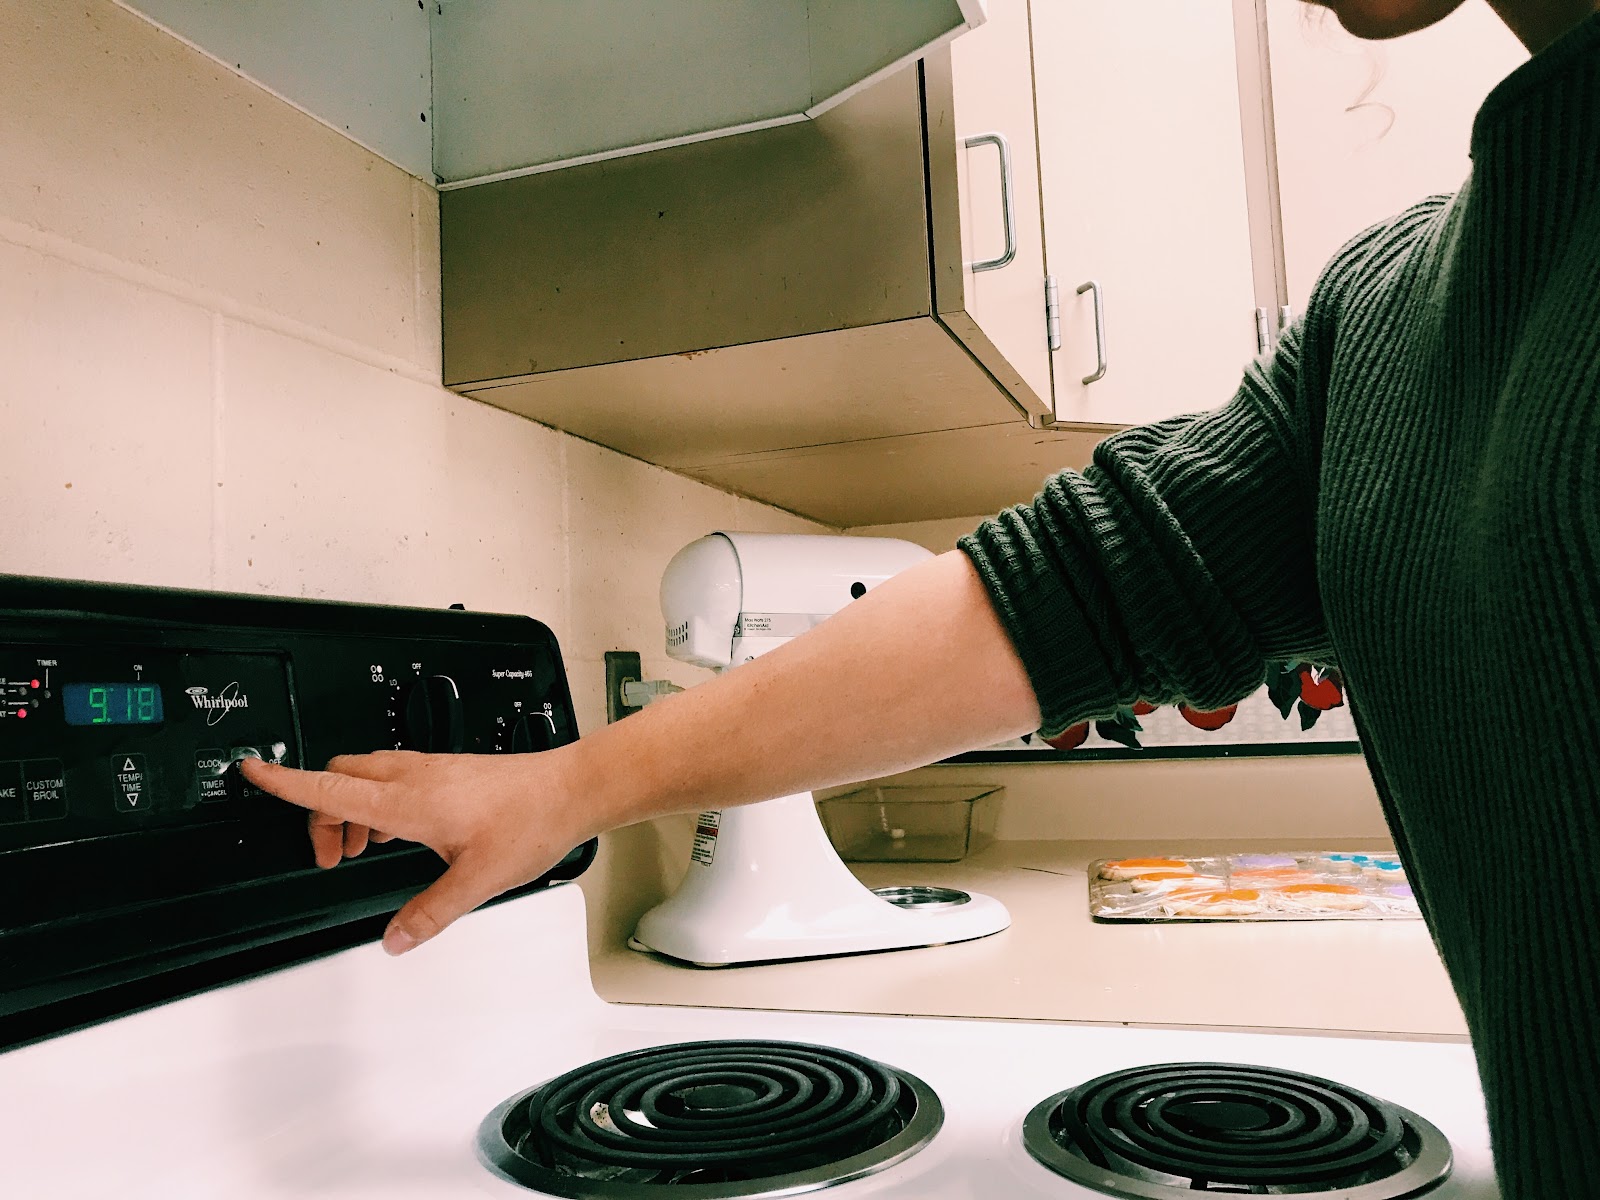
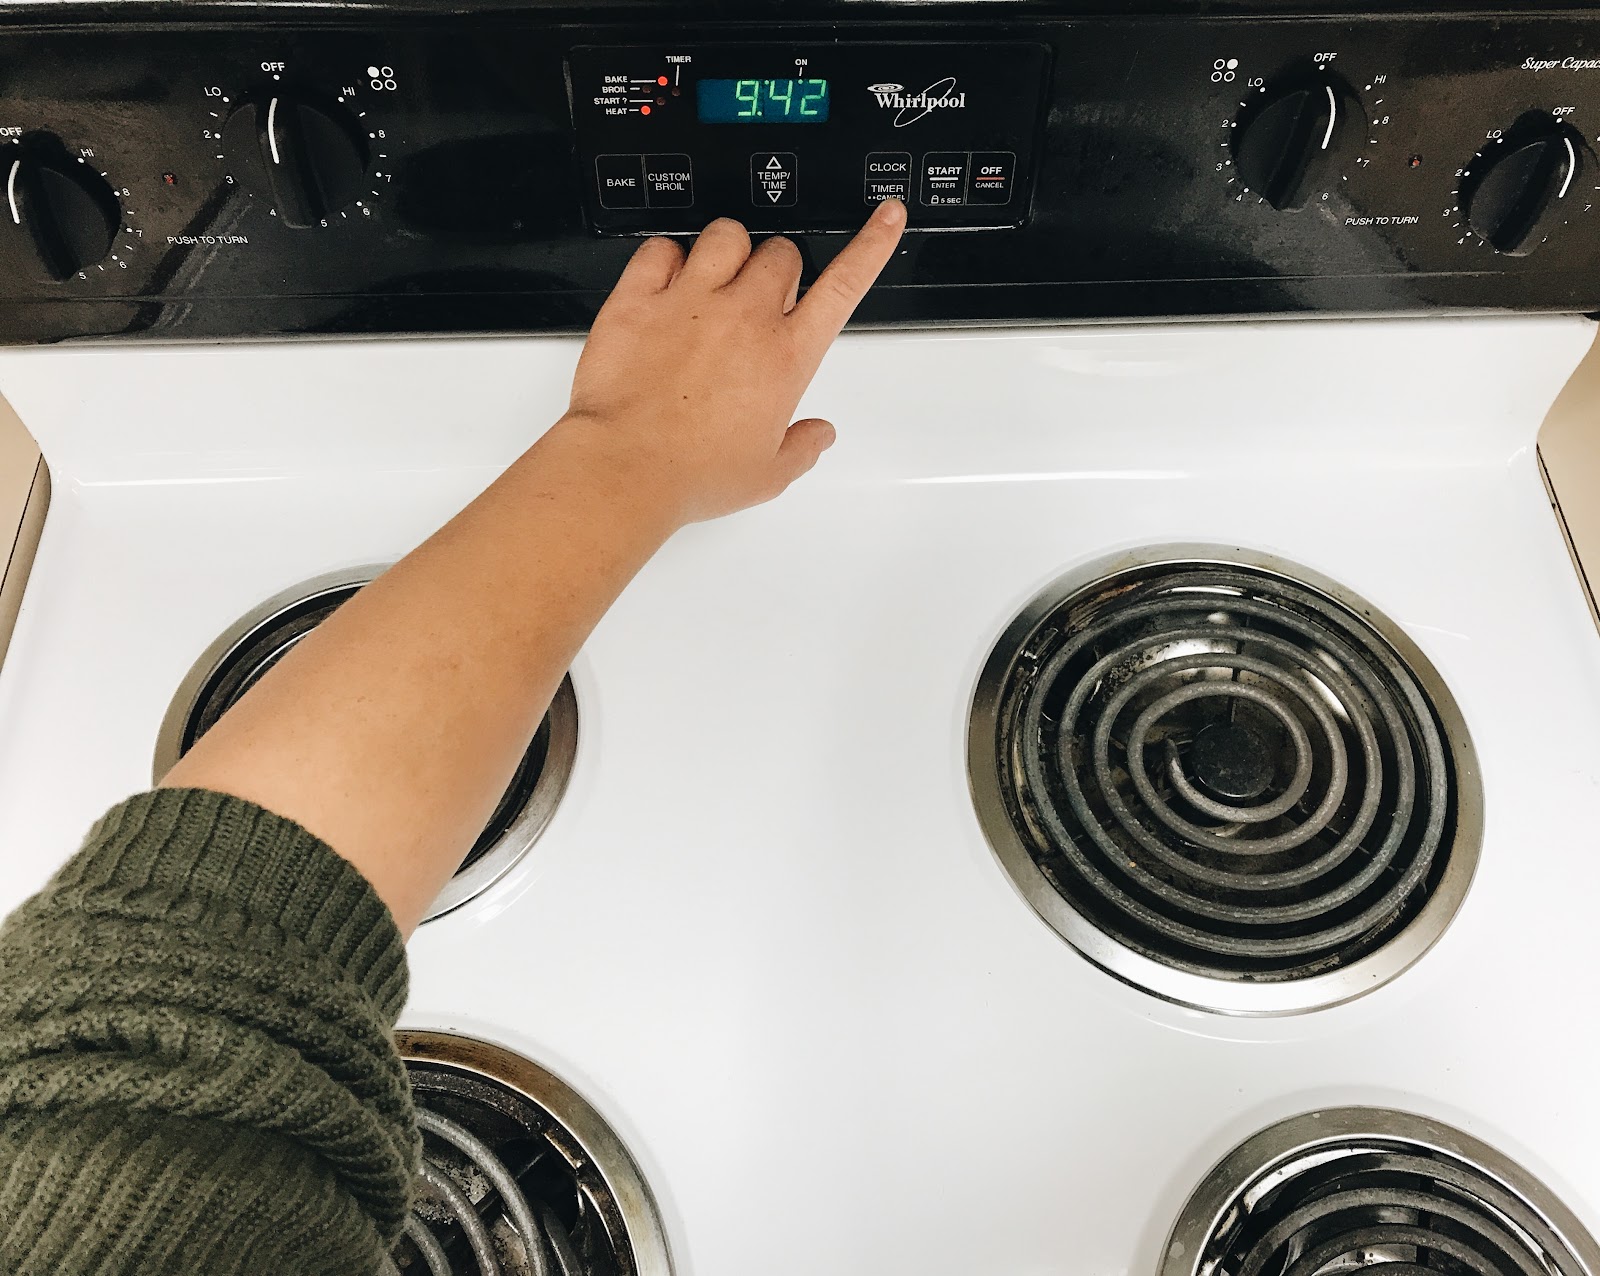
For our first step go ahead and preheat the oven to 450 degrees. This may vary depending on what kind of pie crust or apple pie filling you purchased! Make sure to read the directions on your can and box to ensure the correct baking temperature.
Now we’ll begin to create our crust right away! Take the crust and unroll it onto whatever surface you are using. If your crust calls for you to quickly make a batch go ahead and do that now. A tip for flattening crust is to sprinkle a little bit of flour down. It’ll help the dough be easier to handle and not so sticky - this isn’t necessary though.
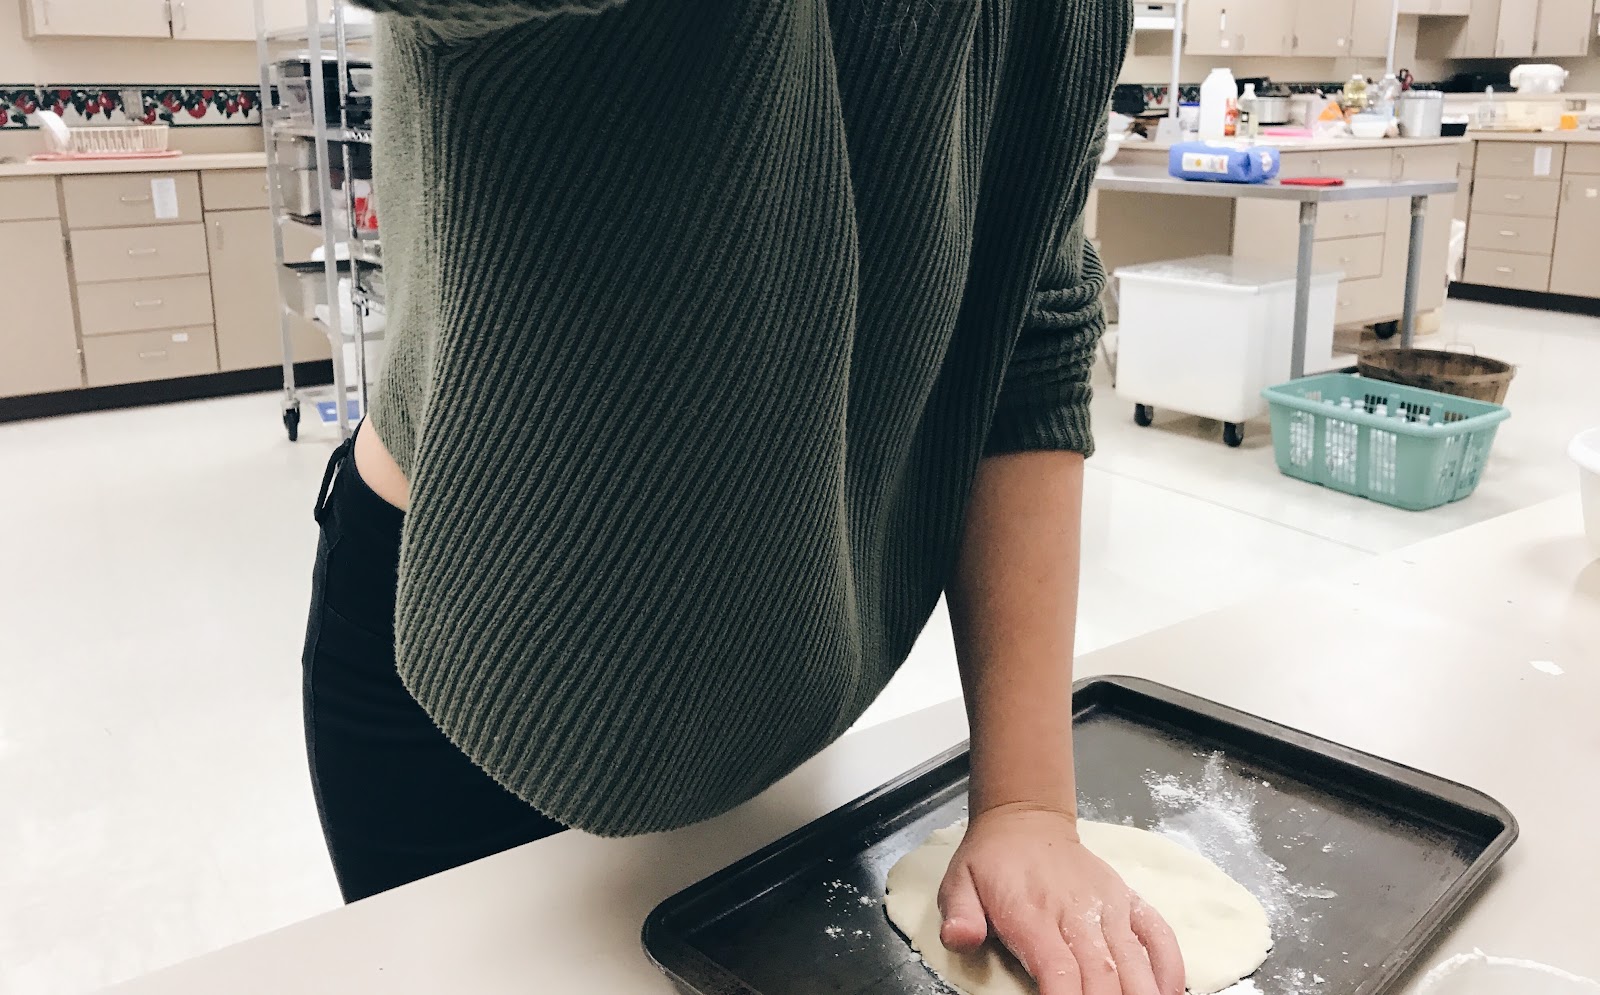
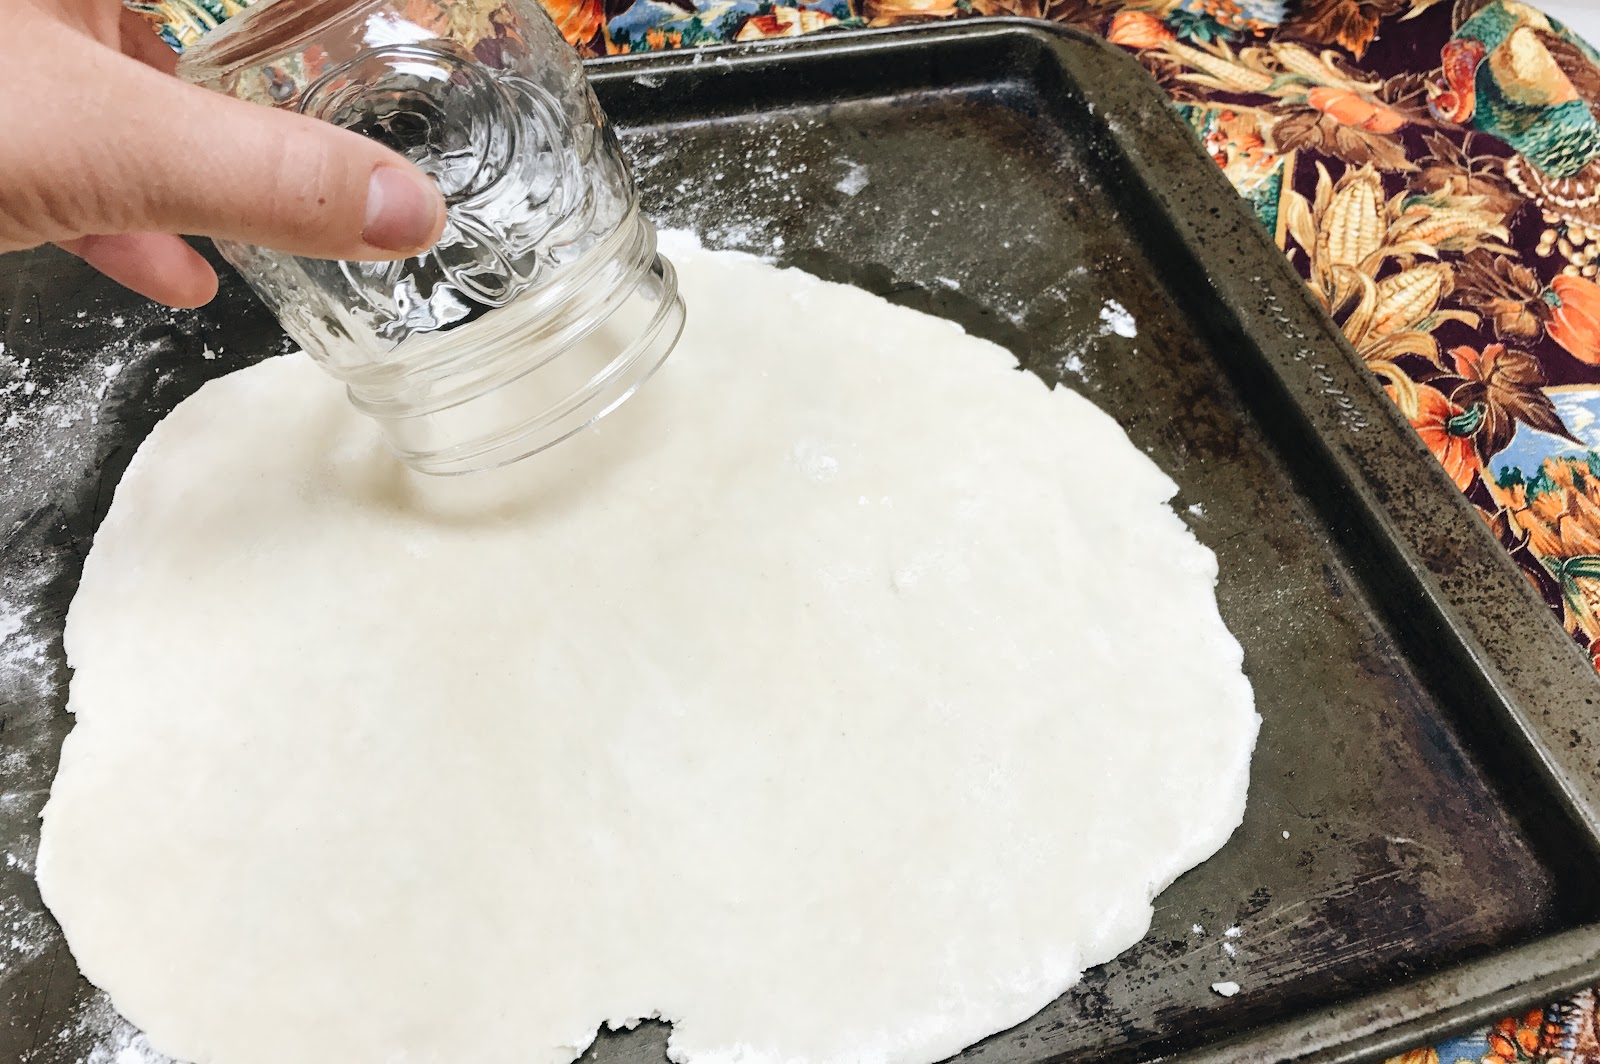
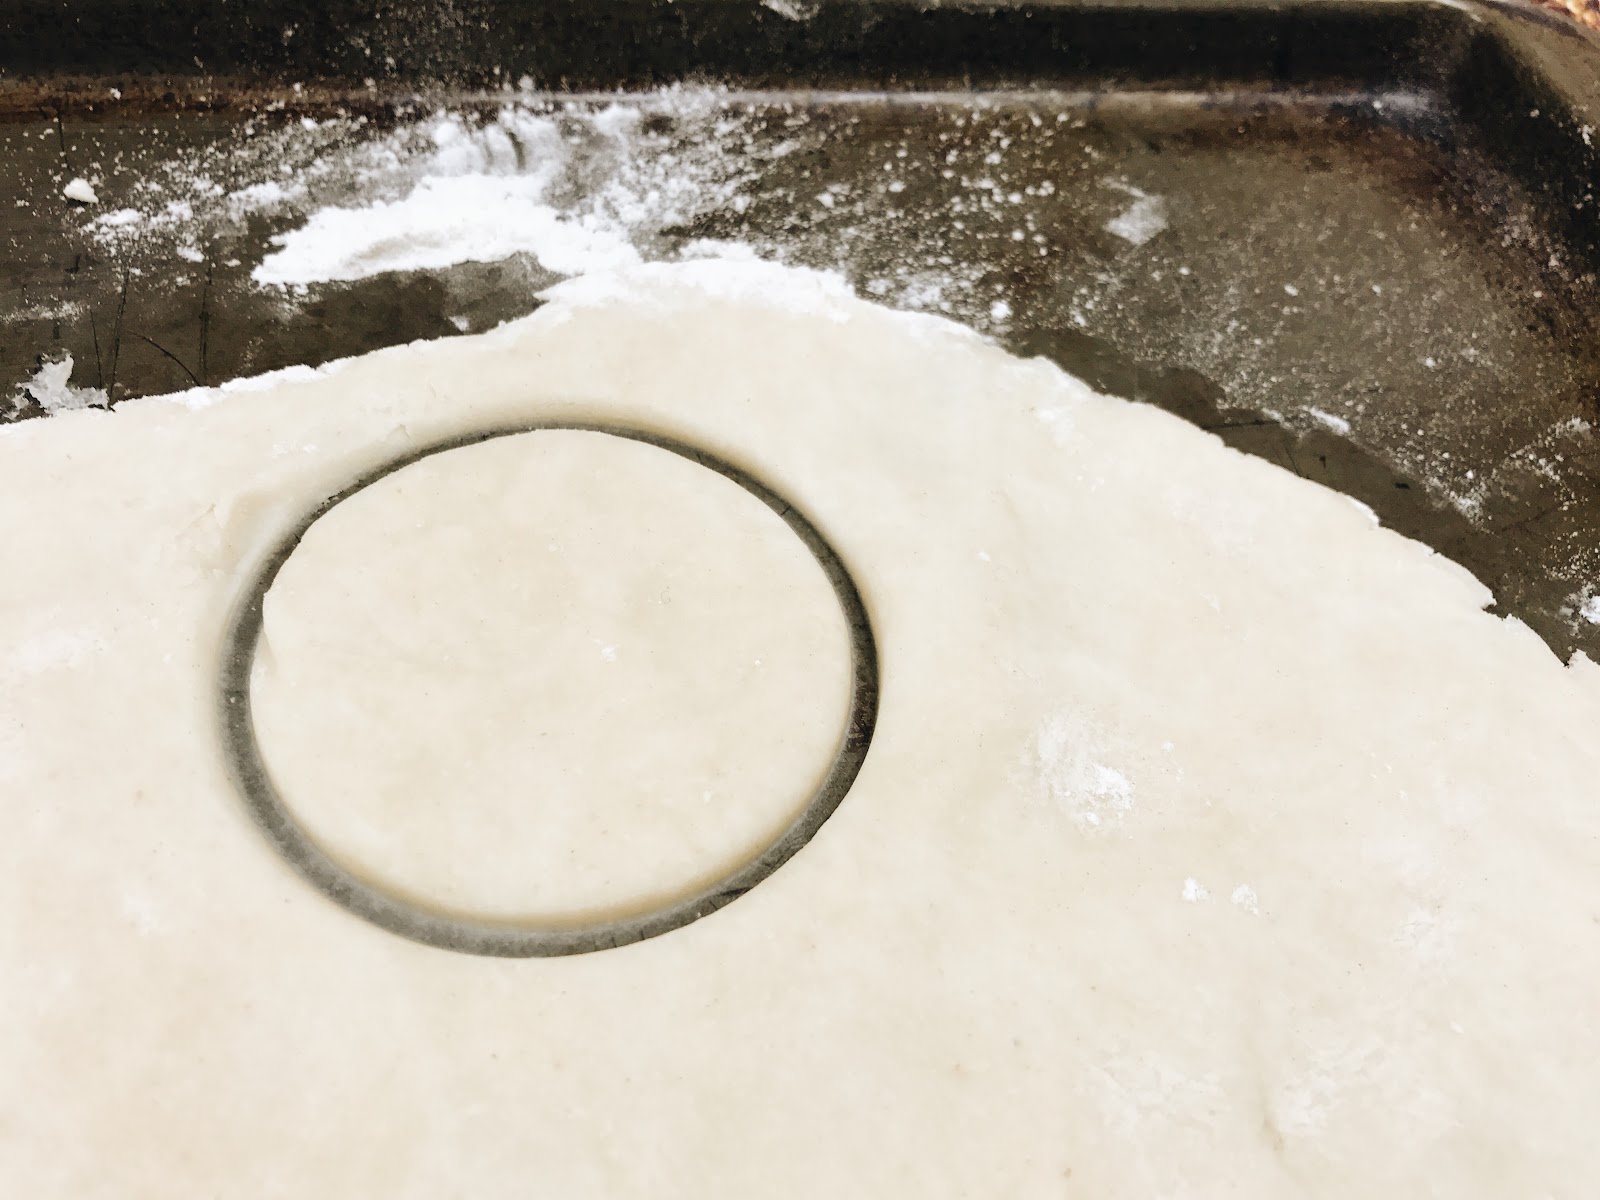
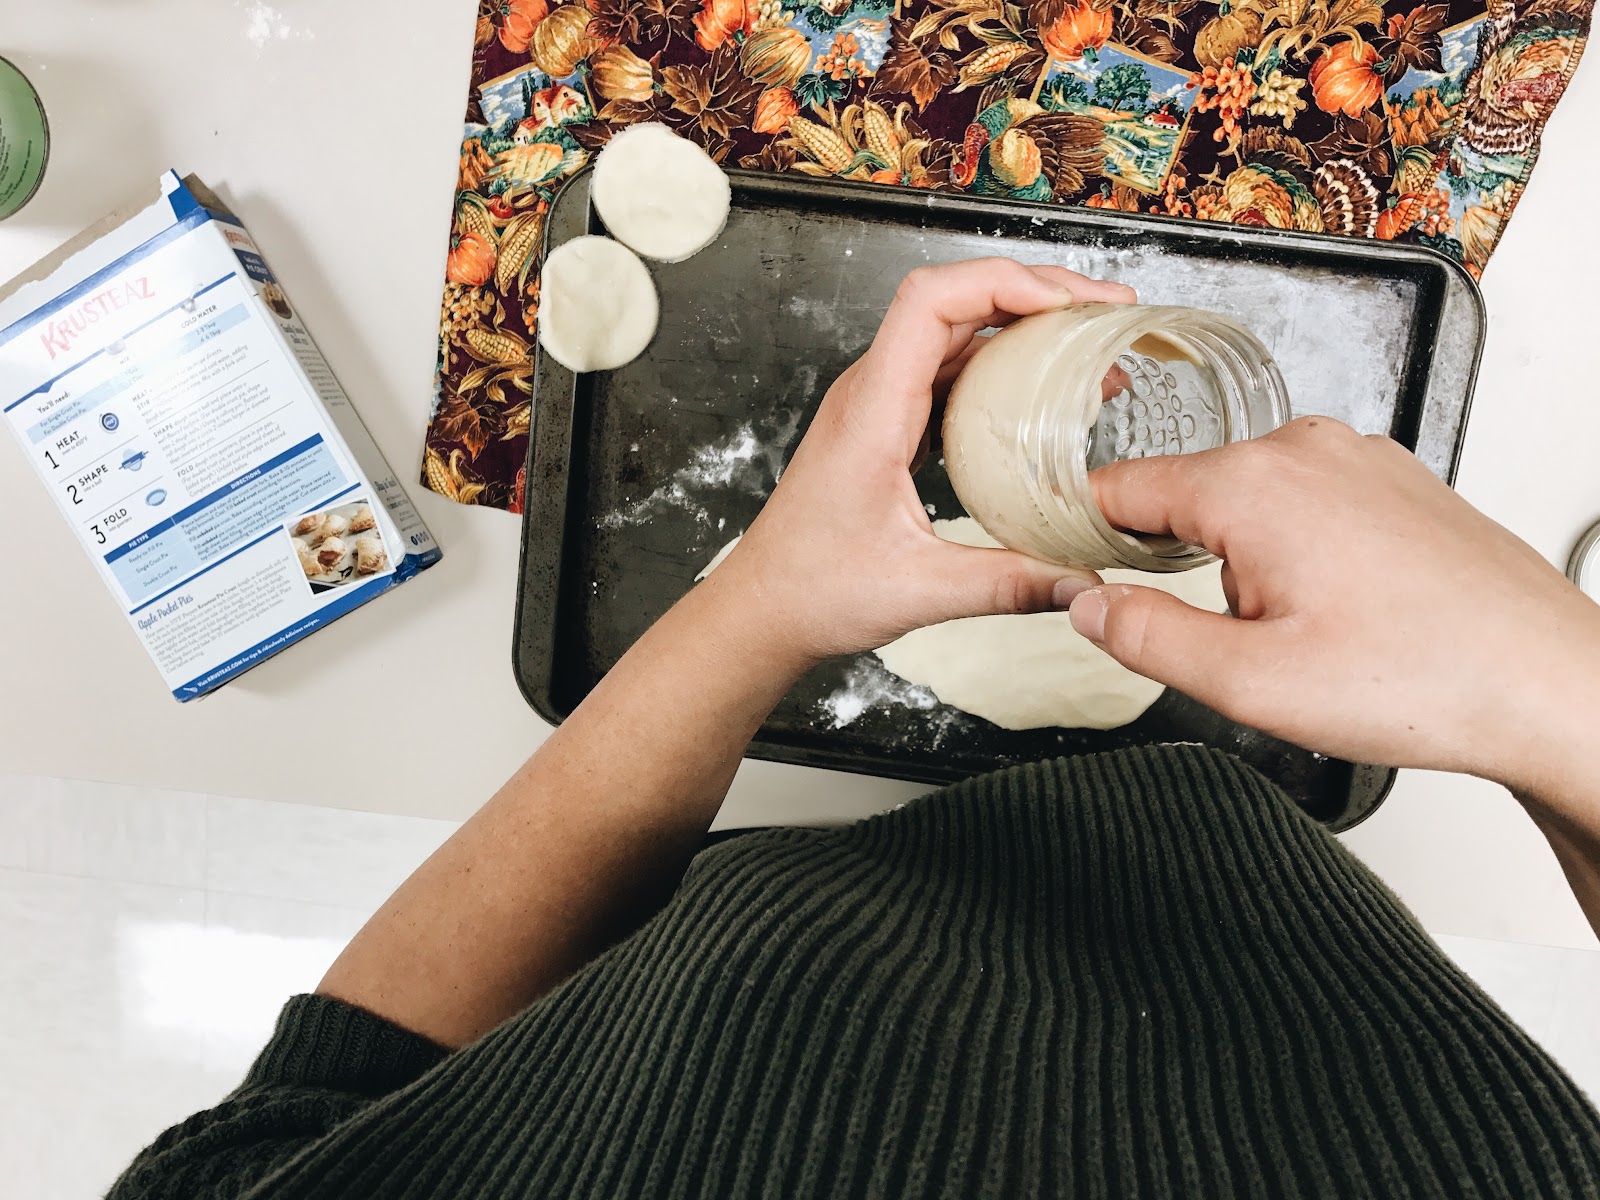
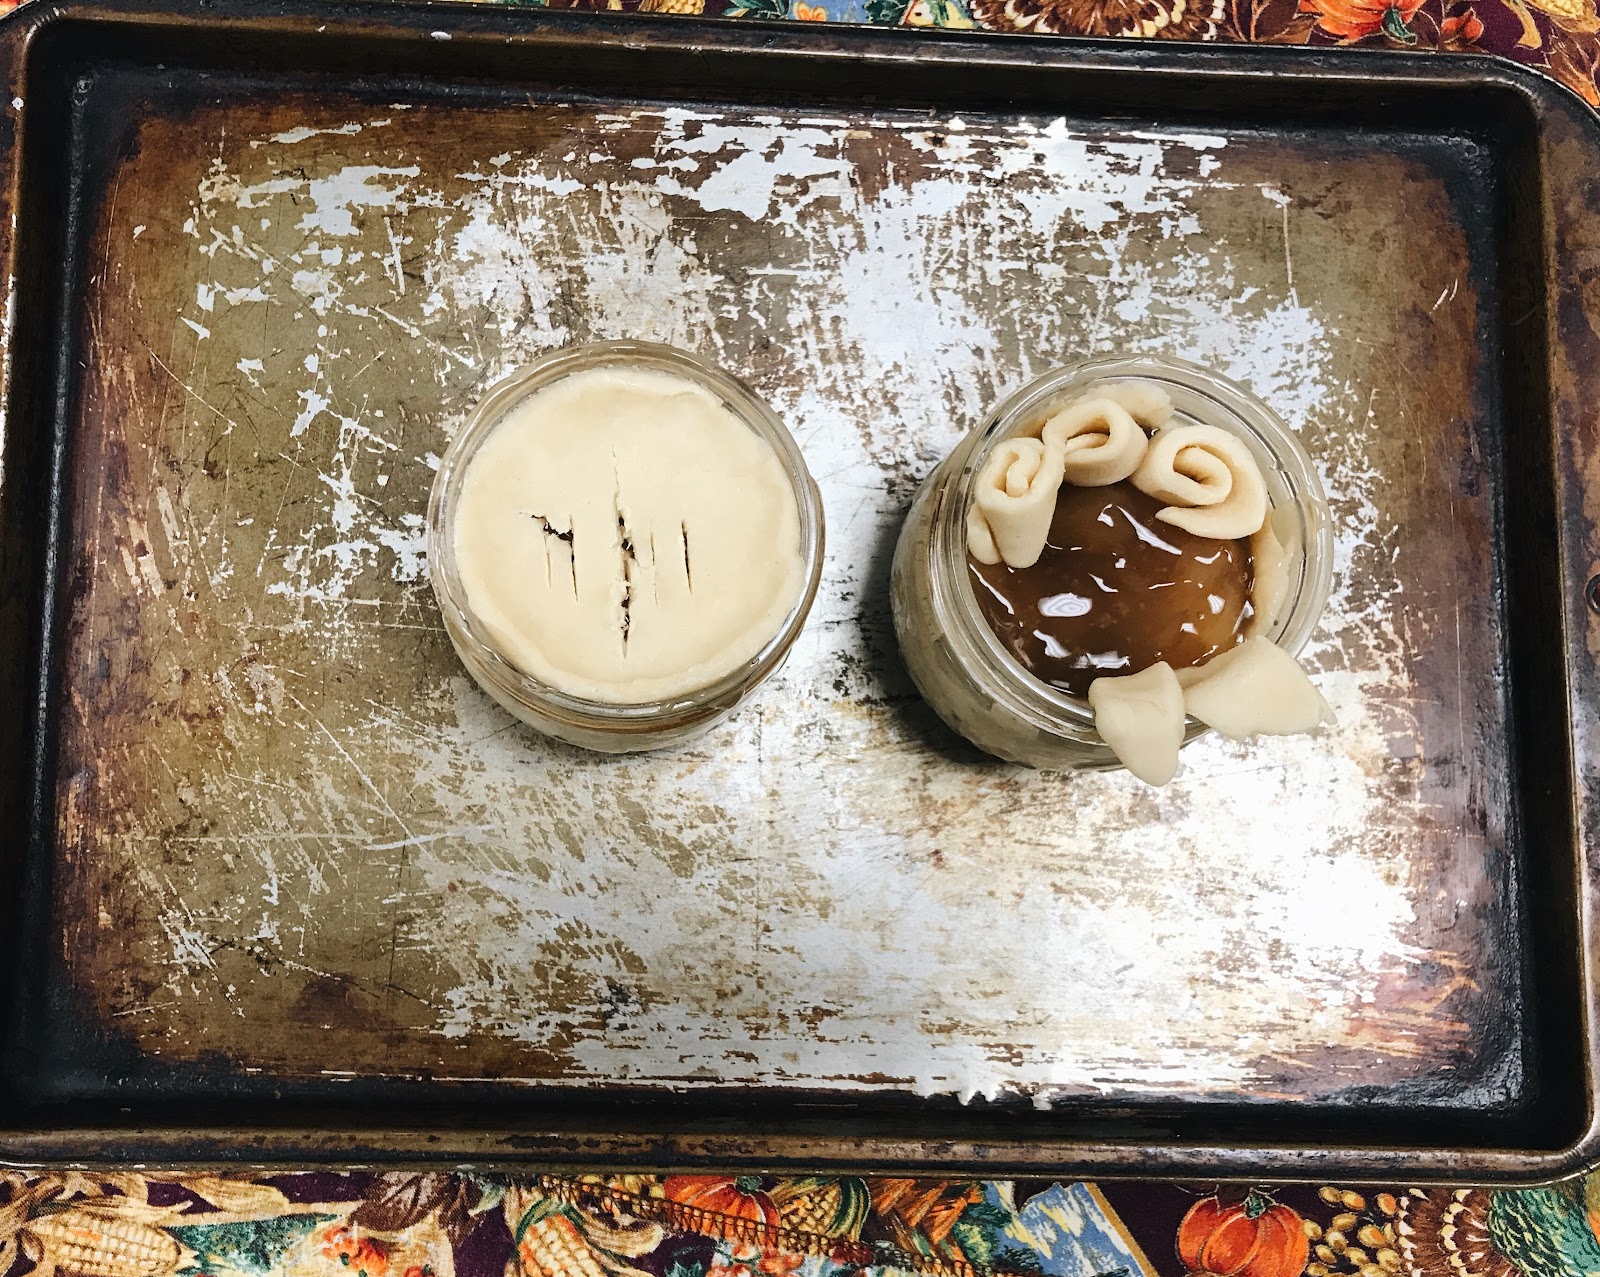
When finished rolling out the crust keep in mind it should not be extremely thin or too thick, otherwise it could end up with a funky result. Once you have nicely flattened your crust take one of your mason jars flipped upside down and press the open end of the jar into the dough. (Repeat this for however many jars you have.) That will give us a nice circle crust piece that will fit perfectly for our top layer. Set top crust aside.
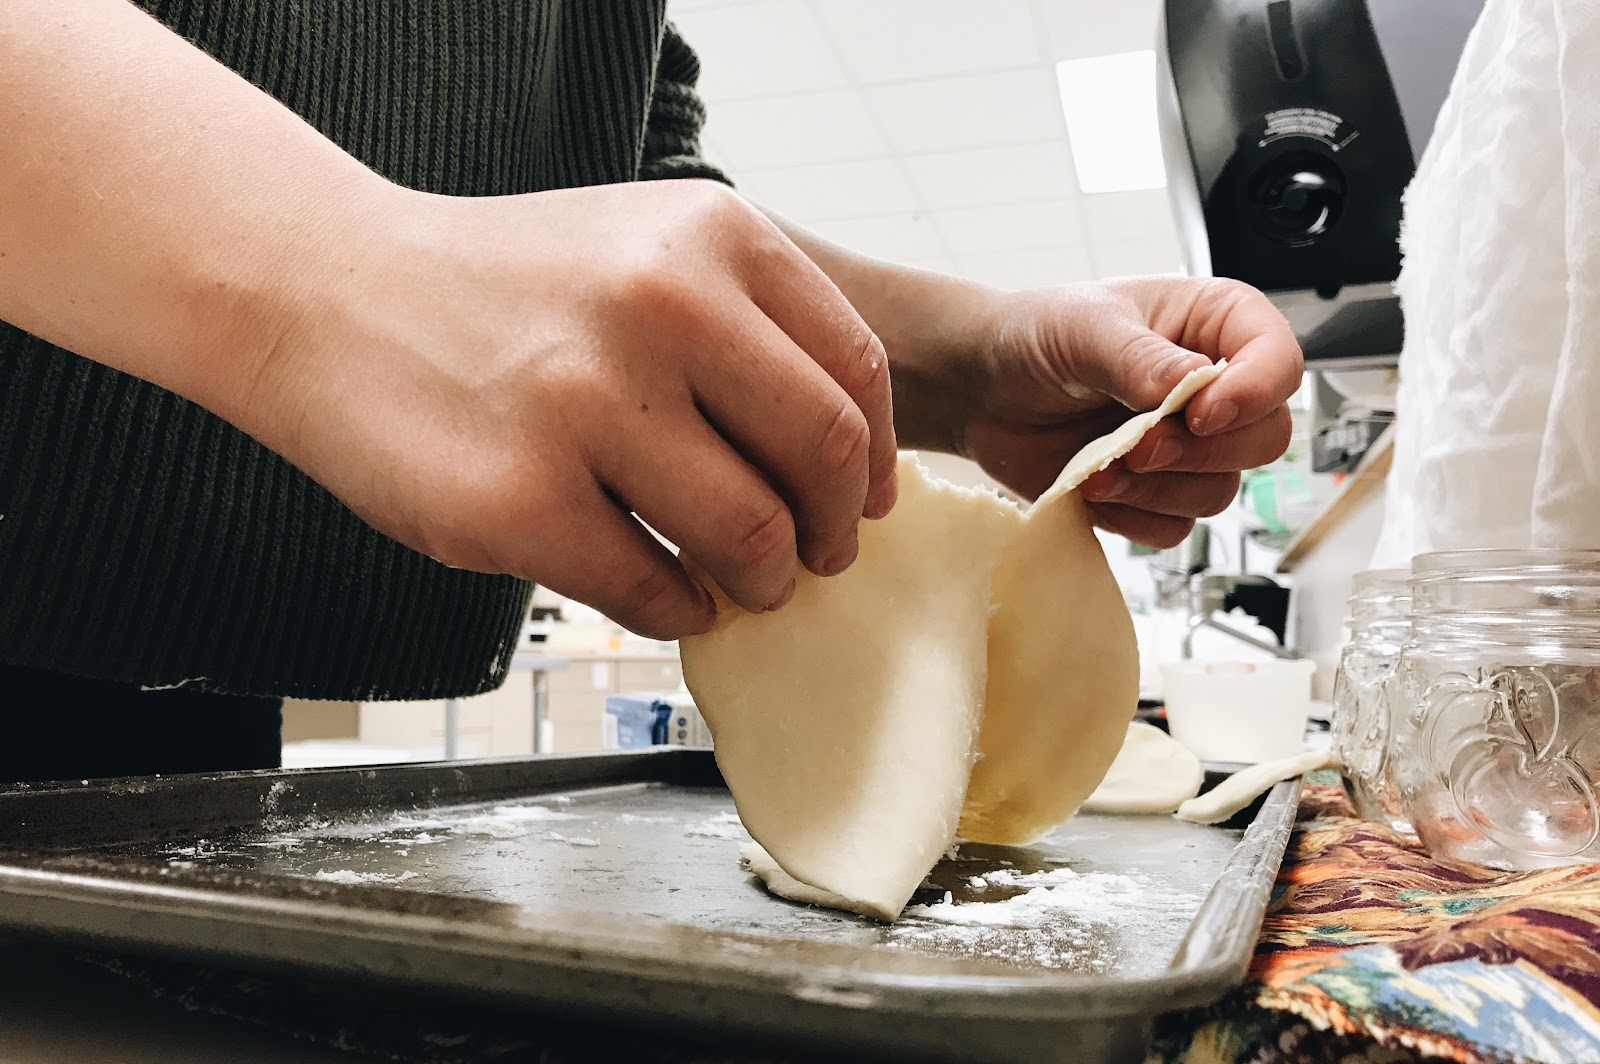
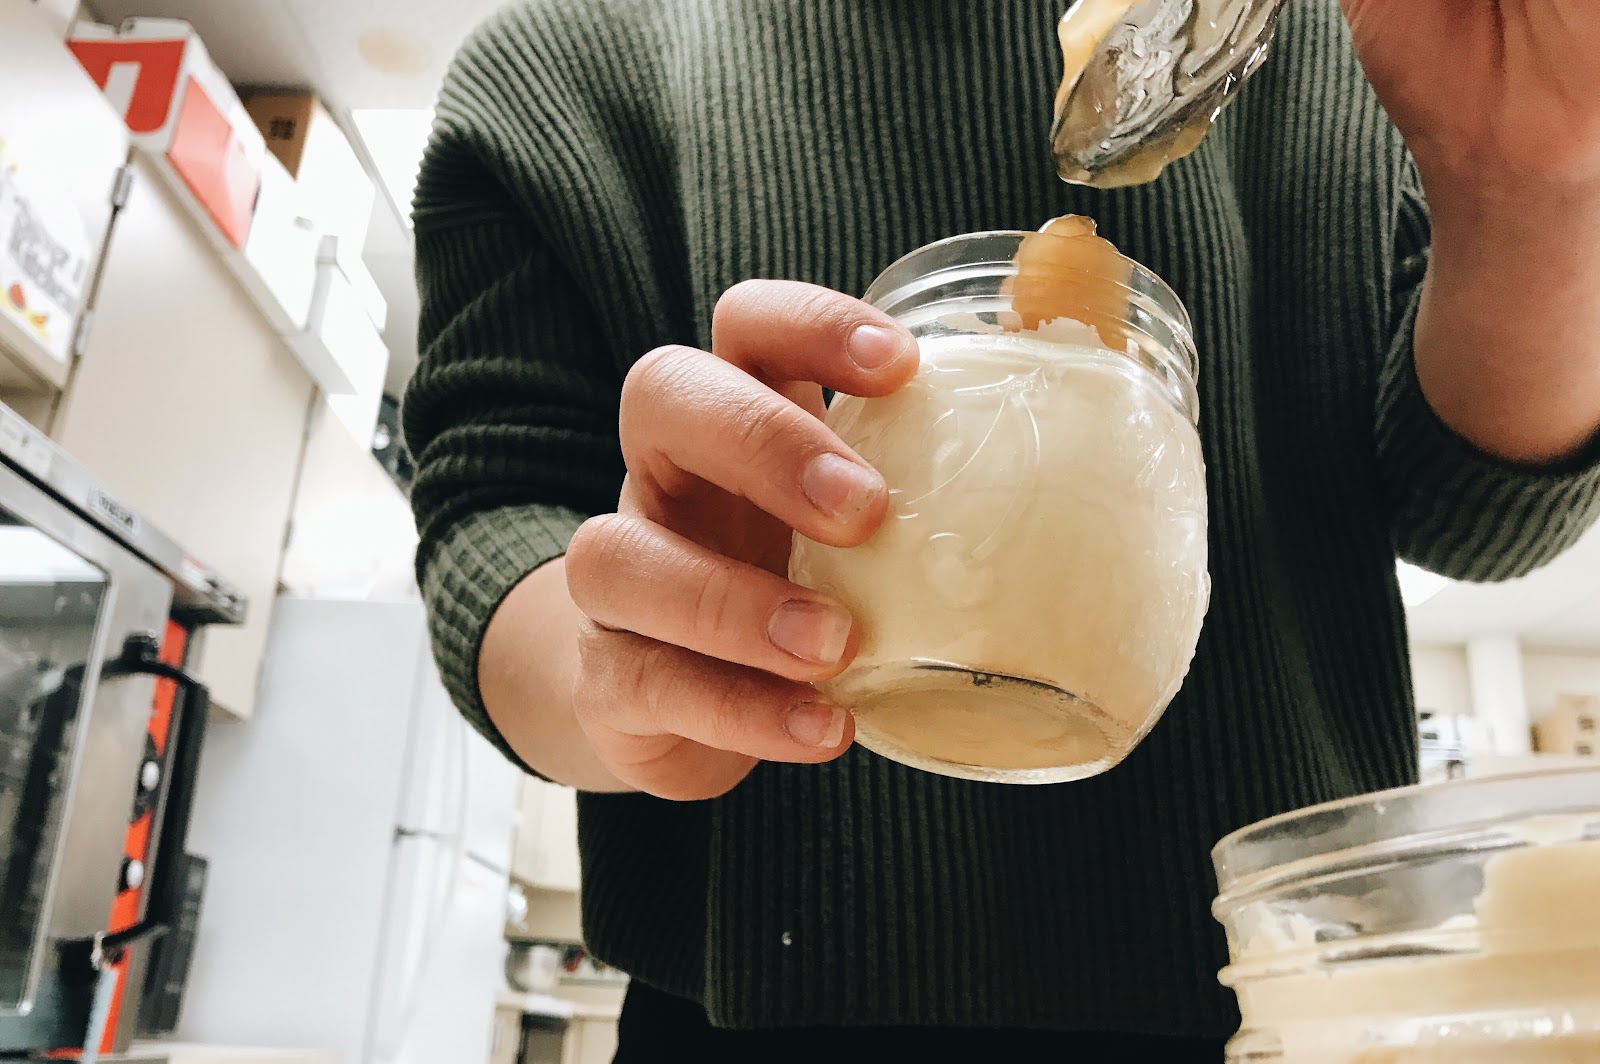
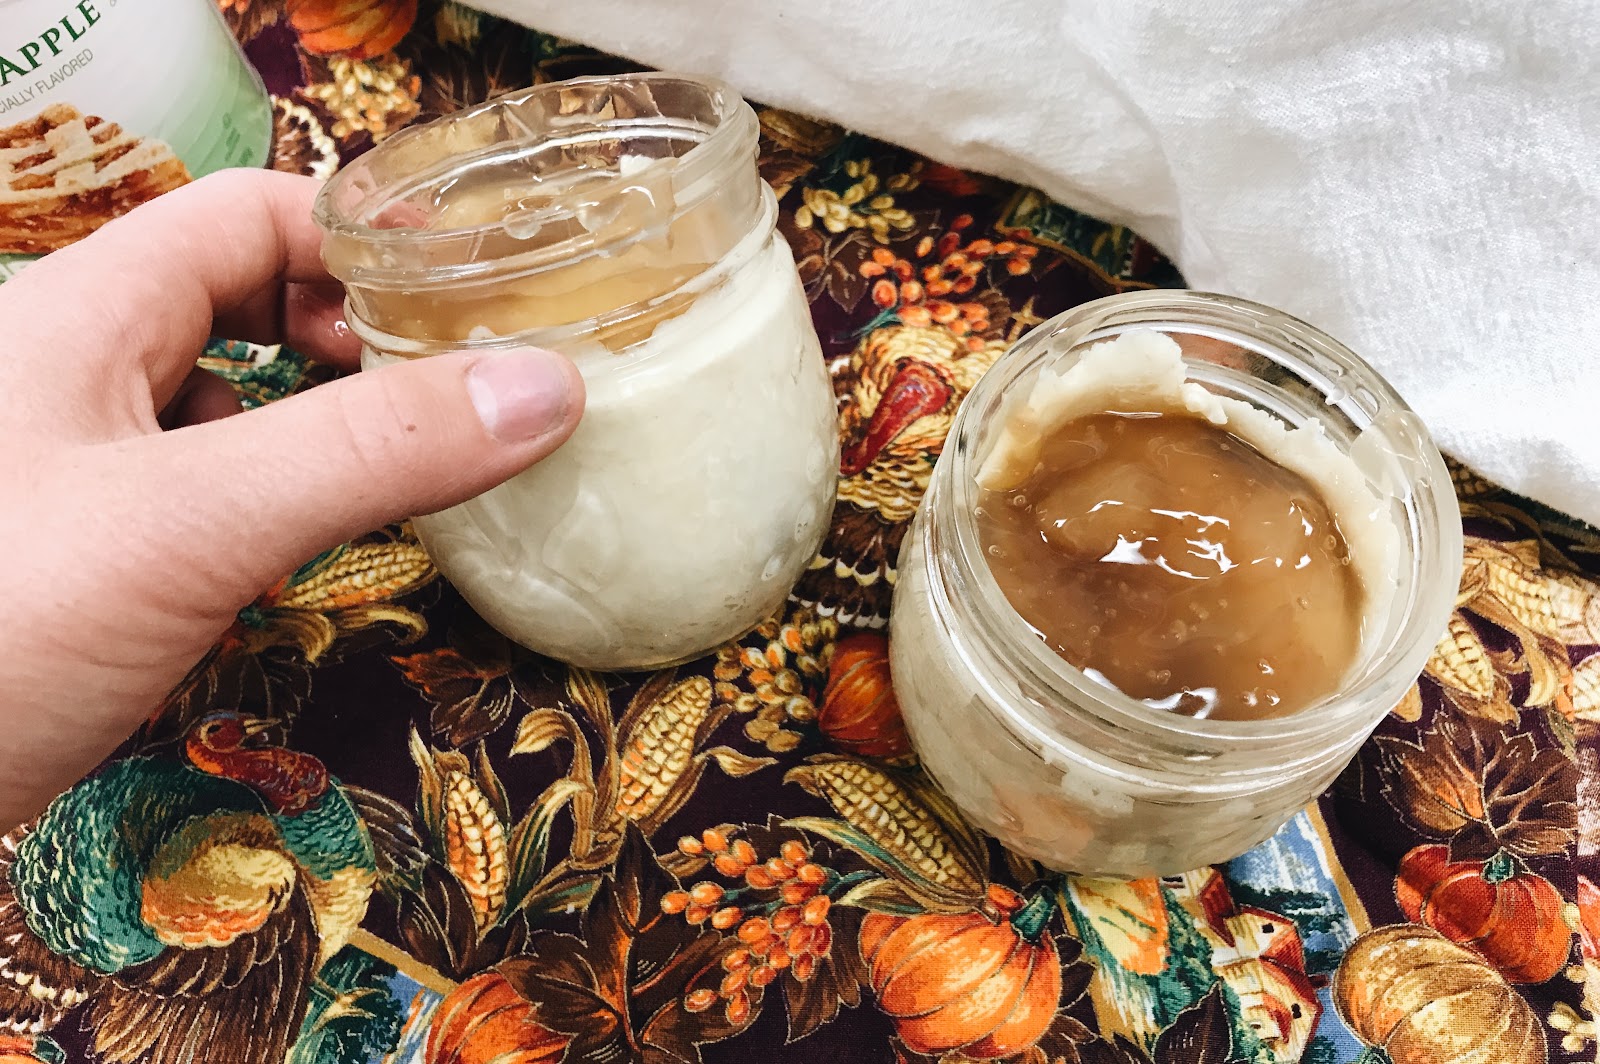
Next, you're going to want to start putting pieces of the crust into your jar layering the bottom and sides completely. Again, try to have a good crust to filling ratio; don’t add too thick or thin of a layer.
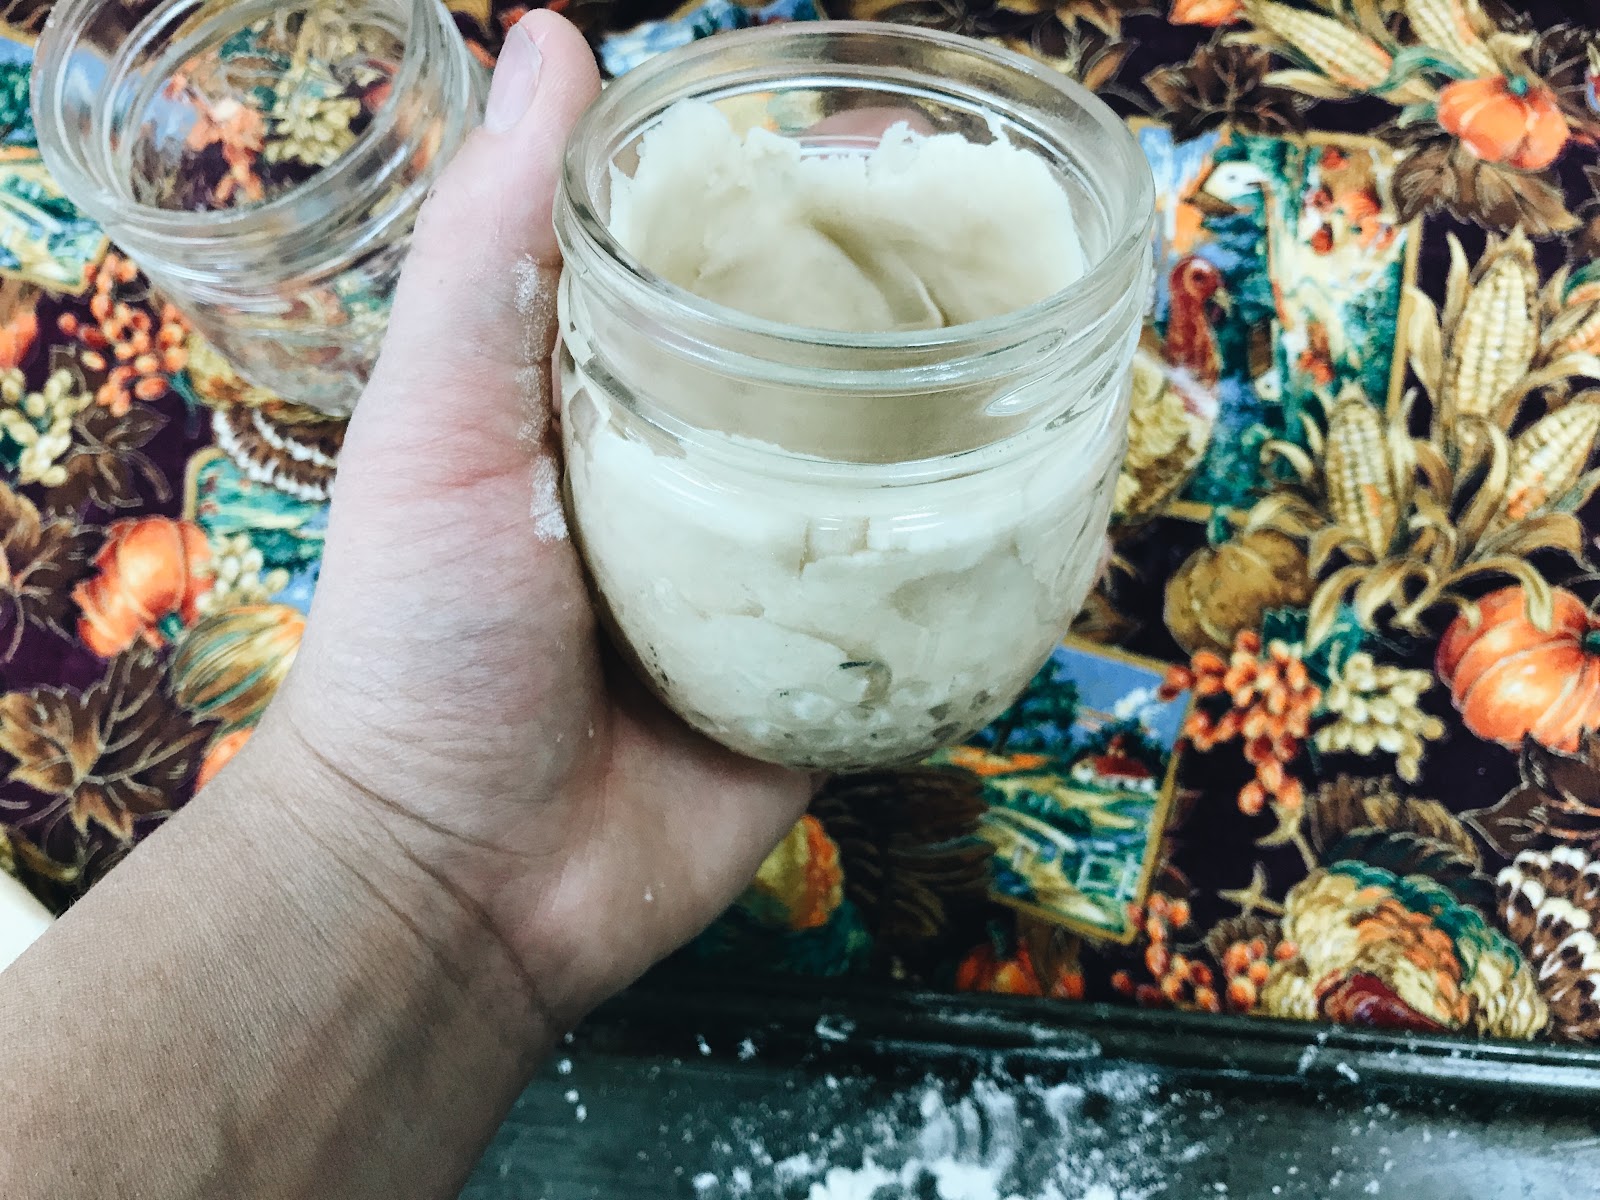
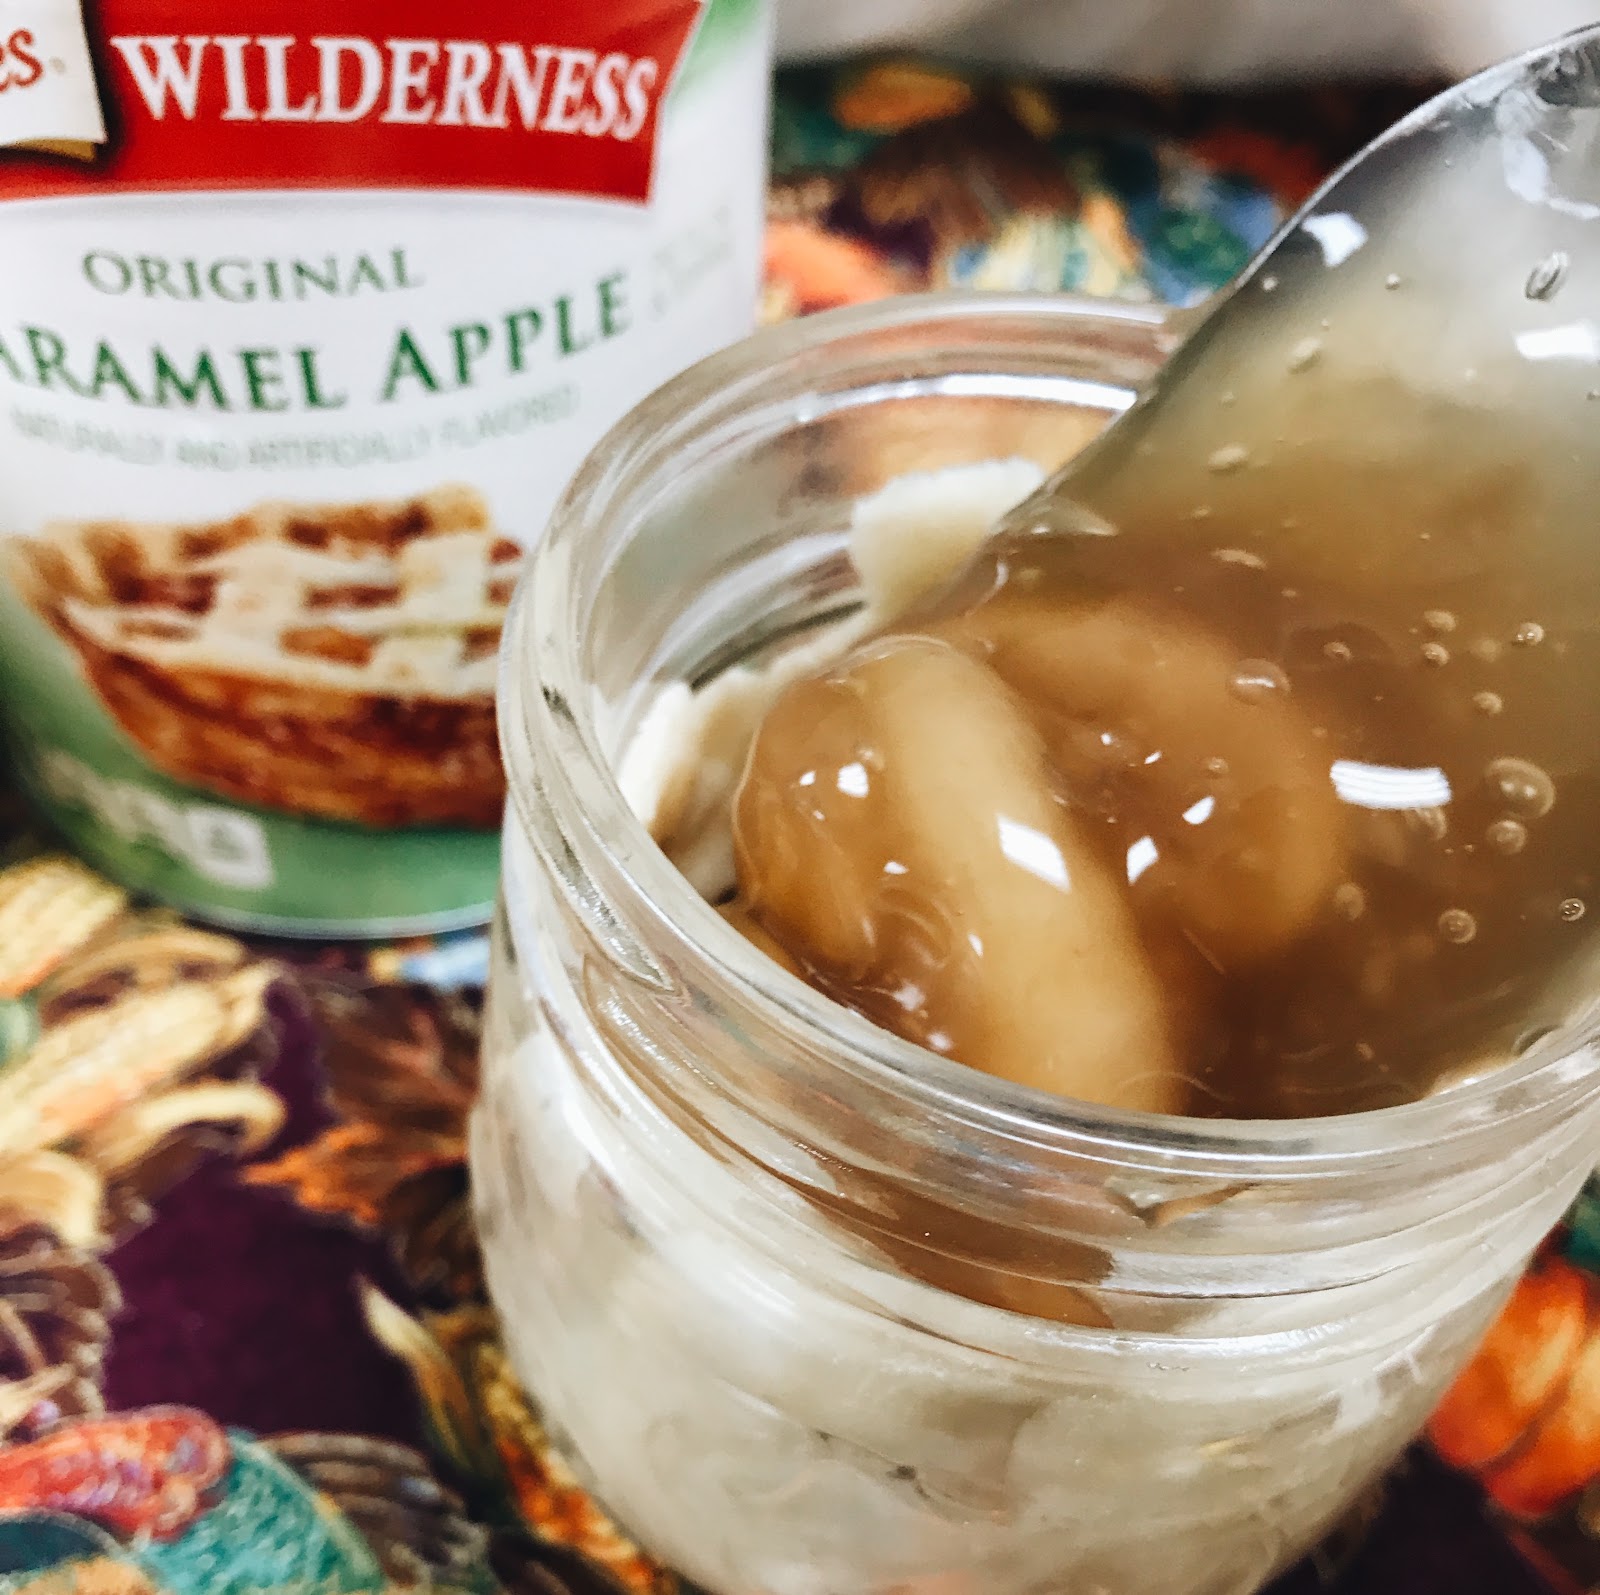
After your jar or jars are completely covered in crust, we can start to add the yummy filling! Take a spoon and begin to scoop your apple pie filling into the jar. When doing this, make sure to leave about a quarter of an inch from the filling to the top so during baking our filling does not destroy are cute pie topping.
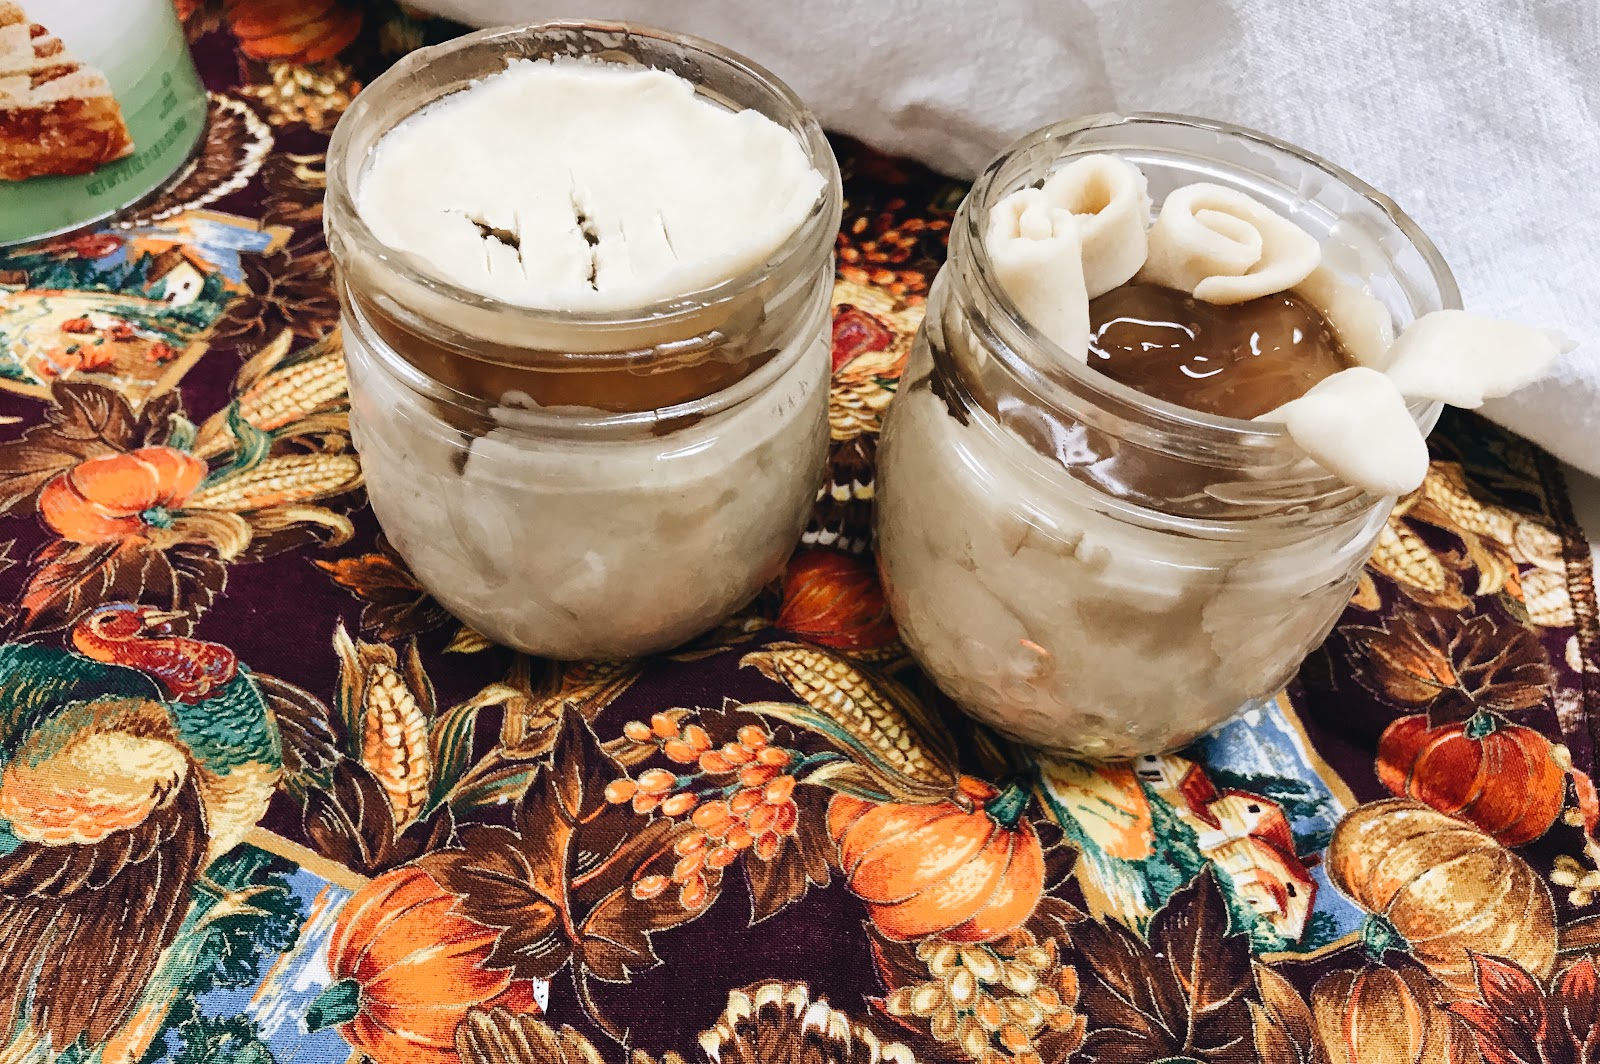
Once filling is completed go ahead and place the crust we set aside earlier on top - covering our entire opening. Feel free to get as creative as you'd like with the design for your topping! I decided to go with a classic pie crust pattern along with some leaves and roses. Just make sure somewhere on your crust there is a slit or hole to allow heat to get through.
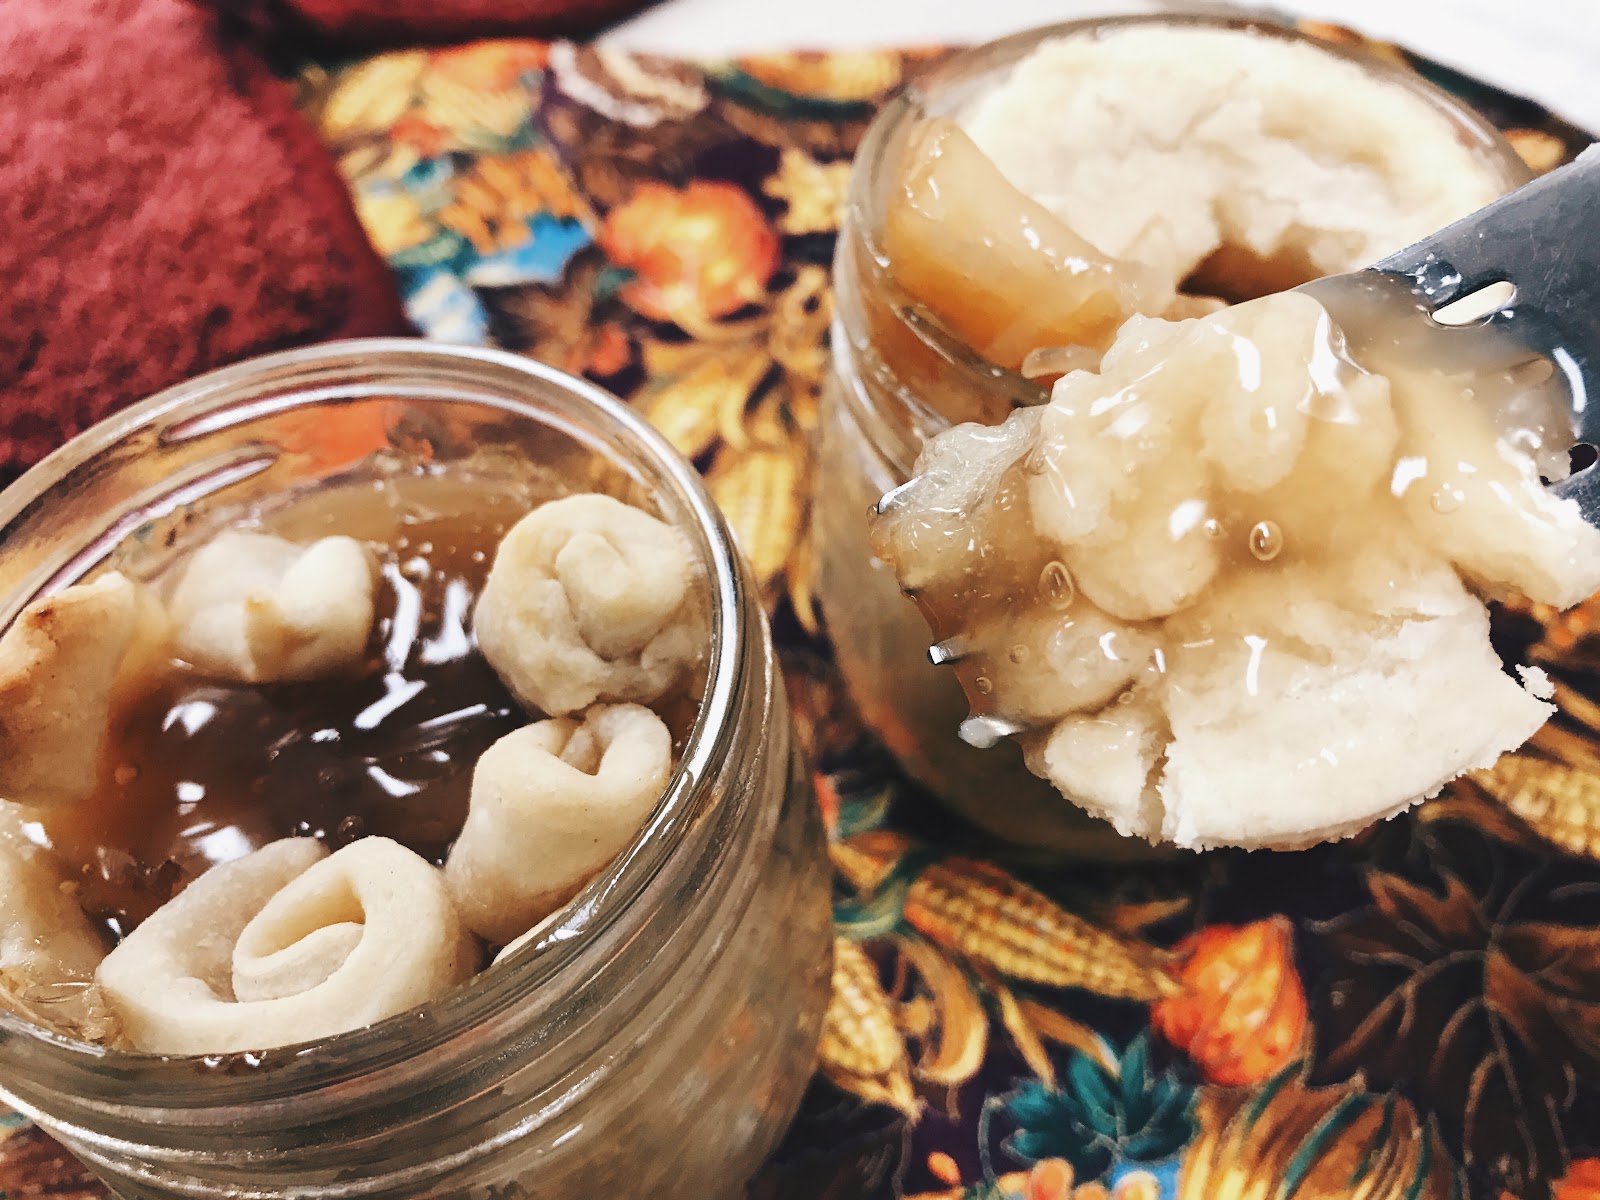
Our jars are filled and topped, now we can place them in the oven to bake! How to do this step is you're going to place your jar(s) on a baking sheet, setting sheet in the oven as close to the middle as possible. Set a timer for 8 to 10 minutes or however long your ingredients call for. If you’re not sure since we put it in a odd pan just keep checking every five to 10 minutes and pull out when golden brown. Once done let cool and enjoy!
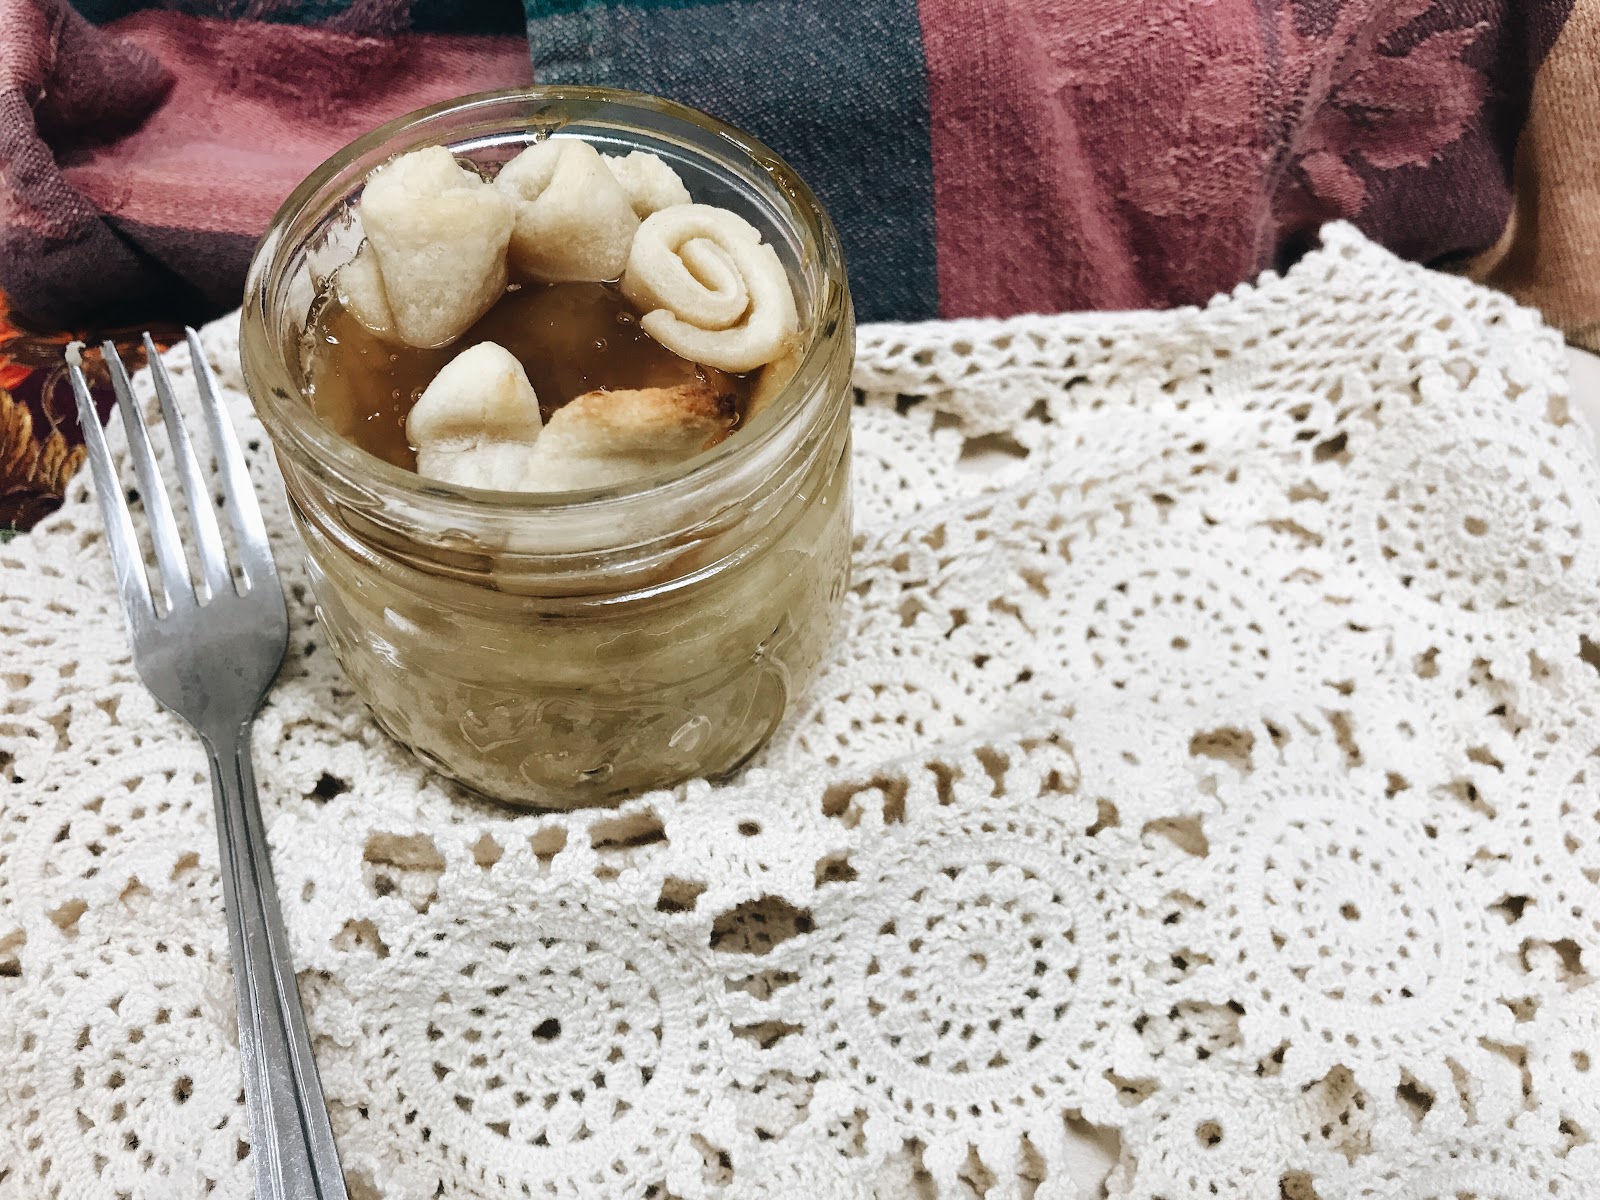
You have just allowed me to help you create a cute treat for the chilly weather. I sincerely hope you had fun while creating apple pie in jar and that this warm treat helps you stay cozied up during the chilly autumn days.
No comments:
Post a Comment