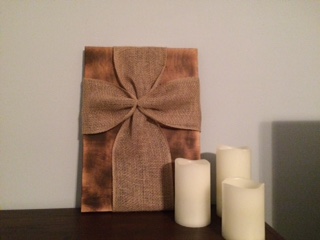
I am always looking for cute country decor that adds a little something to every room. When I came upon burlap crosses on Pinterest, I decided to give it a try and I put my own little spin on it. This is a very easy and fun project that does not require that many supplies.
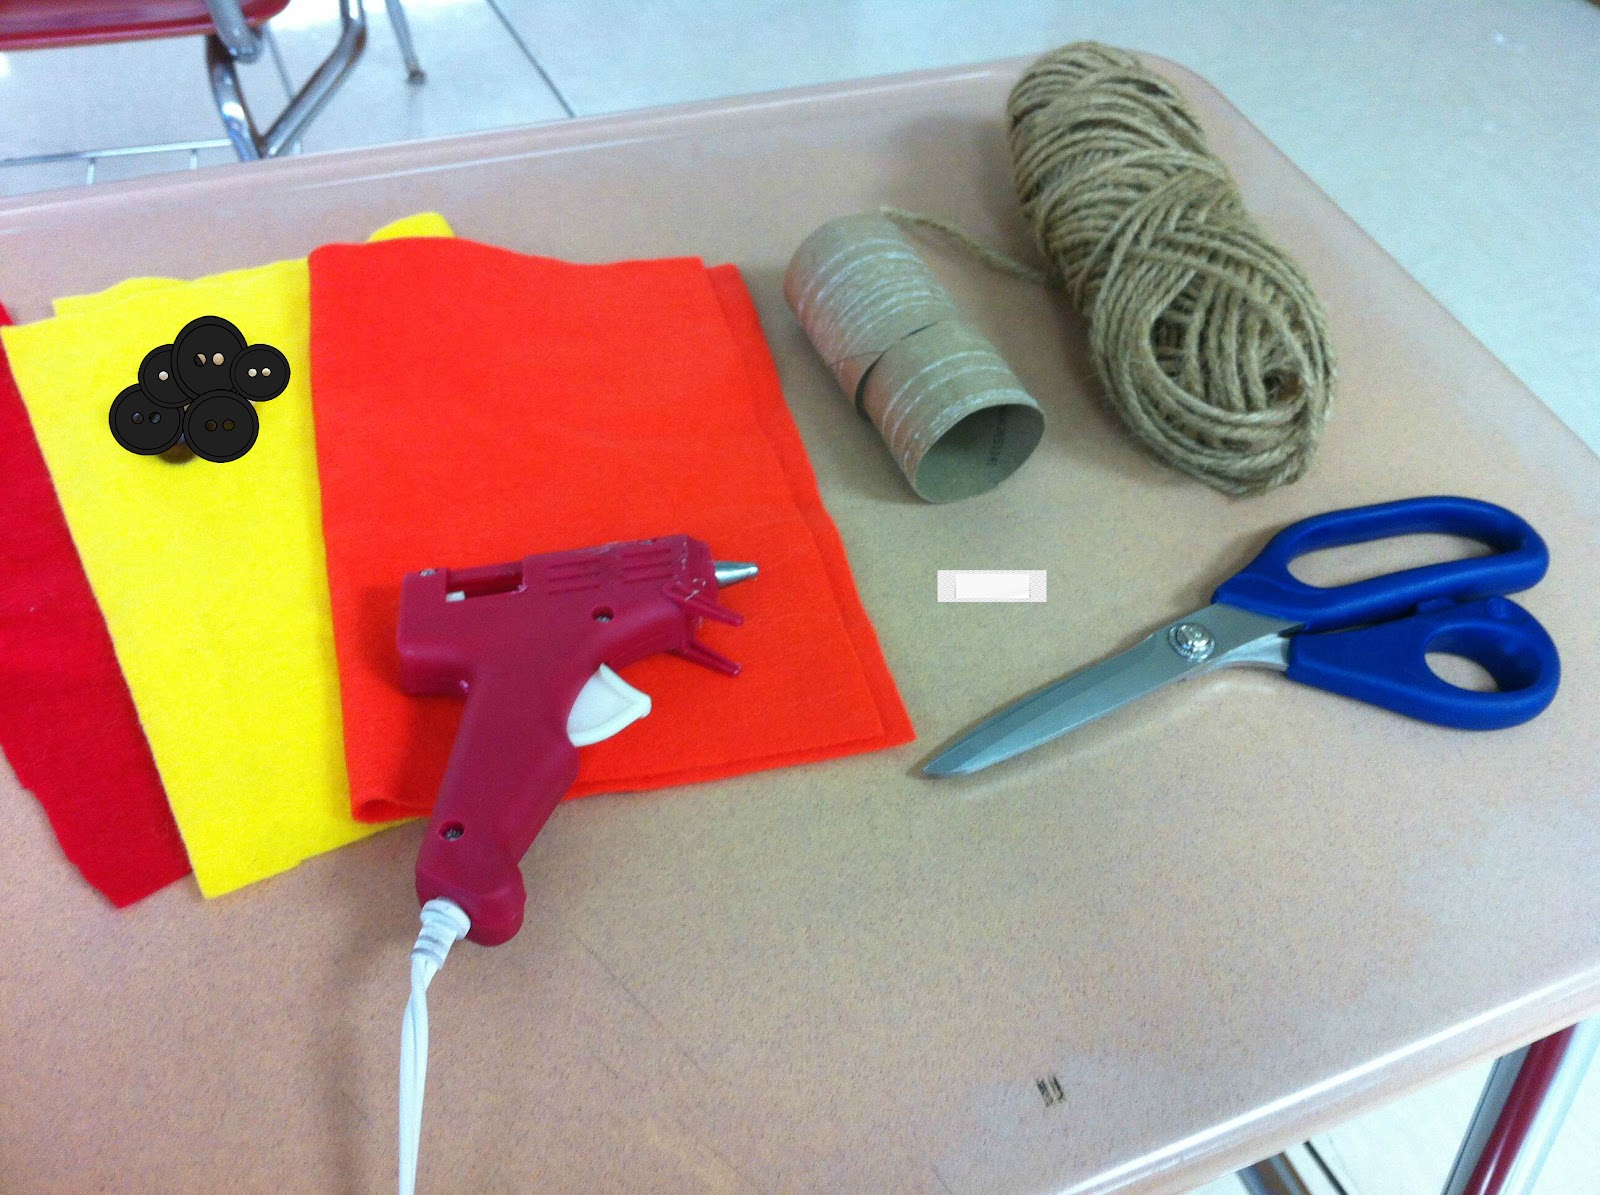
Supplies:
- Board or piece (of any size)
- Burlap (I used 4 inch wide, but you can use whatever width you like)
- Twine
- Staple Gun
- Torch
Step One:
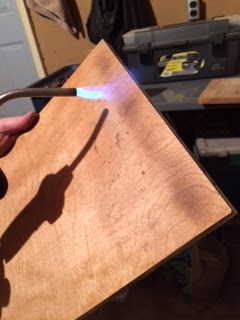
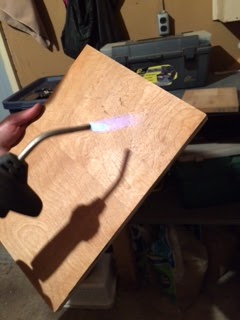
- Torch your wood.
- To torch the wood just run the torch slowly across the board until it starts to burn. Then move onto the next section of wood until the whole board reaches desired darkness.
- It is really up to you how much you want your wood torched. You can make it really dark or just give it nice crisp edges.
- This process takes a little bit of time so be patient and don’t give up the end result is super cool.
- Make sure you don’t forget to torch the sides of the board.
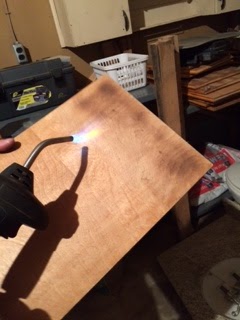
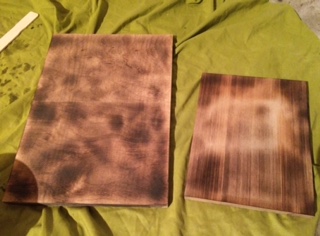
- This is how my boards turned out. Yours may be different depending on how long you torch them for.
*You may need to let the boards cool down a little before you assemble the project.
Step Two:
- After the board is cooled take you burlap and measure a piece that goes from one side of the board to the other. Make sure it goes on the bottom of the board on each side. (it does not have to be perfect, you just do not want the ends of the burlap to be showing)
- Cut the piece of burlap to a length that you like.
- Repeat this same process, but this time do the opposite length.
Step Three:
- Once both pieces of burlap are cut lay the long piece across the board.
- Take a piece of twine and put it on the back side of the burlap a little off center (more toward the top of the board).
- Tie the twine in a knot.
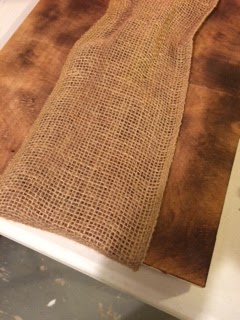

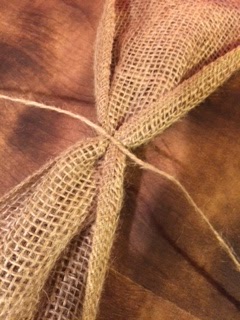
- Repeat this process with the other piece of burlap and twine and you should end up with something like this…
* At this point nothing should be connected together.
Step Four:
- Take the smaller piece of burlap off of the board so all you have is the big piece.
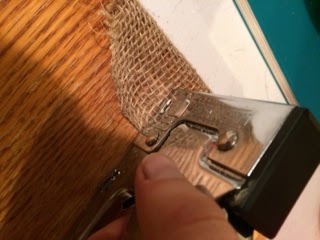
- Make sure that this piece is as tight as you want it to the board and flip it over to the back side.
- Hold the burlap tight to the wood and put three staples into each side of each piece.
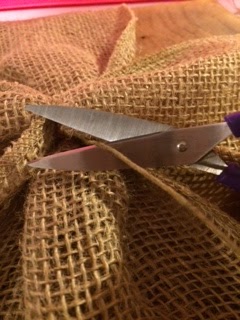
- Once you have the long piece stapled on turn it over and cut off the long ends of the twine to make sure they are hidden.
- Repeat the stapling process with the other piece of burlap and cut the ends of twine off as well.
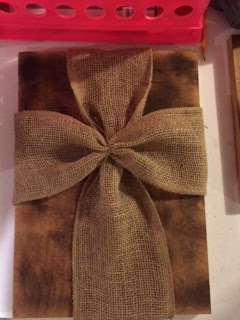
And that is how you make a beautiful burlap cross!