Wednesday, October 21, 2015

Colorful Halloween Wax Pumpkin

20151020_205708.jpg


Halloween is coming up and I am super eager to make decorations for the season. I was looking around the internet for a fun project to do. I found a picture of a white pumpkin with crayon wax dripping off all sides. It looked super fun and easy to do. This project looks very colorful and fit for the season.


What you will need:20151020_190910.jpg

  1. Crayons of your choice
  2. Glue
  3. Blow dryer
  4. White pumpkin
  5. Newspapers


  1. First, take your crayons and glue them in a circle around the stem of your pumpkin.


20151020_193212.jpg


  1. Next, take your newspapers and lay them under your pumpkin. Take your blow dryer and on the hottest setting, blow on your crayons. It will take a while for the crayons to start melting and once they do you can tip the pumpkin to help the wax drip down the sides. Melt to your desired look, then you are done.
20151020_210016.jpg

20151020_202315.jpg
20151020_205708.jpg


Tuesday, October 20, 2015

Puffy paint: are you done with smudges, uneven lines, and projects not turning out how you wanted?

Snapchat-6471881581865437693.jpg


Puffy paint, are you ready to be done with the smudges, uneven lines and shirts not turning out the way you thought they would? Because I have the perfect solution.

You will need:


  • Plain, solid colored t-shirt or a tie dyed shirt.
  • Black fabric paint
  • Freezer paper
  • Exacto knife or scissors
  • Pencil and design of your choice
  • Iron
  • 1 Sponge Brush
  • 1 paper plate

First, you will need to print out or freehand the design of your choice. Then, you will copy that design onto the freezer paper, on the non-waxed side. After tracing your design onto the waxed paper, you will need to cut out your design.


Snapchat-8292950521629381068.jpg

Next, you will place the design in the location of your choice, onto your shirt. Once you place the freezer paper, waxed side down, you can iron on your design.

Following, you will need to iron on your design. Make sure that the freezer paper is stuck down thoroughly. Pour out the paint onto the plate. Now, you can sponge brush the fabric paint onto the corresponding areas of your choice.
Snapchat-6800614651880339248.jpg


Then, after you paint your designs, carefully remove the waxed paper. Make sure to start from the corners and make your way to the middle.
Note: Make sure to peel off while the paint is still wet.  Snapchat--6019166123653963388-1-1.jpg


After completing all of these steps, let your shirt dry on a flat surface. Once it dries, you are completed. Now you can wear your shirt for the occasion you made custom.

Snapchat-6471881581865437693.jpg


Creating mazes

IMG_0081.JPG
I find myself getting bored at times, with so much going on everywhere around us these days but nothing being easily understandable, sometimes you just need a break. A maze can be a great way to cure boredom while remaining productive.


To draw a maze you need minimal supplies:


Supplies:
Blank Sheet of Paper
Sharp Pencil
Pencil Sharpener


I begin drawing mazes with a bubble for Start and a Bubble for Finish.


Next you decide what type of maze you would like; either one trail that takes a long time to solve or many trails that may be confusing and full of dead ends.


IMG_0090.JPG
To draw the maze use all organic shapes, usually curved line segments work best. Keep track of where your maze trails start and end.


IMG_0092.JPGIMG_0091.JPGIMG_0093.JPG
Connect one or more trails together to complete the maze and close off the open space.


The time the maze takes to draw usually correlates with the time it takes to complete.

IMG_0082.JPG

Monday, October 19, 2015

What to do with leftovers


With anything, there comes leftovers. May that be from a dinner you made or even a dessert. Here, I have taken a cherry sauce that I had left due to my previous Pinterest fail. What could I use this for besides throwing it away? Cherry cheesecake sounds lovely, right? That is what I thought, too. In the following steps, I will show you how to create a homemade cheesecake and use a leftover sauce. If you like the sound of that, scroll on!


Ingredients
  • 8 oz. Cream Cheese
  • 8 oz. Sour Cream
  • 8 oz. Whipped Topping
  • 2 tsp. Vanilla
  • ⅓ cups Sugar
  • 6 oz. Premade Pie Crust
  • Leftover Cherry Sauce


First of all, you need to add the cream cheese and the sugar together in the bowl. This step is super simple. With this recipe, they do not want you to mix all the ingredients together. By not combining them together, it helps smooth out the blending process and also mixes everything together well.
Next, mix the sugar and cream cheese together with a mixer. Mix until all the content is combined.

Once the mixing is done, add the sour cream and vanilla to the mixture. Then, mix once more.


Add all the whip cream to the blended mixture. For this step, you will fold in the whip cream. No more using a mixer! To tell when you have folded in all the whip cream, you won’t be able to see a color difference. The whip cream is quite white compared to the other ingredients that are mixed together.


Now, take the pre made pie crust. Normally, I would make my own crust, but this was just easier. You will take the mixture and spoon it into the crust. As you do this, make sure to spread it out evenly. You want to make sure it is equally filled so one, it looks nice, and two, no one misses out of pie filling.


With your finished product, all you have to do is take the leftover cherry sauce and drizzle it over the top. Normally, if this sauce was like it was from the can, it would have been easier to coat this pie, but since I blended it to use for a previous treat, it was really runny and made it hard to keep it clean. In the end it all worked out to create a delicious pie. Even something as simple as a pie will help you get rid of anything that is leftover.

Thursday, October 15, 2015

S'more and Peanut Butter Dip


                                            20151012_201105.jpg

Got a sweet tooth like me? Not to worry, I have the perfect treat for you to whip up quick and easy. And when I say sweet I mean SWEET, a couple bites and you will have your fix of treats for the day. This is perfect for people who need a little treat without wanting to eat too much. Perfect for an afternoon snack or dish to pass at a party. This sweet treat is designed to accommodate your needs when time is running low. Also made by Whatscookinglove.com.


20151012_194209-1.jpg


Ingredients:
1 stick of butter softened
8 oz. of cream cheese softened
1  teaspoons of vanilla
1 cup powdered sugar
¾  cup brown sugar
1 cup of mini marshmallows
1 cup of semi sweet chocolate chips
graham crackers
small saucepan
wooden spoon
teaspoon
measuring cup


Instructions: First start by melting the butter in a saucepan whisk in brown sugar and stir until sugar is dissolved. Then add vanilla to mixture immediately remove from heat and cool to room temperature.


20151012_200733.jpg


While waiting for it to cool in large mixing bowl beat cream cheese and powdered sugar. When brown sugar is cooled to room temperature then pour into the cream sugar mixture. Stir profusely until sugar mixture is fully blended.

20151012_200802.jpg

After mixing add a few or amount of your choice of crushed graham crackers, along with one cup of miniature marshmallows and  one cup of chocolate chips. Carefully mix until all is covered.

20151012_201105.jpg

Finally place in a small serving bowl or dish and top with some extra chocolate chips or a few marshmallows to add a finishing touch. Now you no longer can say that you do not know how to whip up a sweet treat for a party! Hope you enjoyed and can make your own fun dip as well!


Wednesday, October 14, 2015

Vampire Bites: The Pinterest Fail


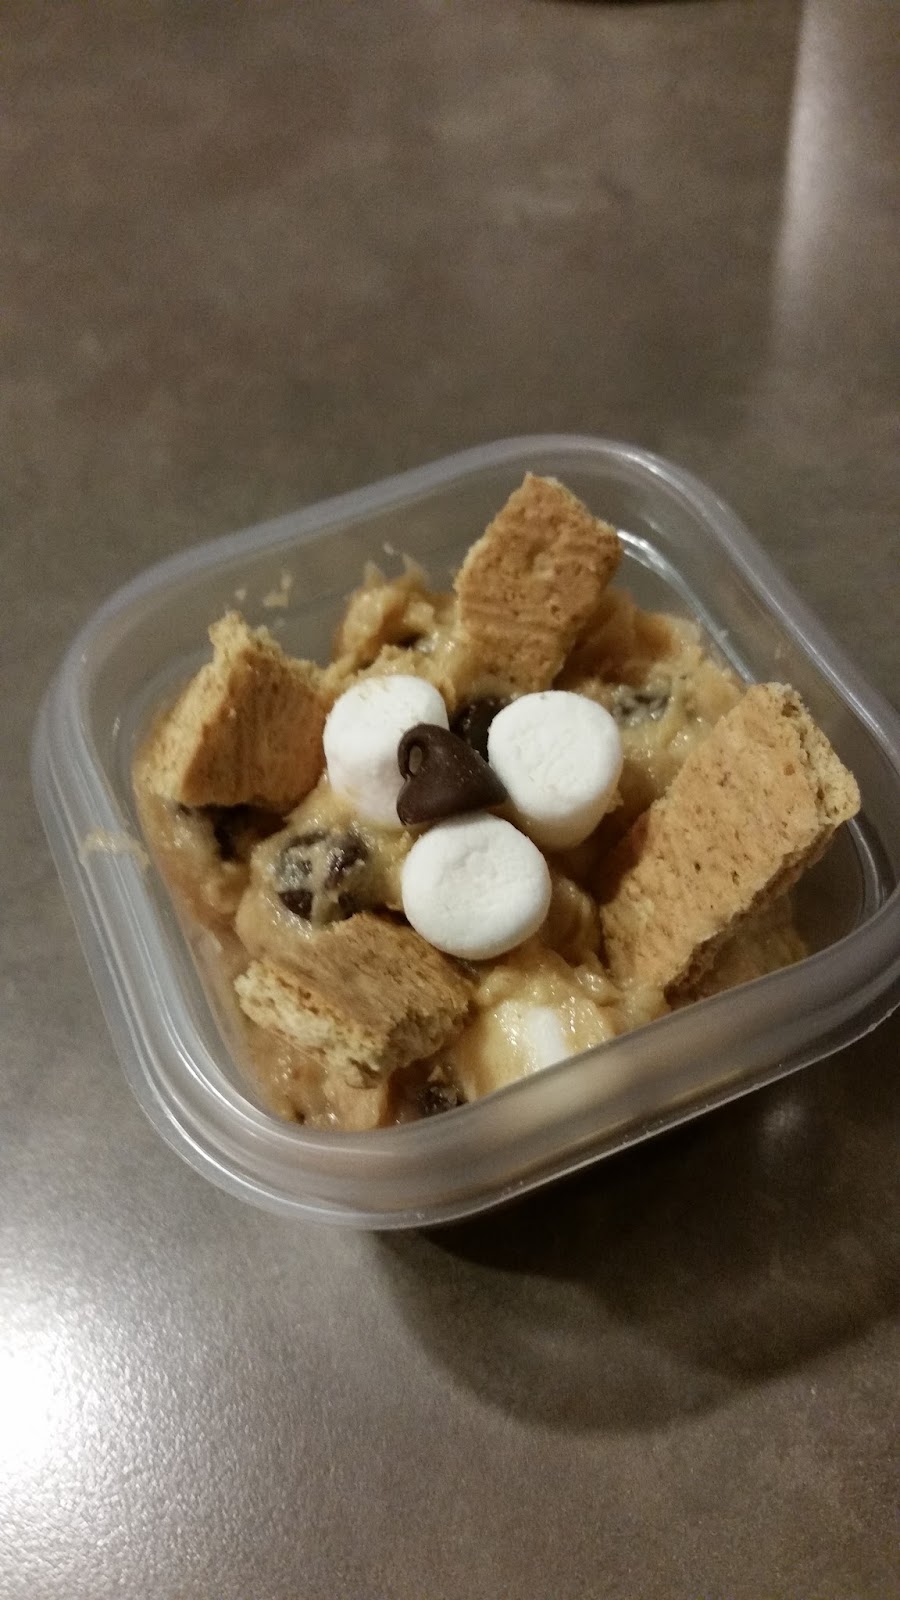
As we fly into this season of fall, we are met with the excitement of Halloween. Witches, werewolves, vampires, you name it will be showing up on your doorstep scaring you into giving them delicious treats. Although that sounds fun, Halloween is not just meant for little kids in costumes, it welcomes everyone. For an adult, Halloween means parties and with parties comes sweets. These vampire inspired brownies are perfect for a Halloween themed party. So, if these tasteful brownies make your mouth water, climb out of your coffin and sink your fangs into these sweet treats. This would be an introduction for a successful Pinterest creation. Through the picture, you can see that this brownie creation was not so successful. Read more to learn how to put these together and how sometimes Pinterest can be deceiving.
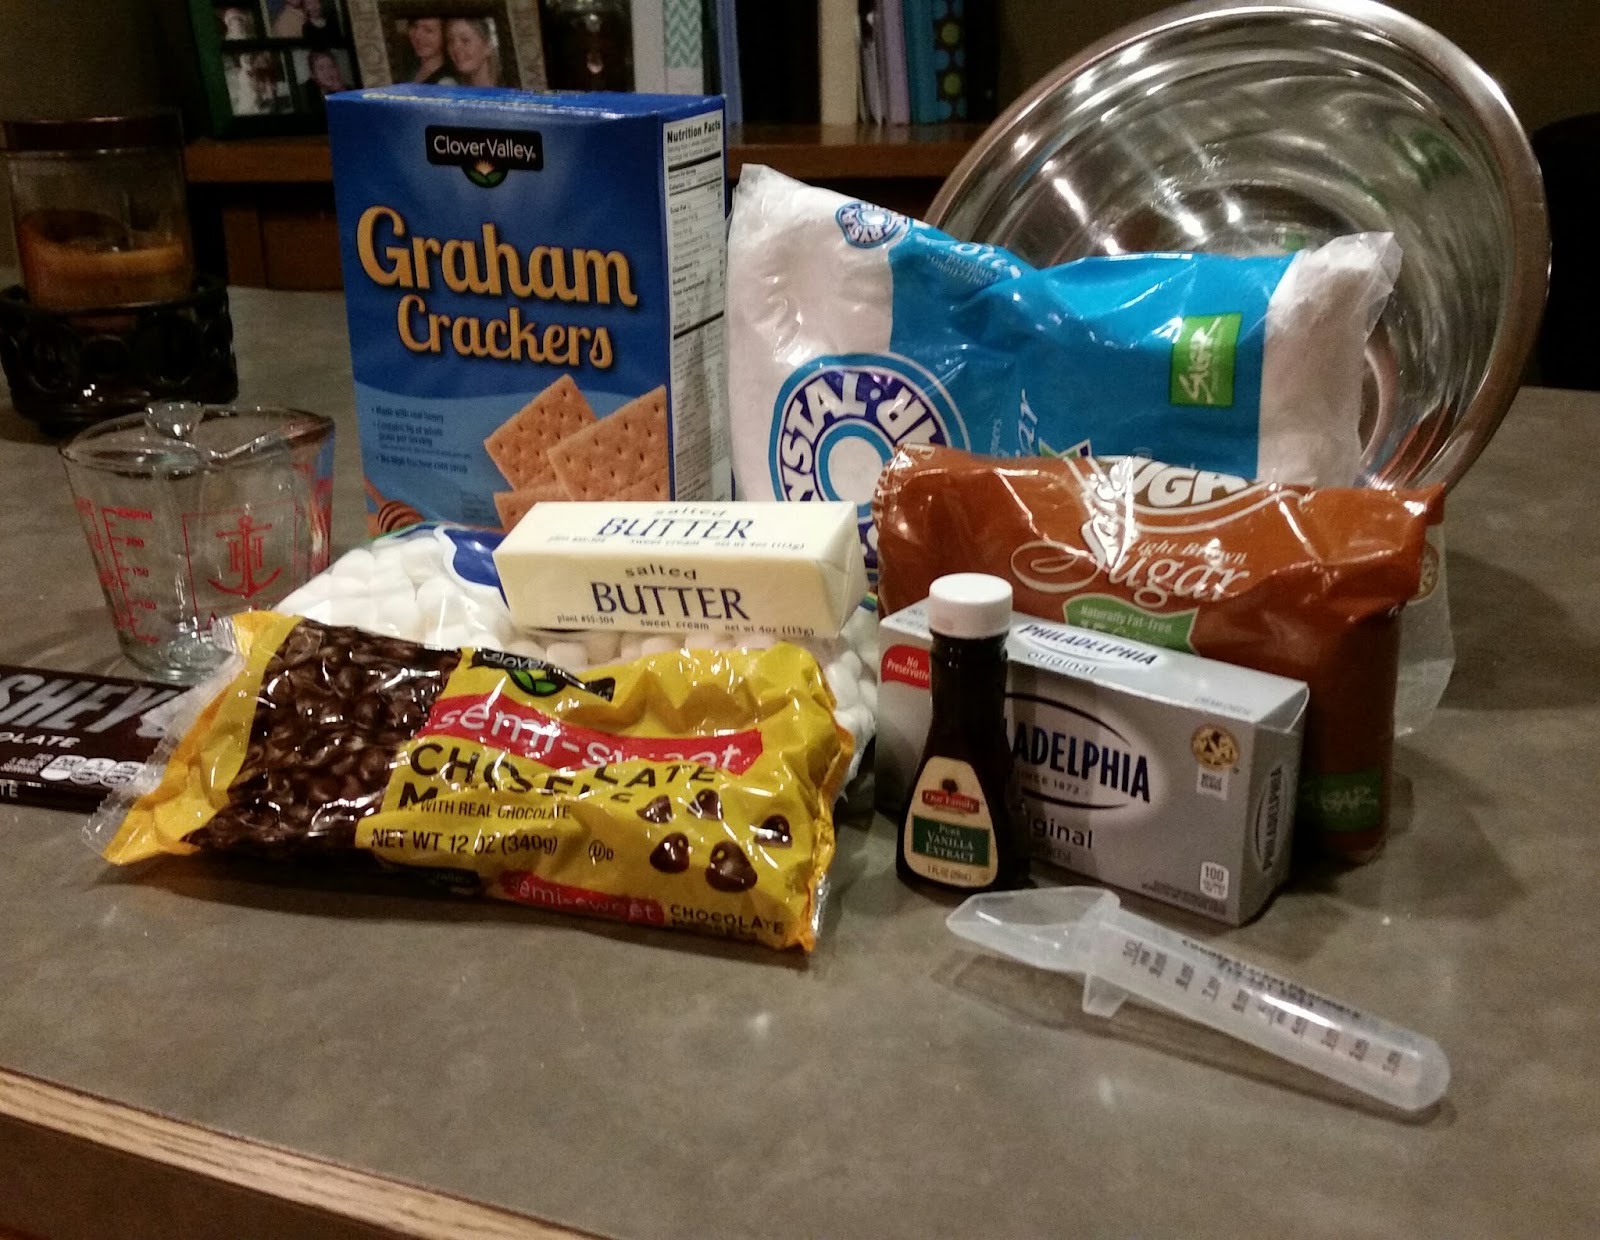
My Supplies:
  • 1 box of brownie mix, along with the ingredients for brownies
  • 1 small can of cherry pie filling
  • 16 oz of white frosting
  • Small marshmallows
  • Pull apart Twizzlers
Their Supplies:
  • 1 box of brownie mix, along with the ingredients for brownies
  • 1 small can of cherry pie filling
  • 16 oz of white frosting
  • 2 cups of gummy vampire teeth


Since these brownies are from a box, all you have to do is follow the directions on the back of the box. Along with the brownie ingredients, you need to preheat your oven to 325 F. As that preheats, spray your muffin tins with a non stick cooking spray. This was all kittens and rainbows. It is a box mix, how hard could that be to mess up?


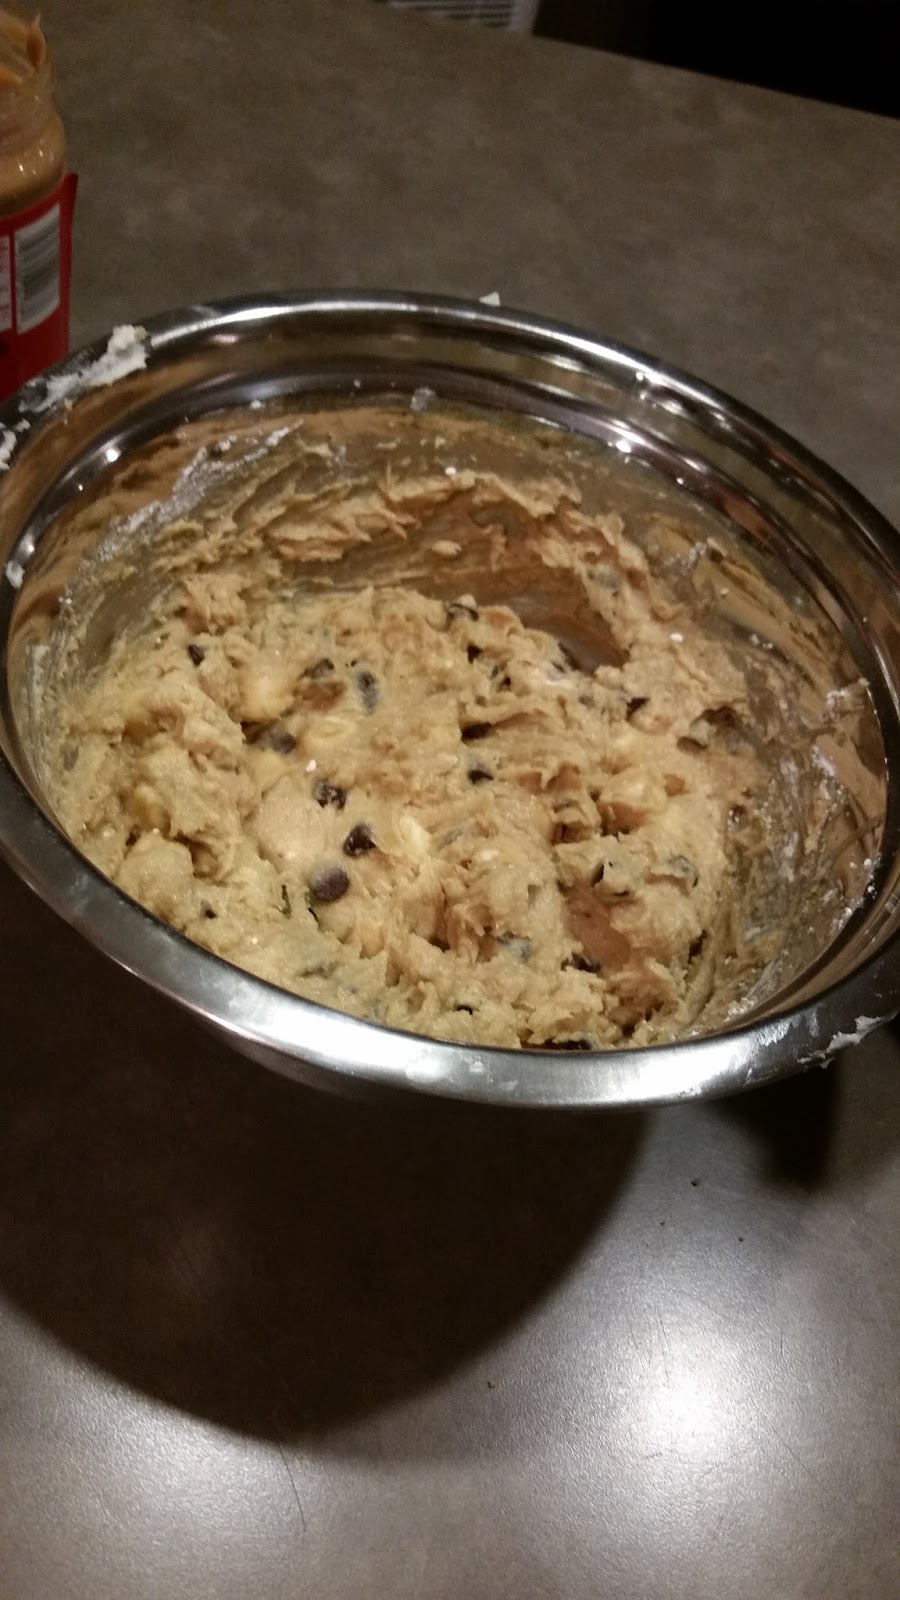
Next, begin combining all of your brownie ingredients together in a large bowl. Make sure all the powder is mixed well. You do not want to have lumpy batter. Easy. So far, this recipe seemed like it was all going to pan out. Get it, pan out? Oh, how I love cooking puns!


Once your batter is ready, take a cookie scoop and begin filling your muffin tins. Make sure to fill the cups about ⅔ of the way. You do not want them to be filled to the brim which could make the following steps harder. When your oven is ready, place the brownies in for 15-20 minutes. Still, this creation was going strong. I truly believed that I was making the coolest brownies.


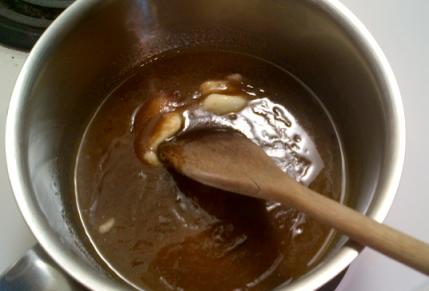
While your brownies are baking, take your can of cherry pie filling and pour it into a blender. This only takes a few seconds to blend, turning the cherries into a liquid solution. Once done, set aside until the brownies are finished baking. Blending cherries, okay I can do that. Simple enough. Through these steps, everything was working. What could possibly go wrong? Pinterest has always given me amazing, successful ideas.

The Beginning of the Fail

                               
(Sorry for the poor picture of the craters!)

When the timer goes off, take a toothpick and place it in the middle of the muffin like brownie. The toothpick should come out with a few crumbs attached. That did not happen for me. The toothpick came out full of brownie mix. It was like they never cooked, so I baked them for an additional ten minutes.
Let these sit for about a minute, then take a spoon and lightly push down on the center of the the brownies. This will cause a crater where the cherry filling will be placed. With my brownies, I failed to let them sit for a minute making the crater a bit larger than I wanted. So, the cooling process is an important step.


Like I said, taking the cherry filling, you will take a spoon and place a glob in the center of the brownie crater. Just like when you filled the muffin tins with the brownie mix, do not overflow. This will cause the frosting step to become mess and unneat. From experience, this is a hard step to do when you are not one hundred percent sure how deep the hole is. As you can see, their filling is not as runny as mine. I guess I blended it a bit too much. It just told me to blend it until it was like jam. How does blending something make a jam solution?


Moving on to the frosting. Remove the lid and foil cover and place the container in the microwave for 10 seconds. After ten seconds, stir the frosting. Then, place back in the microwave for an additional 5 seconds. This step may sound weird, but it makes frosting these a whole lot easier when it is runny. All you do is drizzle it over the brownies to cover up the red center that you created. Yes, it made it easier, but it was quite messy. You have to make sure you place the first drop of frosting in the correct spot or the center will mix with the frosting and run all over the place. This is one messy step if not done right.

Place the pan of brownies into the fridge to let the frosting harden. This will make the decorating step not as messy. I placed my batch in the fridge and let them sit over night. This let the frosting firm even more than what the instructions from ohnuts.com.


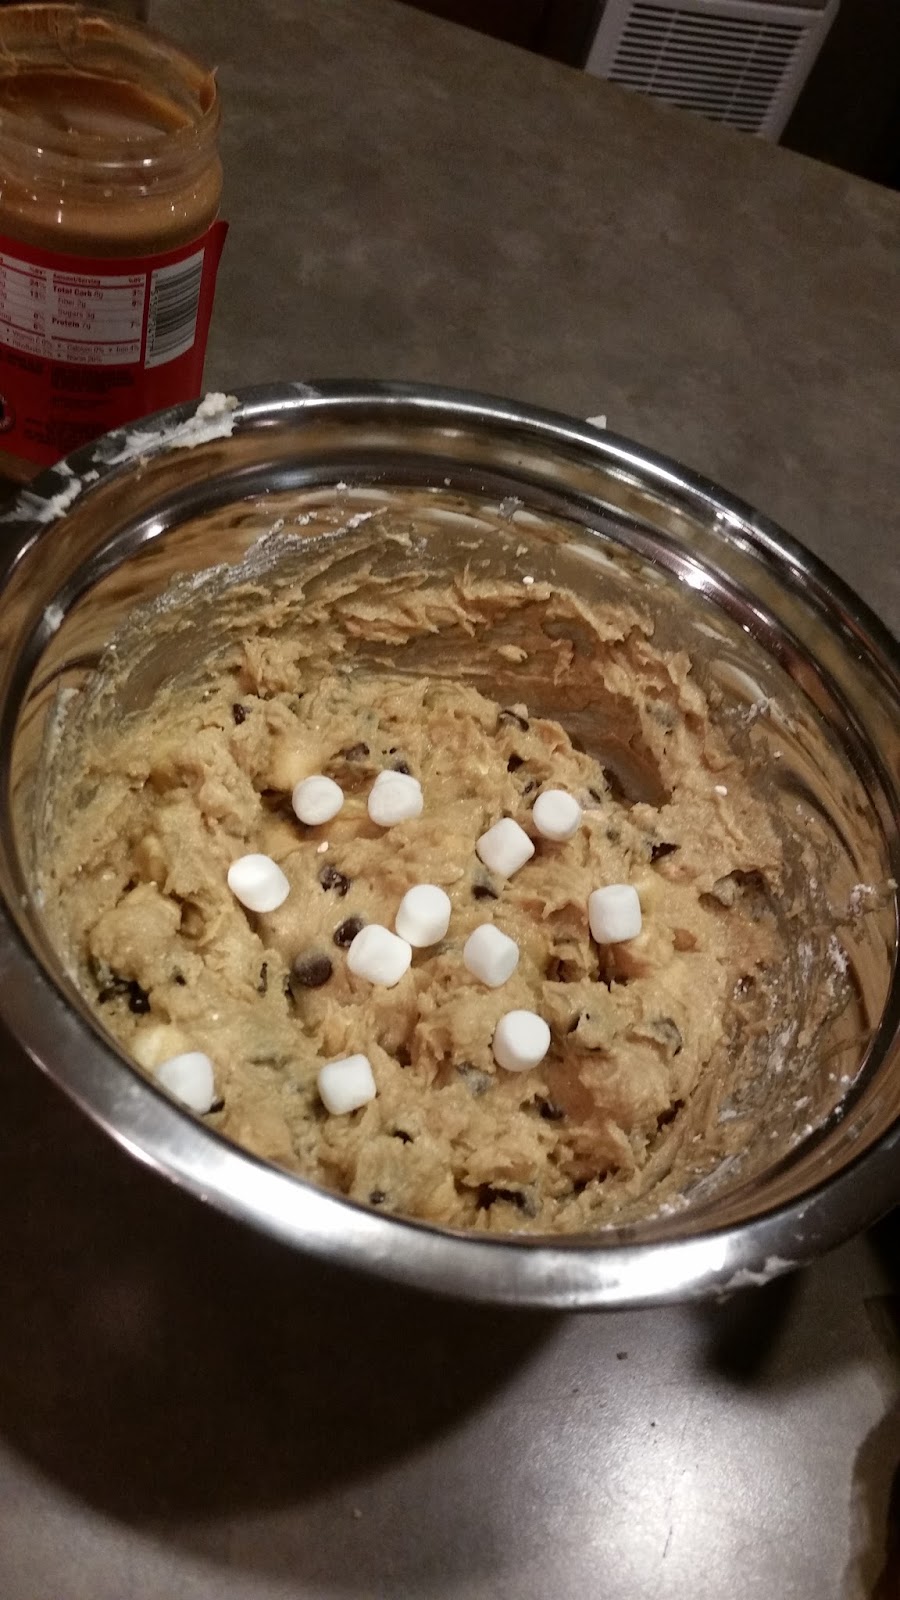
Trying to be creative and not being able to find gummy vampire teeth, I took pull apart Twizzlers and marshmallows to represent vampire teeth. That was a complete fail. They look nothing like teeth. So, for this step, make sure to find actual gummy vampire teeth. When I was shopping for the ingredients, I could not find vampire teeth anywhere inside the Halloween candy section at Target. What is Halloween without vampires? So, if you want to try these, good luck finding these gummies.


So, in the end, this was a complete fail. I was really sad with the result. I really wanted these to turn out. Maybe they would have turned out a bit better than they did if I did not cook them at nine o’clock at night. Oh well, I guess we will never know. This project, at least for me, will be marked down as a Pinterest fail. Dear Pinterest, do not fail me ever again. Thank you! All the love.