Anytime you have people gathering together, you always end up having cupcakes, chips, and junk food. The same sugary treats may be delicious, but they do get boring after a while. For me, I would way rather have something natural then a sugary chocolate brownie, but I also want something sweet. That’s why the perfect solution for something sweet and healthy, is fruit.
As football season is here, we must account for those tailgating parties in the parking lot outside the field before game time. It is then that we ask ourselves, “What should we have?”. That’s why I (with the help of another pinterest user) came up with a master plan of healthy, sweet, and creative. Meet the fabulous football fruit-tray.
Supplies:
- Watermelon
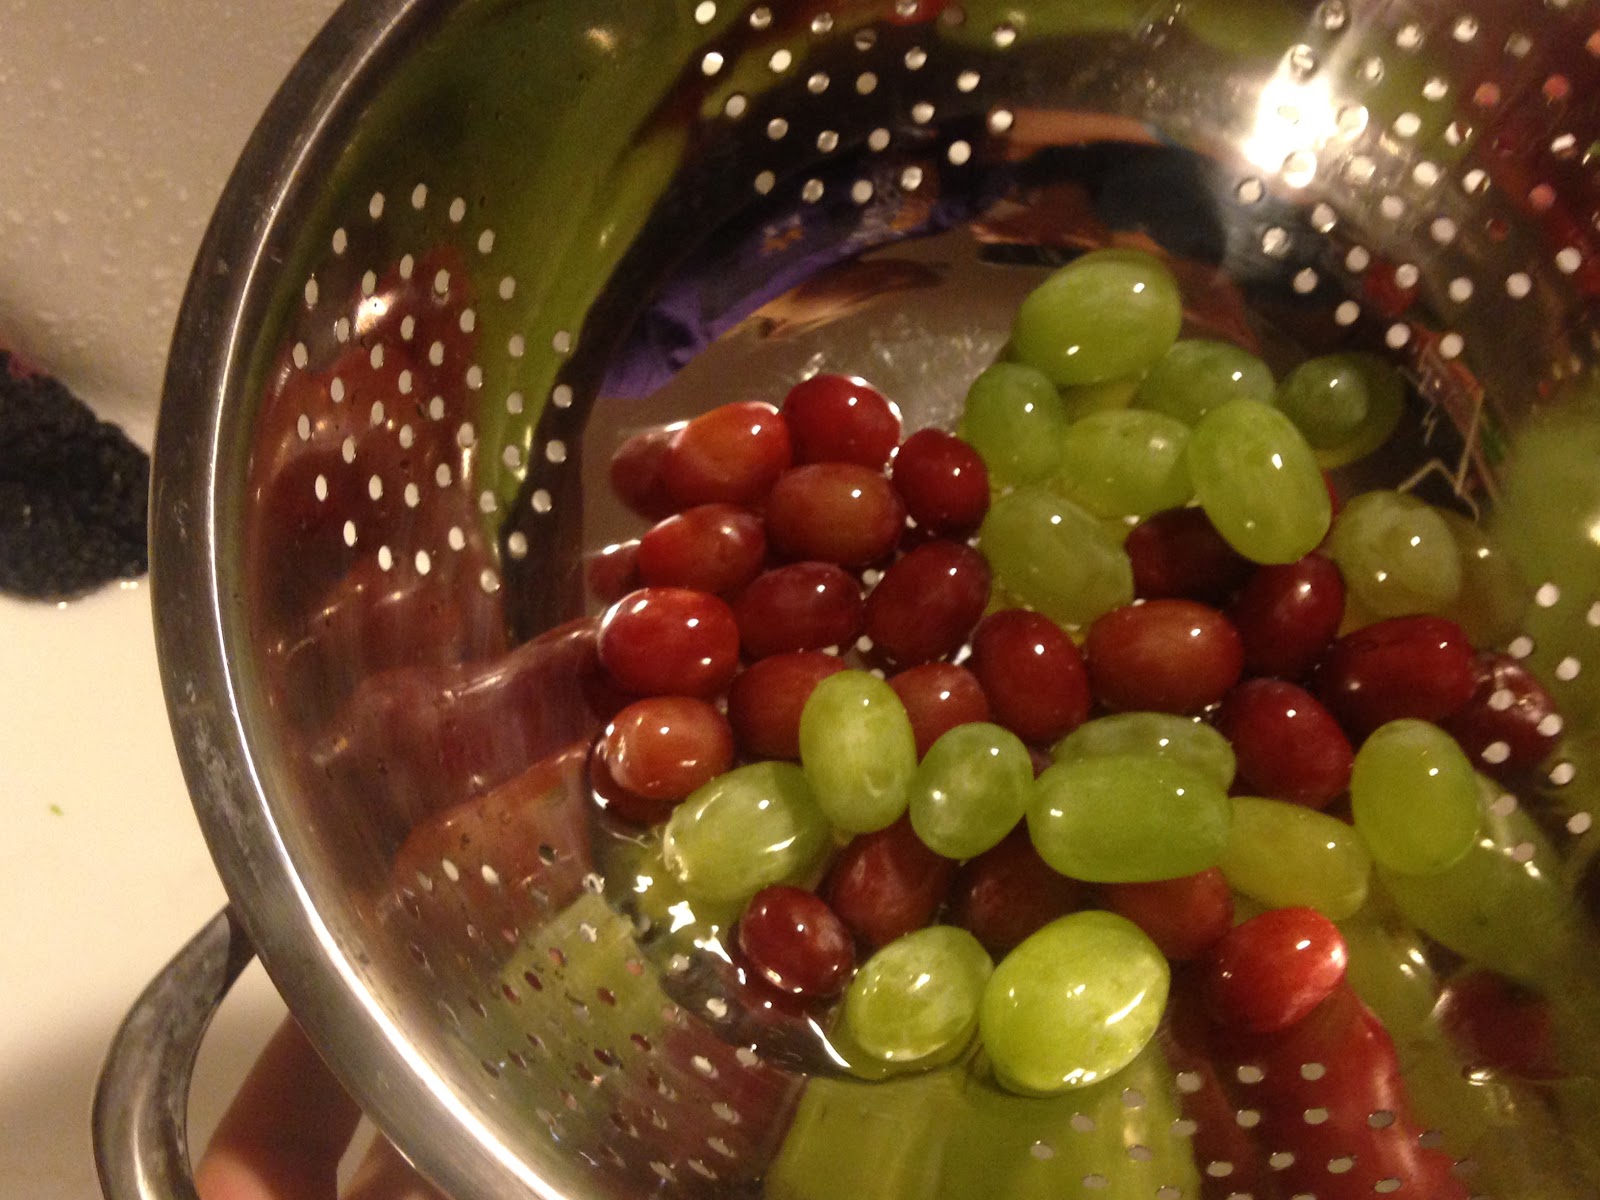
- Grapes
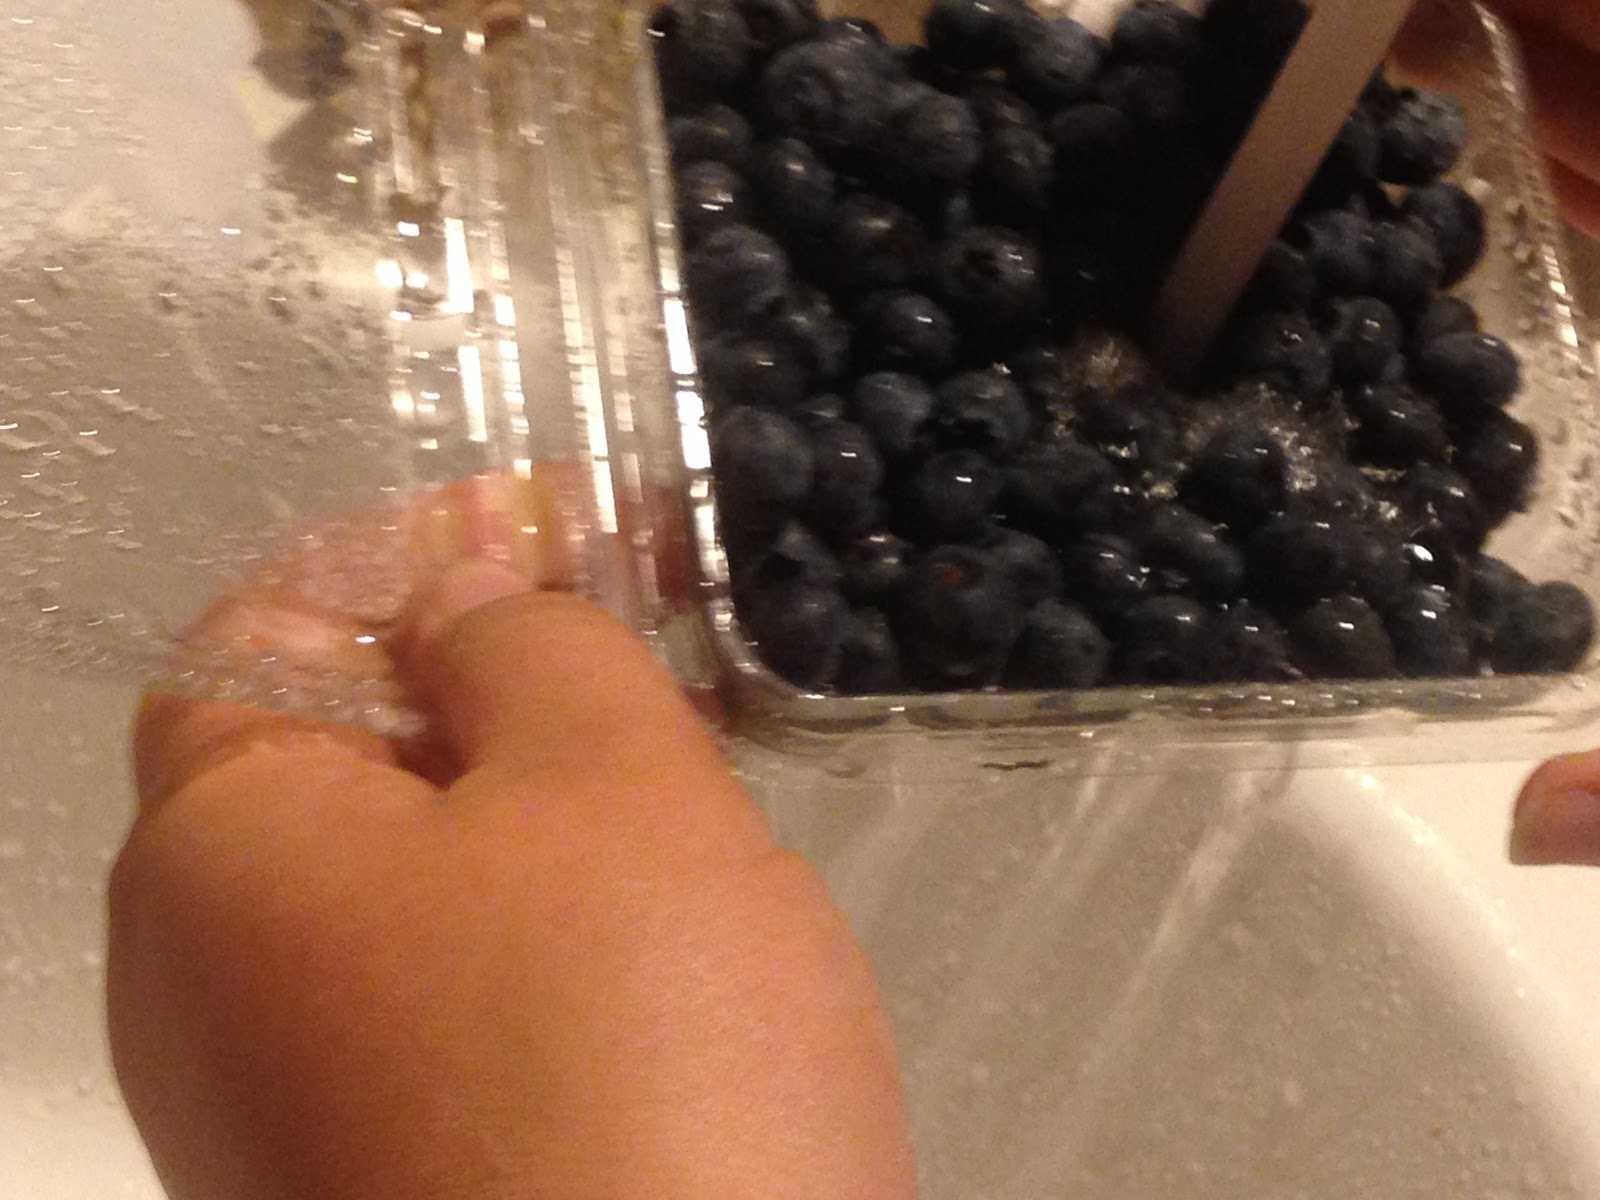
- Blueberries
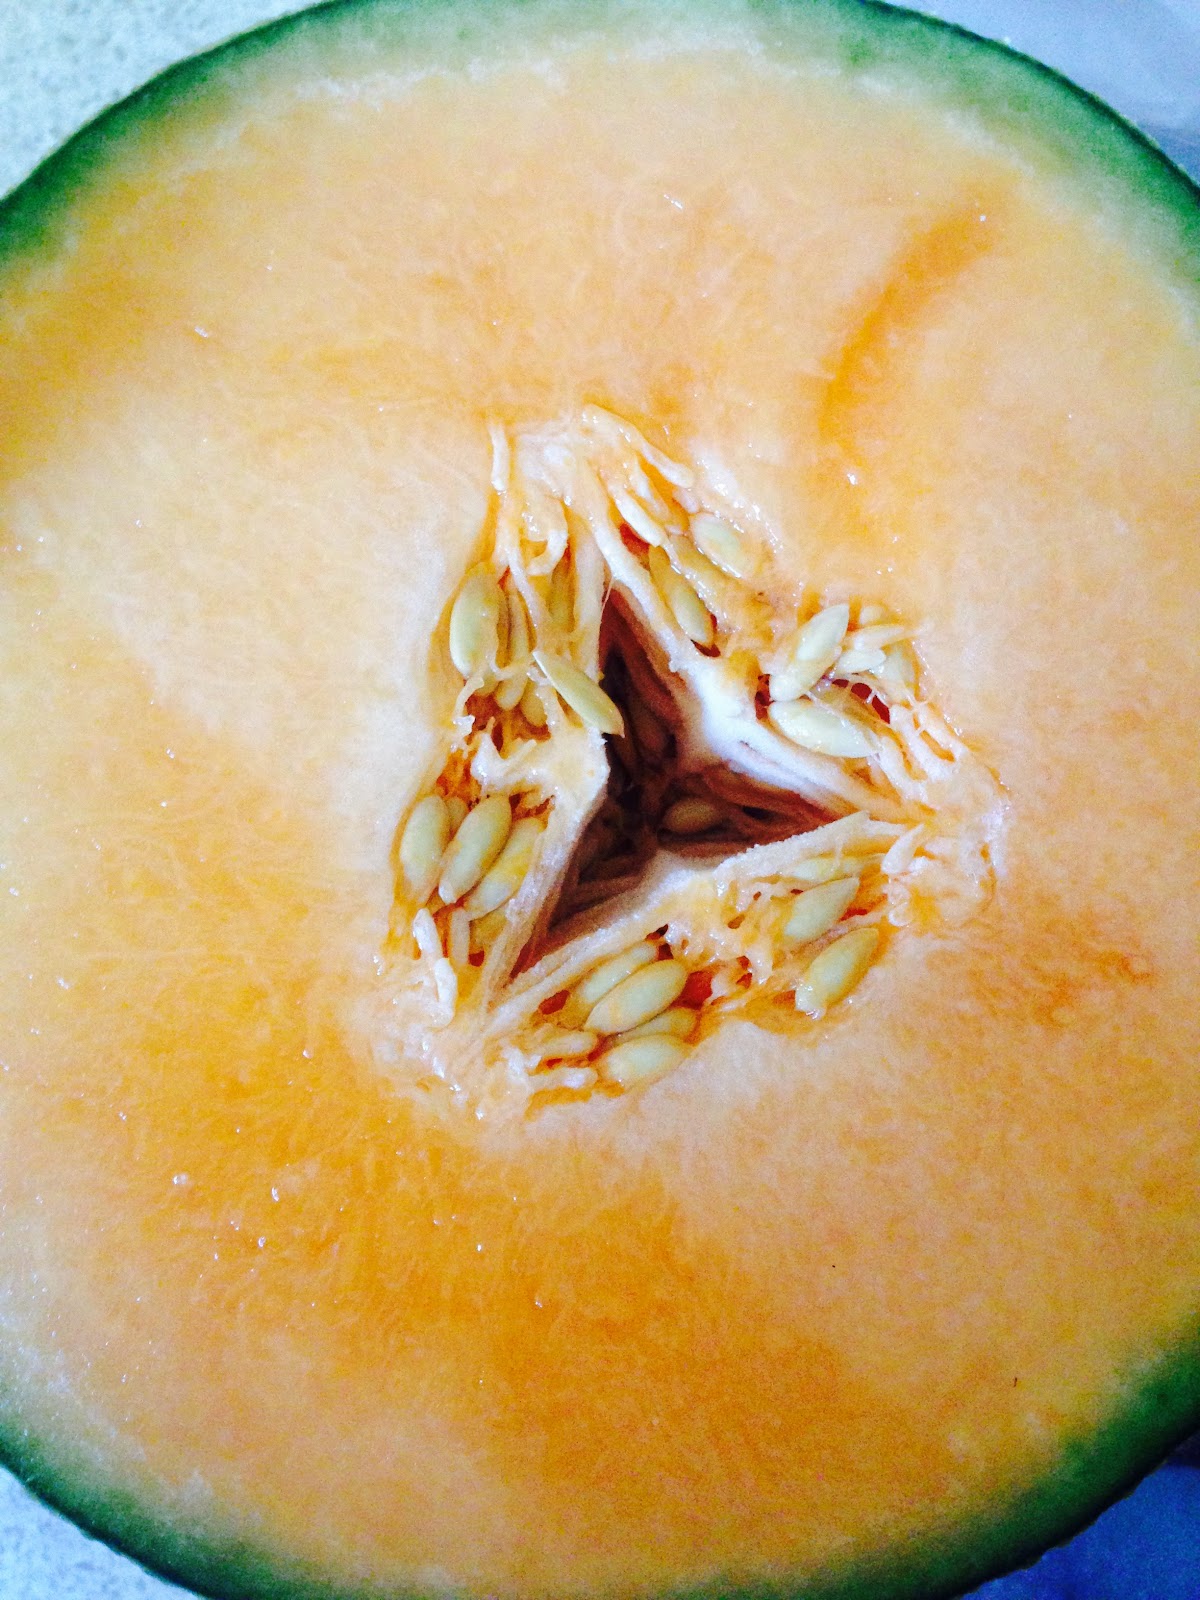
- Cantaloupe
- Knife
- Ice cream scoop
- Spoon
- Cullender
- Straws
- Toothpicks
First of all, you will want to pick out your fruit. You want to make sure that you have the best fruit possible, so here are some tips to help you figure out what is the best.
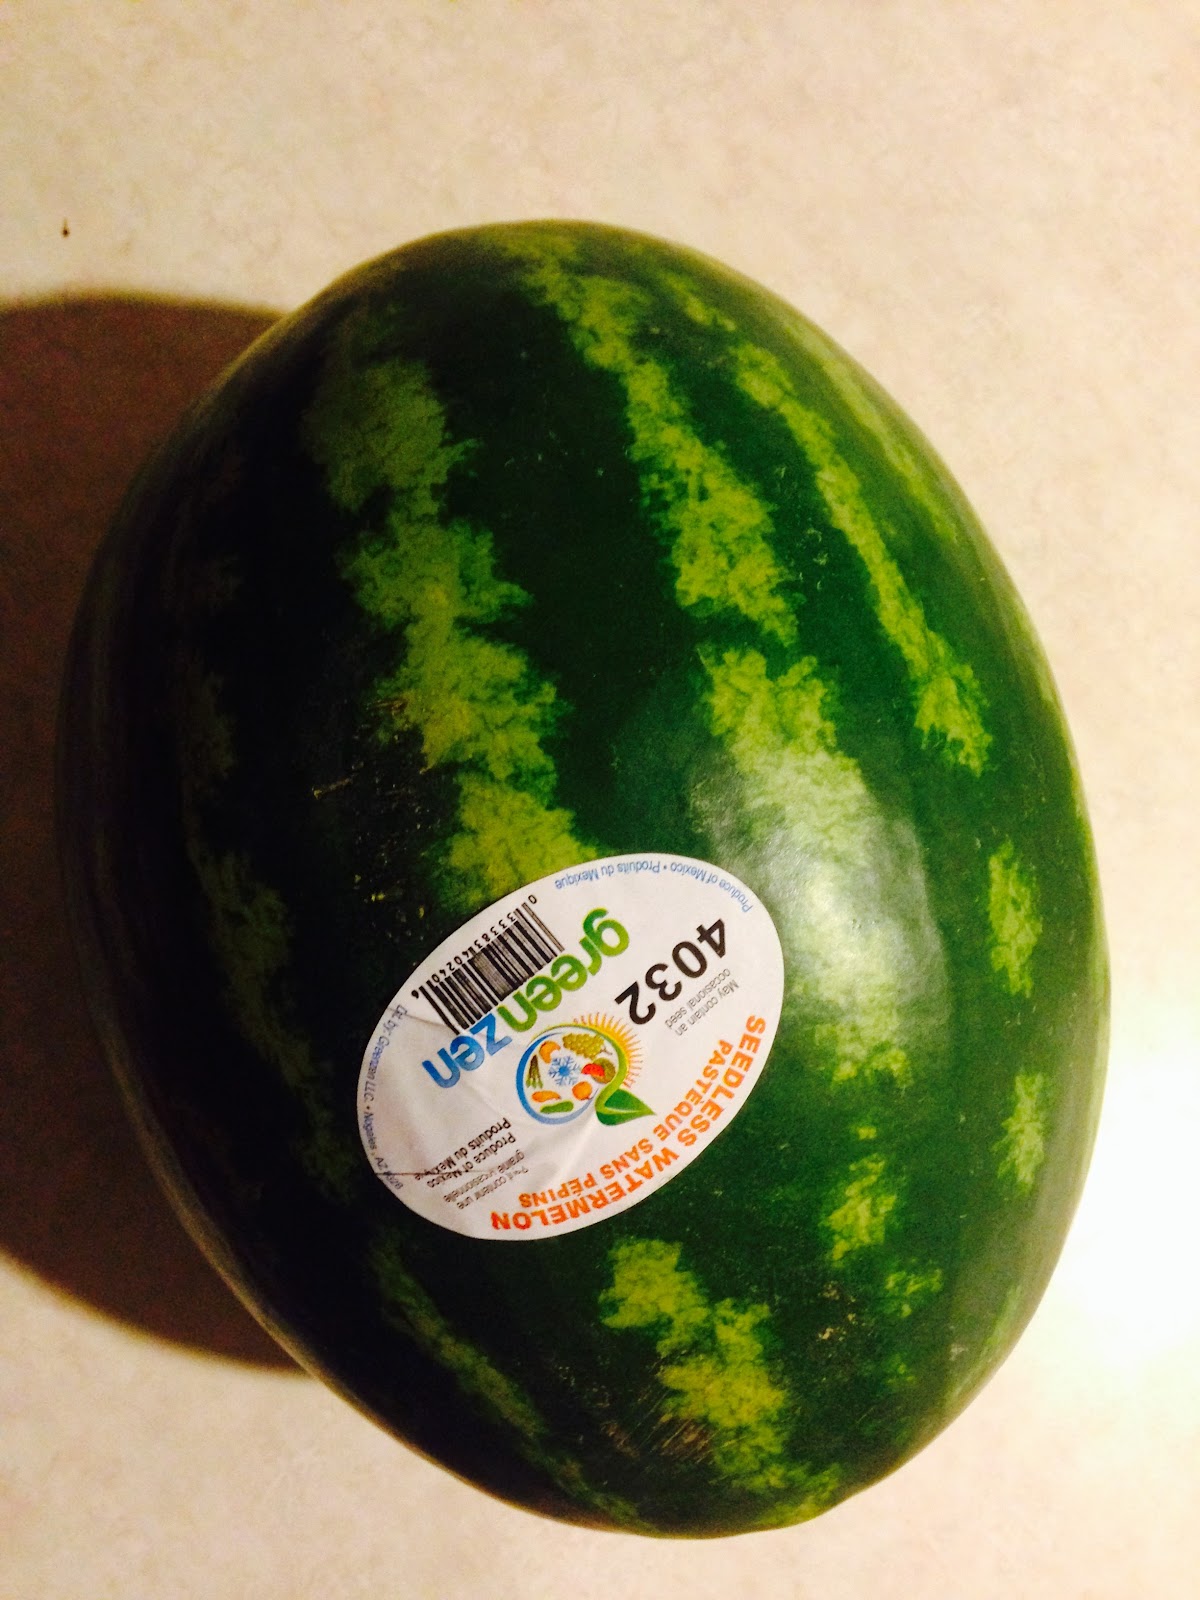
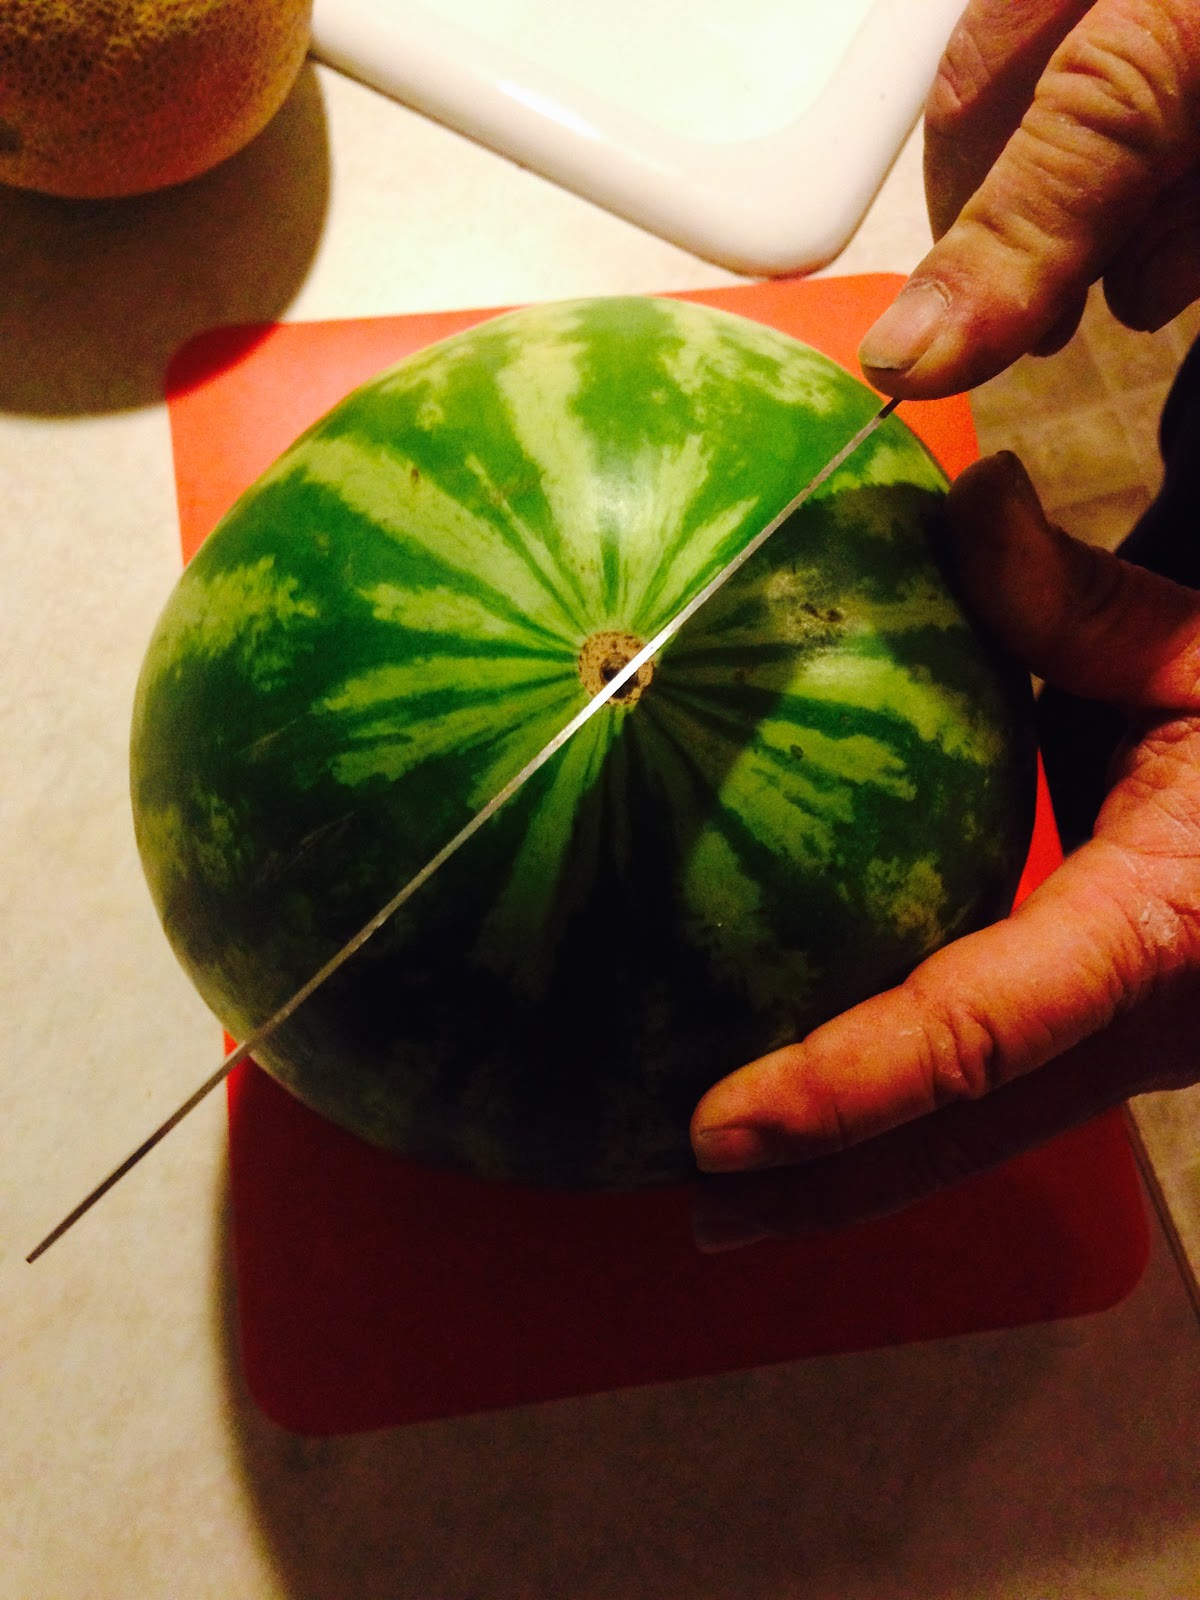
Watermelon: The watermelon should be heavy. Also, the watermelon should sound hollow. The yellow spot should be a creamy yellow as well.
Grapes: The grapes should be firm, and should not be mushy. The color should also be vibrant depending on which color you end up choosing.
Blueberries: Along with the grapes, blueberries should be firm, and they should not be mushy. They should also have a purplish color to them.
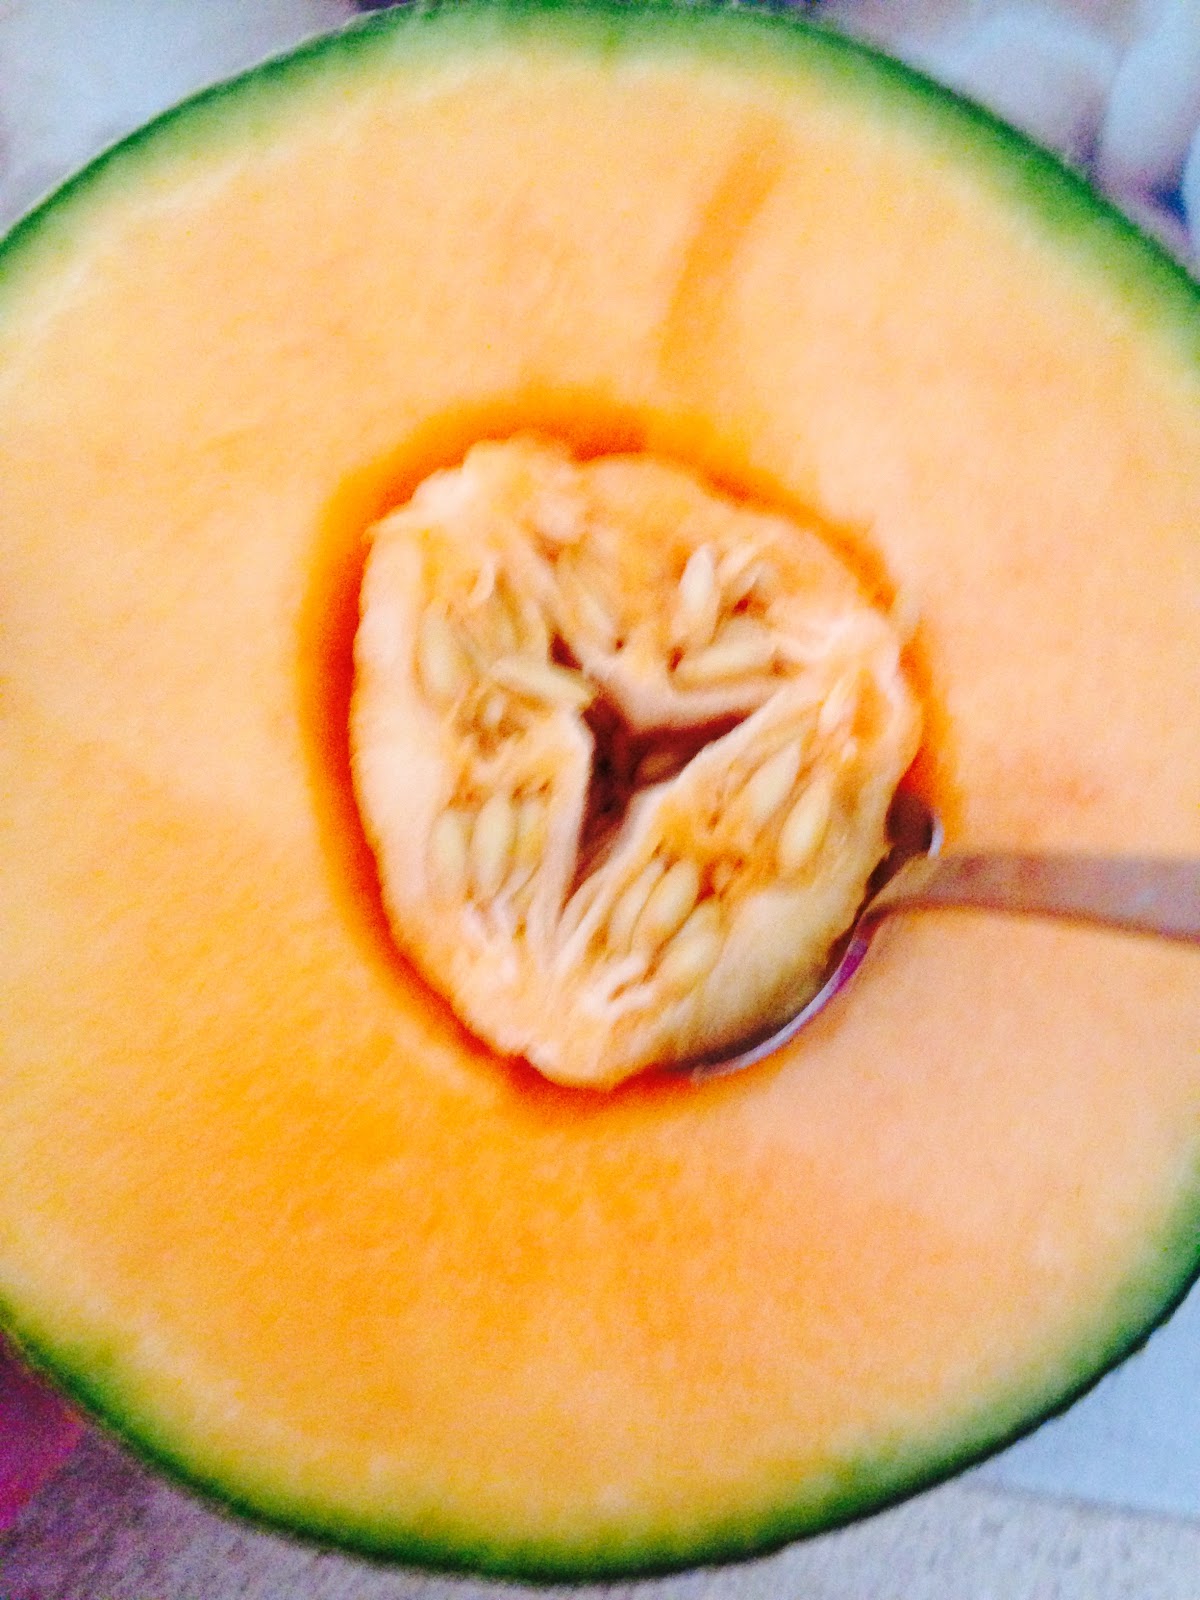
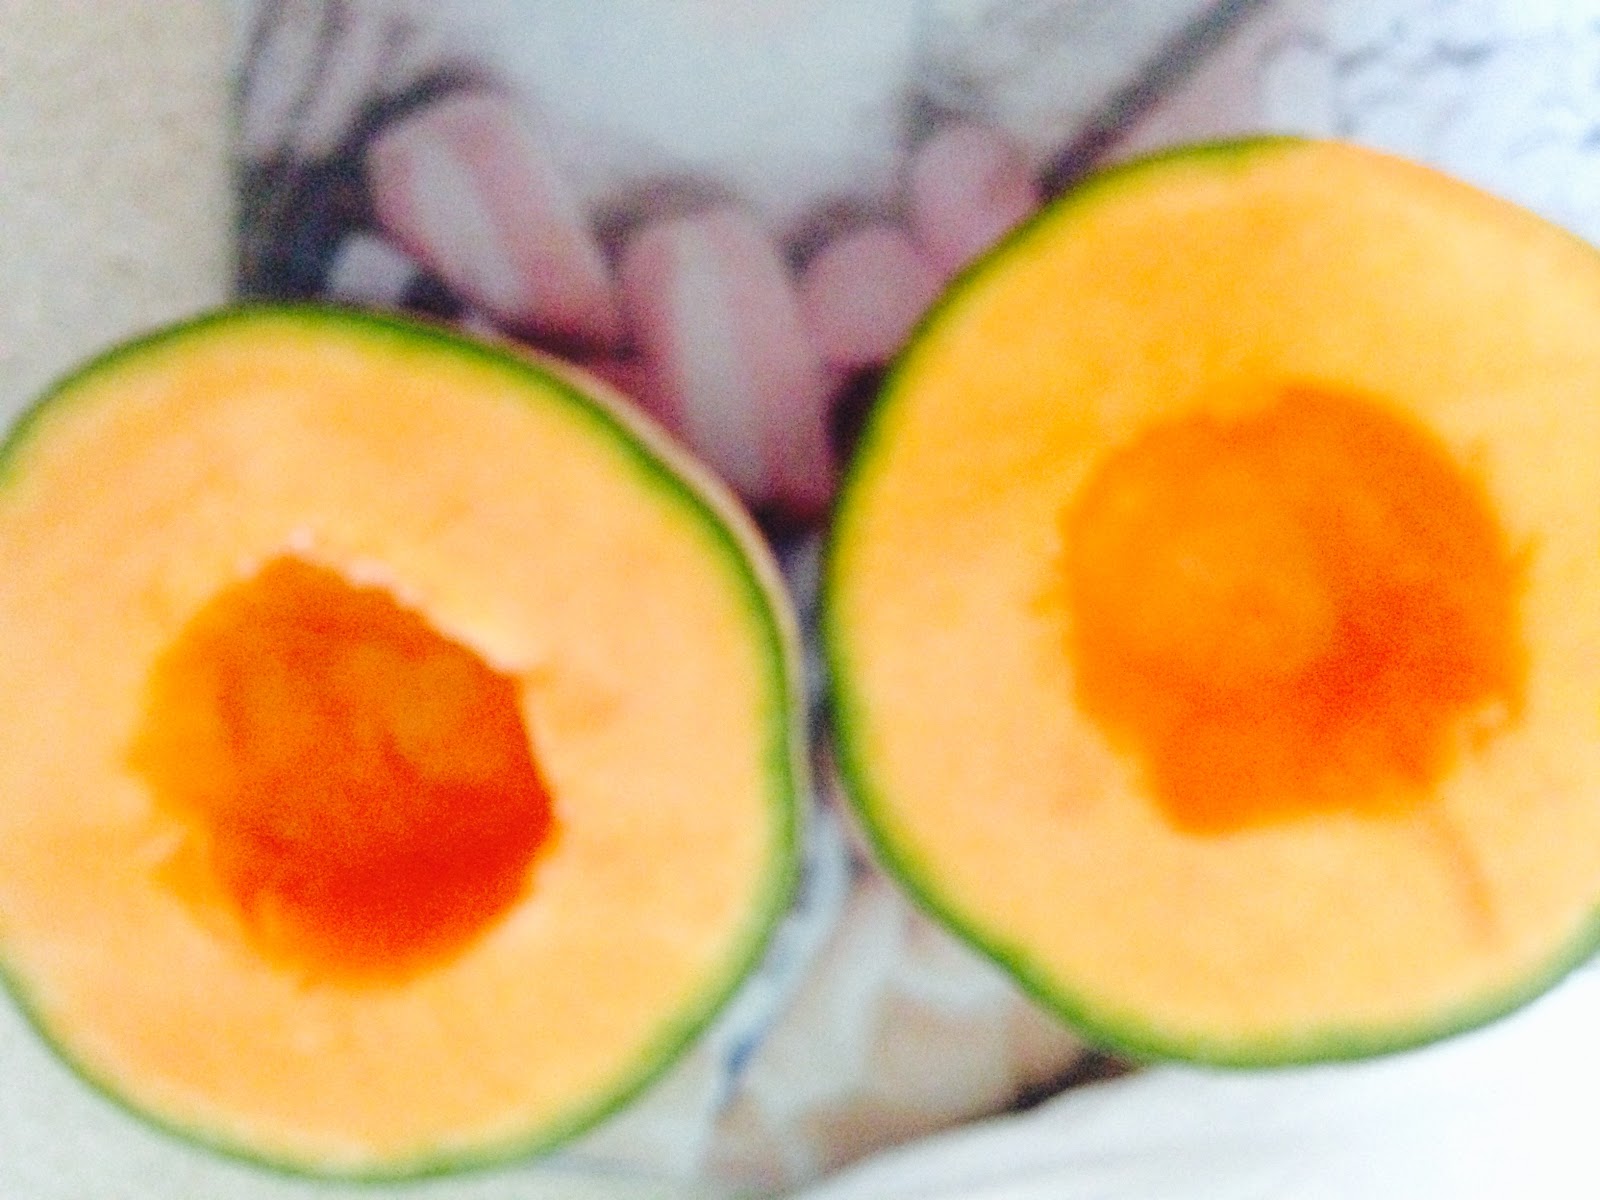
Cantaloupe: The outside of your cantaloupe should be a little soft. You should be able to push into the stem a little, but not too much. Also, if you shake the cantaloupe and can hear the seeds moving around, it means that the cantaloupe is extremely juicy.
The next step is to clean all of the fruit. For the grapes and blueberries, it is extremely simple. Just place them into the colander and run COLD water over them for about a minute. You want to make sure that you are moving the colander around and shaking it so that every one of the berries gets cleaned.
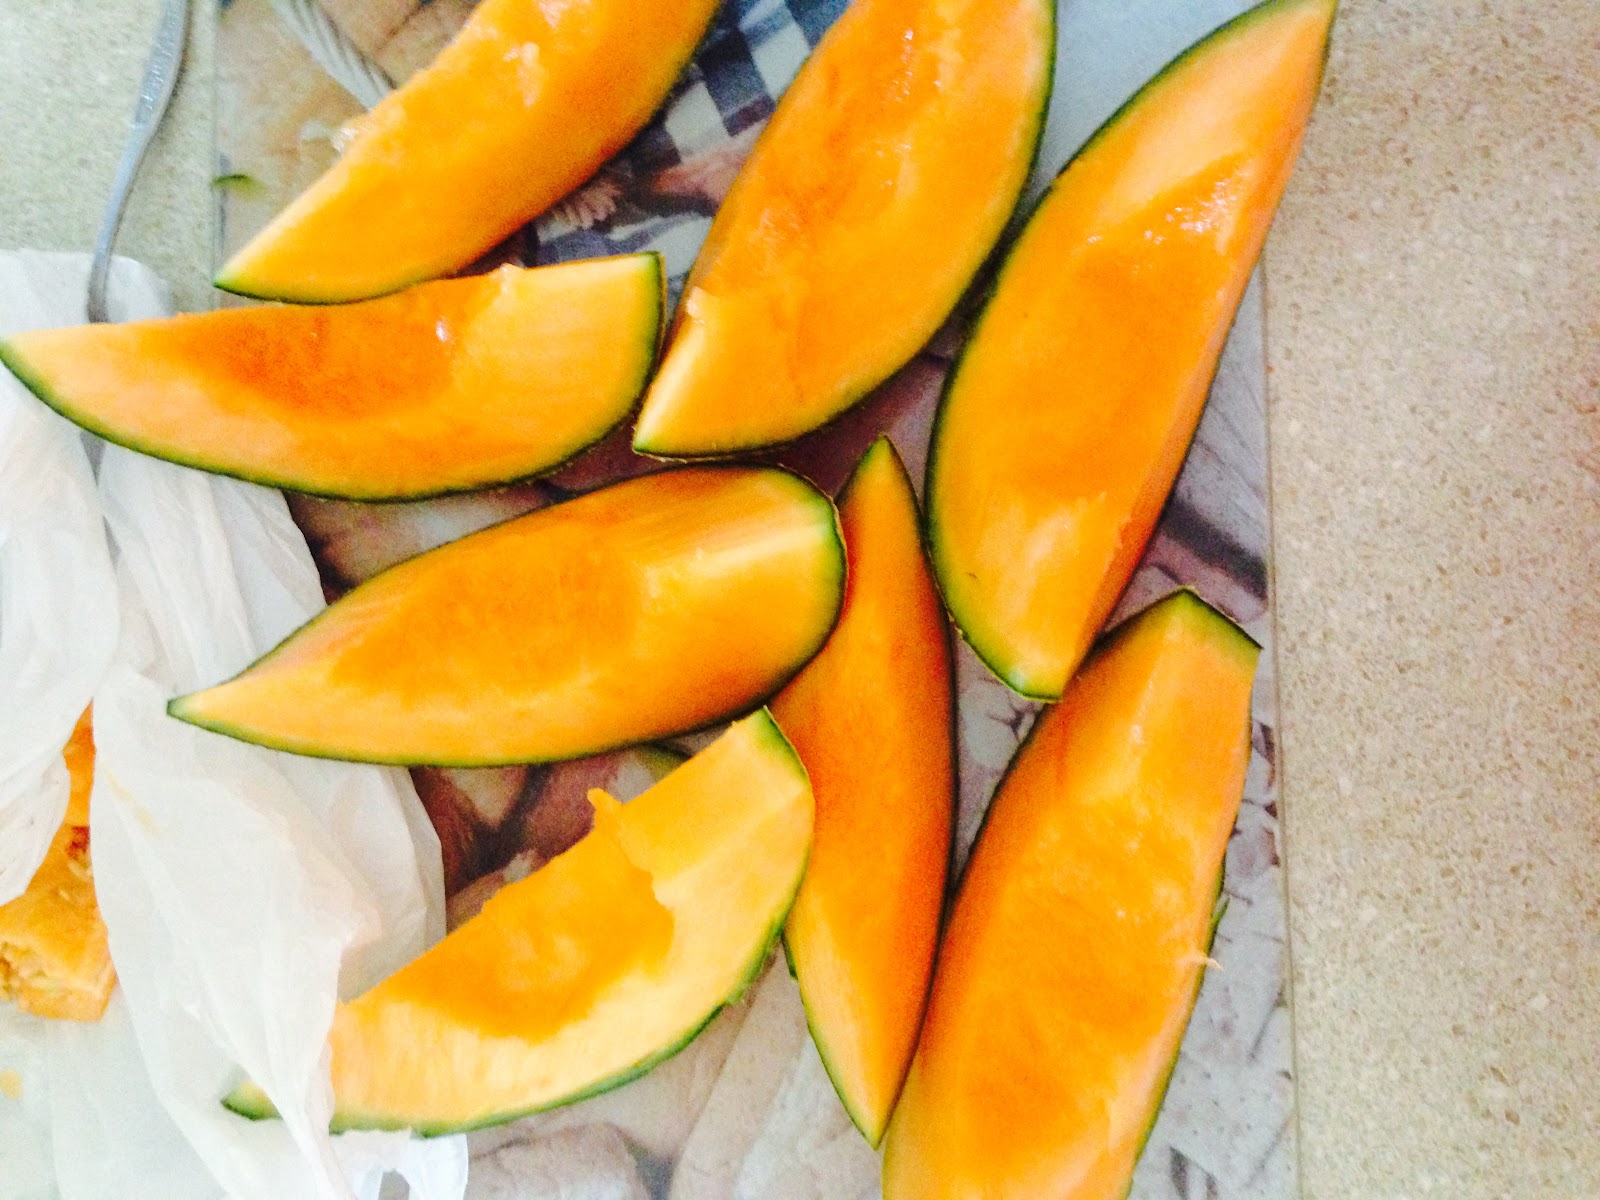
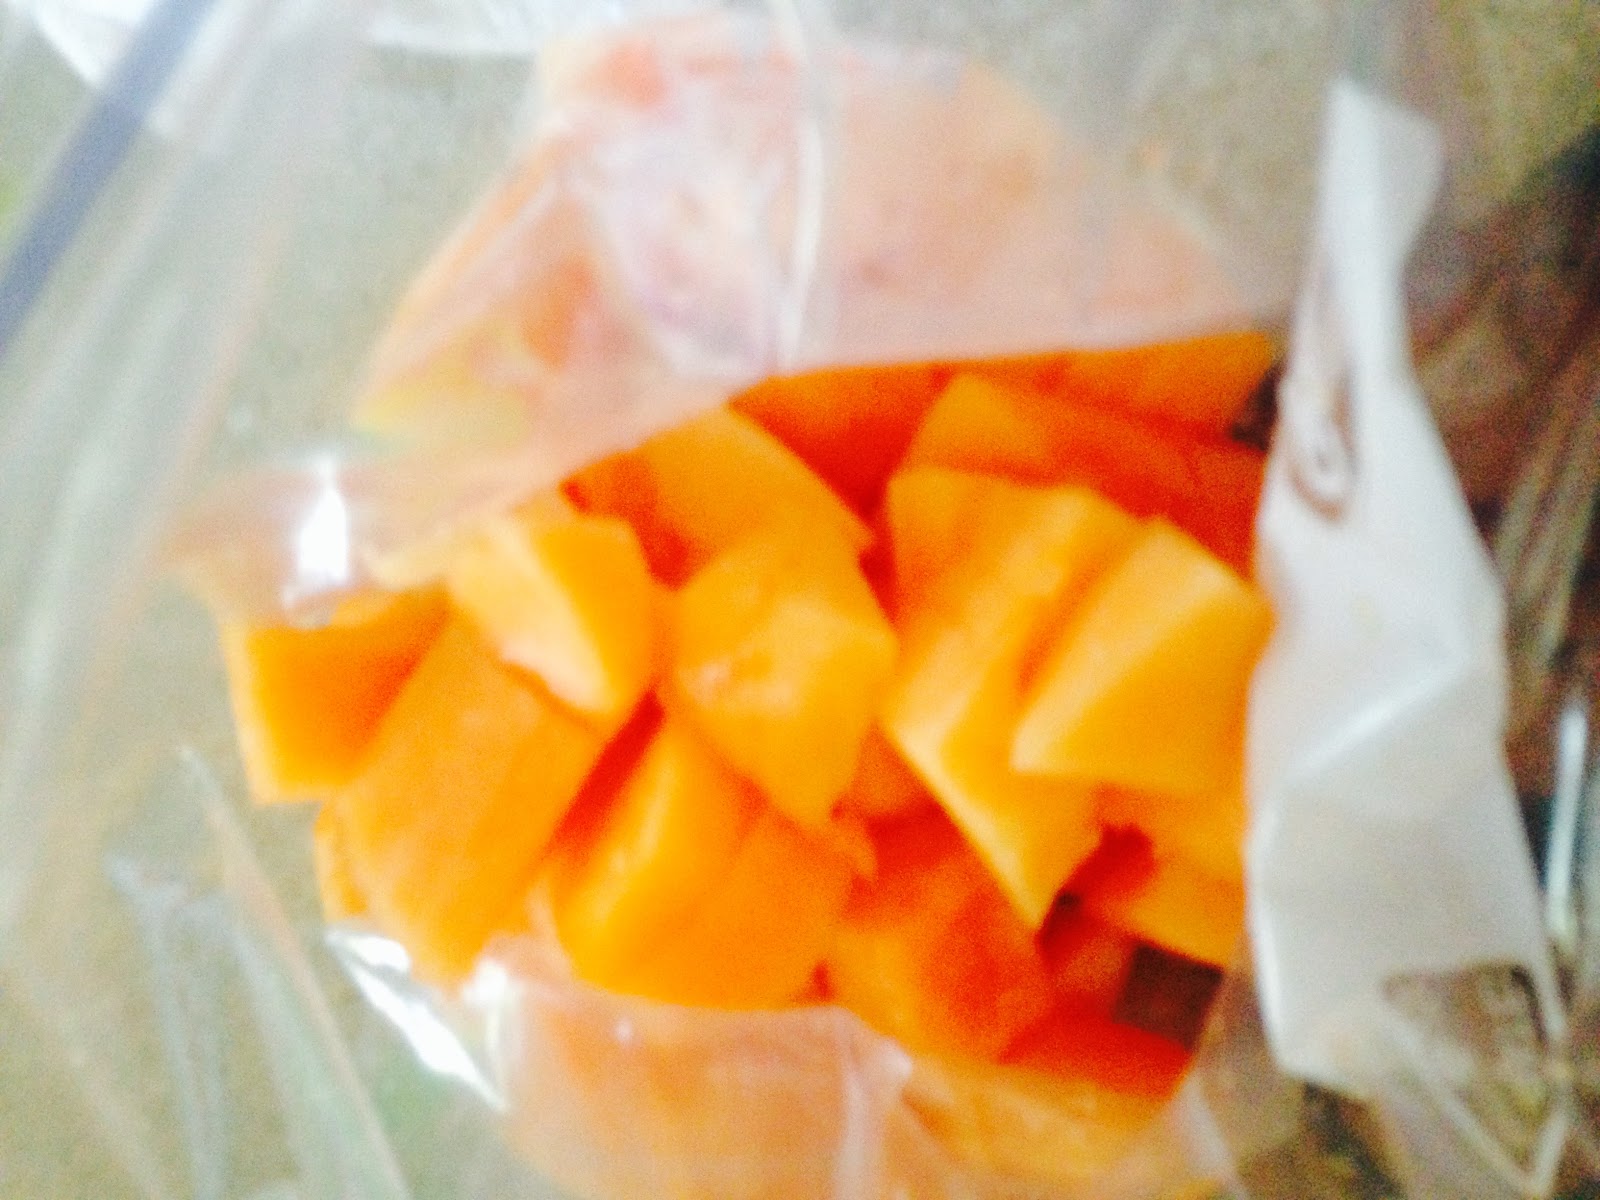
The cantaloupe is a bit harder, but still is not to bad. Cut the cantaloupe in half. Using a spoon, remove the seeds from the fruit. Once all of the seeds are removed, cut each half into half again. Then you will want to cut each quarter into half to make it into eight pieces. You then will want to slice the pieces one at a time. Remove the outside of the fruit, so you’re left with a strip of fruit. You then will want slice each strip into piece of your choice. I tend to like bigger chunks of fruit, so I tend to cut mine into four or five pieces.

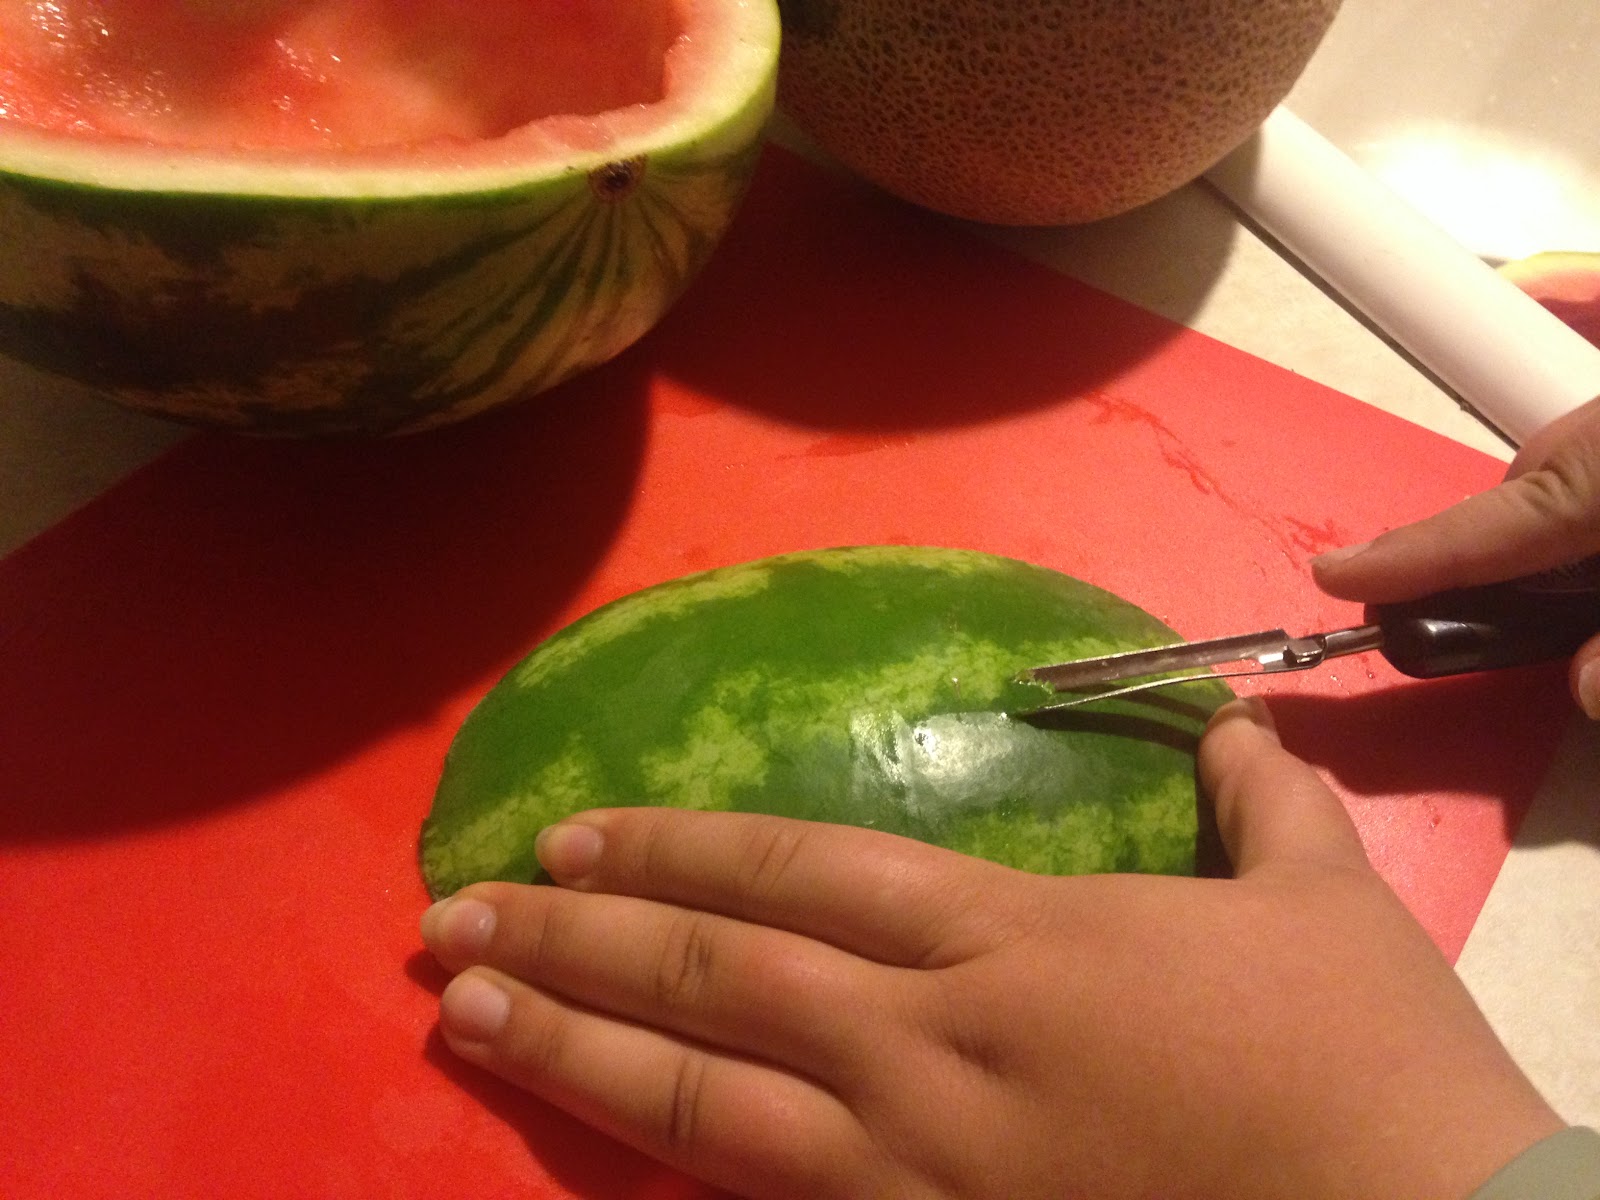
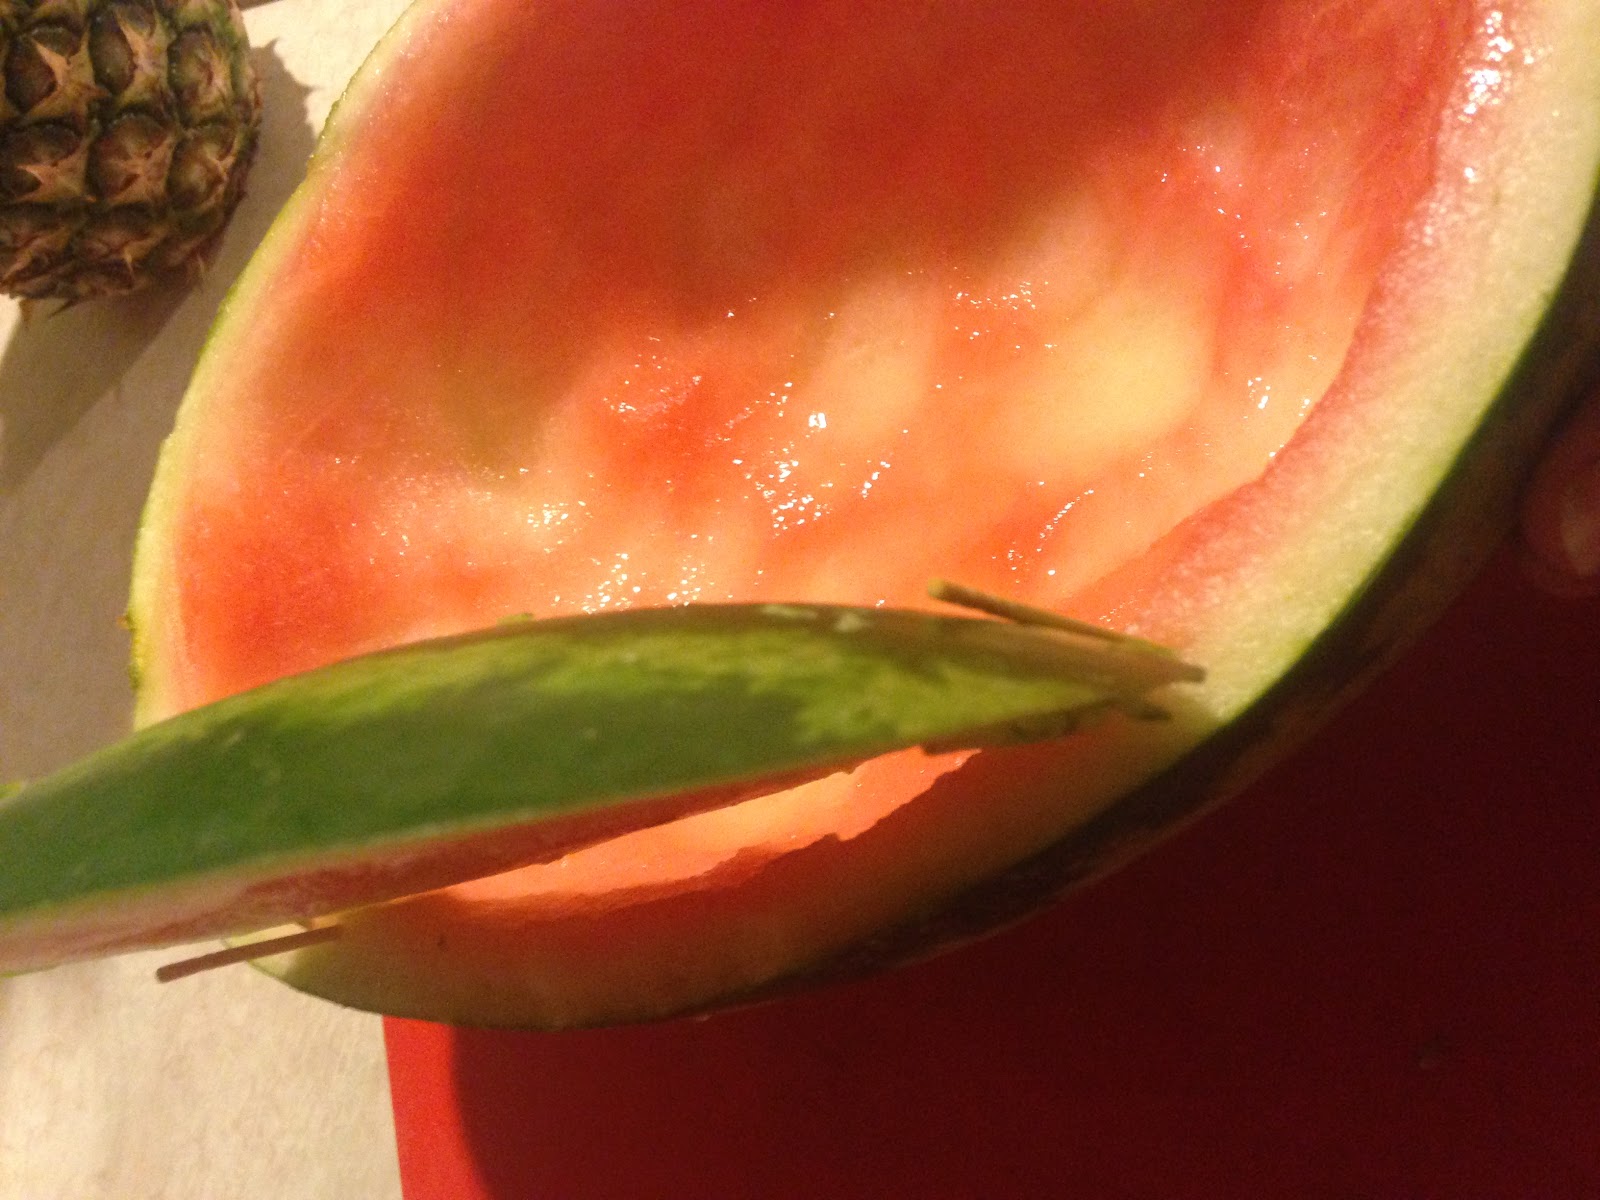
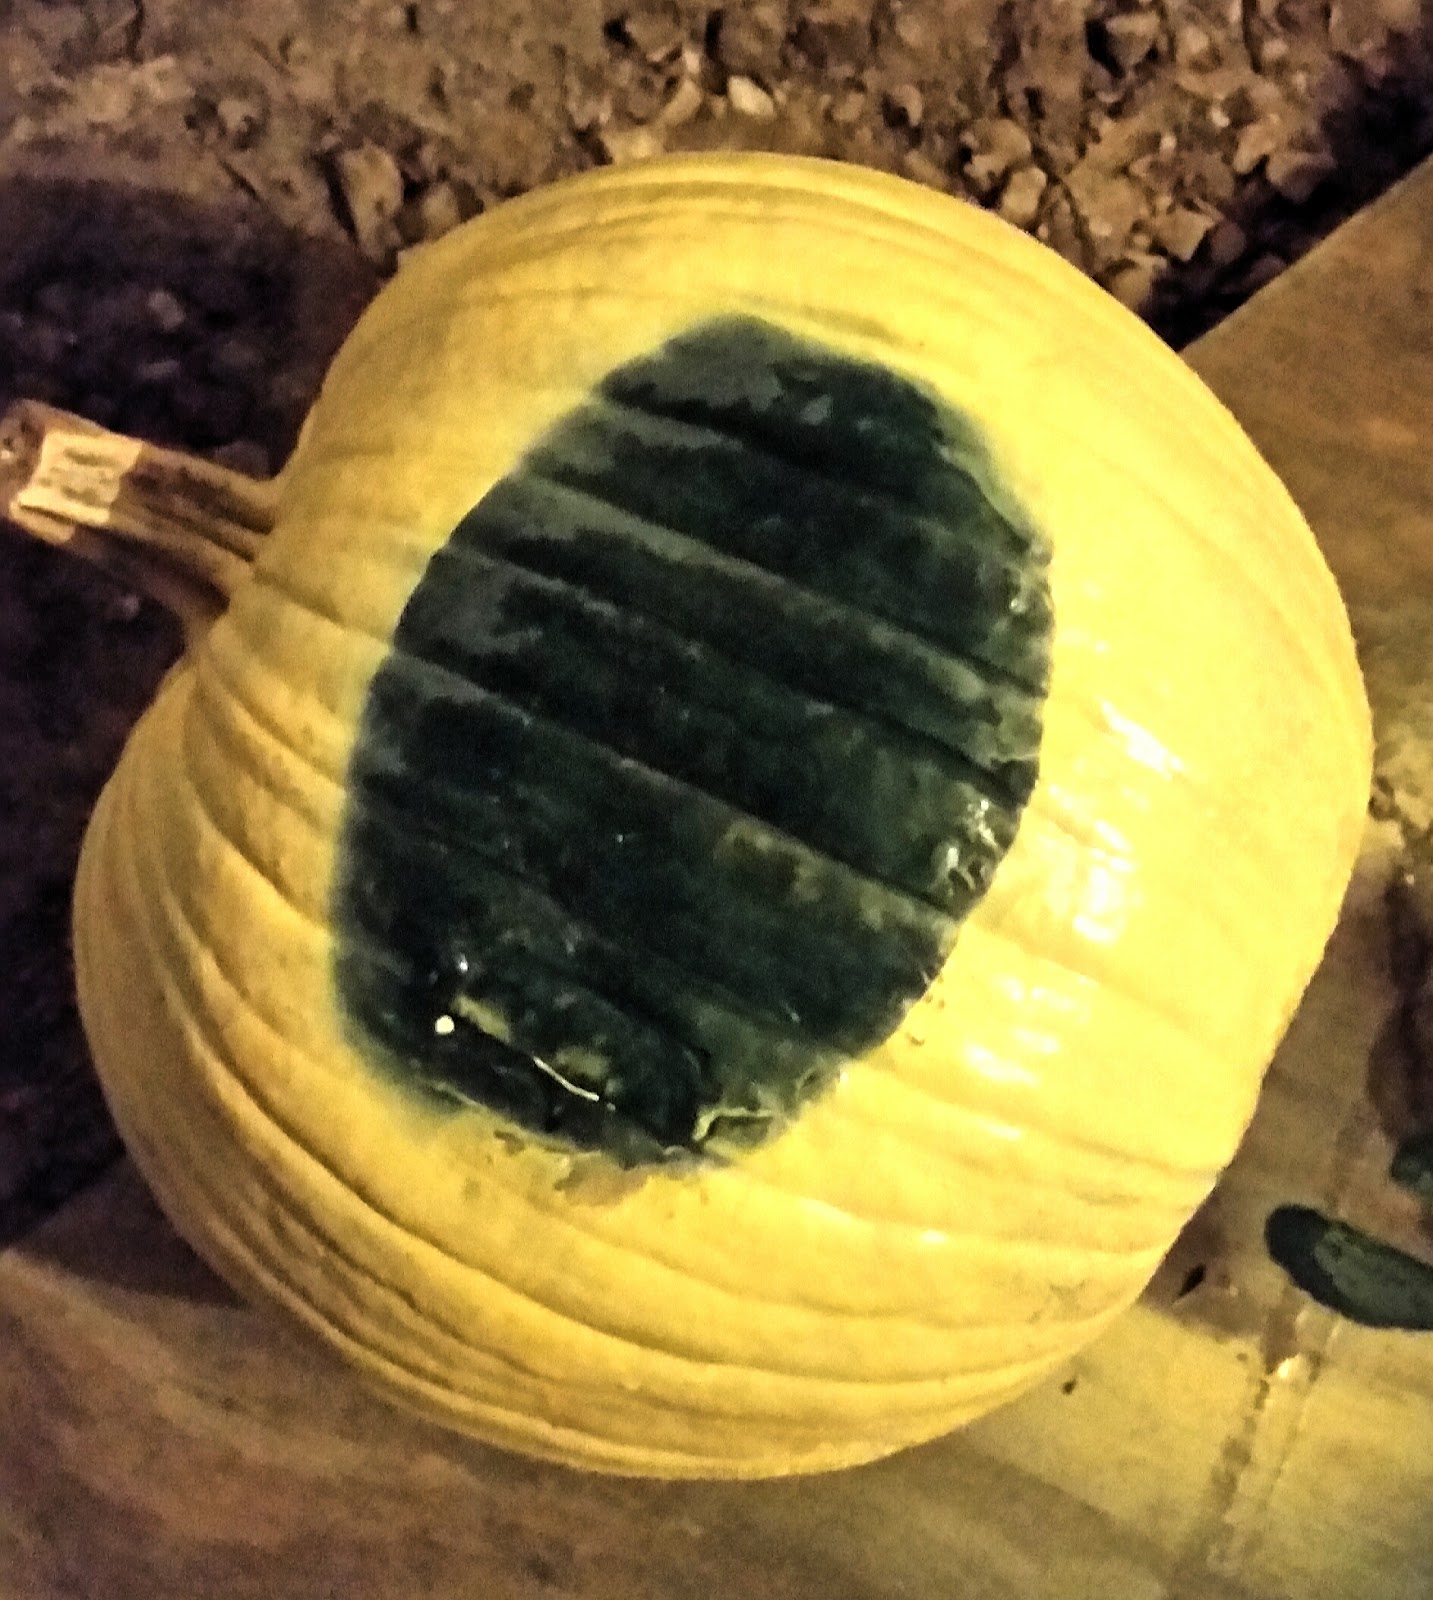
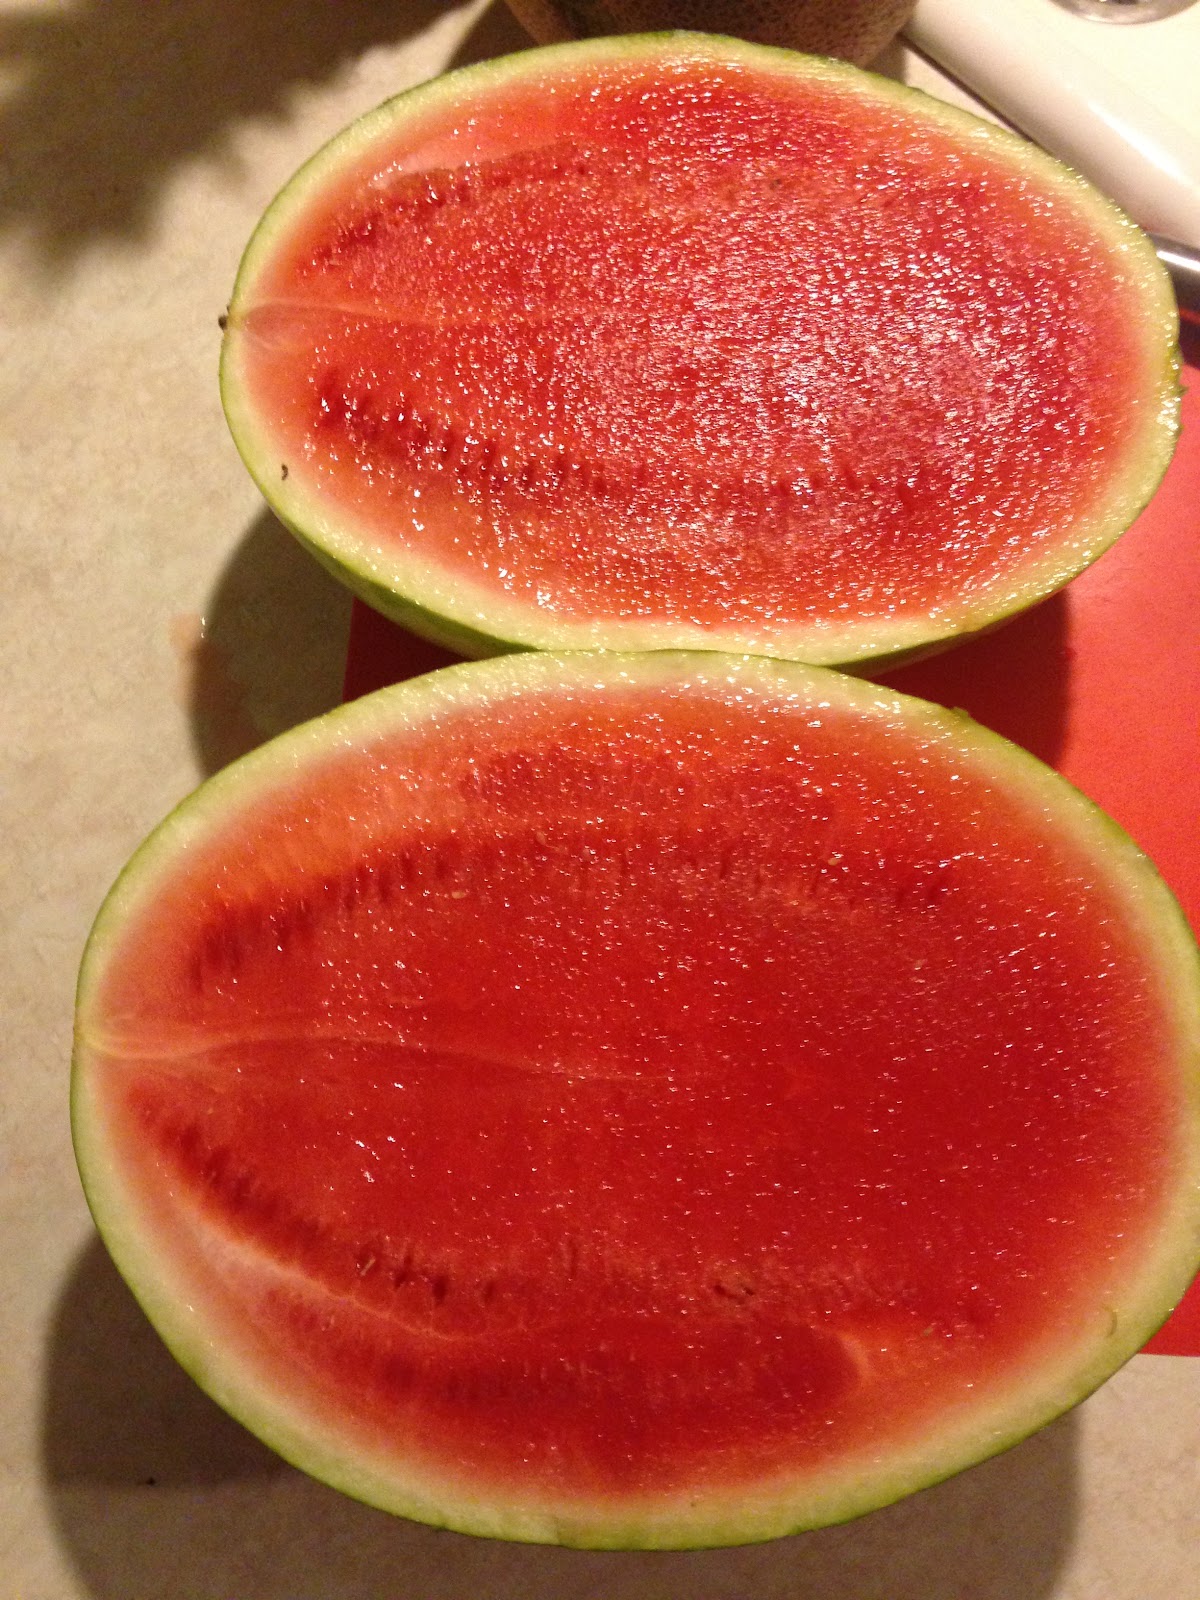
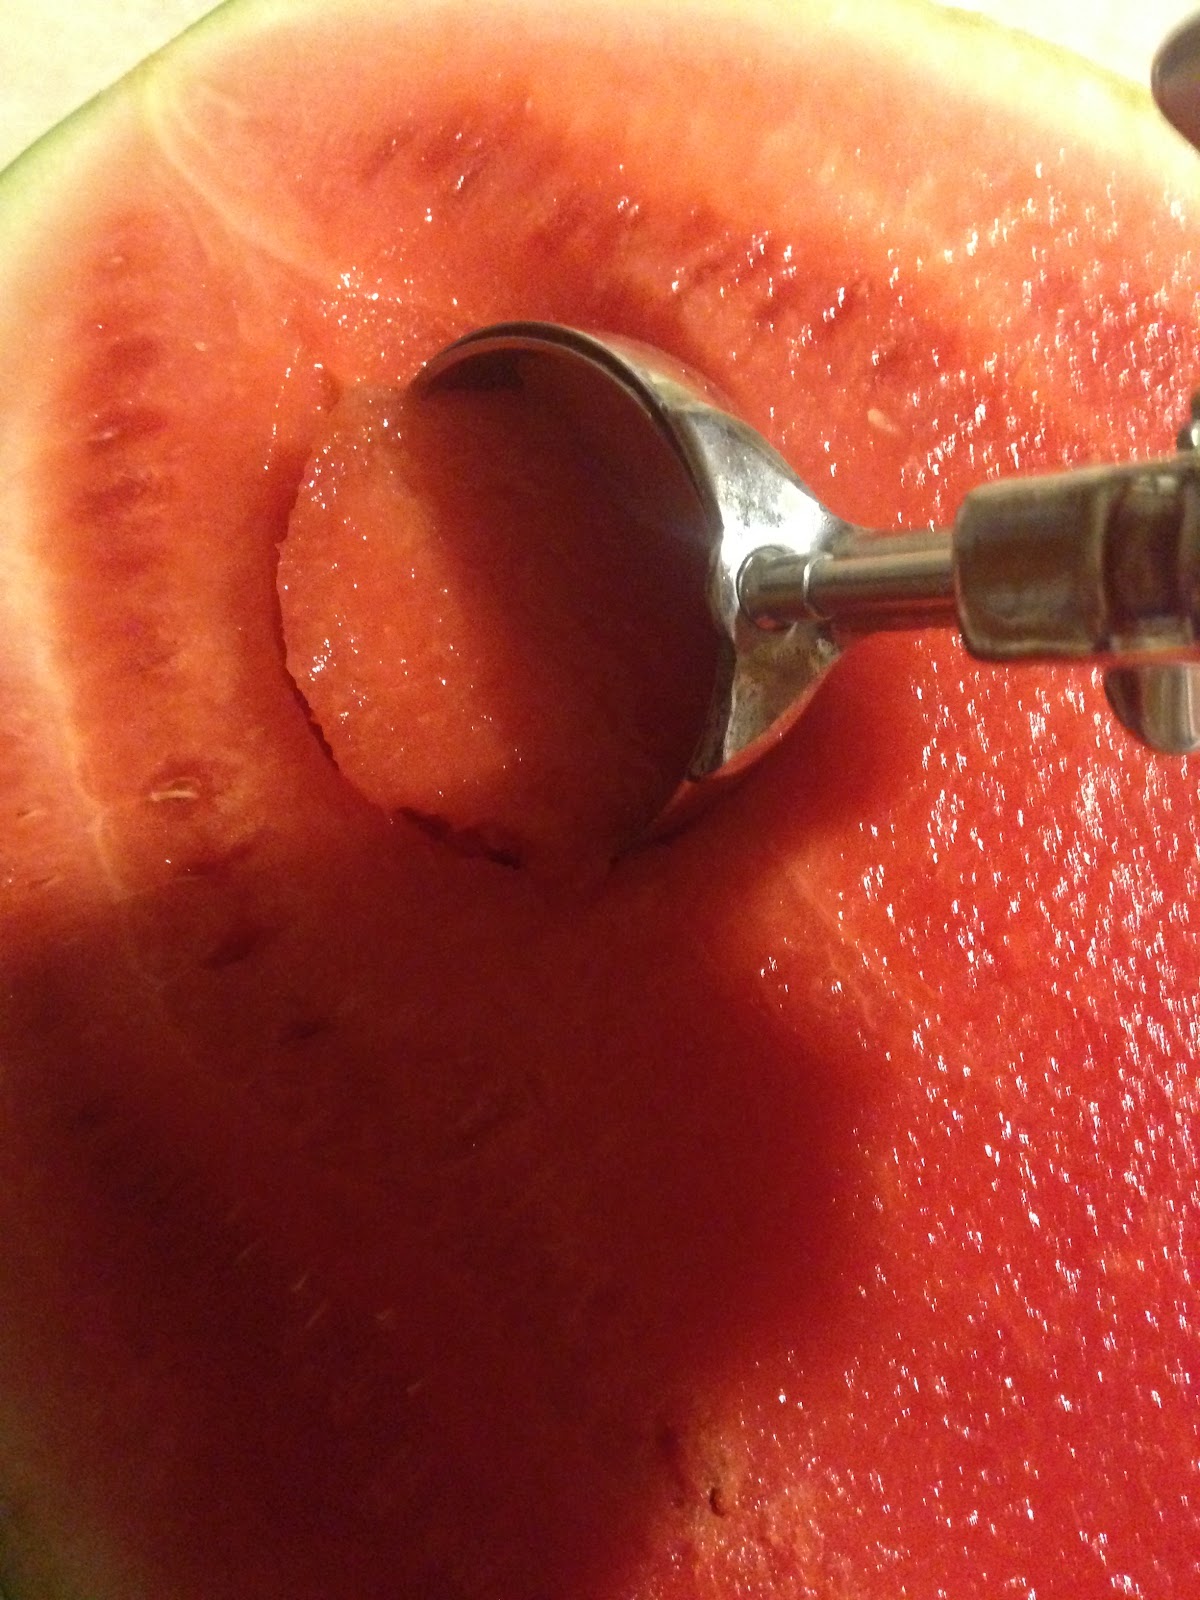
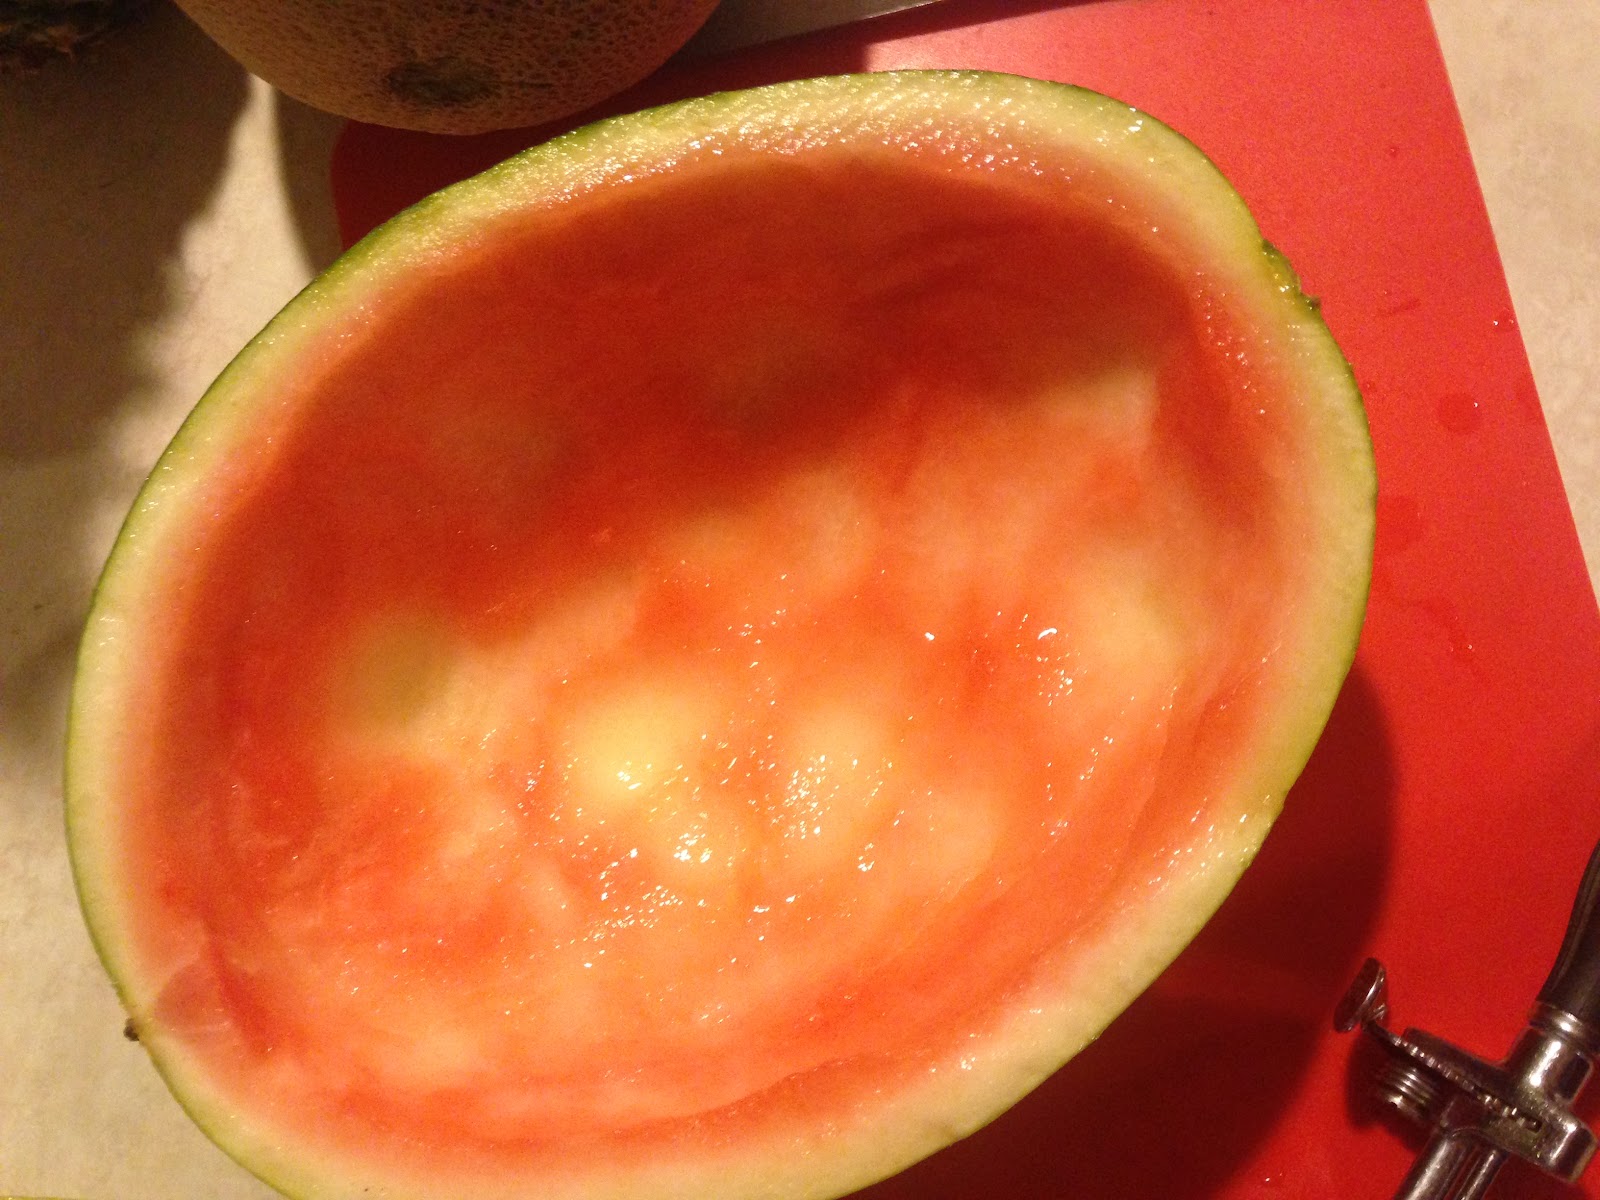
The watermelon will be the final fruit that you will be cleaning. This is the most important part because the outside of the watermelon with be the container for holding the fruit. Cut the watermelon in half the long way. Using a spoon, or ice cream scoop, scoop out one of the halves of the fruit. This should create balls of watermelon so that they can be mixed in with the rest of the fruit (and it’s way easier to clean)! After all of the fruit is out of the shell, cut a small part off of the round part of the shell, so that it can sit flat. Do not throw this away, you will need it! Using a knife, carefully cut it into a football shape. On the green side, carve a line with three lines going over top of it to make it look like the strings of a football. Stick a toothpick on it, and it’s ready to go.
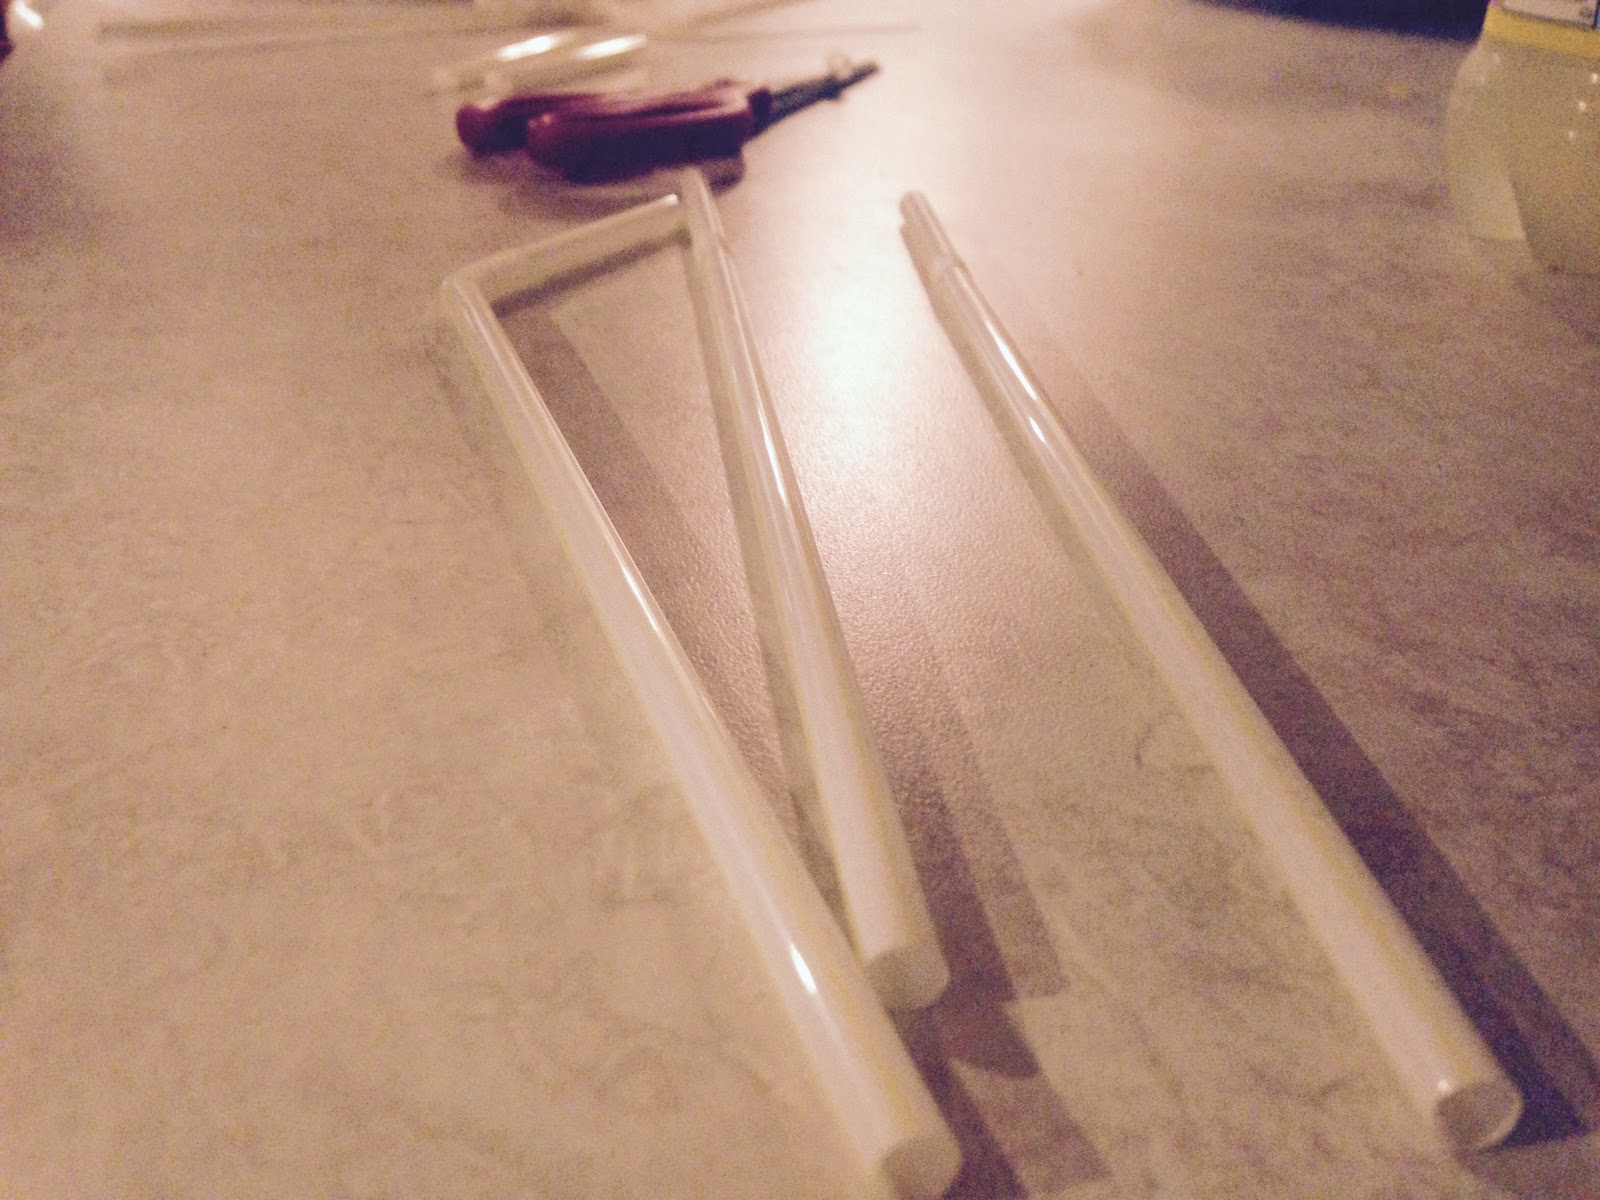
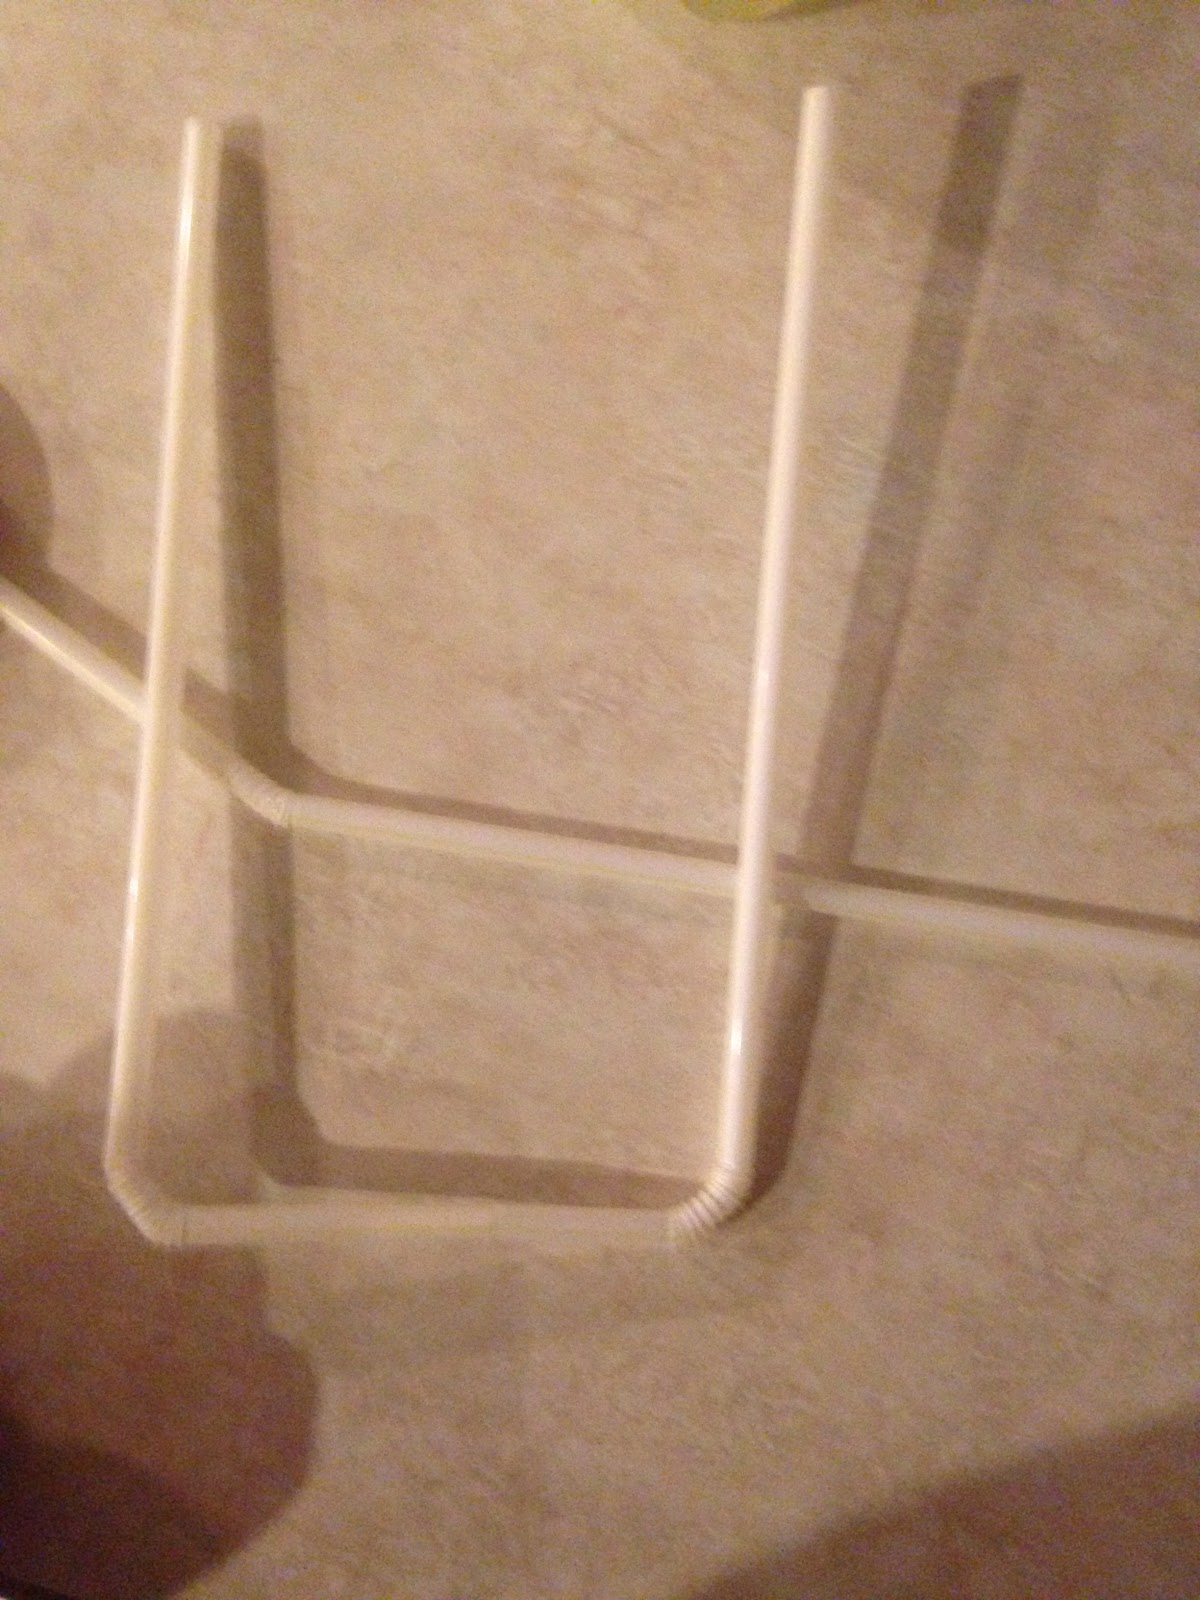
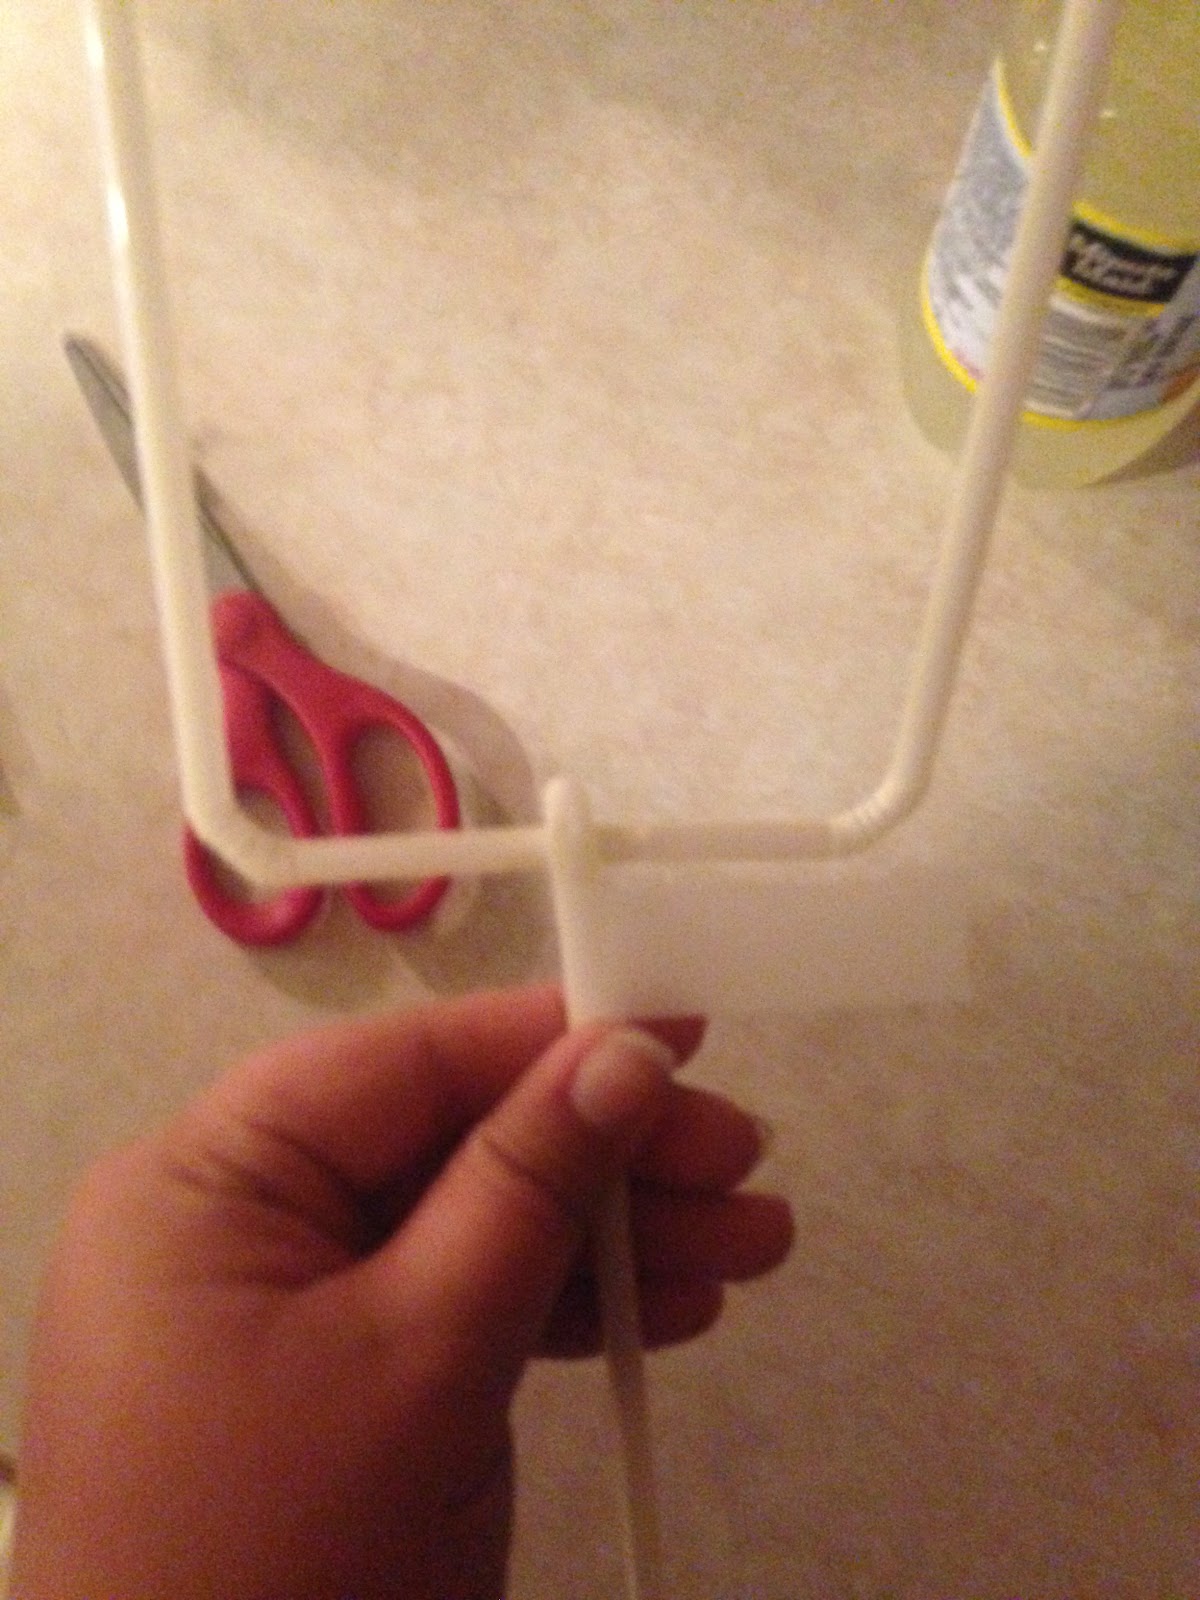
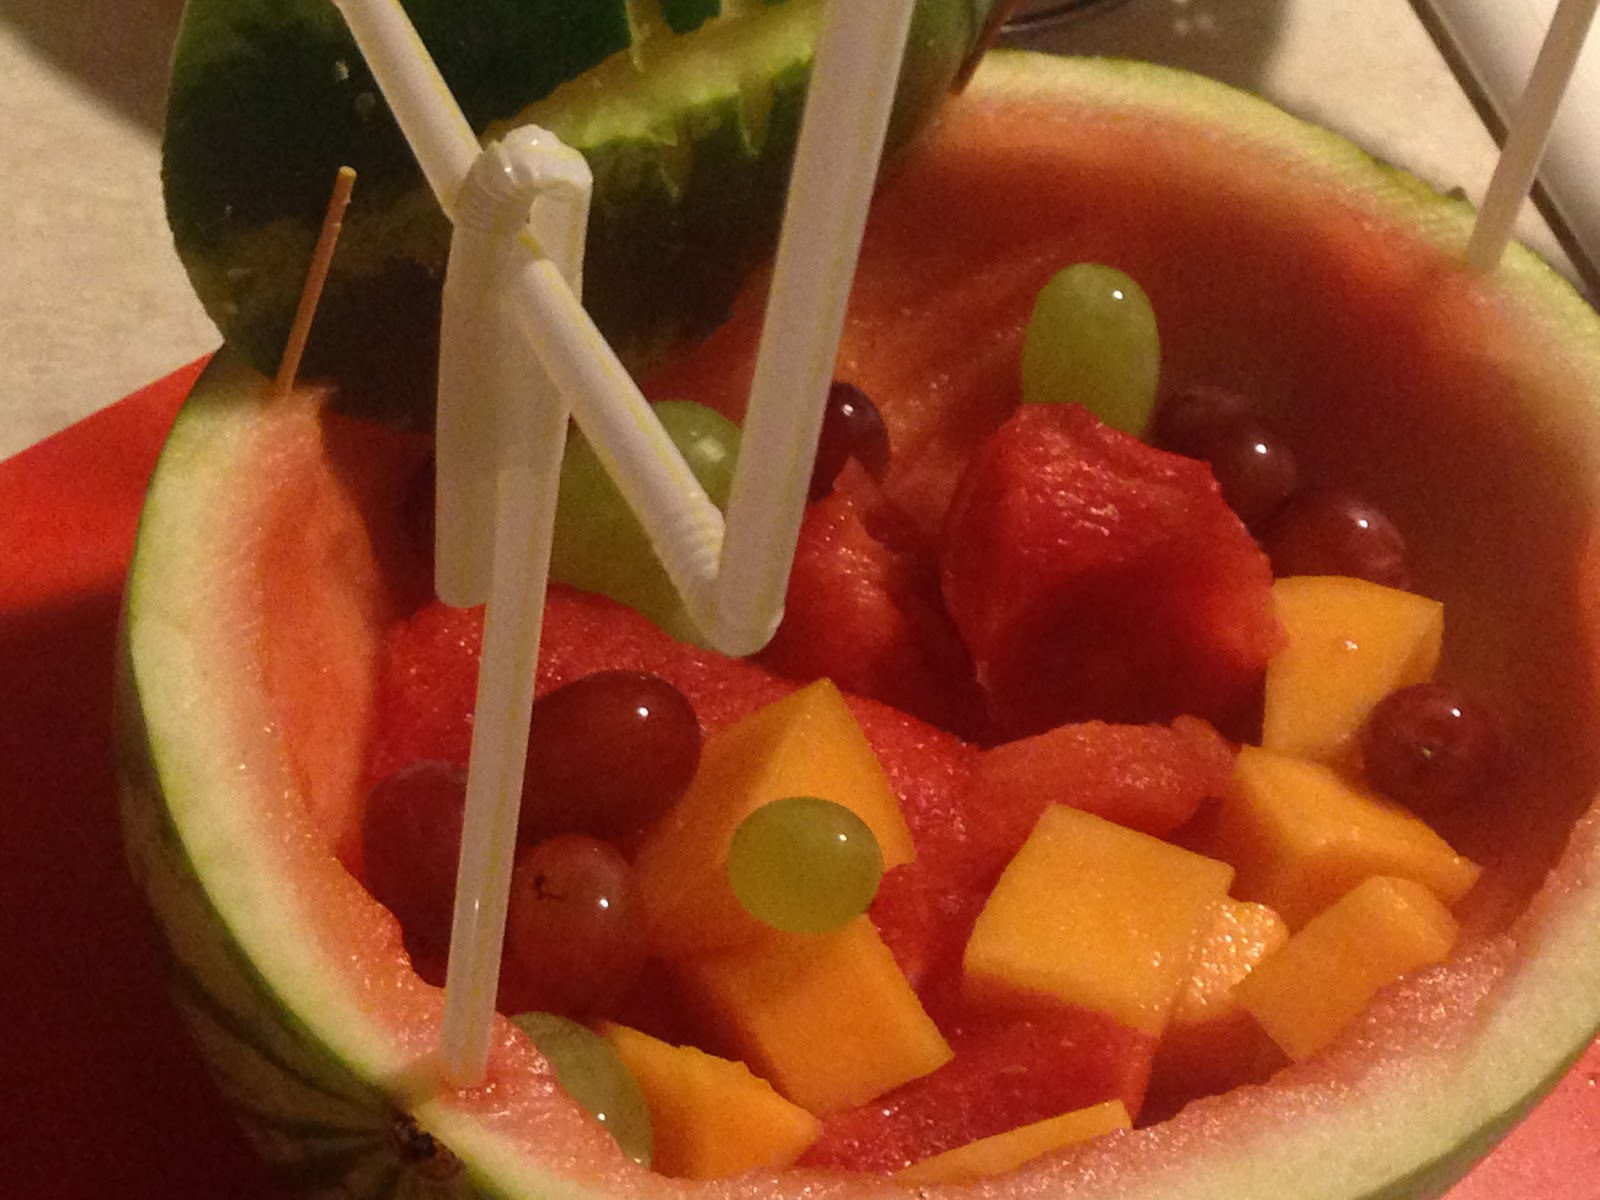
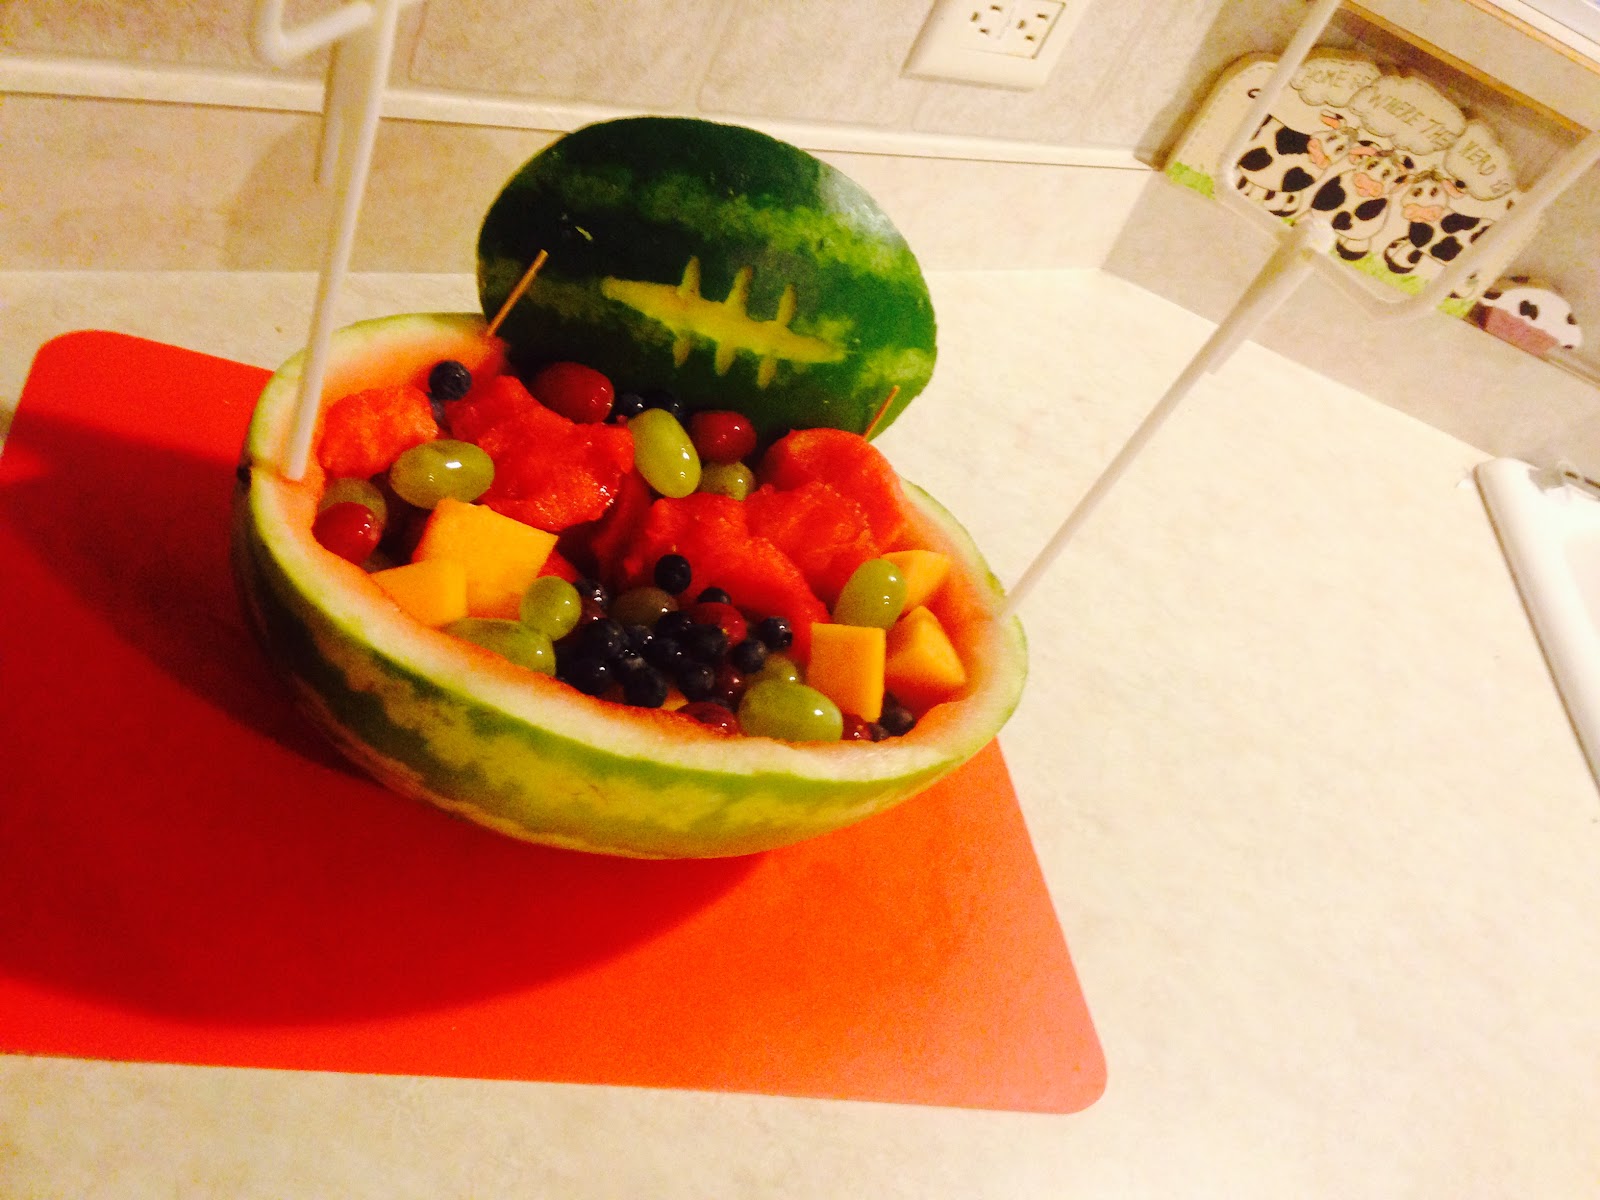
Using a straw, you will make the field goals. For mine, I used bendy straws, so they worked extremely well. I stuck one end of one into the one end of the other one. I then took a third straw and wrapped it around the goal to make the post. I then took a little bit of scotch tape to secure it. Stick them into the ends of the watermelon bowl, and stick the football in the middle of the side using the toothpicks to support it and hold it up. Fill the bowl up with the cleaned fruit, and there you have it. The fantastic football fruit tray for your next tailgating event.