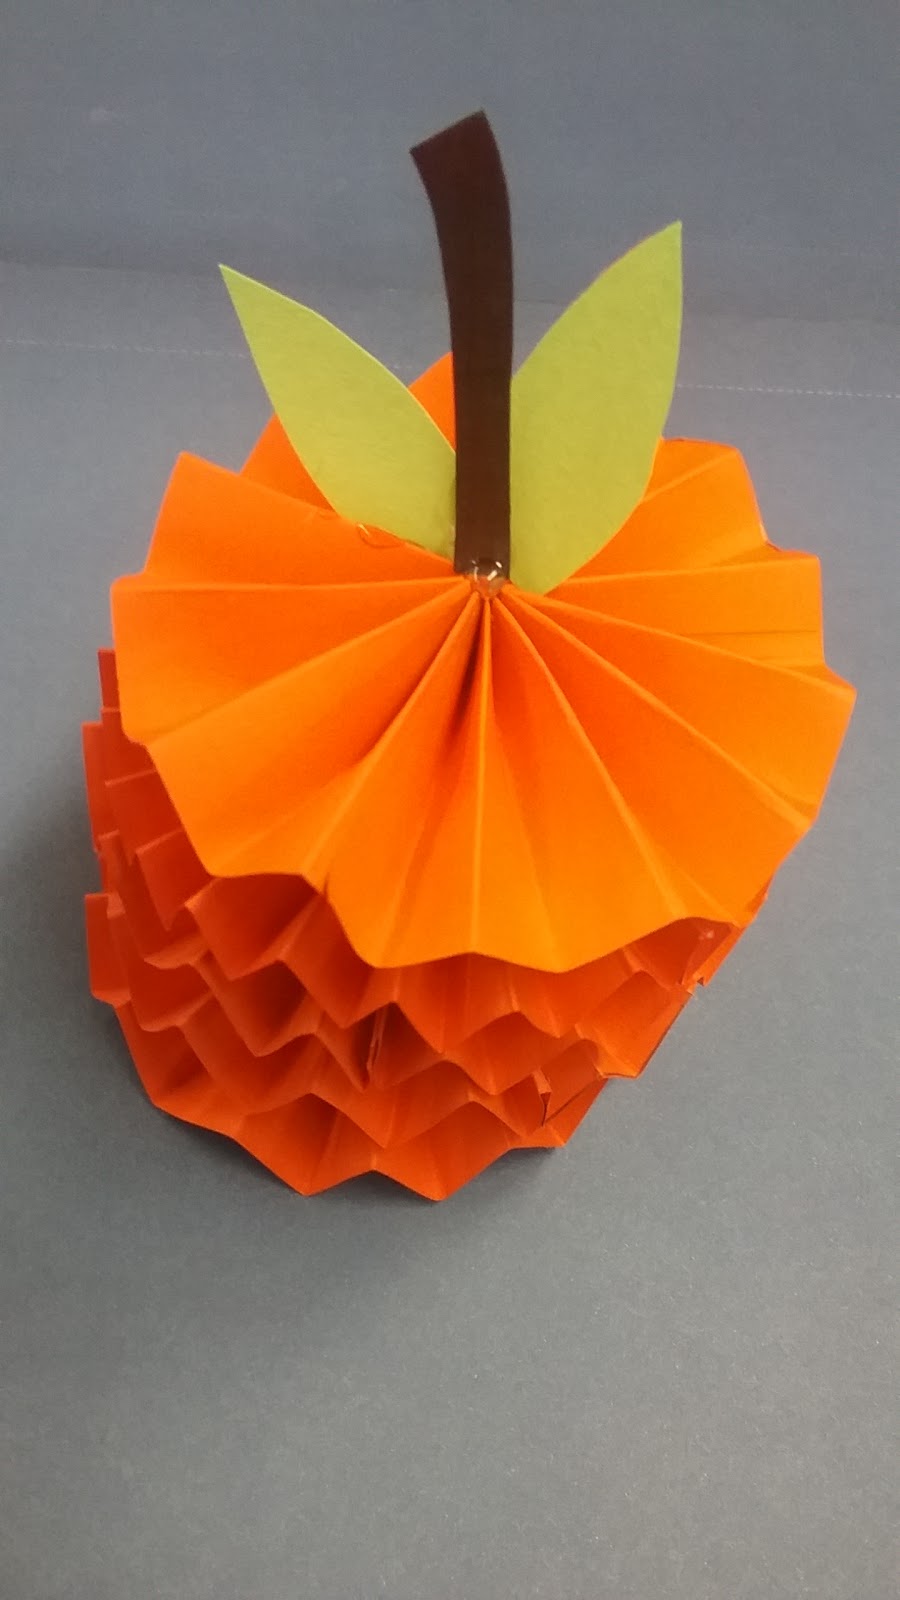
It is fall. So that means it’s time to get out those halloween decorations and get into season. To help you out today, I will be showing you how to make these little pumpkins.
Materials:
- 3 sheets of Colored Paper 8.5 x 11(2 Orange and 1 Green for each pumpkin)
- Scissors
- Ruler
- Hot Glue Gun (and glue for it)
- Glue stick
- Twigs
- Twine (Optional)
Step by Step:
For your first, step you are going to want to take your ruler and measure your paper into five 1.5 inch thick strips and then cut.
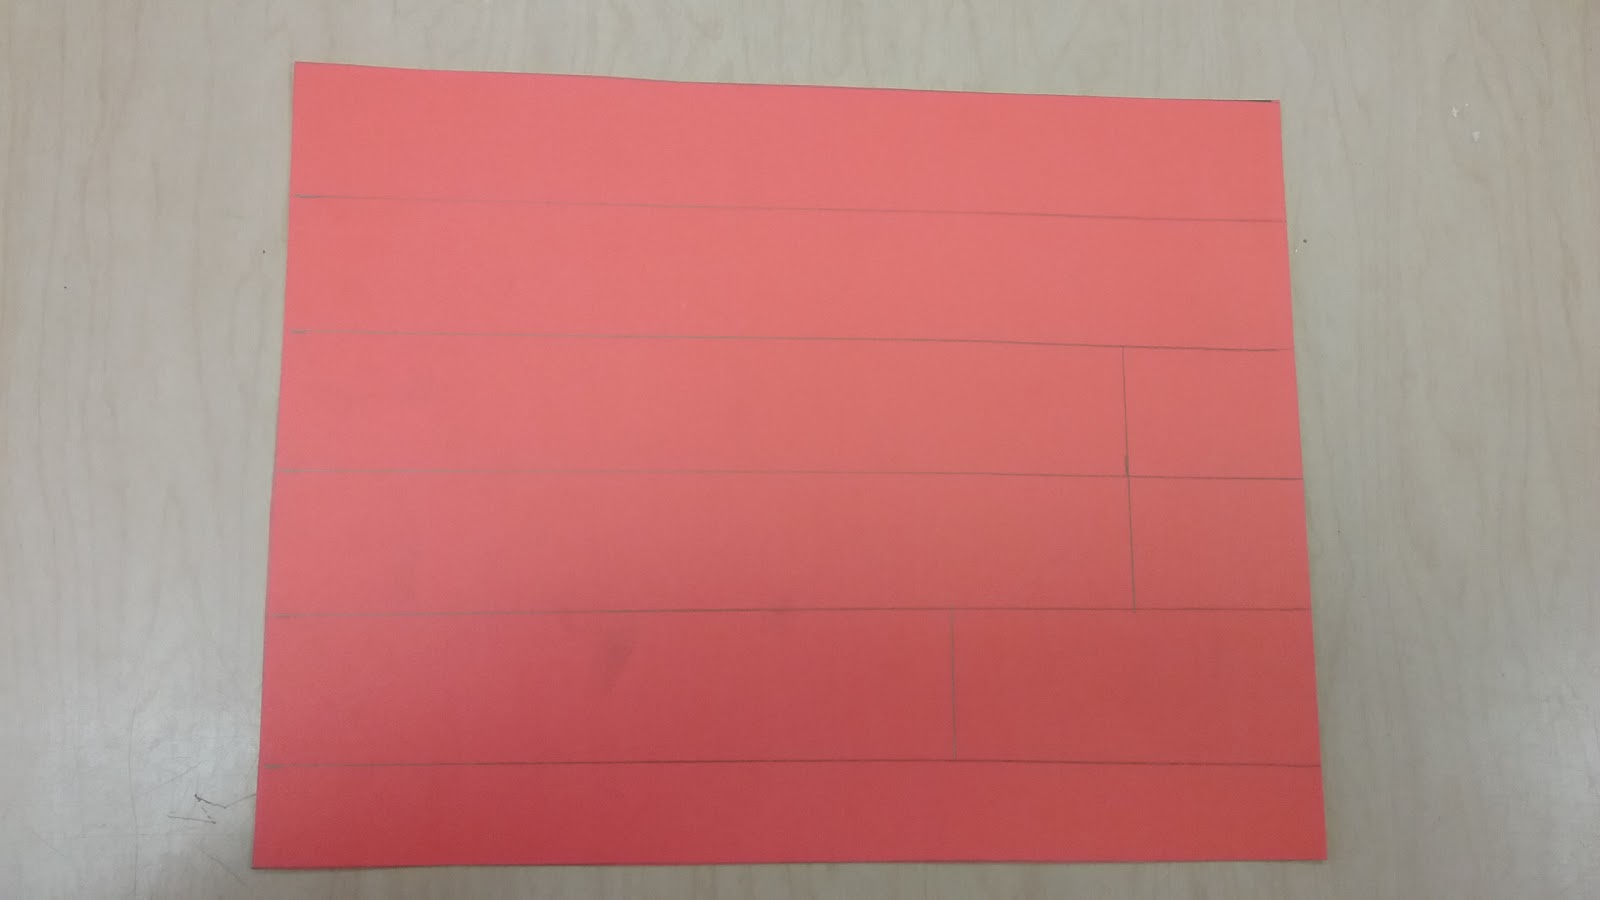
Then cut each strip into one 7 inch, two 9 inch, and keep the remaining two at 11 inches. Also remember, you need two sets of strips for each pumpkin. So each pumpkin is two pieces of paper – two 7 inch, four 9 inch, and four 11 inch strips.
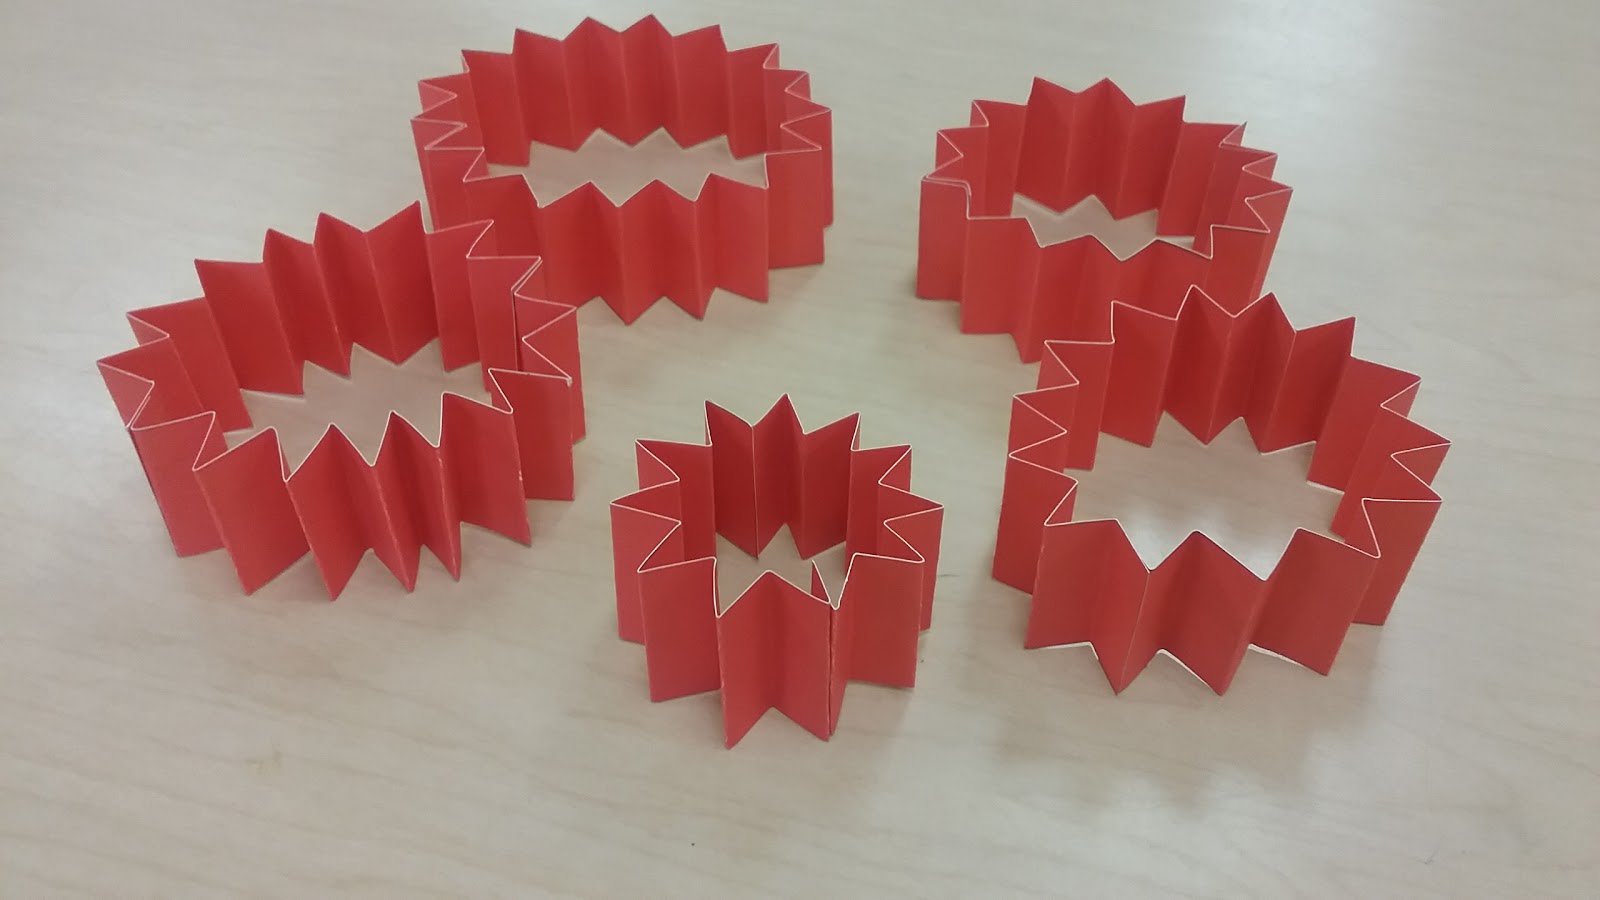
Next you are going to want fold each strip like an accordion. Also, the pumpkins look better if you fold them all about the same size.
Next you are going to want to glue two sets of the same length together to form a circle. You will end up with one 7 inch circle, two 9 inch circles, and two 11 inch circles.
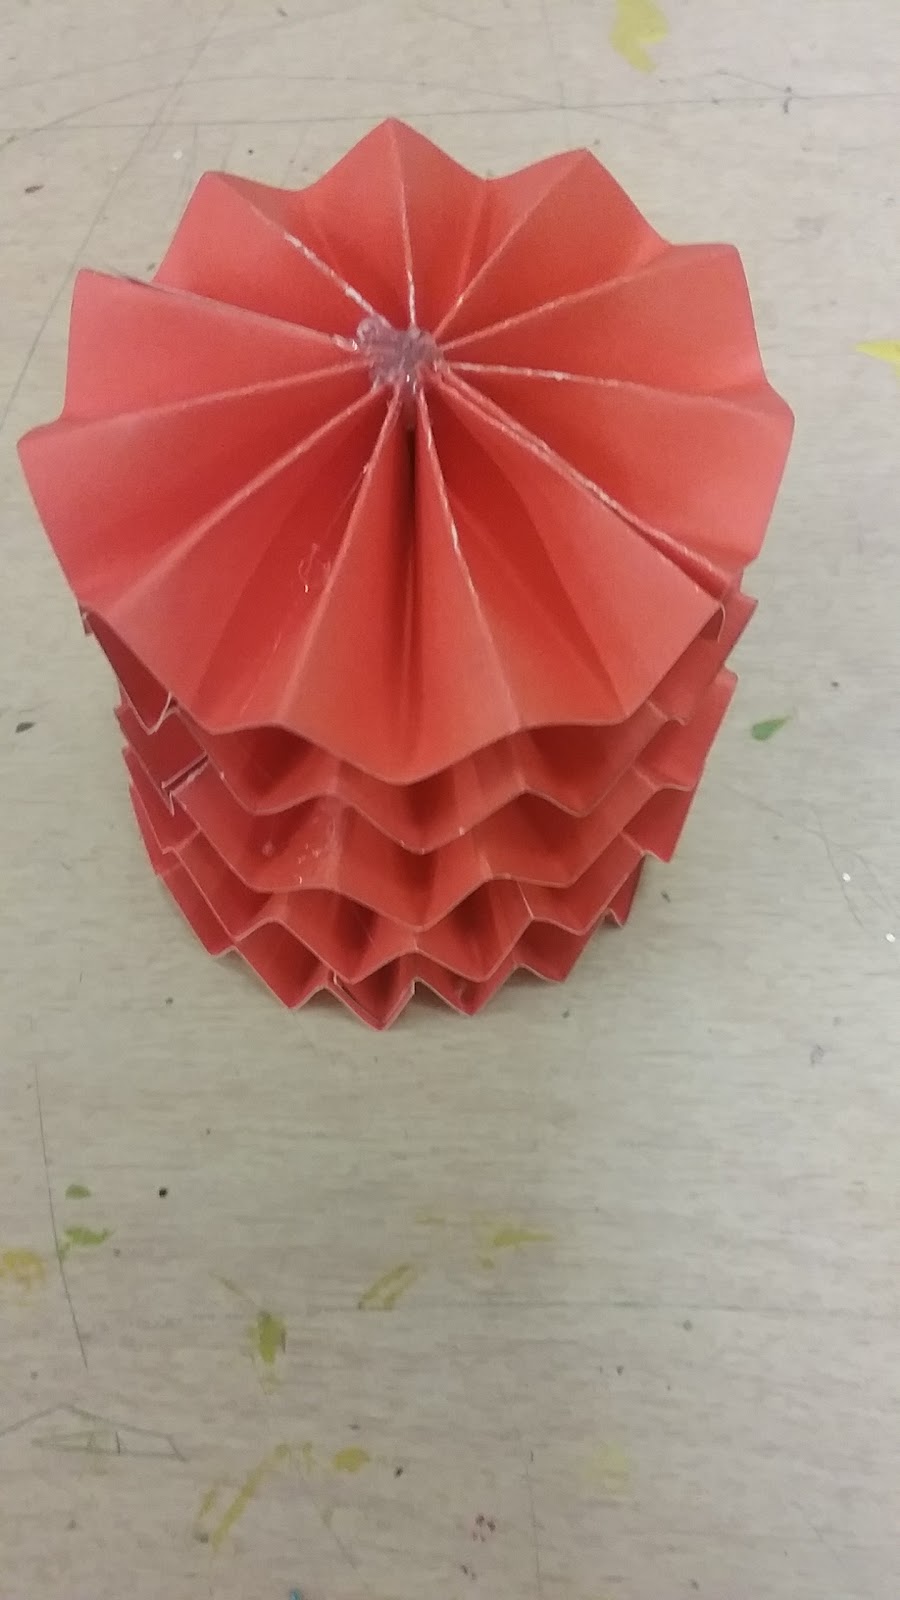
You are then are going to fold the insides of your circles and fold them down. Grab the glue gun and put a small dot of glue in the middle. Do this for all of your circles.
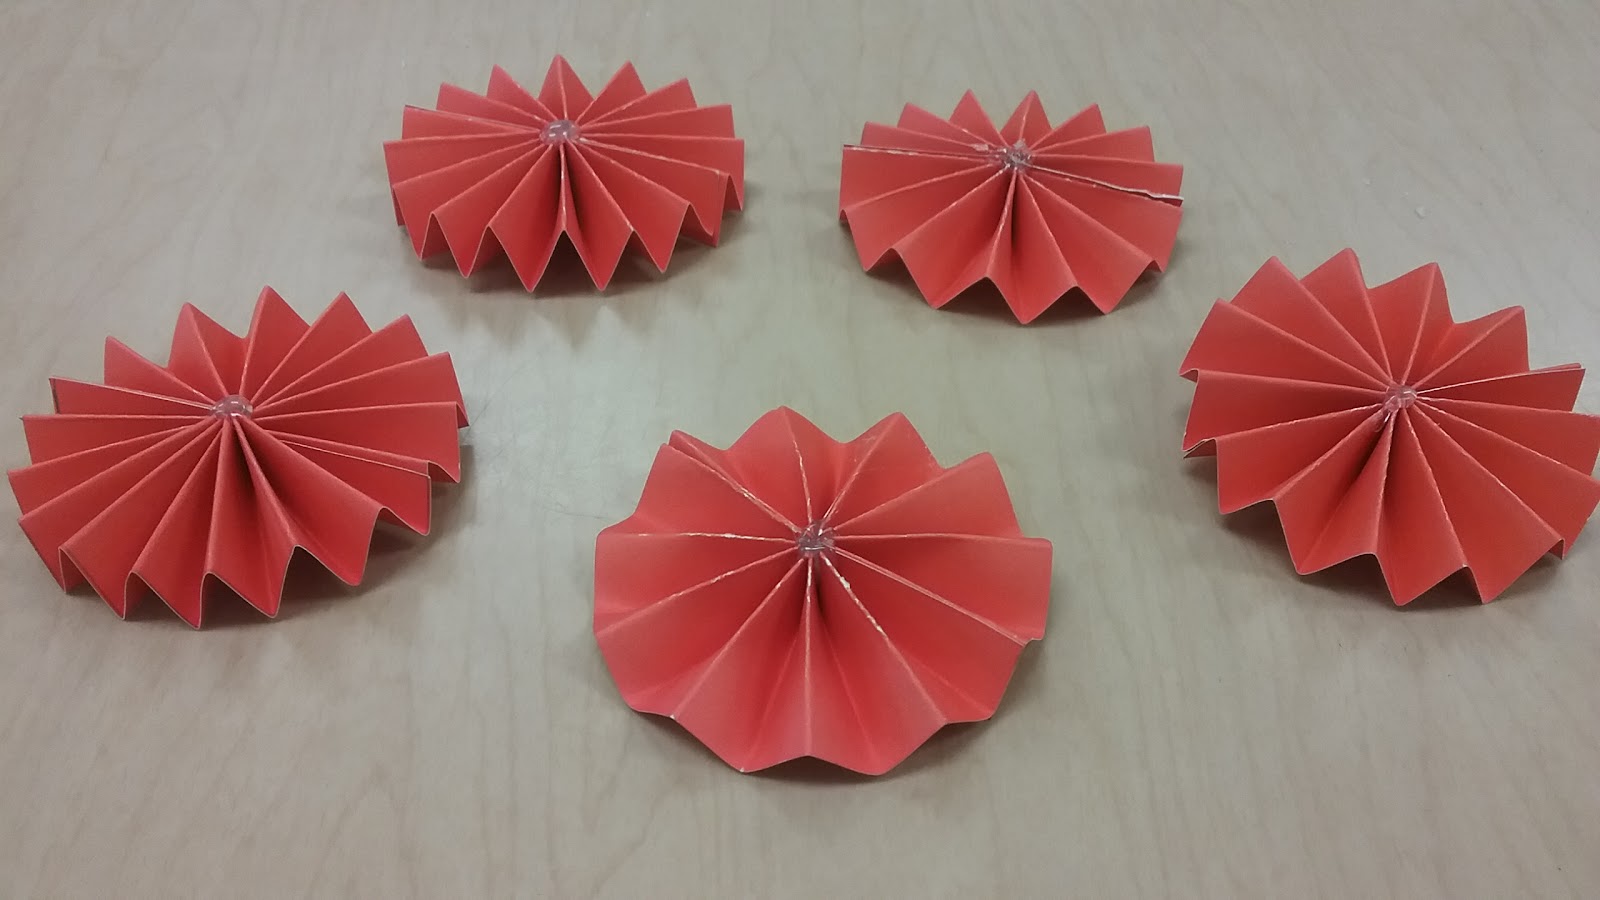
Then you can start gluing your circles to each other in this order: 9 on bottom, then your two 11s, then another 9, lastly your 7.
Now it's time to decorate! If you are going to add twine, glue it before everything else. Next glue your twig. Then cut out some leaves from your green paper, add. Have fun.
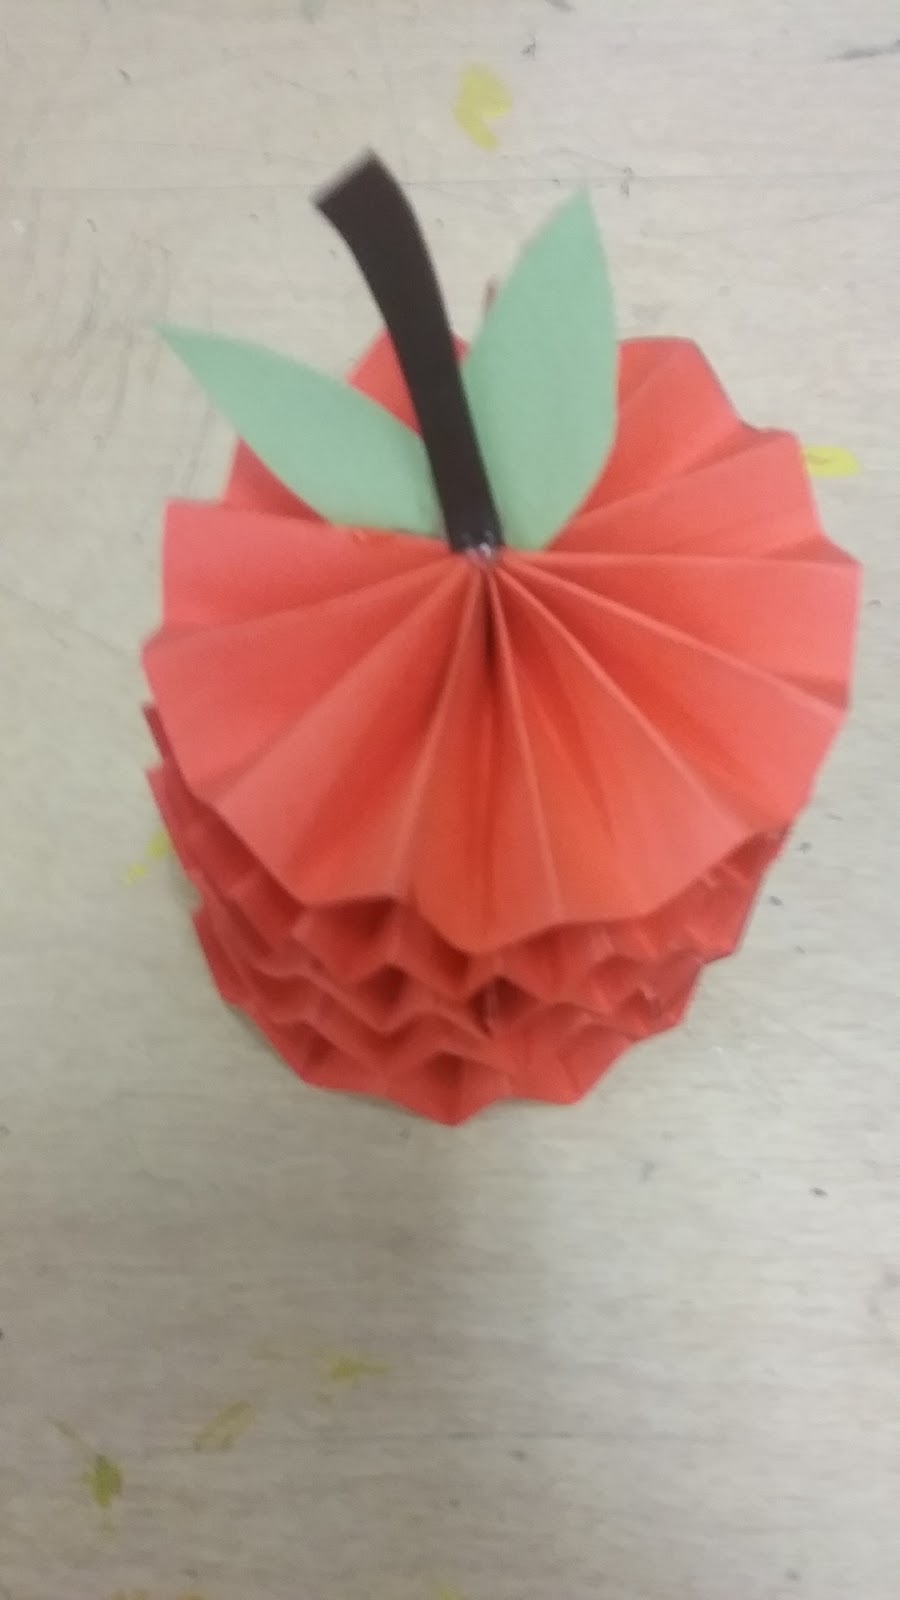
Now you have some cute little pumpkins to spruce up any living space.
No comments:
Post a Comment