
Everyone’s favorite part about the changing season is the pumpkin and apple flavored things EVERYWHERE. There is no doubt that sales go up tremendously on apples around this time. However, this is not the case for me. Don’t get me wrong, I love apples, but not mushy warm apples covered in cinnamon.
So, I decided to put a twist on this overwhelming apple season and not do anything apple flavored, but rather apple appearance.
These sugar cookies are sure to put you in the mood for autumn with the all their sugary glory, but without those mushy apple pieces.
Join me in how I took a simple sugar cookie recipe and turned it into your new favorite treat!
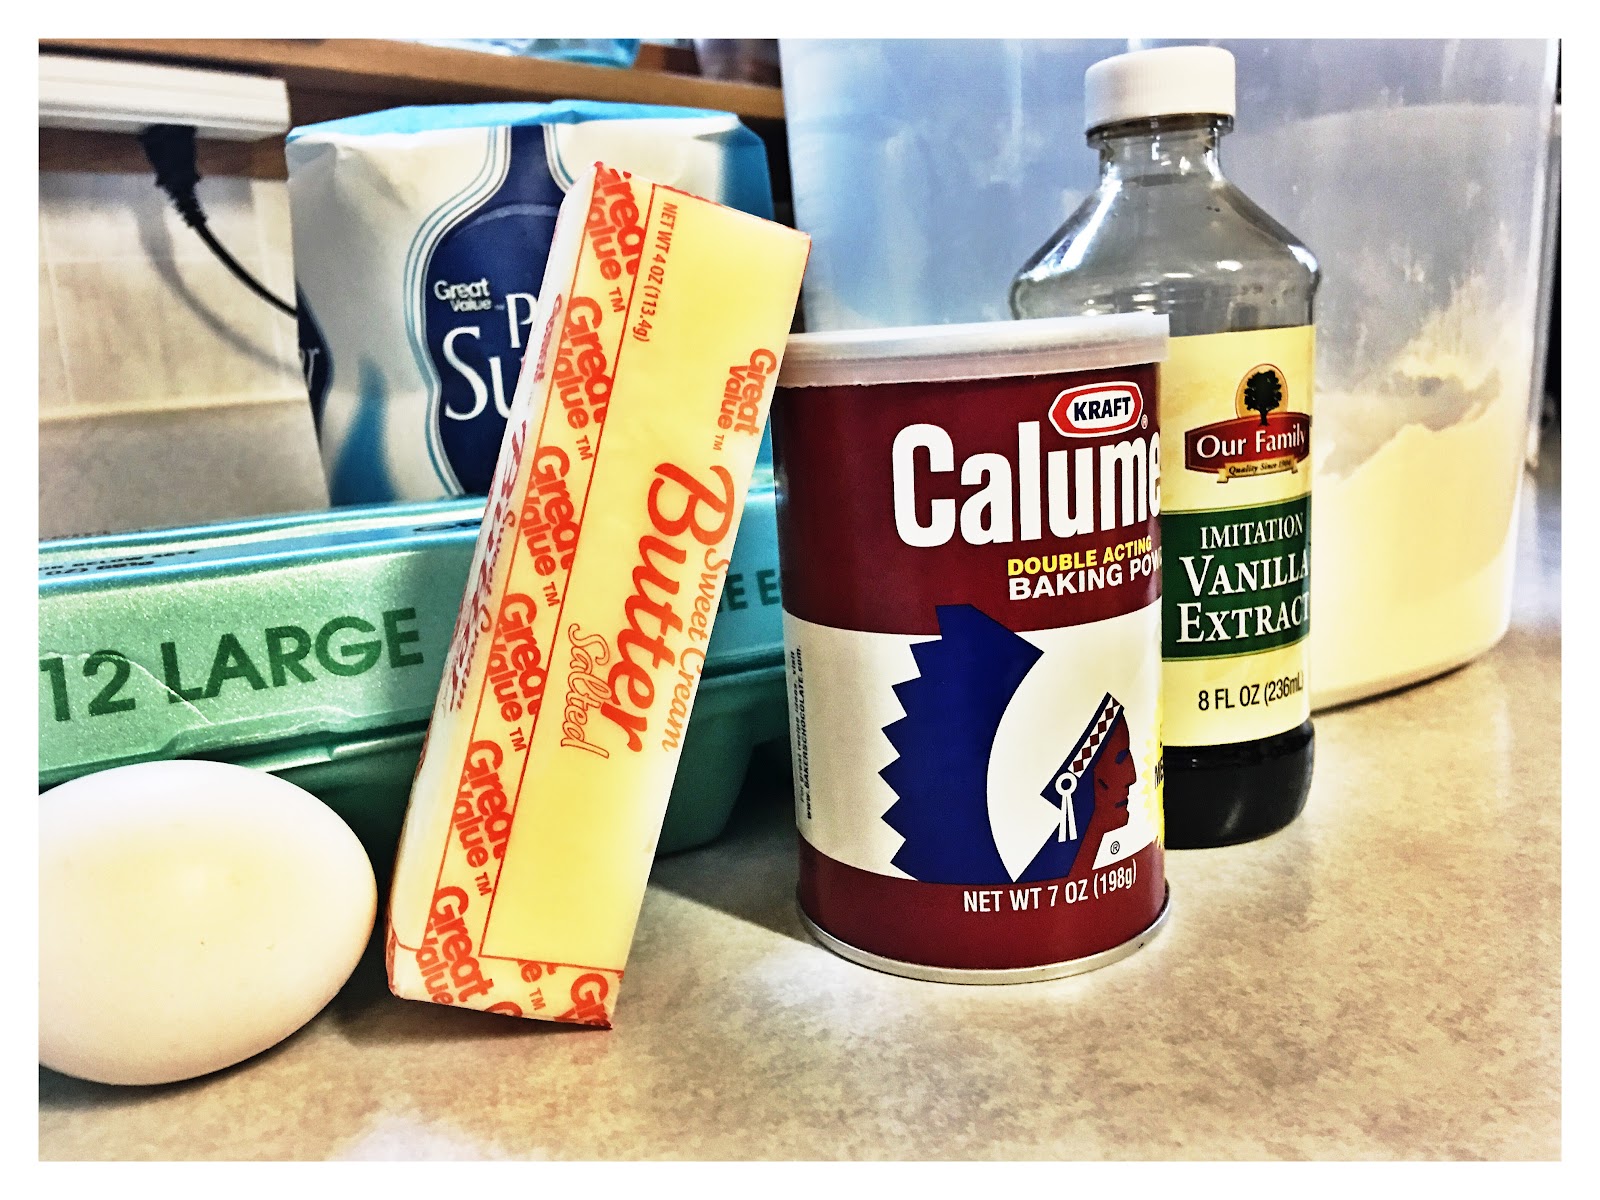
Ingredients you will need:
- All purpose flour (2 cups)
- Baking Powder (1/2 teaspoon)
- Salt (optional)
- Unsalted butter, room temperature (1 stick)
- Sugar (1 cup)
- Eggs (1)
- Vanilla Extract (1 teaspoon)
Extra things you will need:
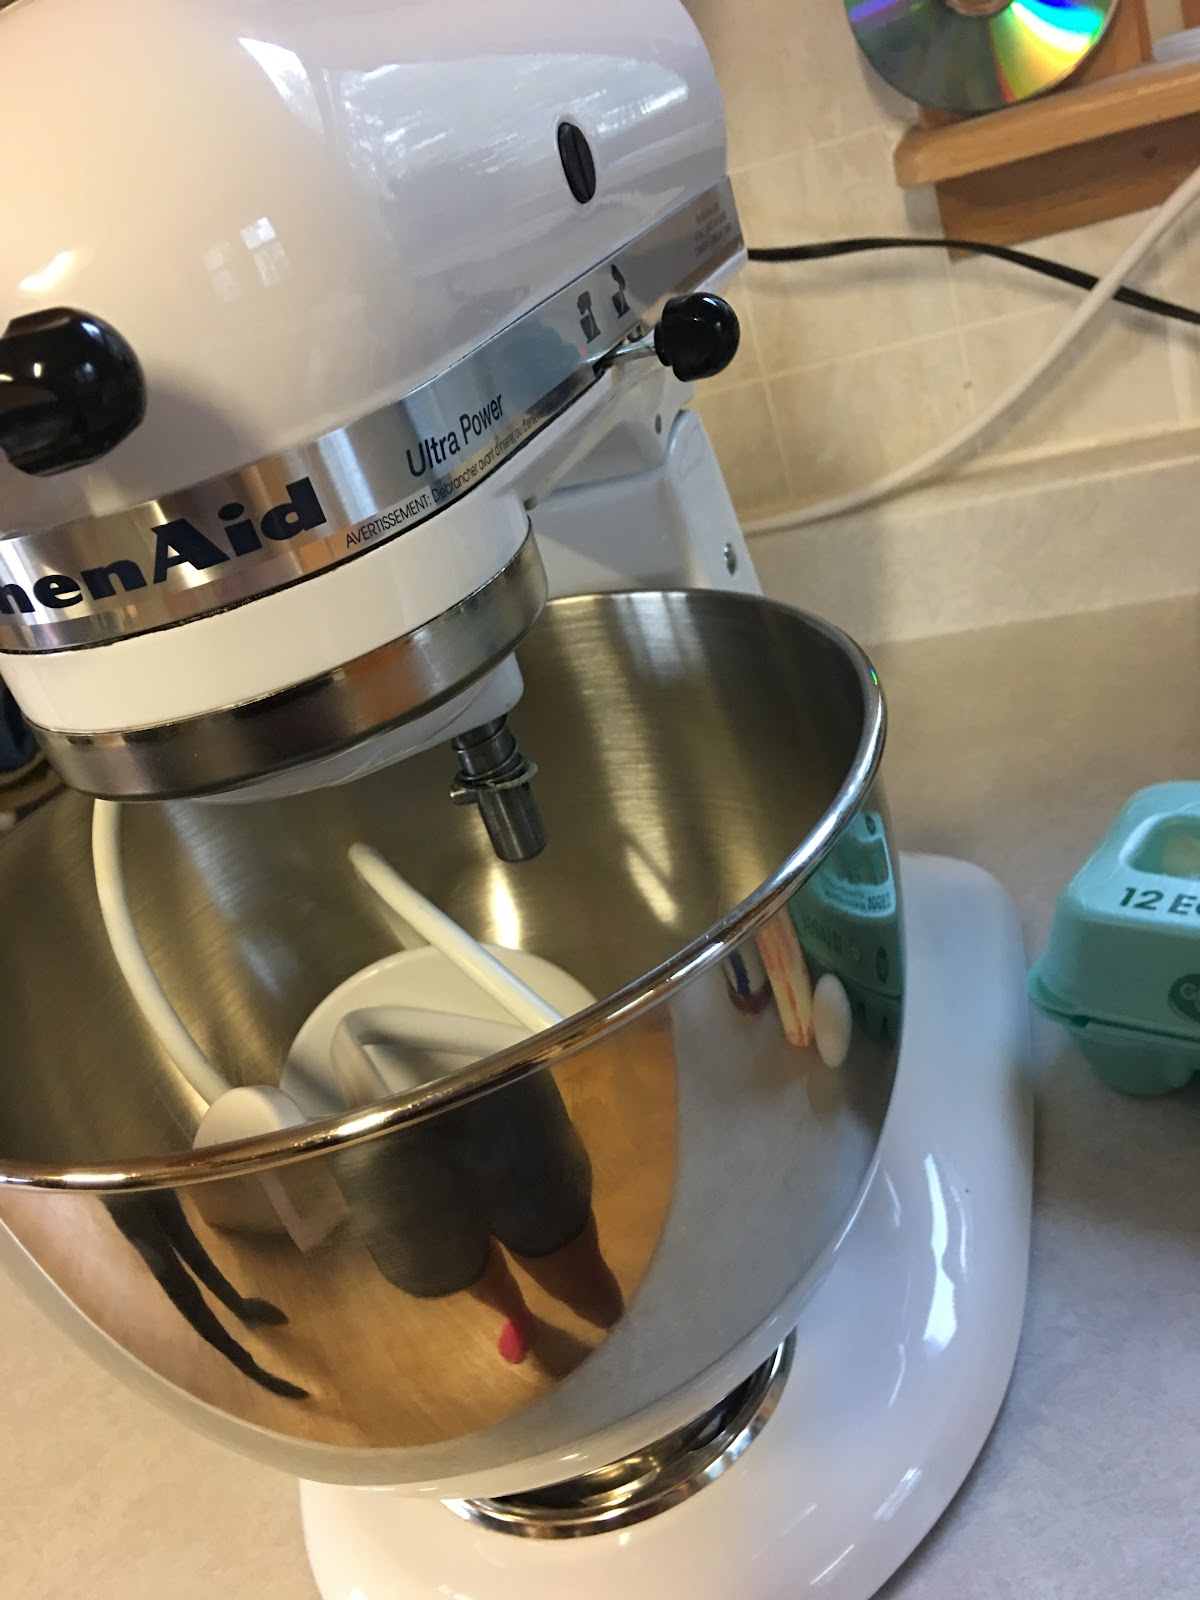
- One large bowl
- Mixer (I used a kitchenaid, but you can mix it however you’d like)
- A flat spatula
- Cookie sheet(s)
- Cookie cutter (We used pumpkin ones!)
- Cooling Rack(s)
- Parchment paper
- Cling wrap
Let’s get started!
First, you want to combine your flour, baking powder, and salt into your large bowl. I did not use salt, but you may add it if you’d like! Then set this bowl aside. You won’t be needing it quite yet!
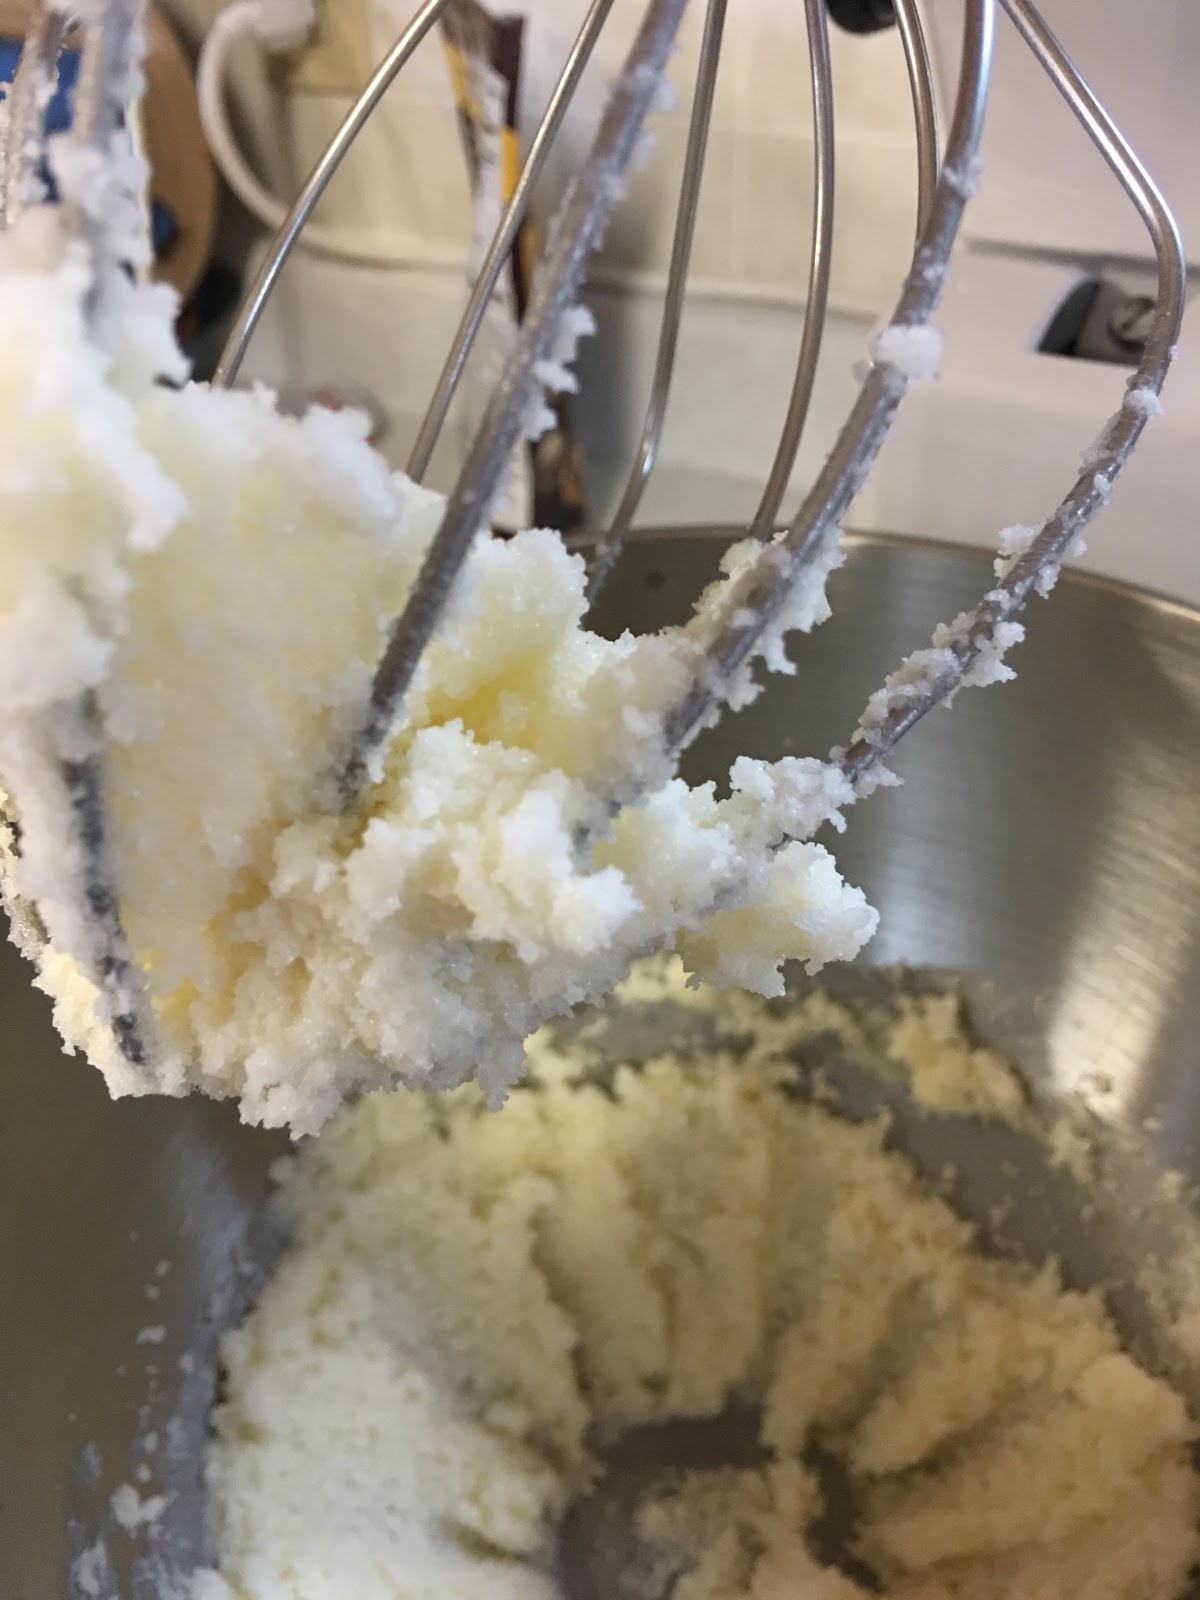
Then, in your mixing bowl, cream together your butter and sugar until light and fluffy.
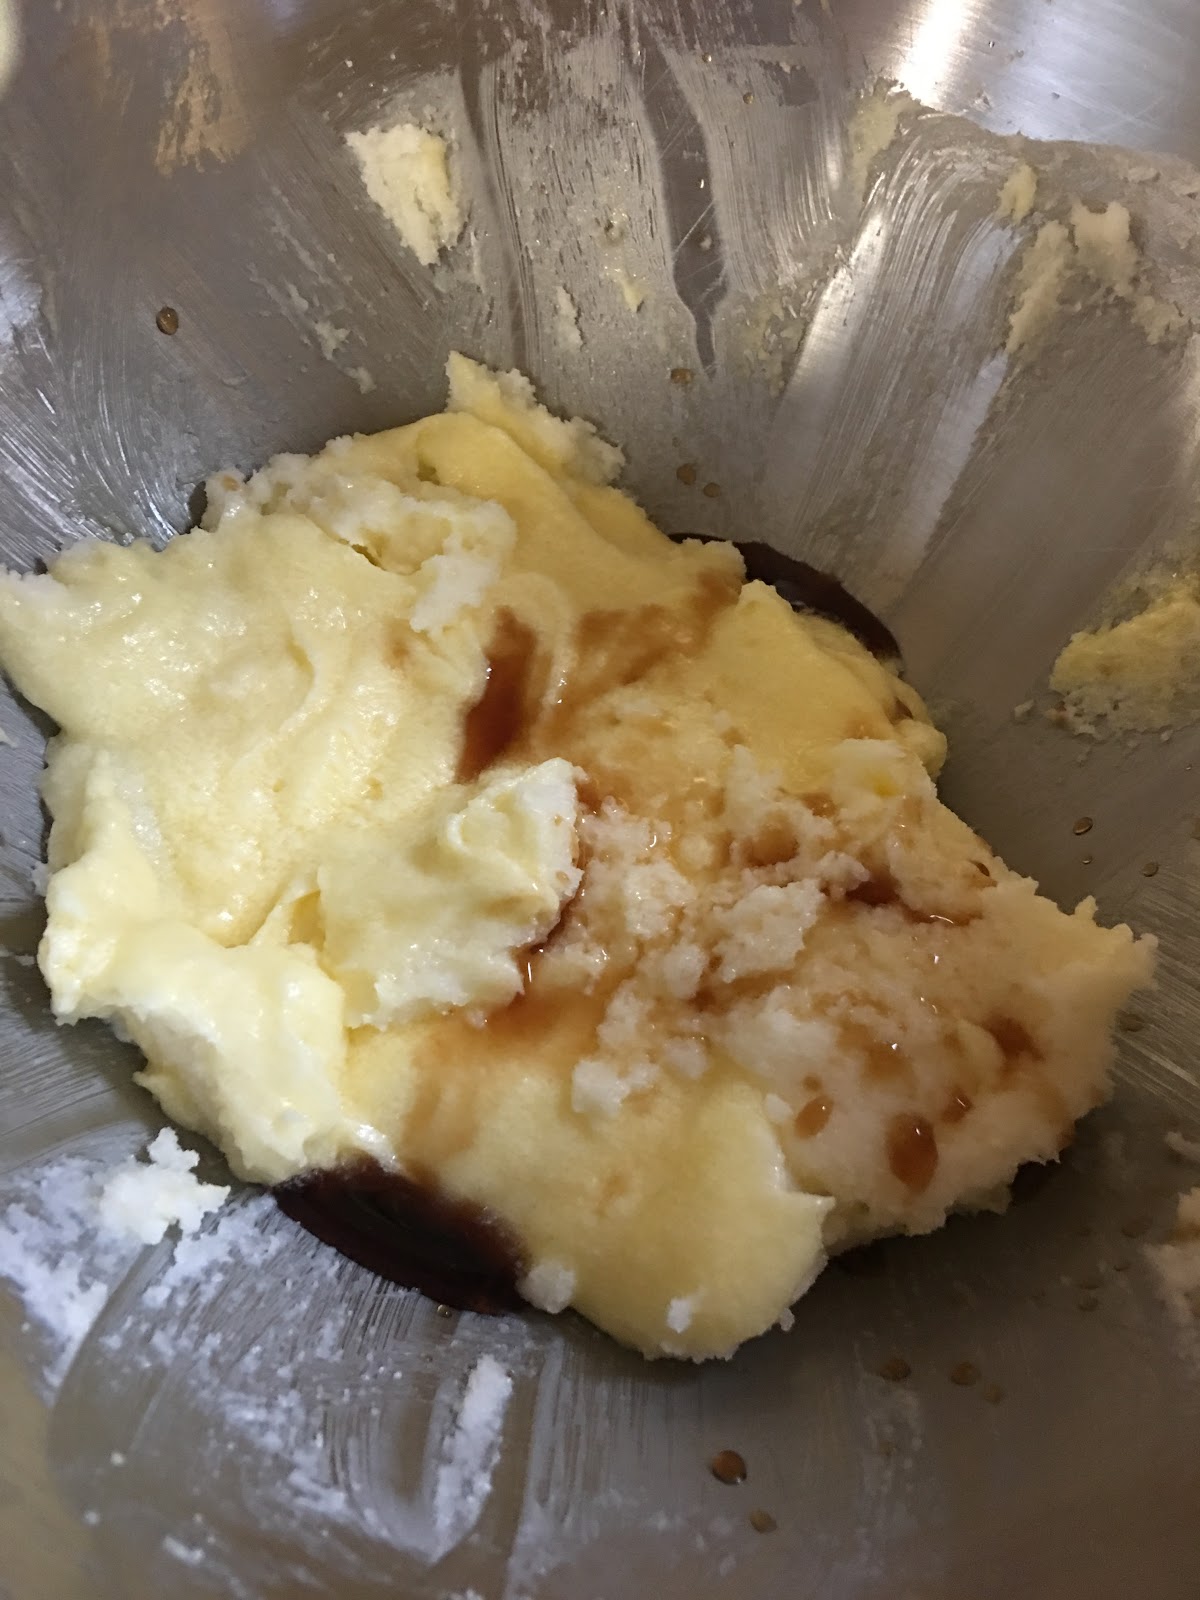
Once your butter and sugar are combined, beat in the egg and vanilla.

Now you should put your mixer on low, and gradually add in your flour mixture. Mix until all is combined.
Now here is where you will need your cling wrap. Separate your dough into two pieces, wrap them up, and stick them in the fridge! We set ours in there while we ate supper, so about 20 minutes. 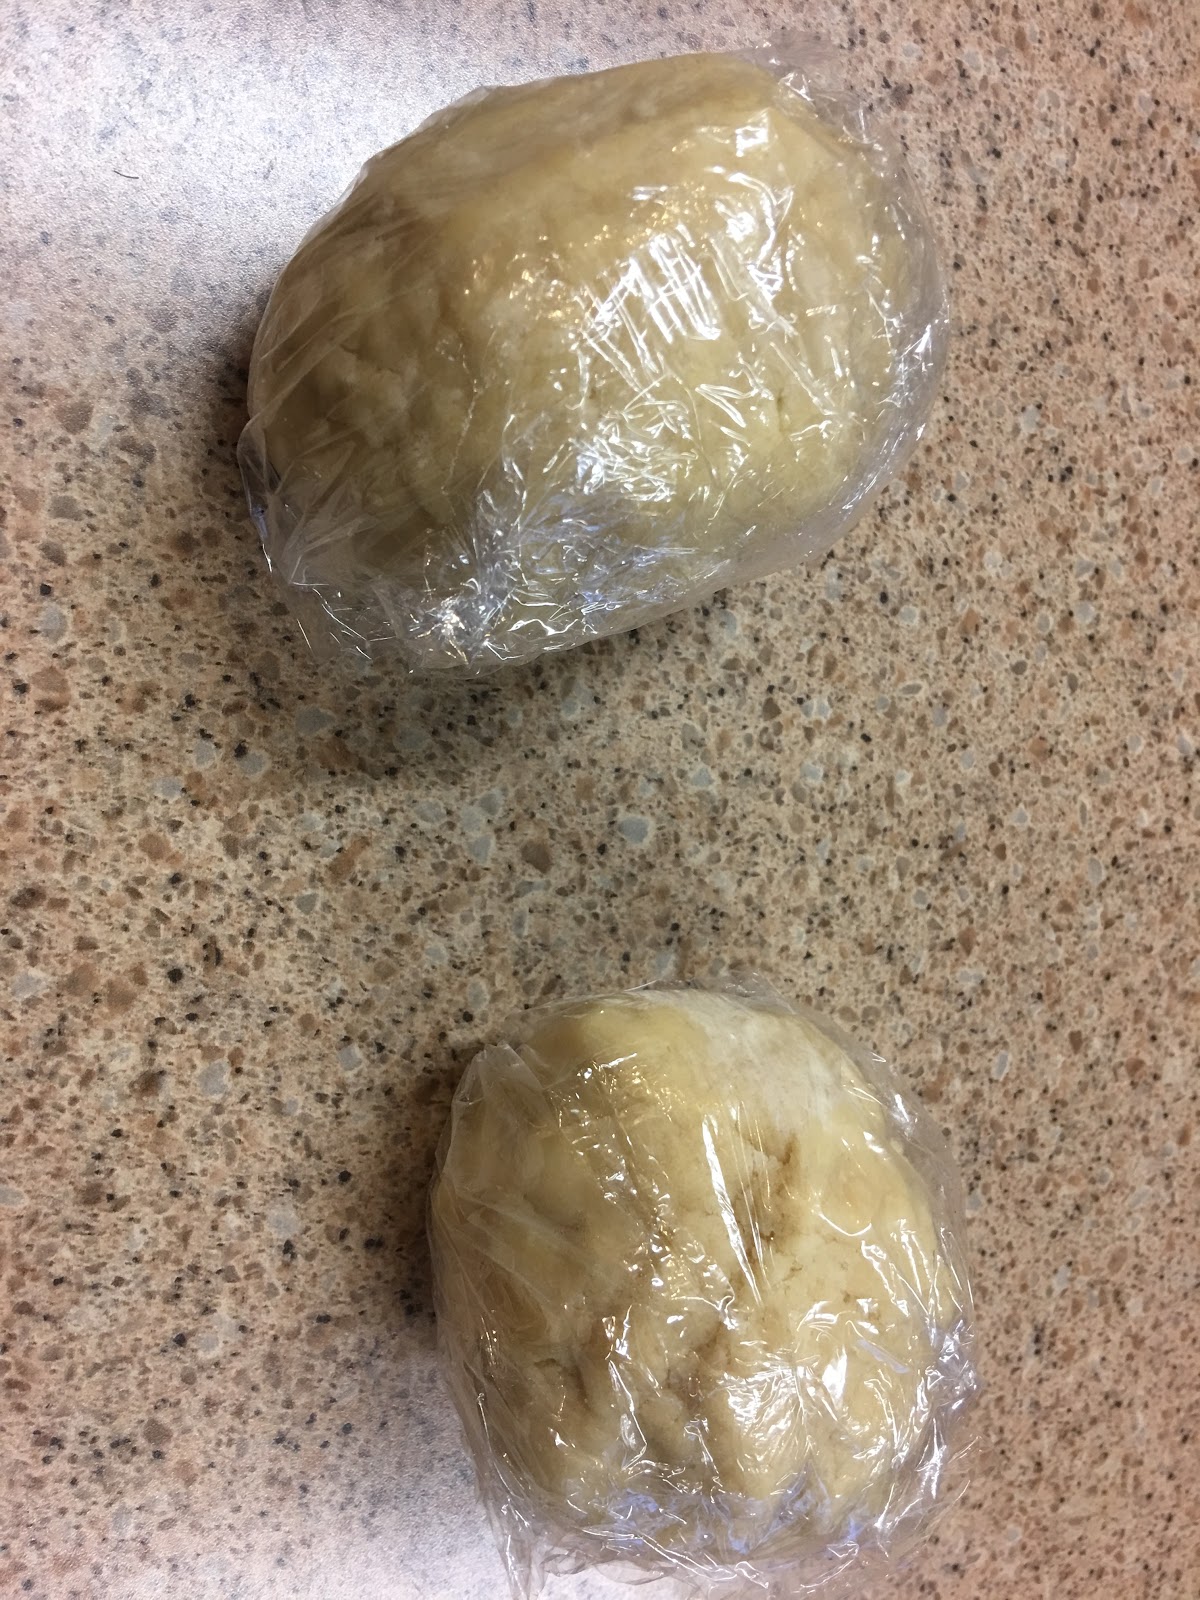

You will need your flour again to create a base for your dough. This ensures that it won’t stick to your countertop!
With your first ball of dough, set it on top of where your flour base is. Press it down, until it is pretty flat. Then take your rolling pin and gently roll it out. Be careful not to roll it out too thin!

Once your dough is rolled out, you can begin cutting your cookies! We didn’t have an ‘apple’ cookie cutter, so we made do with a pumpkin.
You will want to start near the edge to get the most amount of cookies out of the batch! Gently push down the cookie cutter and viola! You now have your cookie shape. Repeat until dough is all used (Or you don’t have enough to make any more).
Place your cookies evenly across your cookie sheet. Our pans were different size so one pan fit six, while the other fit nine. 
They go into the oven for 10-18 minutes.
Once they are done you let them cool.
While you are baking/cooling your cookies, you can start on your frosting!
INGREDIENTS FOR FROSTING:
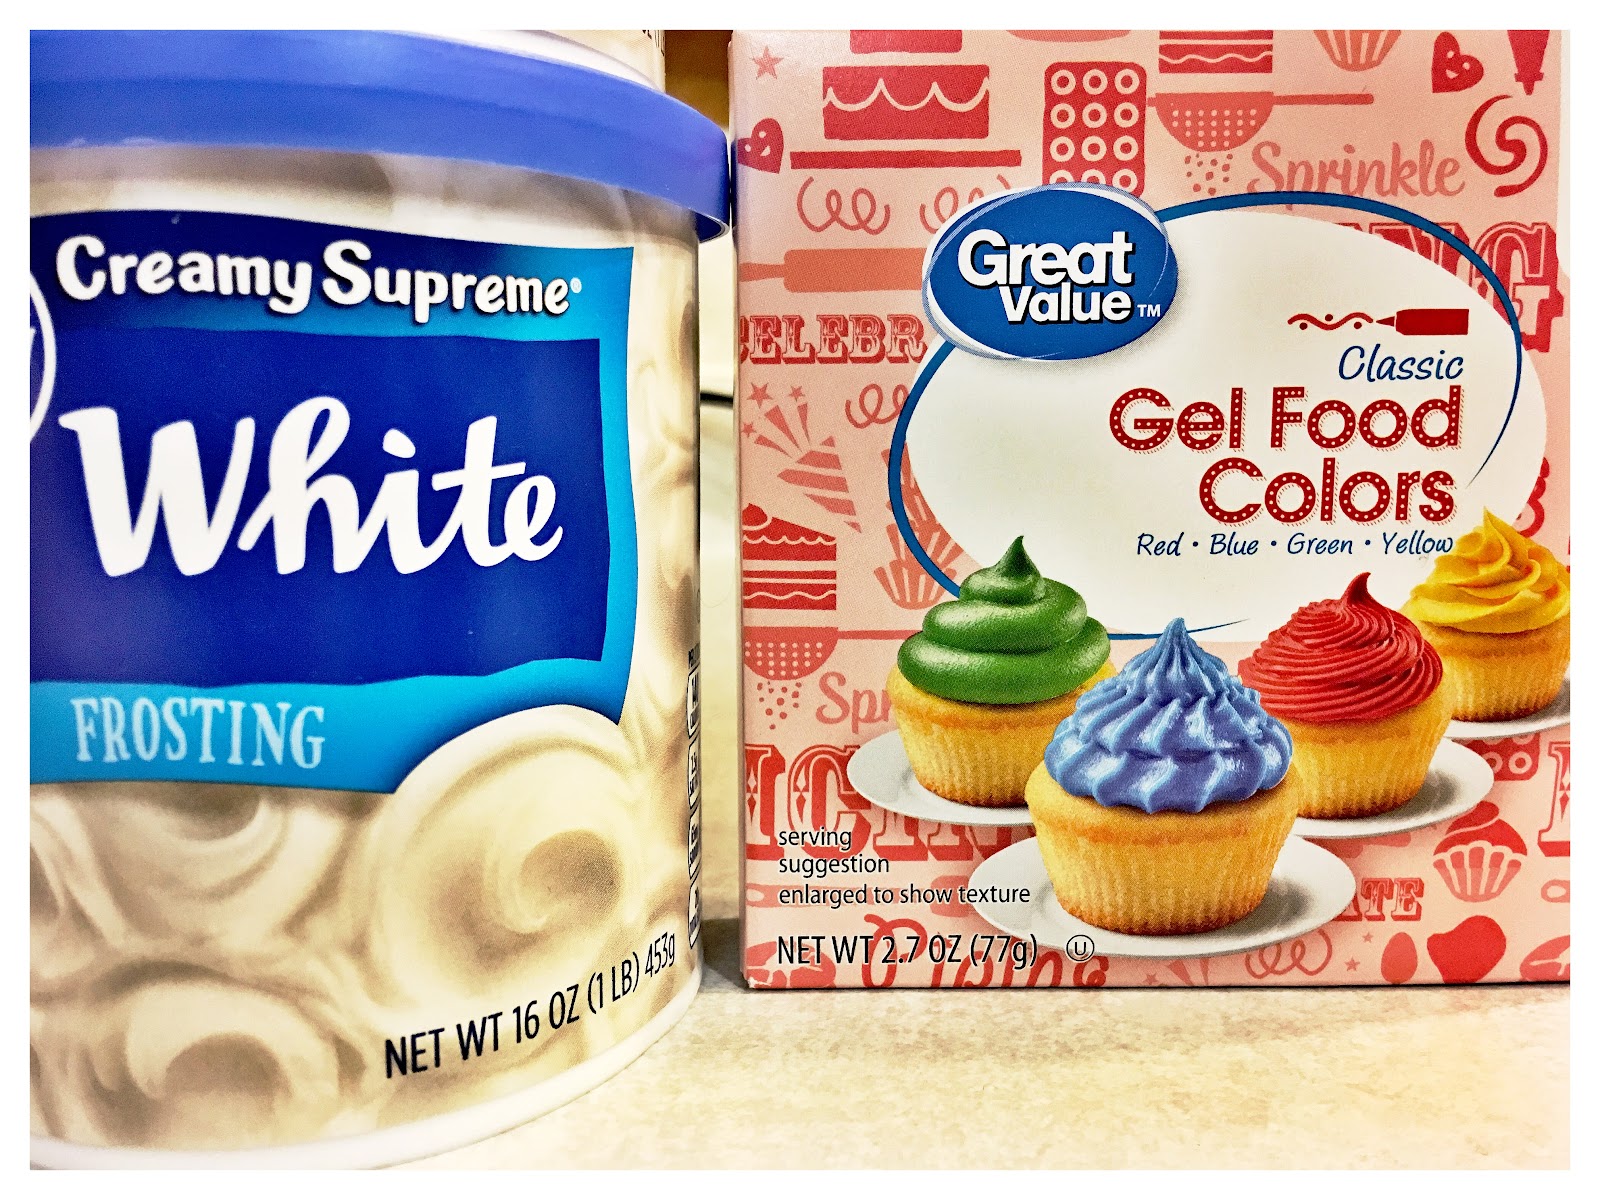
- White frosting (1 container)
- Food Coloring (red, green)
- Frosting tools (Optional)
- Small bowls (I used three; red, green, brown)
To make the frosting, you will want to separate one full container into two bowls. Then from there, take one scoop of each into another bowl for the brown (you don’t need as much frosting for this part).
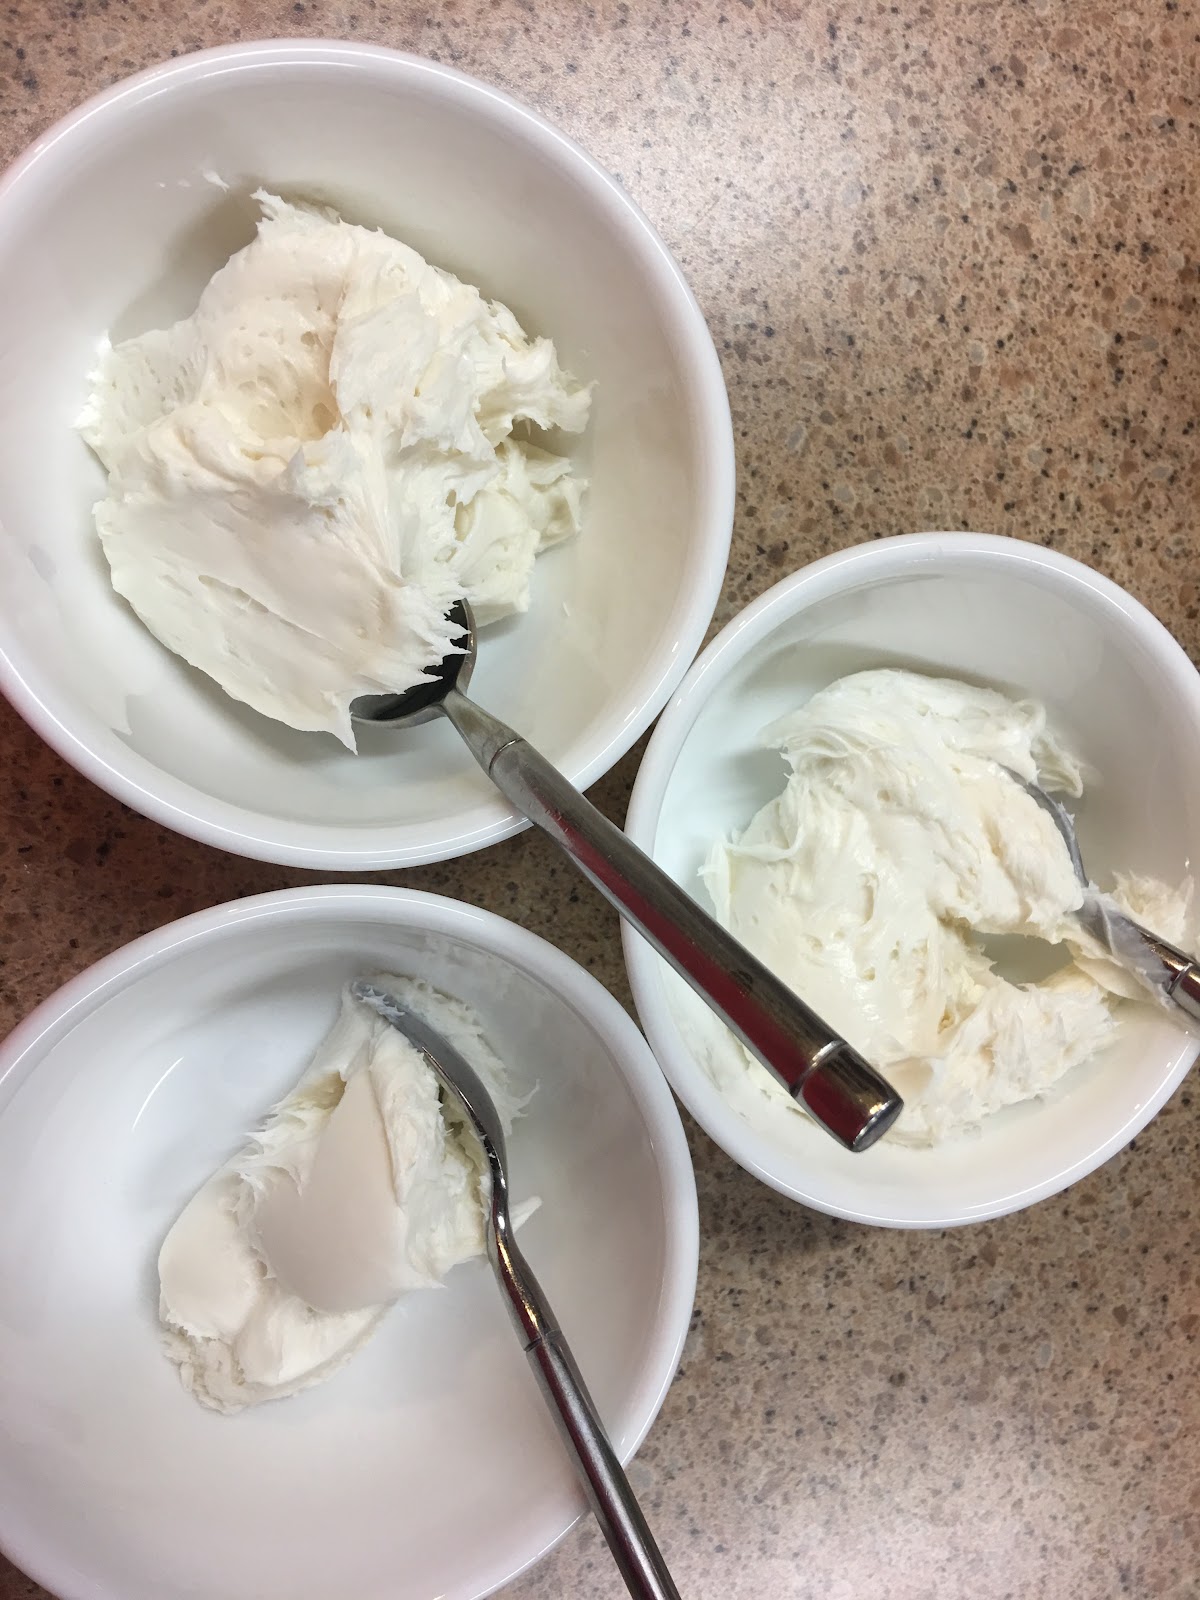
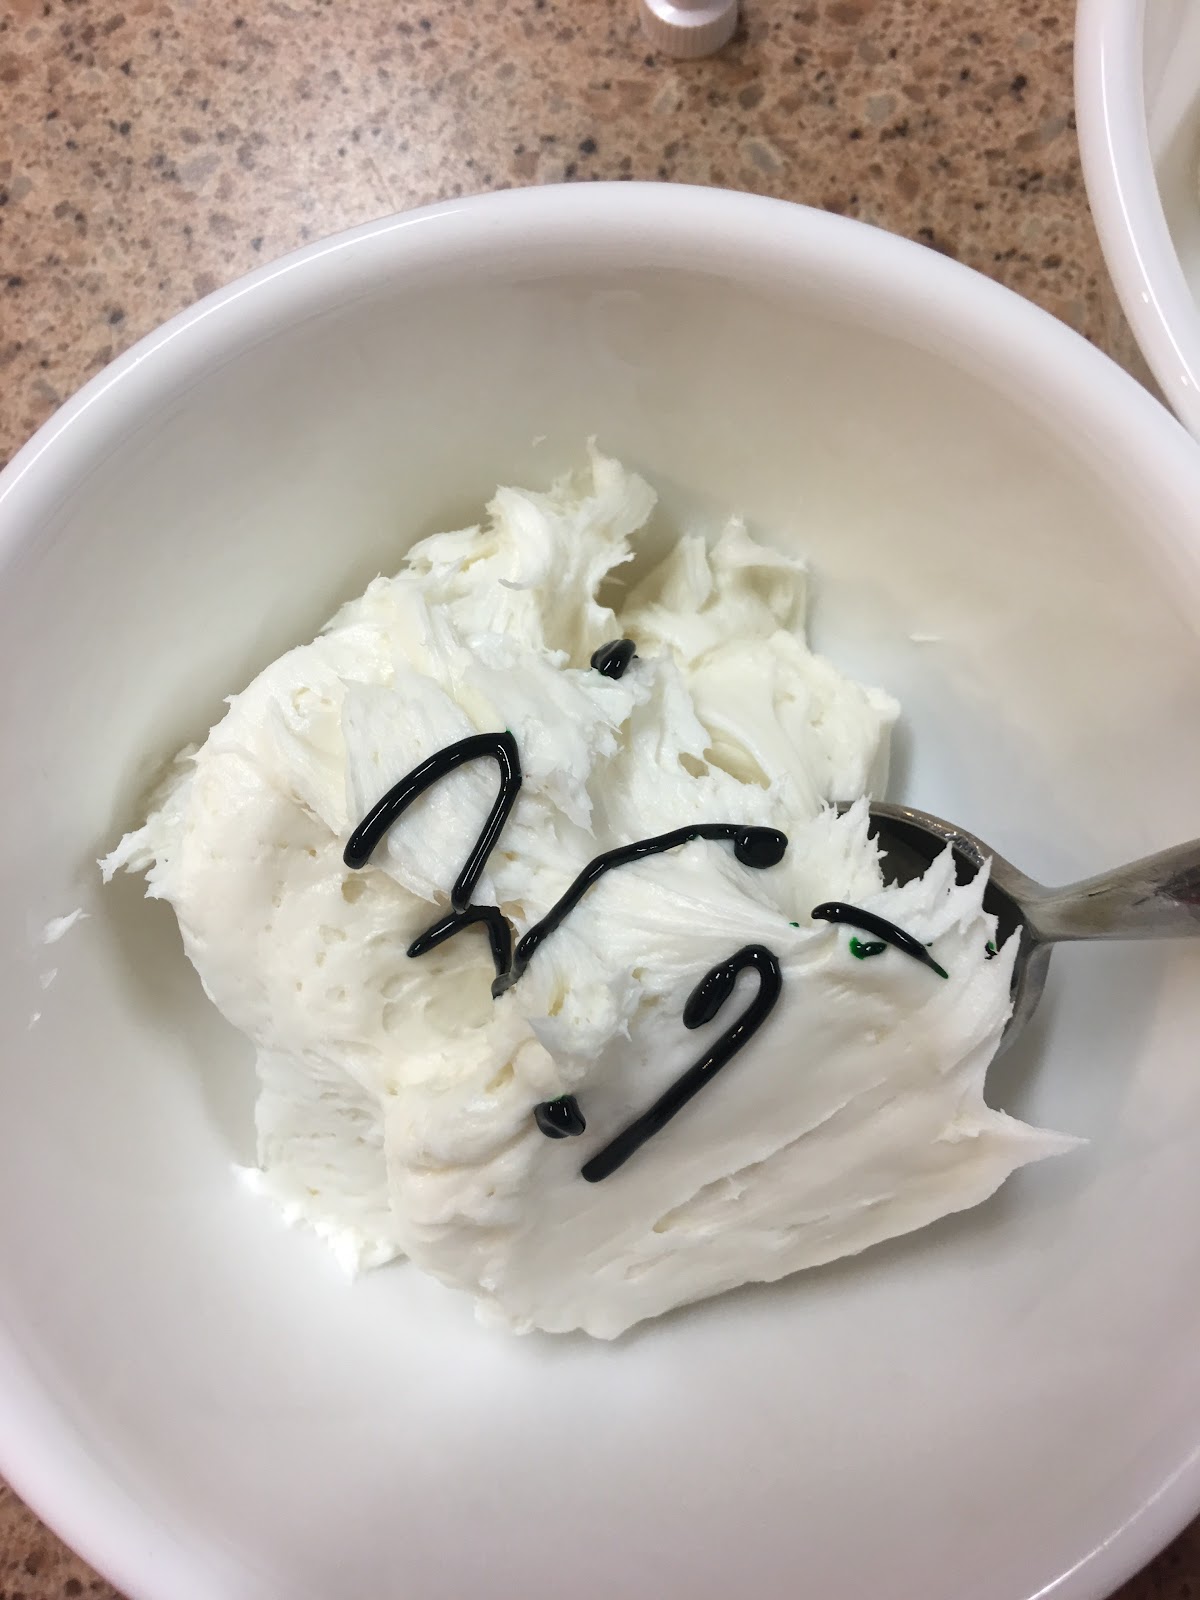
Then you will add only red into one bowl, only green into another, and then both red and green into the last one. Red and green will make brown!
For me, it took a couple of different amounts to get the color that I want, but it’s all what you prefer!
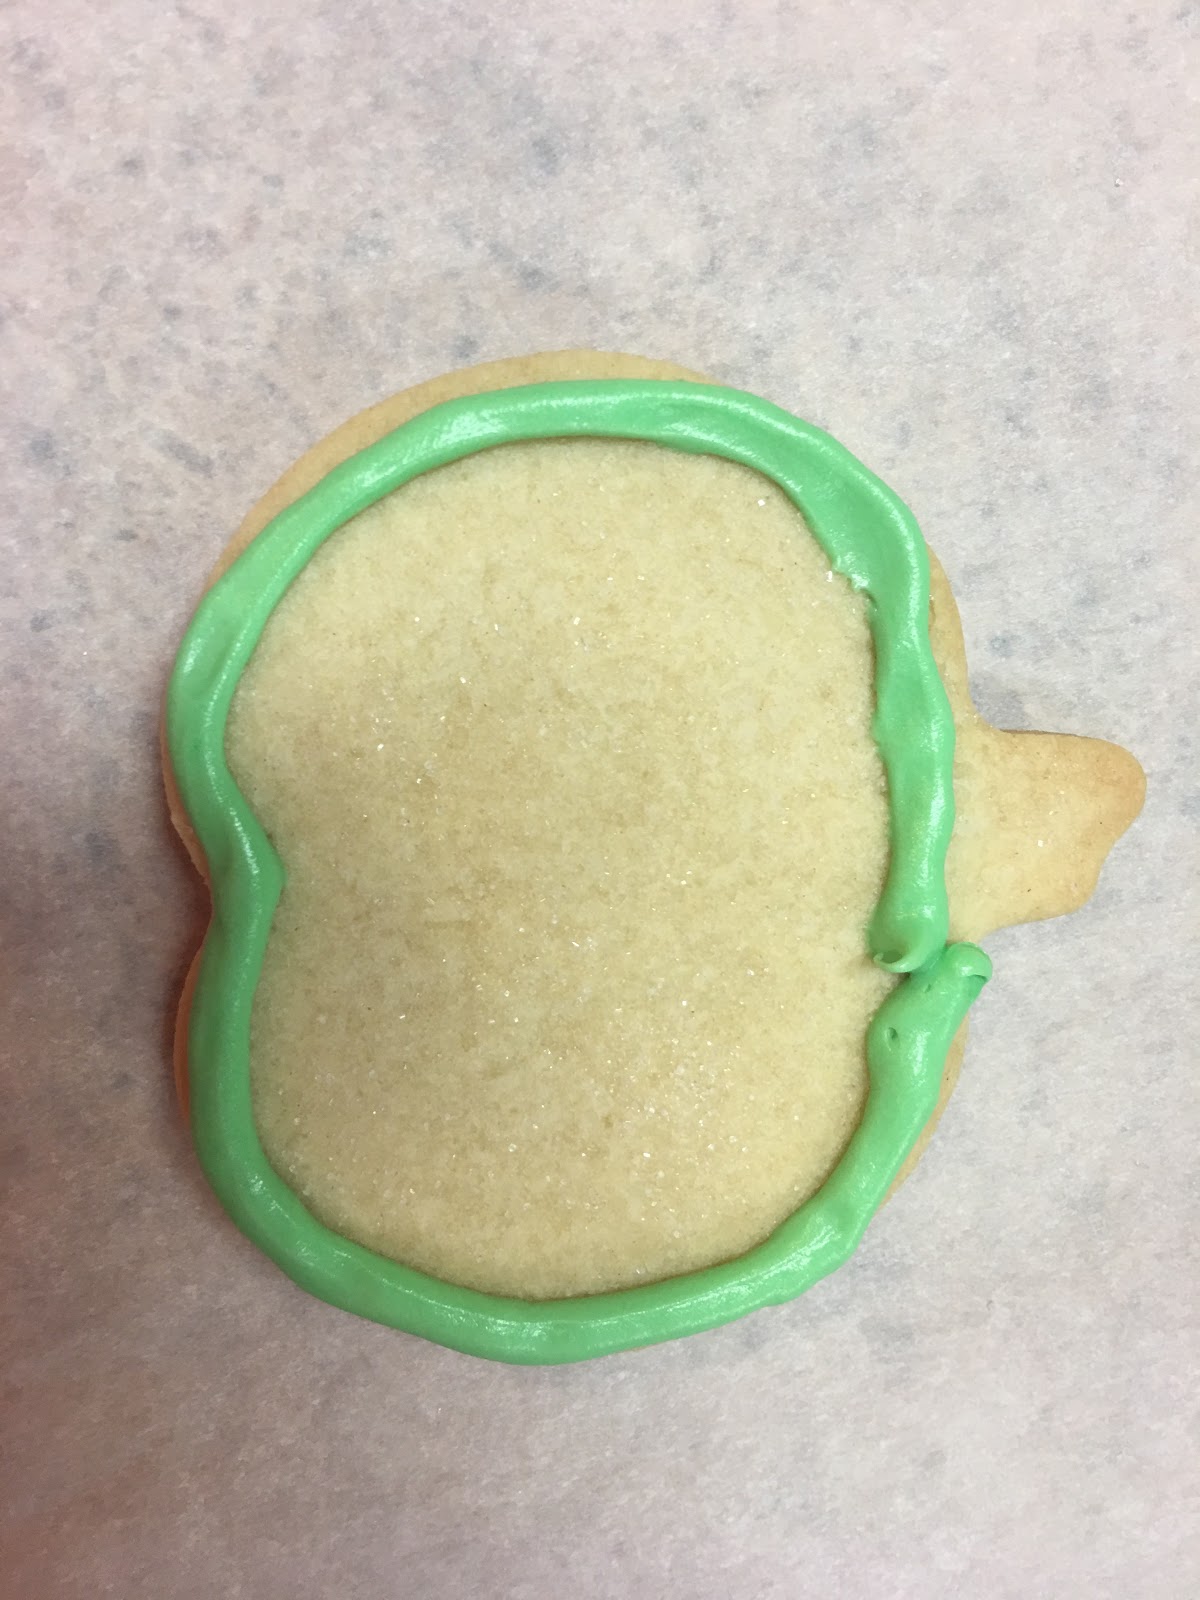
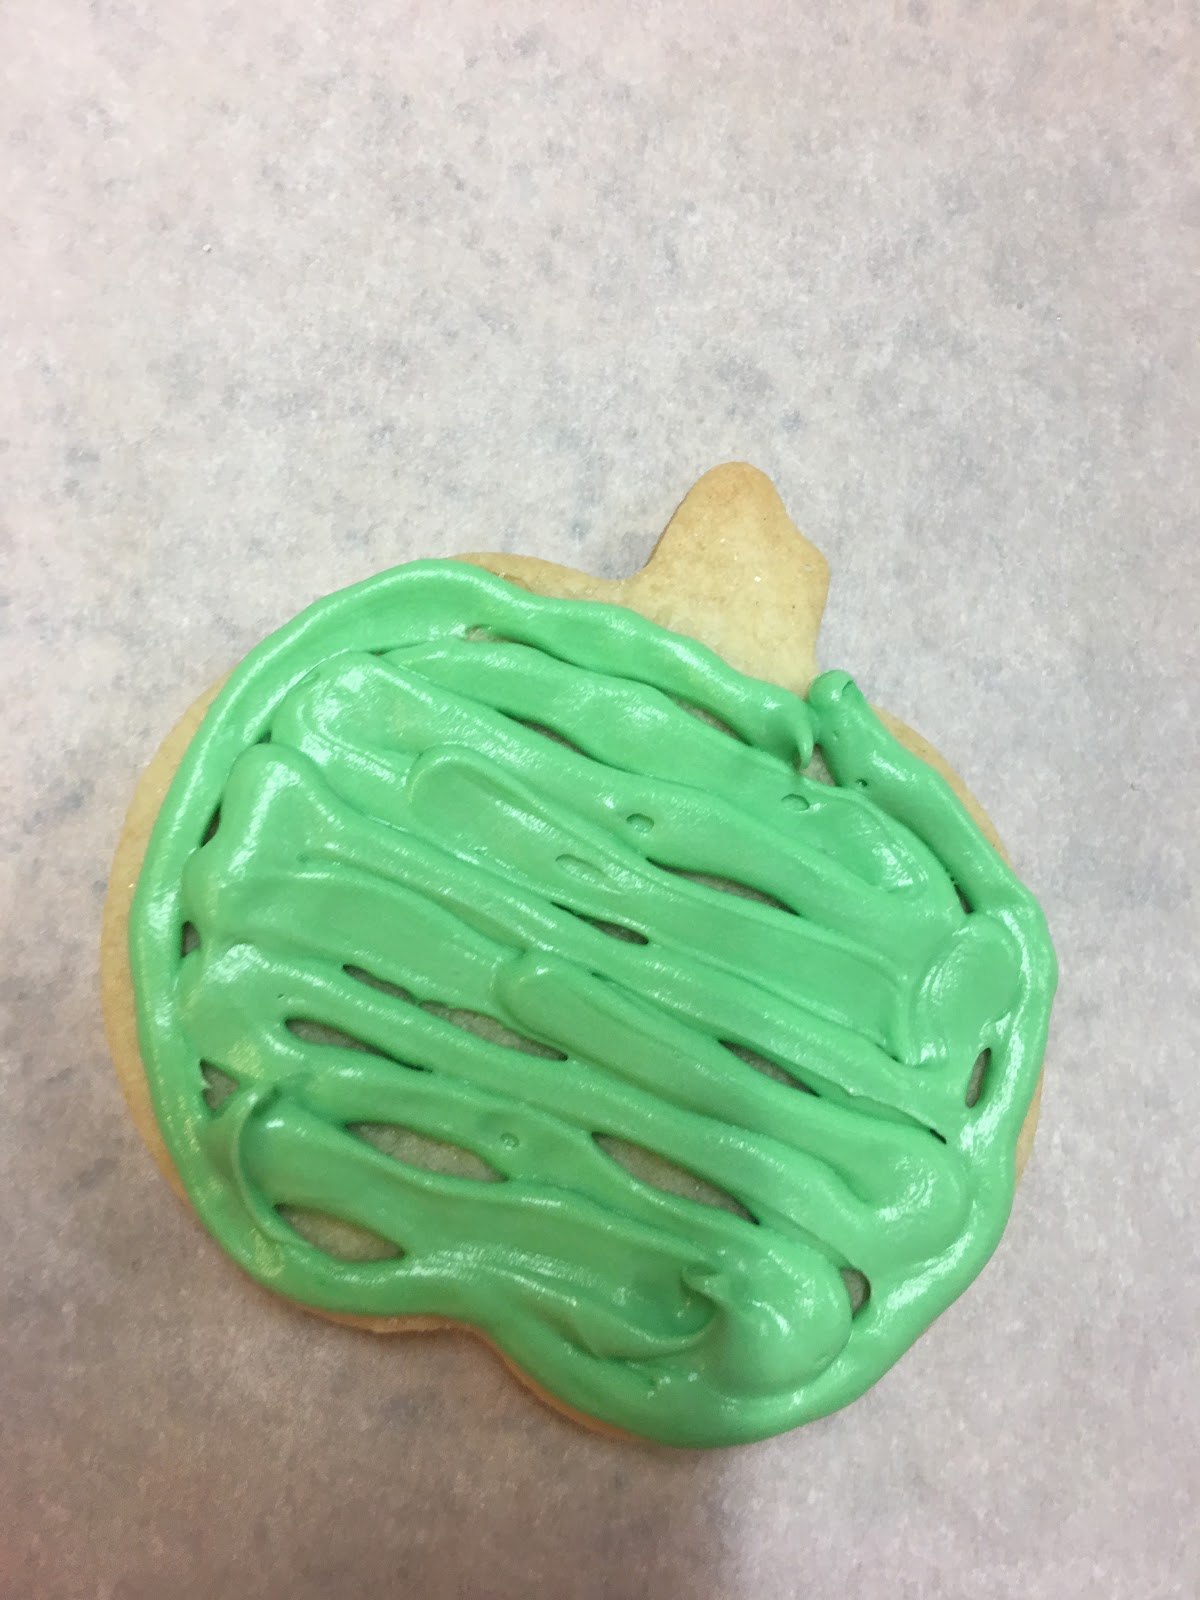
You can really just frost them however you want, I simply just outlines them and then filled them in.
However you can simply frost them with a knife and they’ll look just as good!
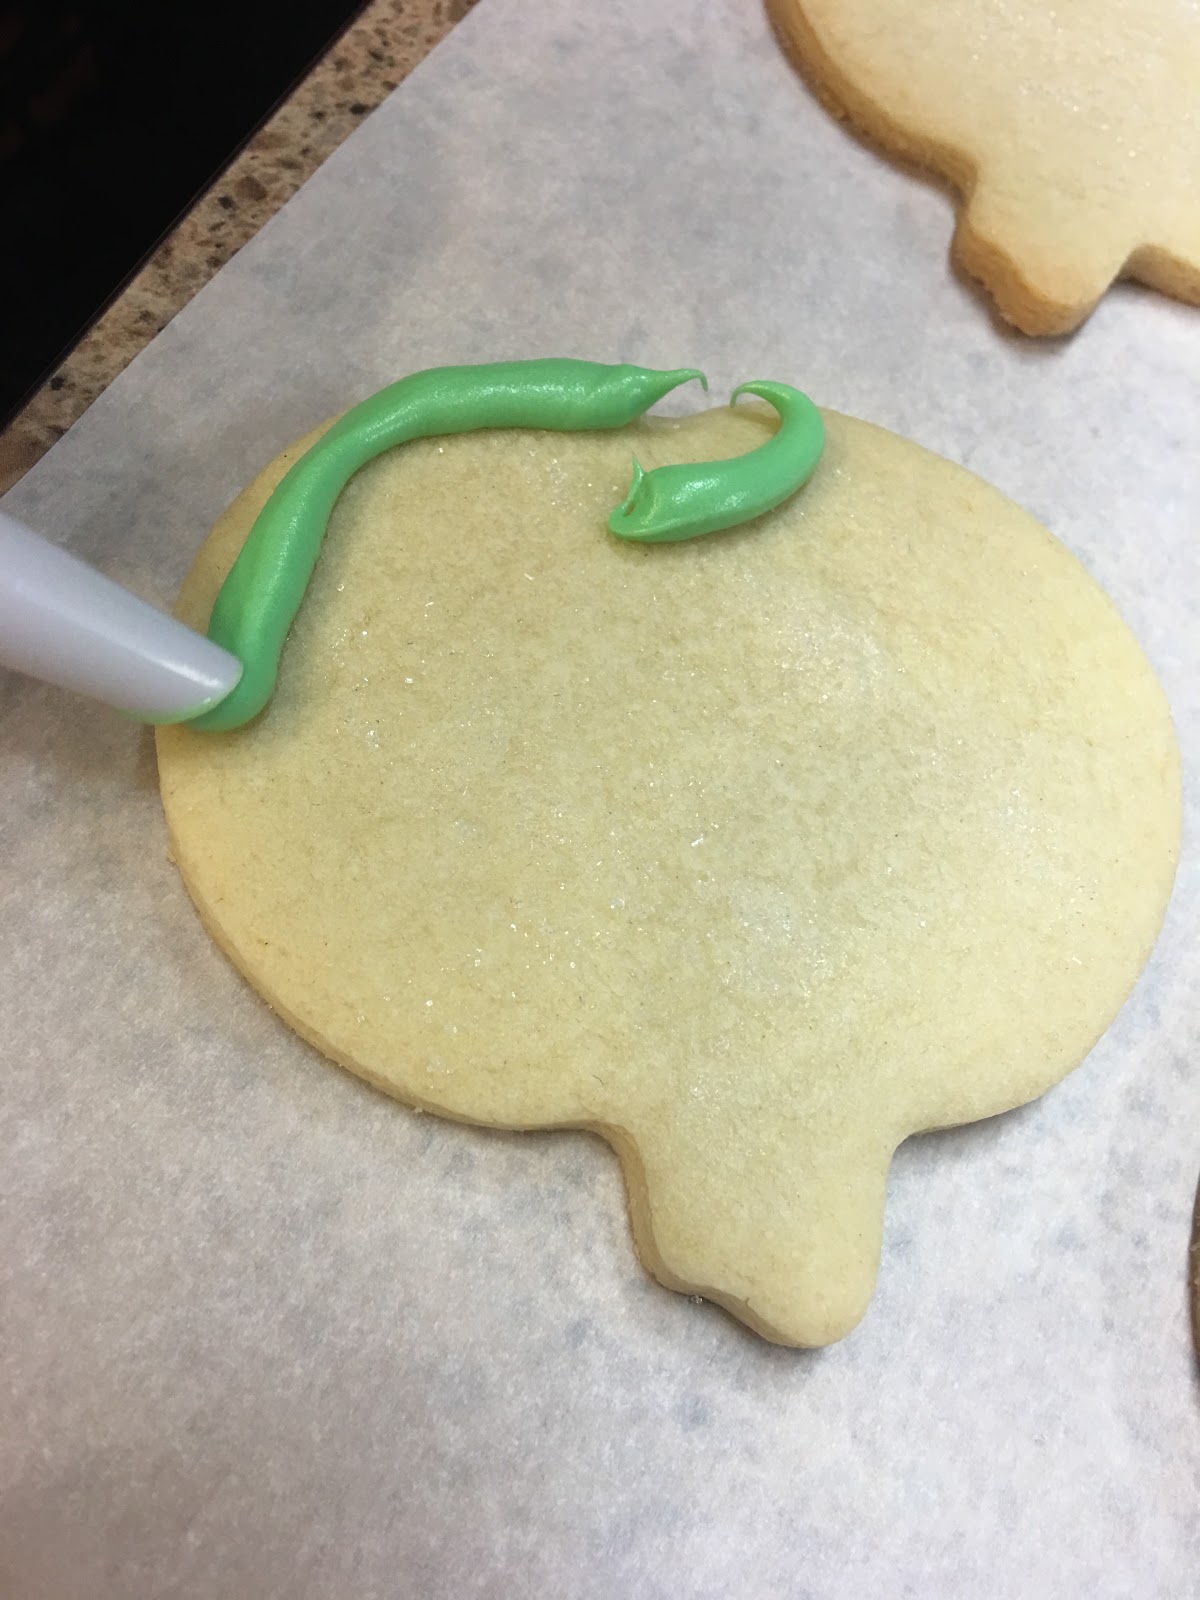
Don’t forget to take your brown and frost the “stem”!
The last step is to simply let the frosting harden a little bit and then enjoy!
No comments:
Post a Comment