
As October comes around once again, I can’t help but look forward to the campfires, the great outdoors, and of course, spending quality time with my friends. All of these things are extremely exciting, on their own, but once they are all put together, it becomes even better. For me, this is an event my youth group does every year called Roman Soldiers.
Roman Soldiers is a game where you run through the woods, trying to escape soldiers, and make your way to freedom. As a Roman Soldier, you are trying to stop the Christians from reaching freedom. The kids are the Christians, and the adults are the Roman soldiers, which are chasing the kids. Once we are done playing the game, we have a huge bonfire, and have a youth pastor from a local church talk to us about what it means to be a young teenager living your life for God.
Fall is always about being thankful for what you have been given. These things are what I like to call blessings. The great outdoors, the campfires, my friends, and of course Roman Soldiers are something that I am grateful for year after year. These simple things remind me that blessings come from Heaven. So, what is a better way to be reminded of that everyday, then to make in into an extremely simple sign?

Supplies:
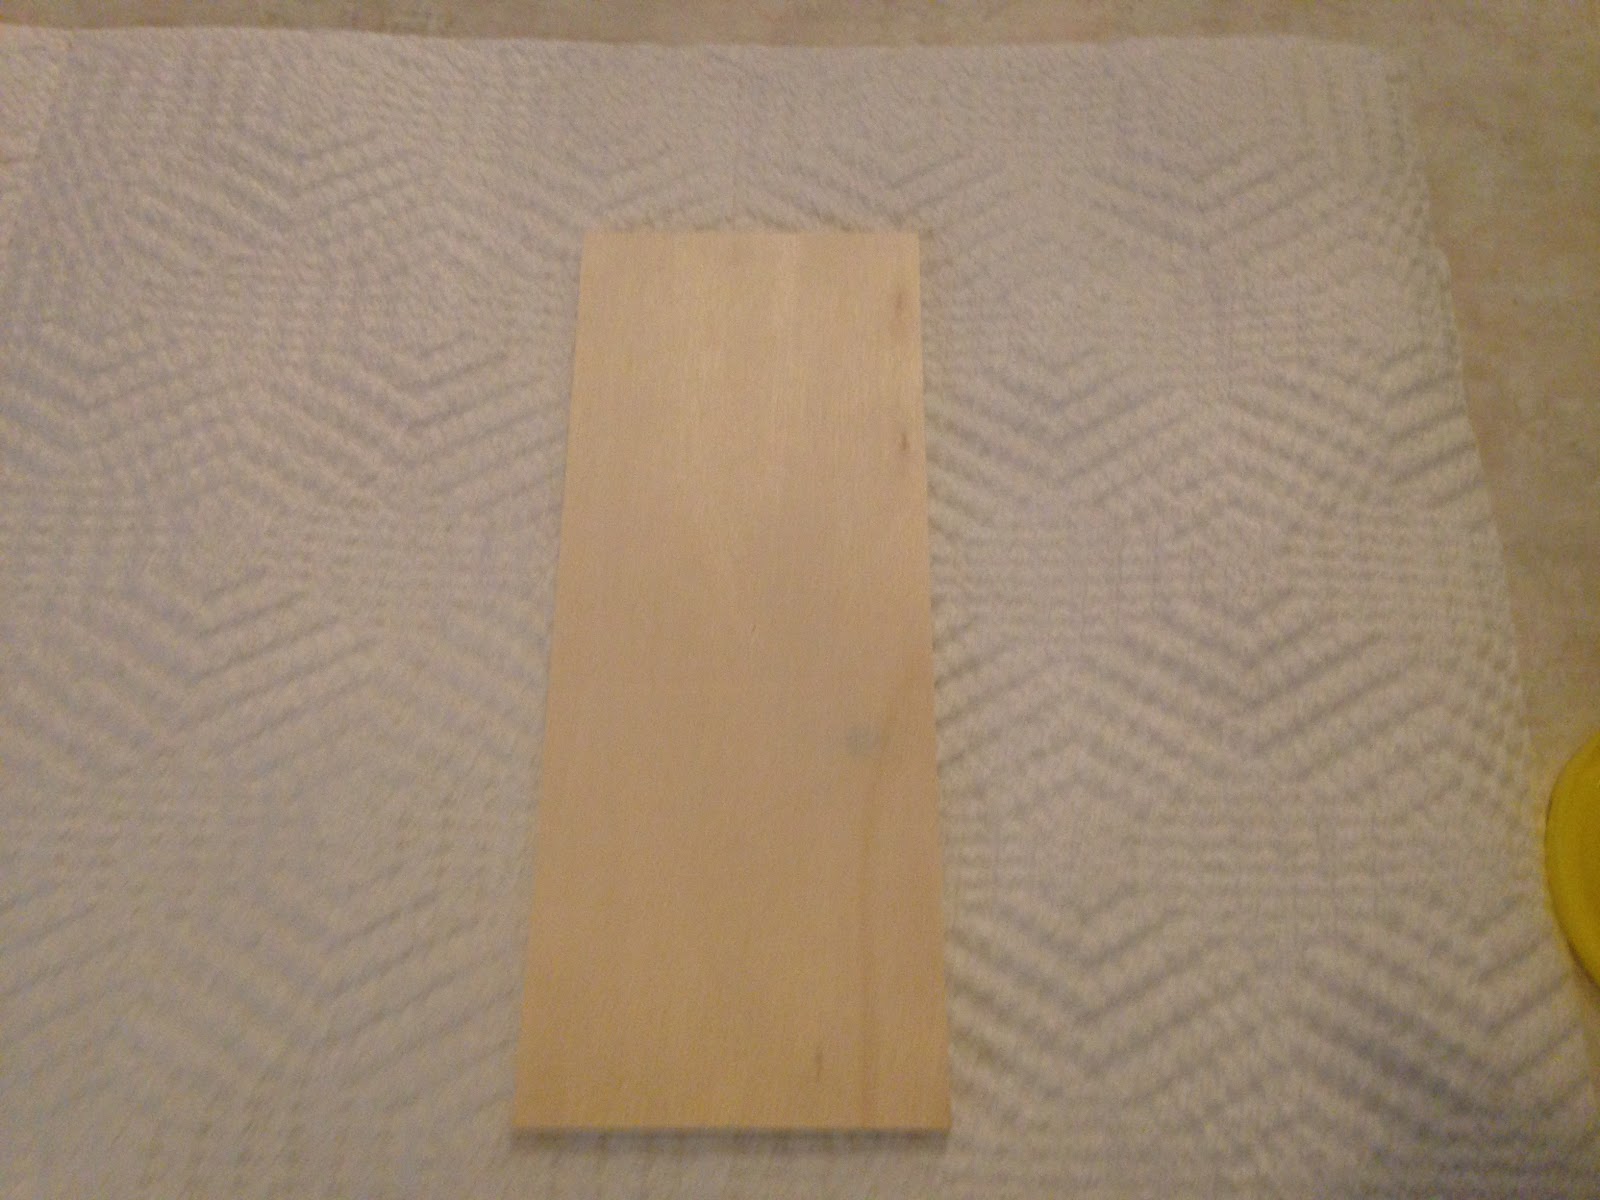
- Wood (I bought mine at JoAnn Fabrics in their wood supplies. It worked extremely well!)
- Leaf stencil
- Pencil
- Paint
- Red
- Orange
- Yellow
- Black
- Brown
- Green
- Orange glitter
- Water
- Paint container
- Paint brush
- Bristle
- Sponge
- Paper towel
- Hot glue
- Creativity
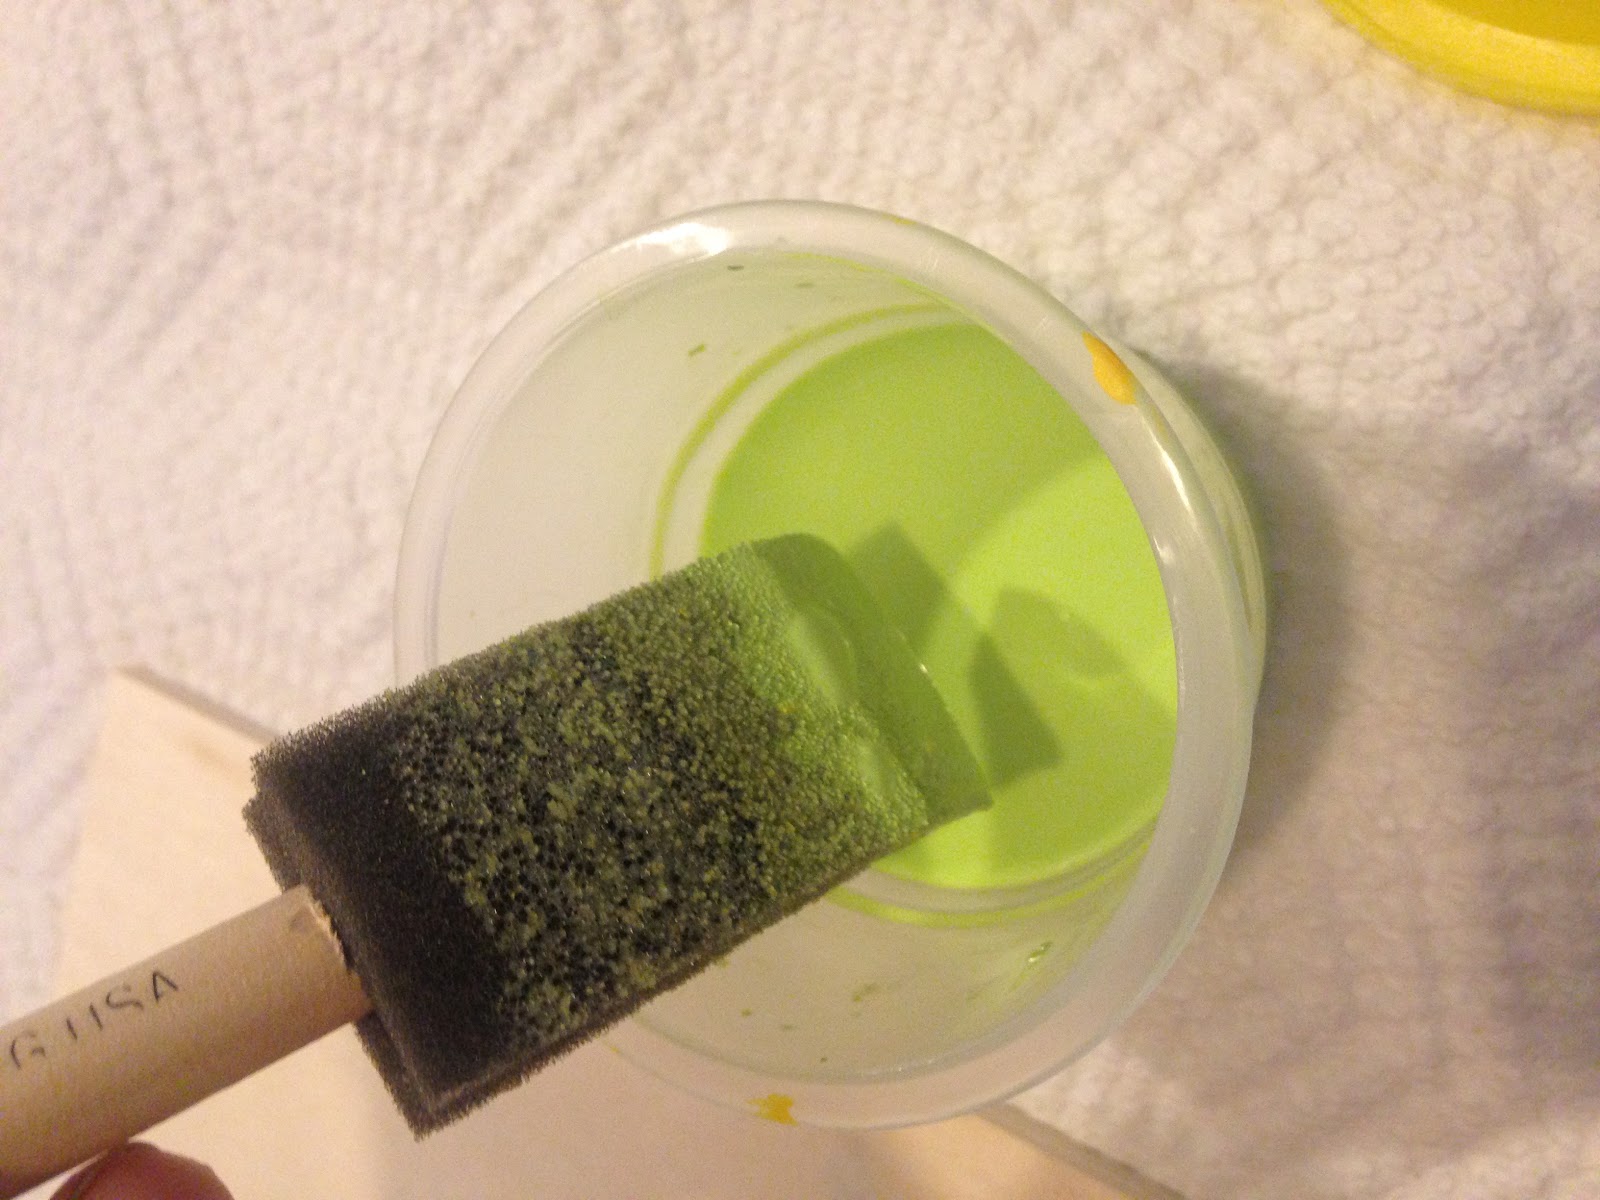
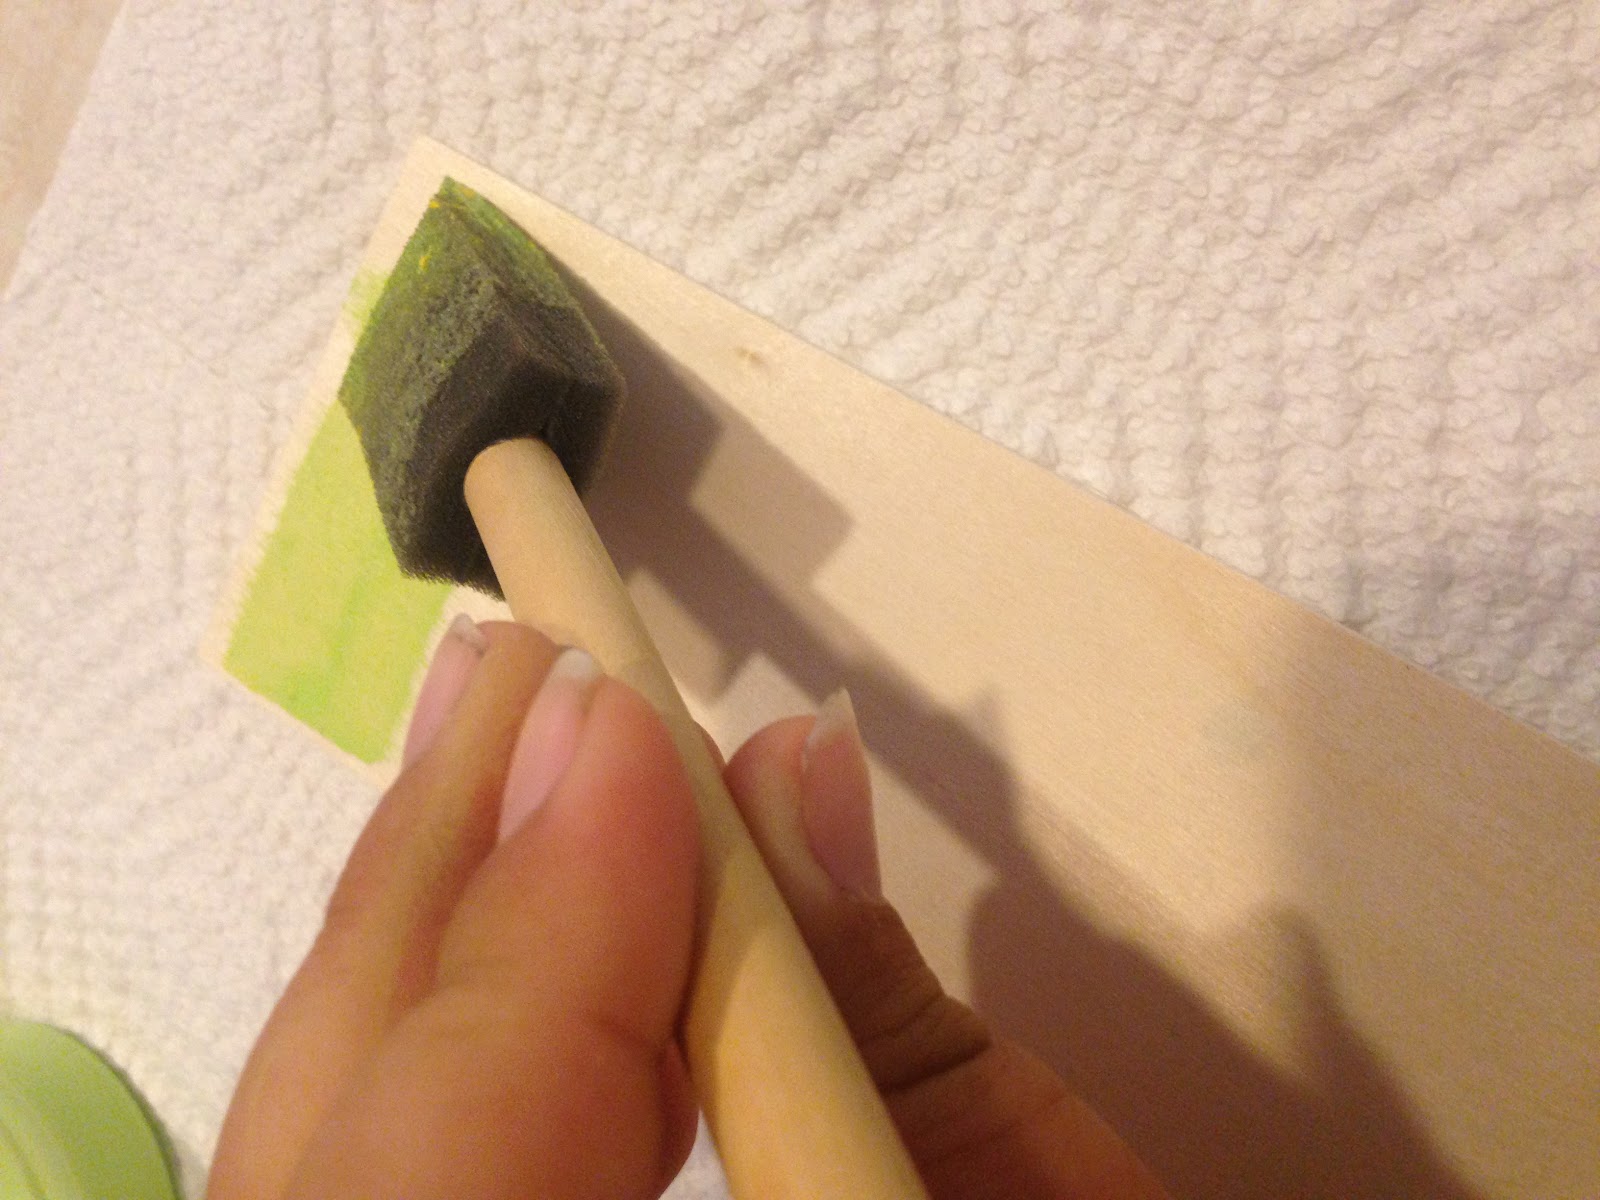
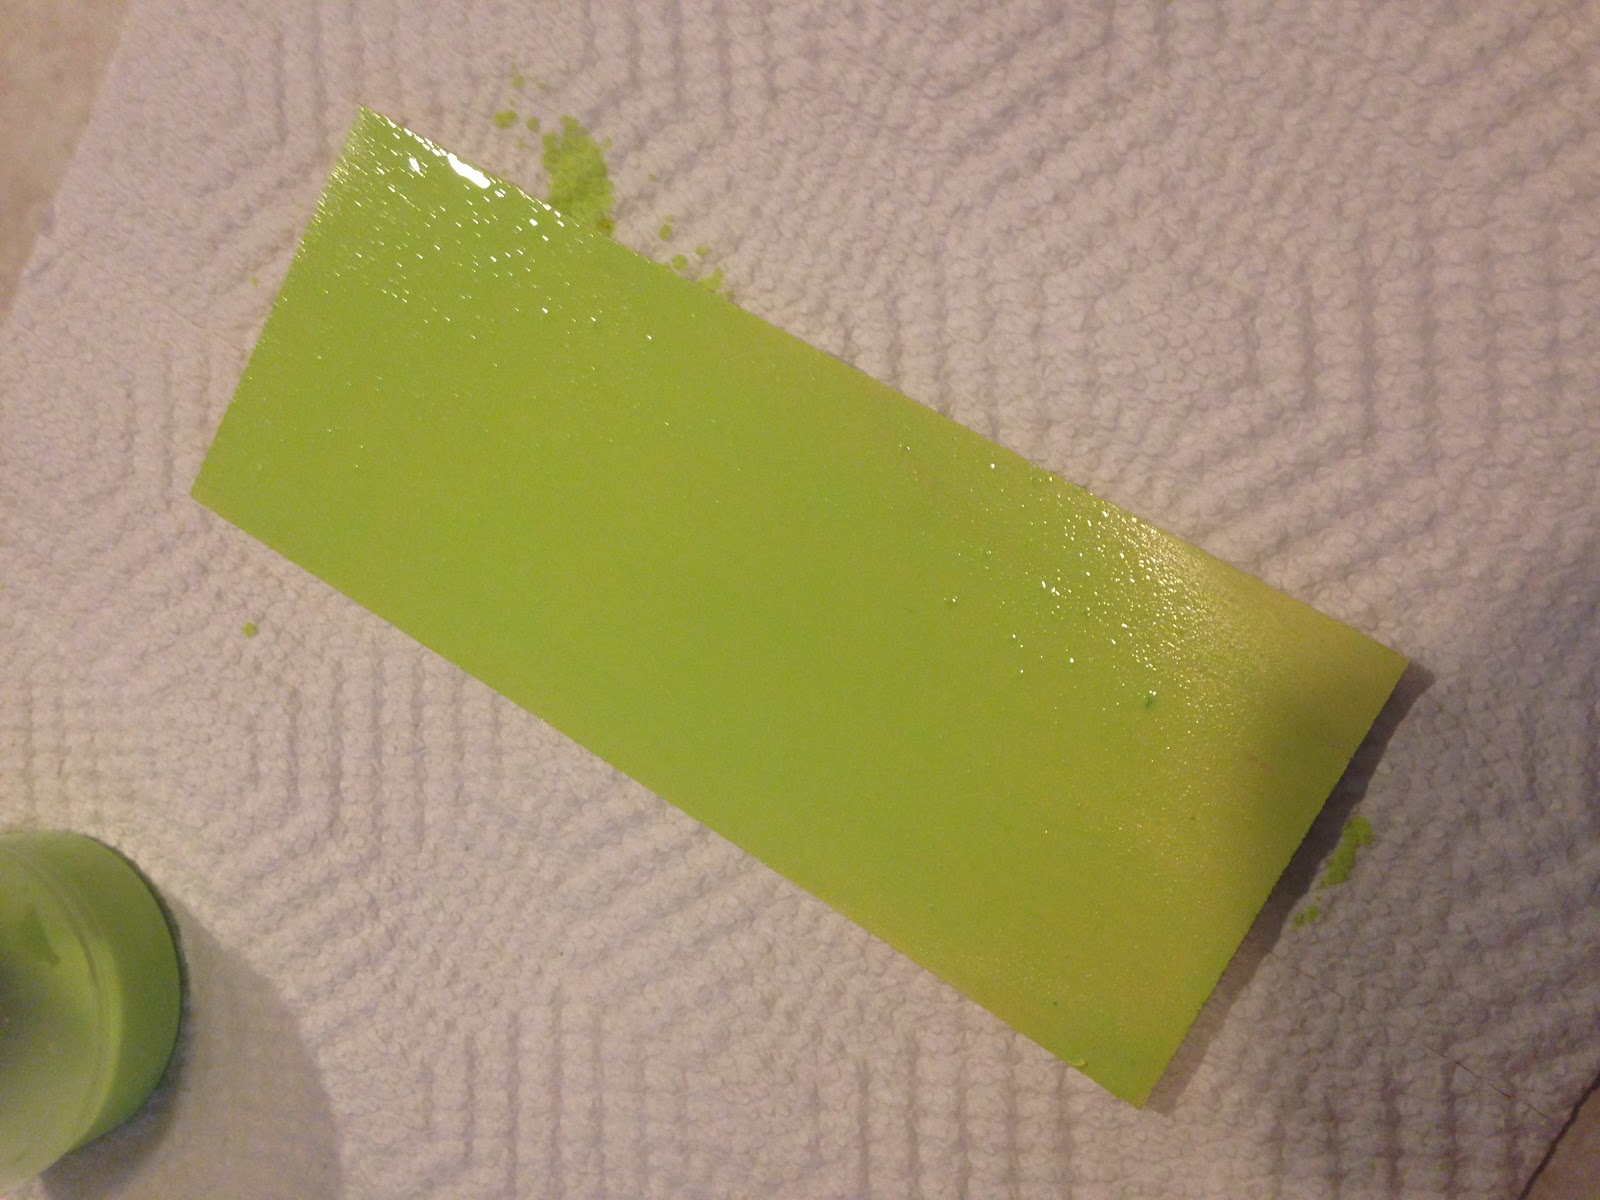
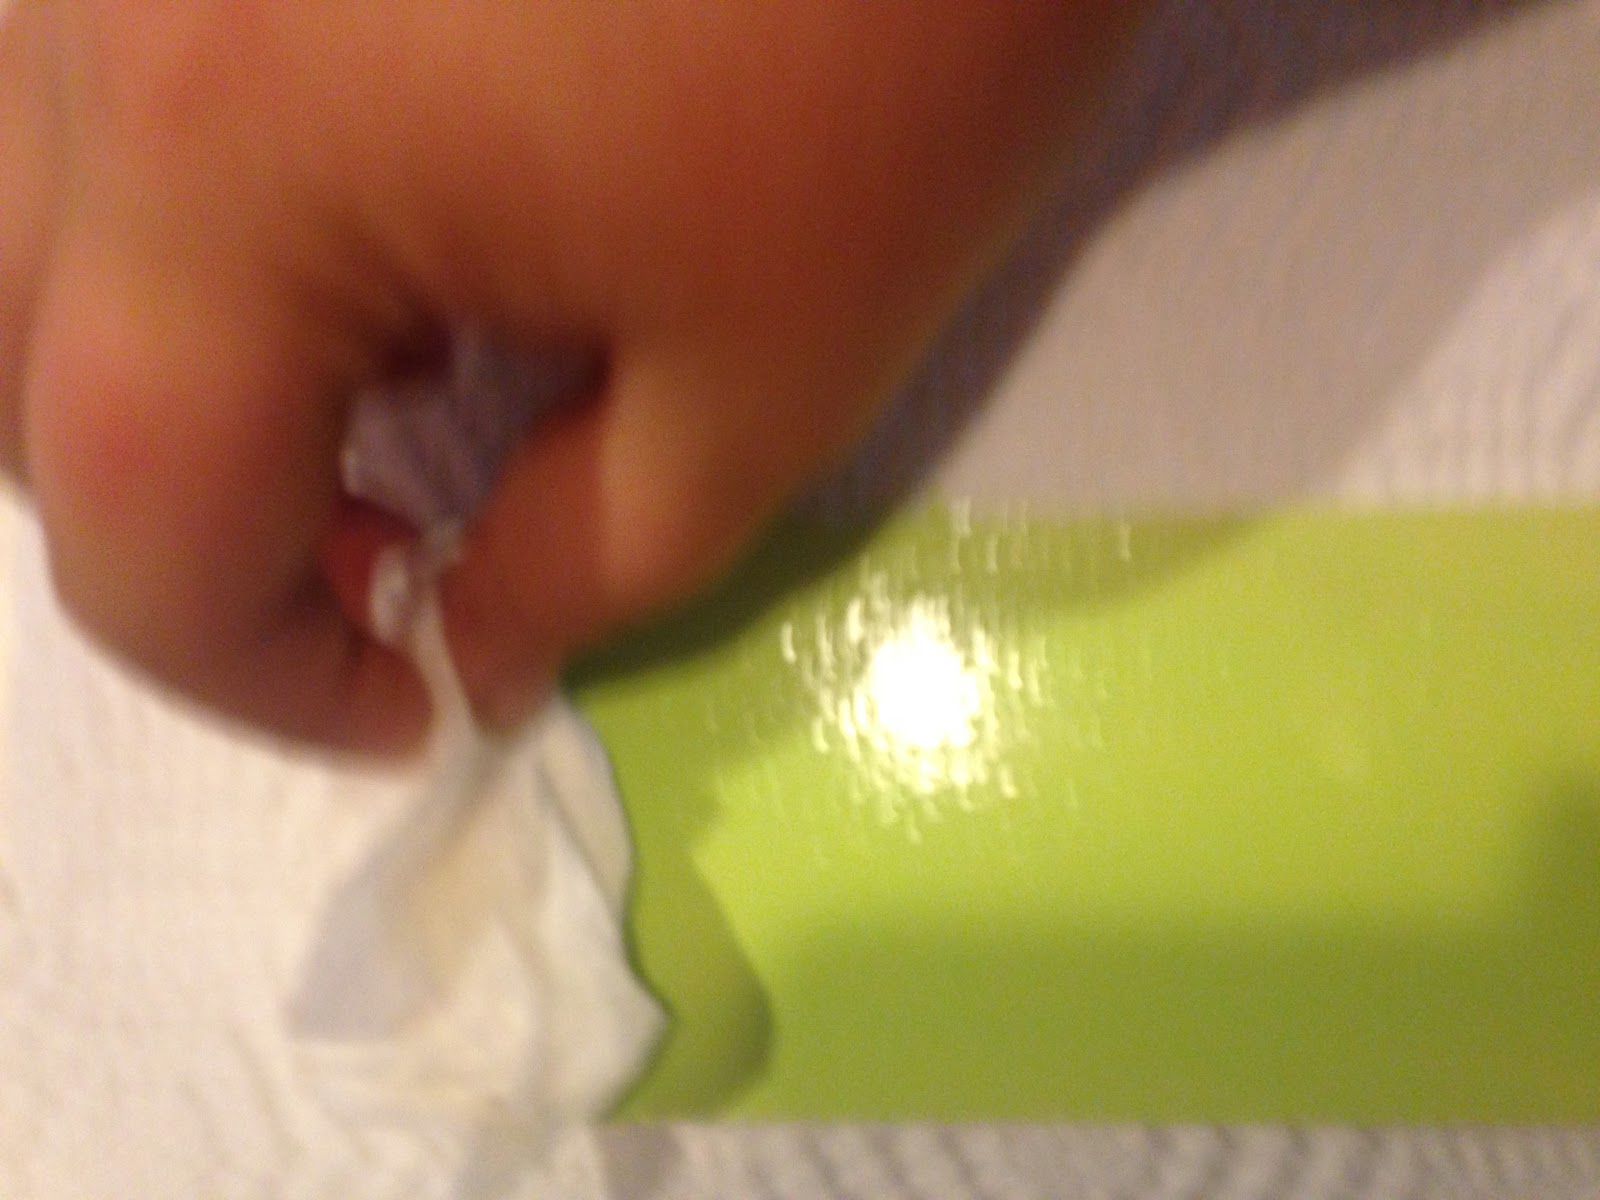
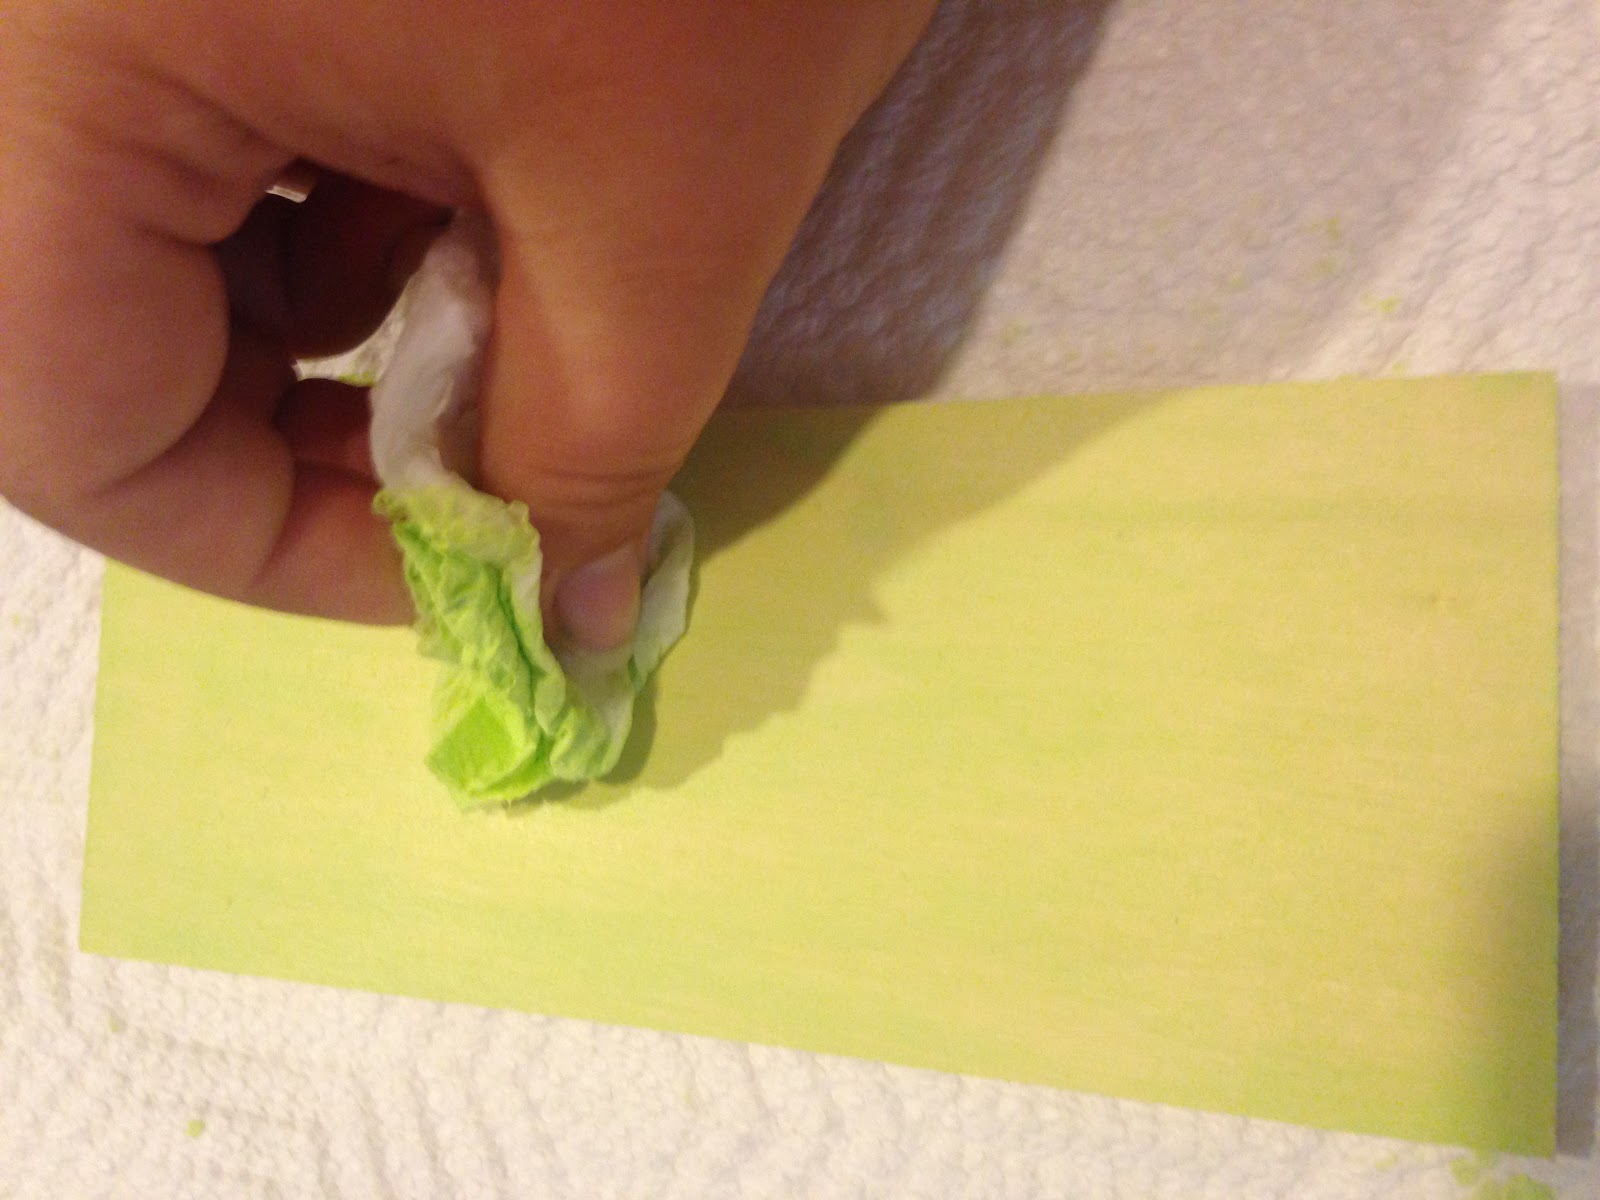
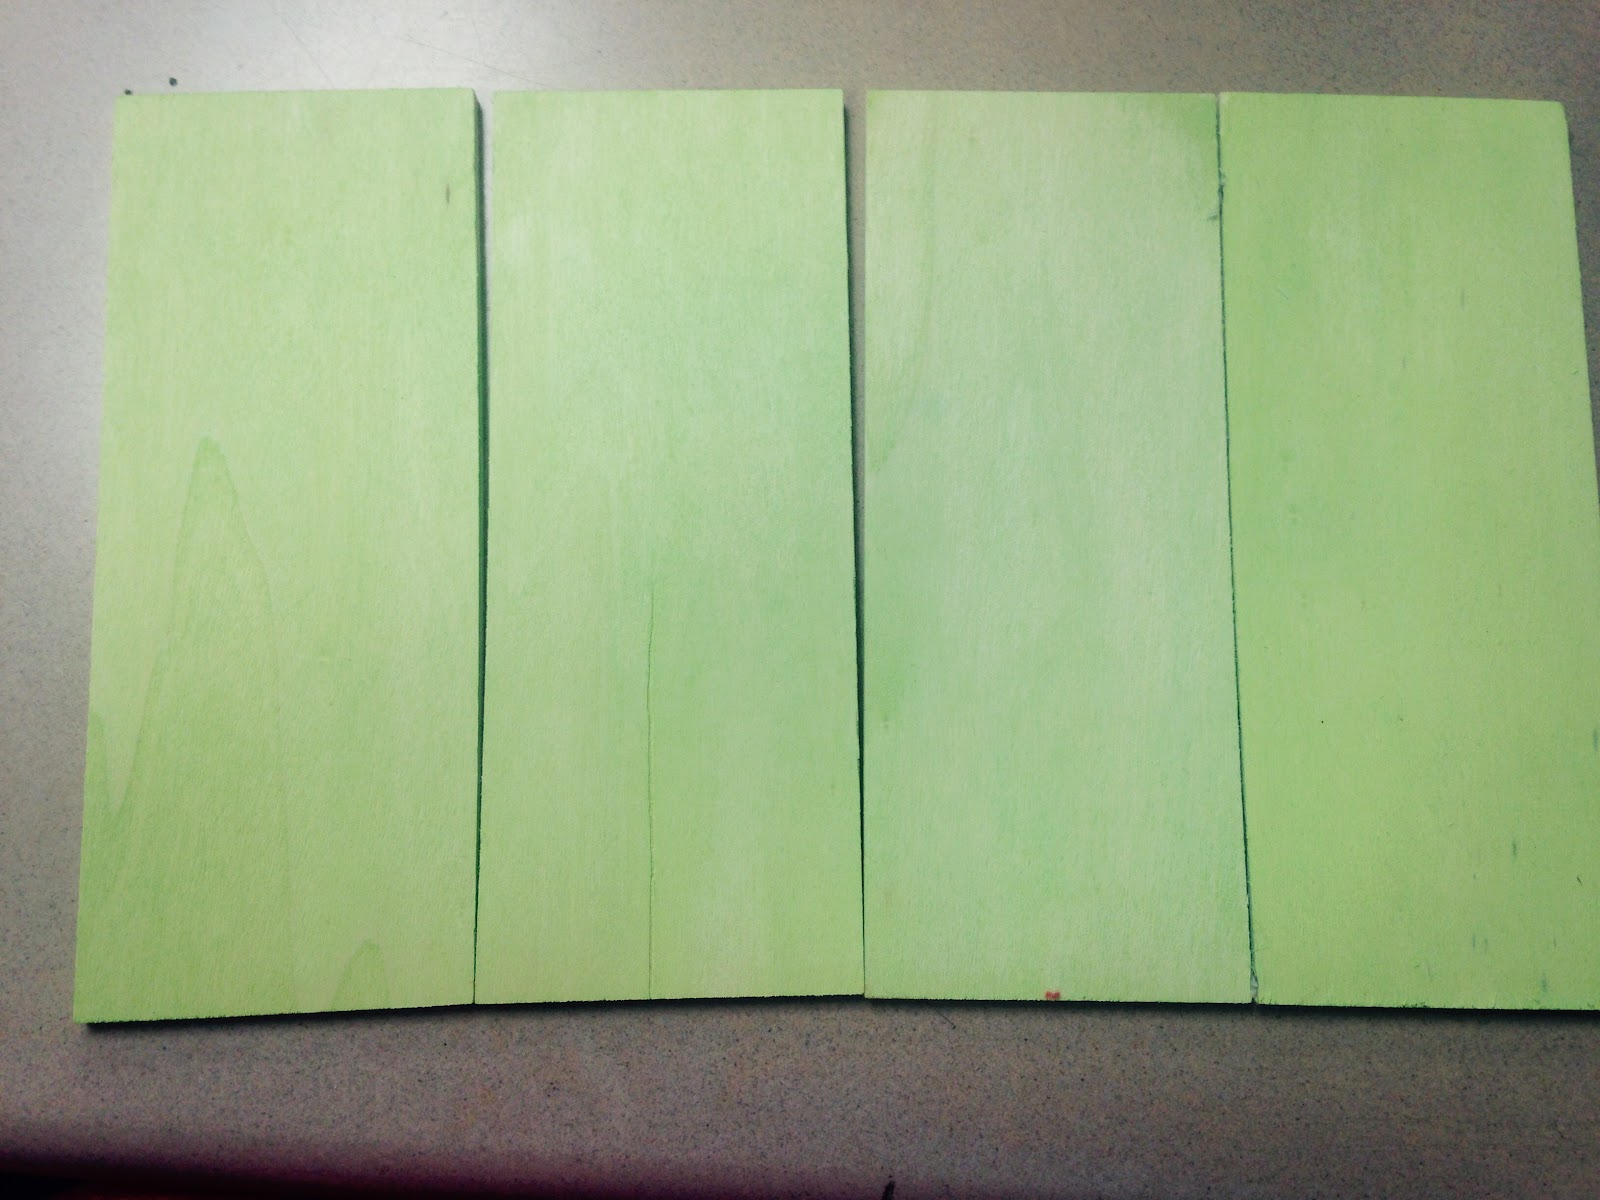
Let’s begin! Take your green paint and put a small amount of paint into a paint container. Add water it until the paint is extremely thin, almost like colored water. Use a sponge brush to apply the paint onto the wood. Using a paper towel, wipe off the paint, so the wood becomes stained. Let the paint dry overnight.
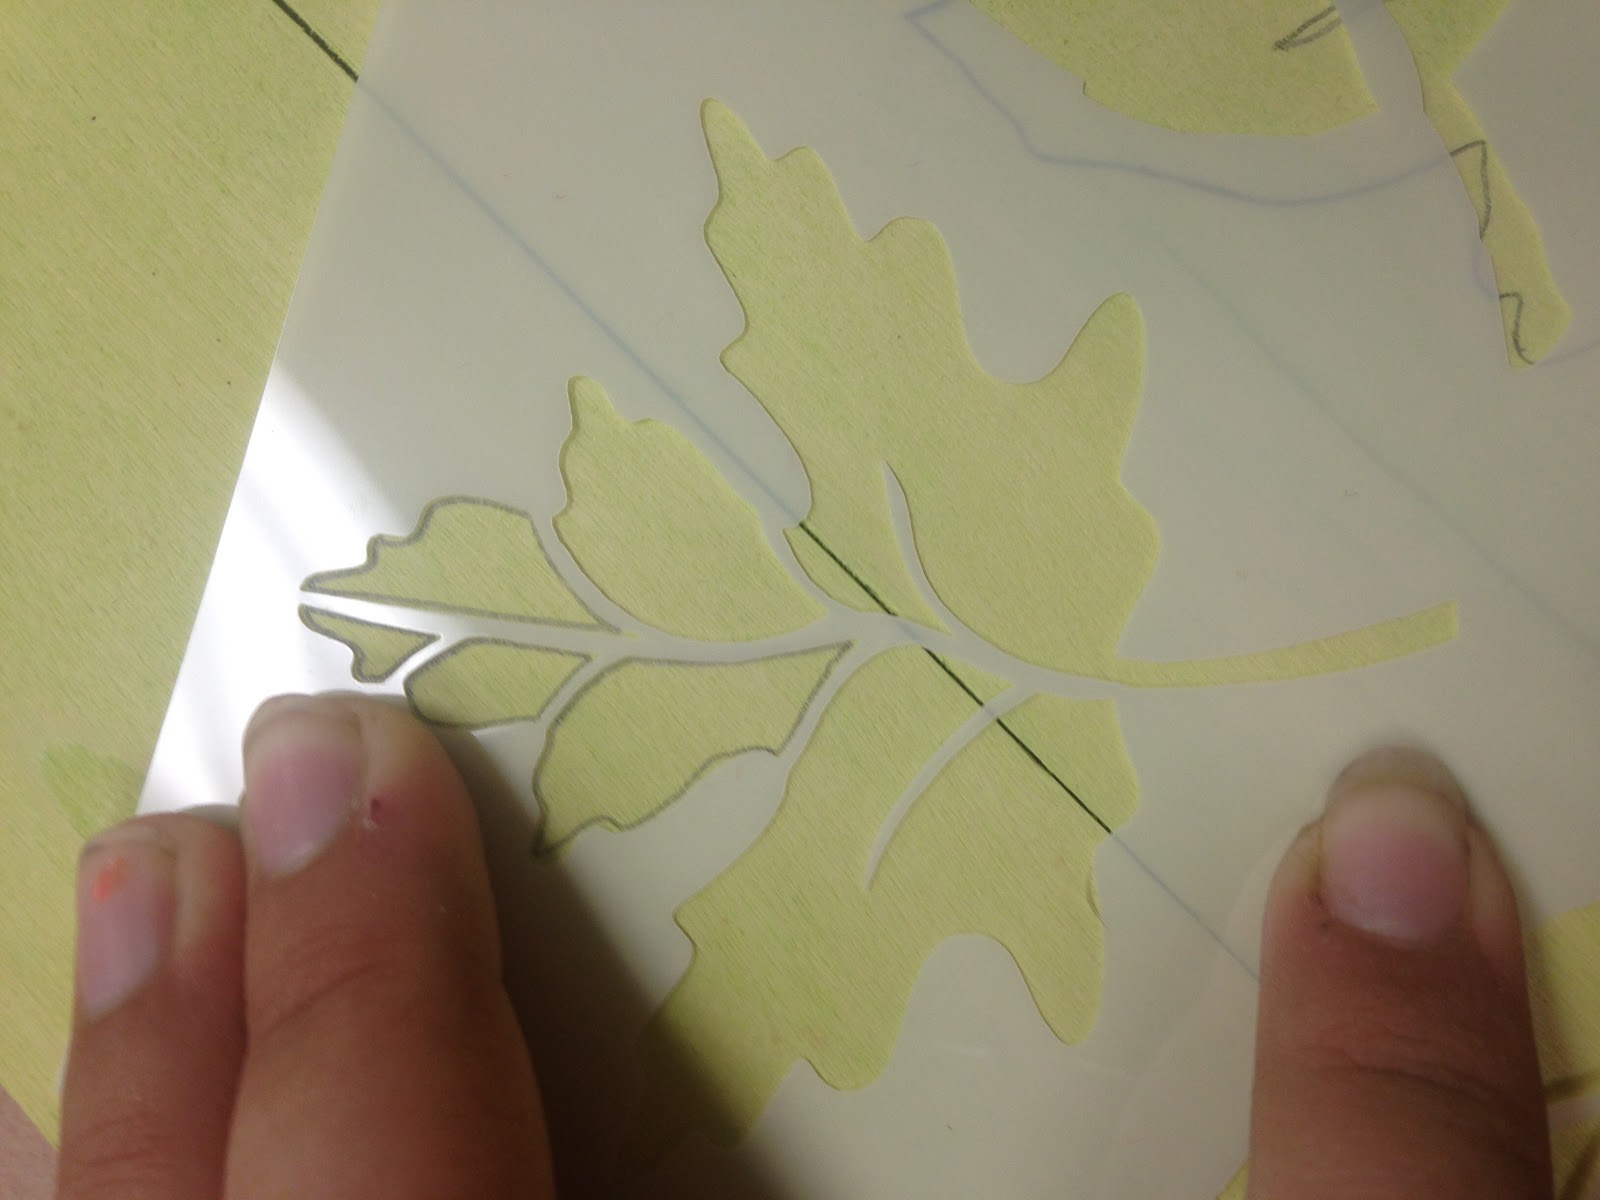
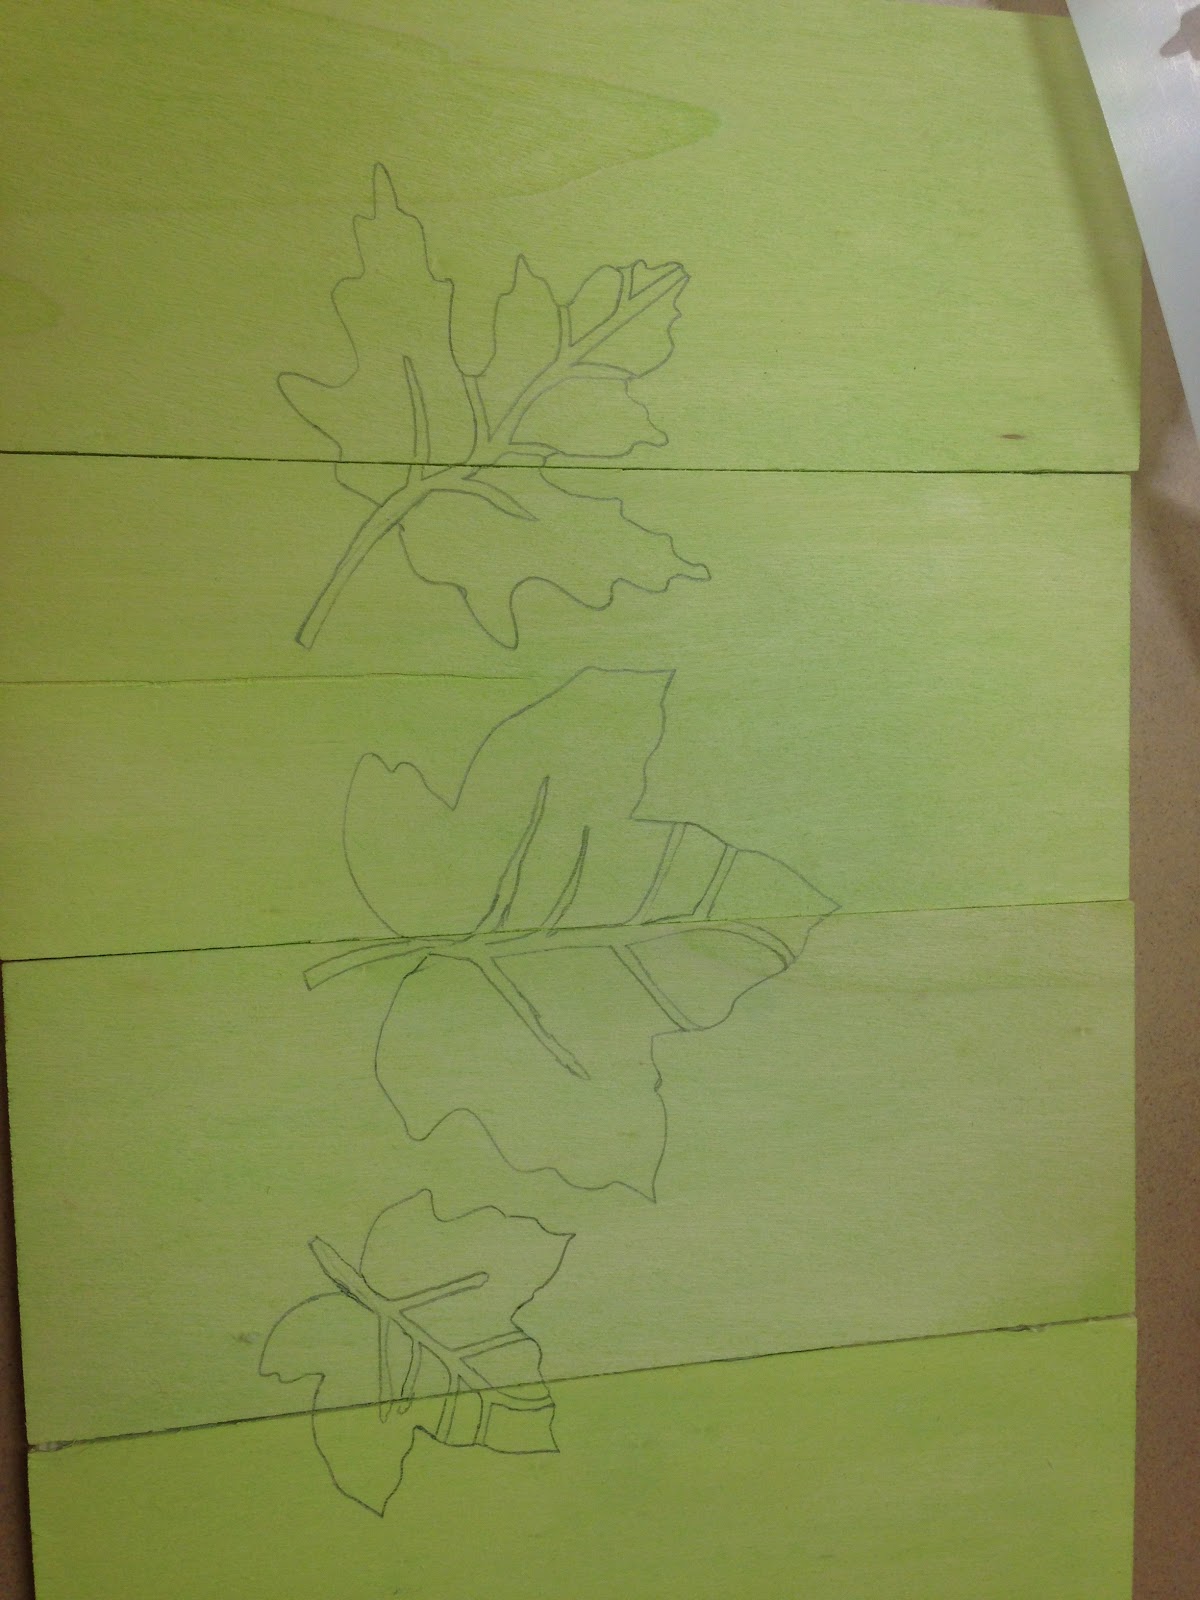
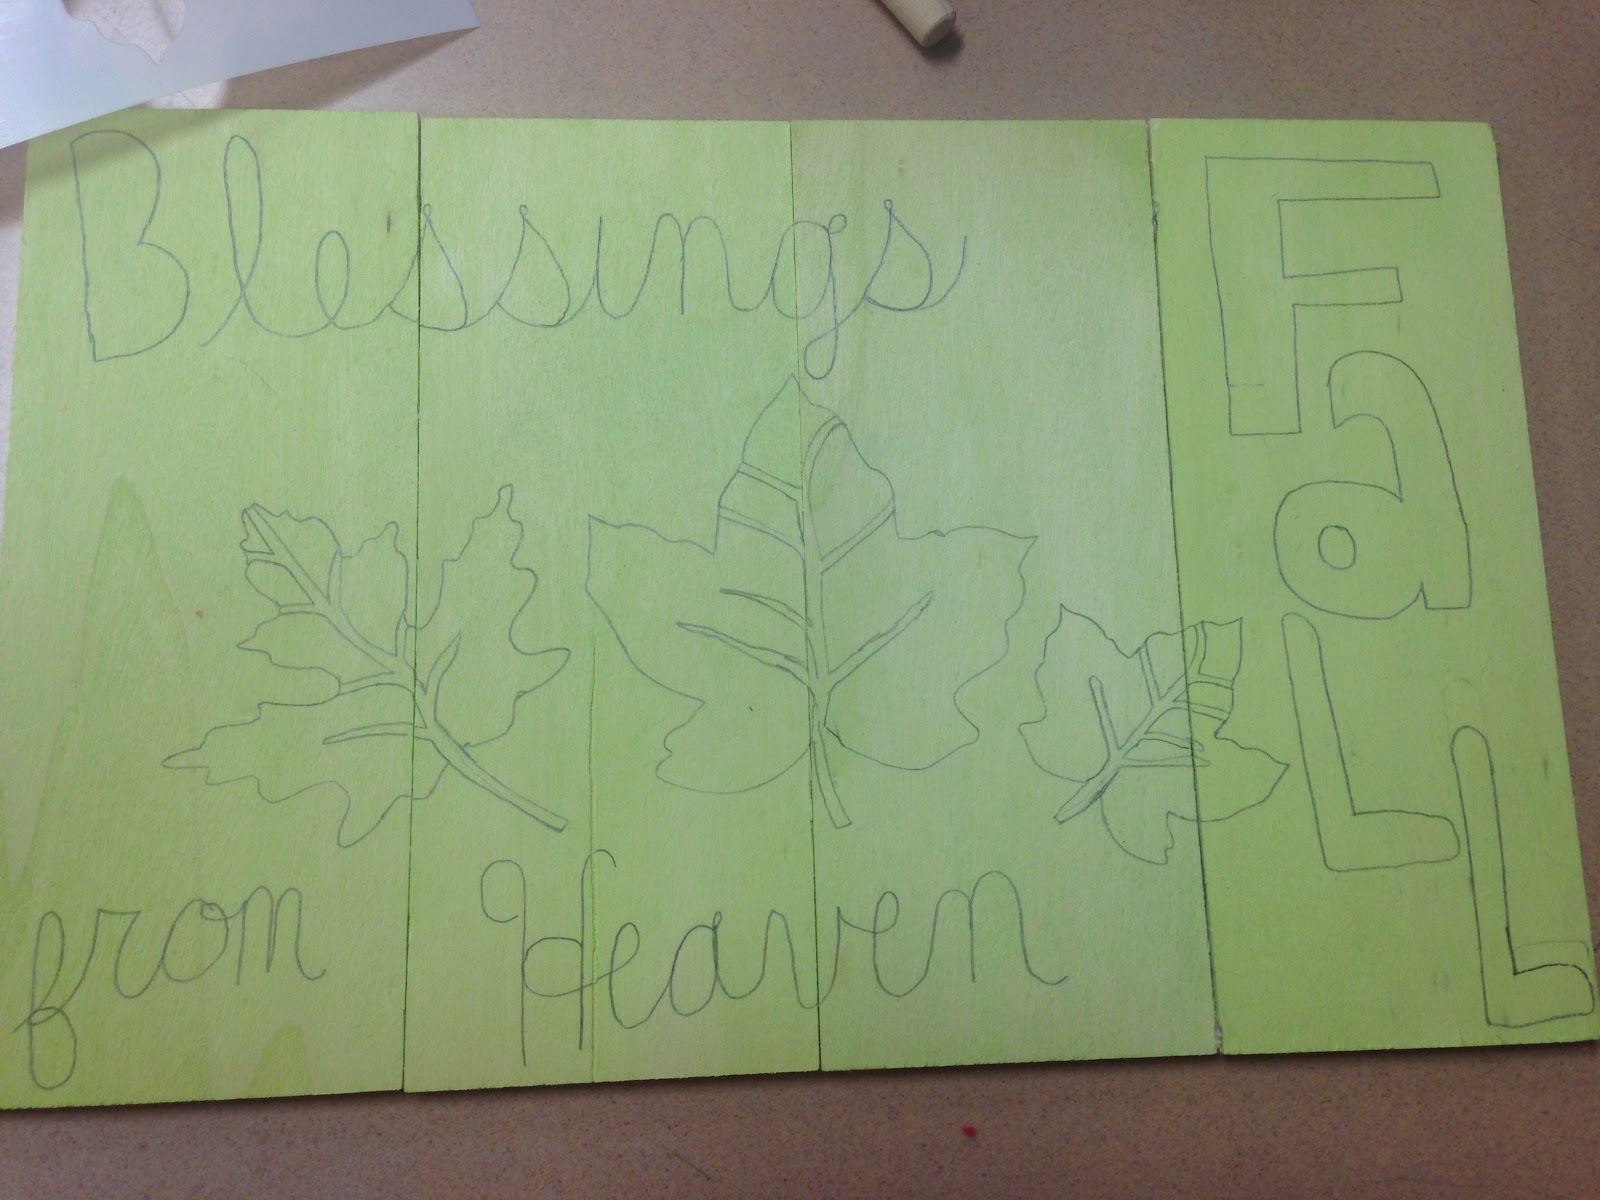
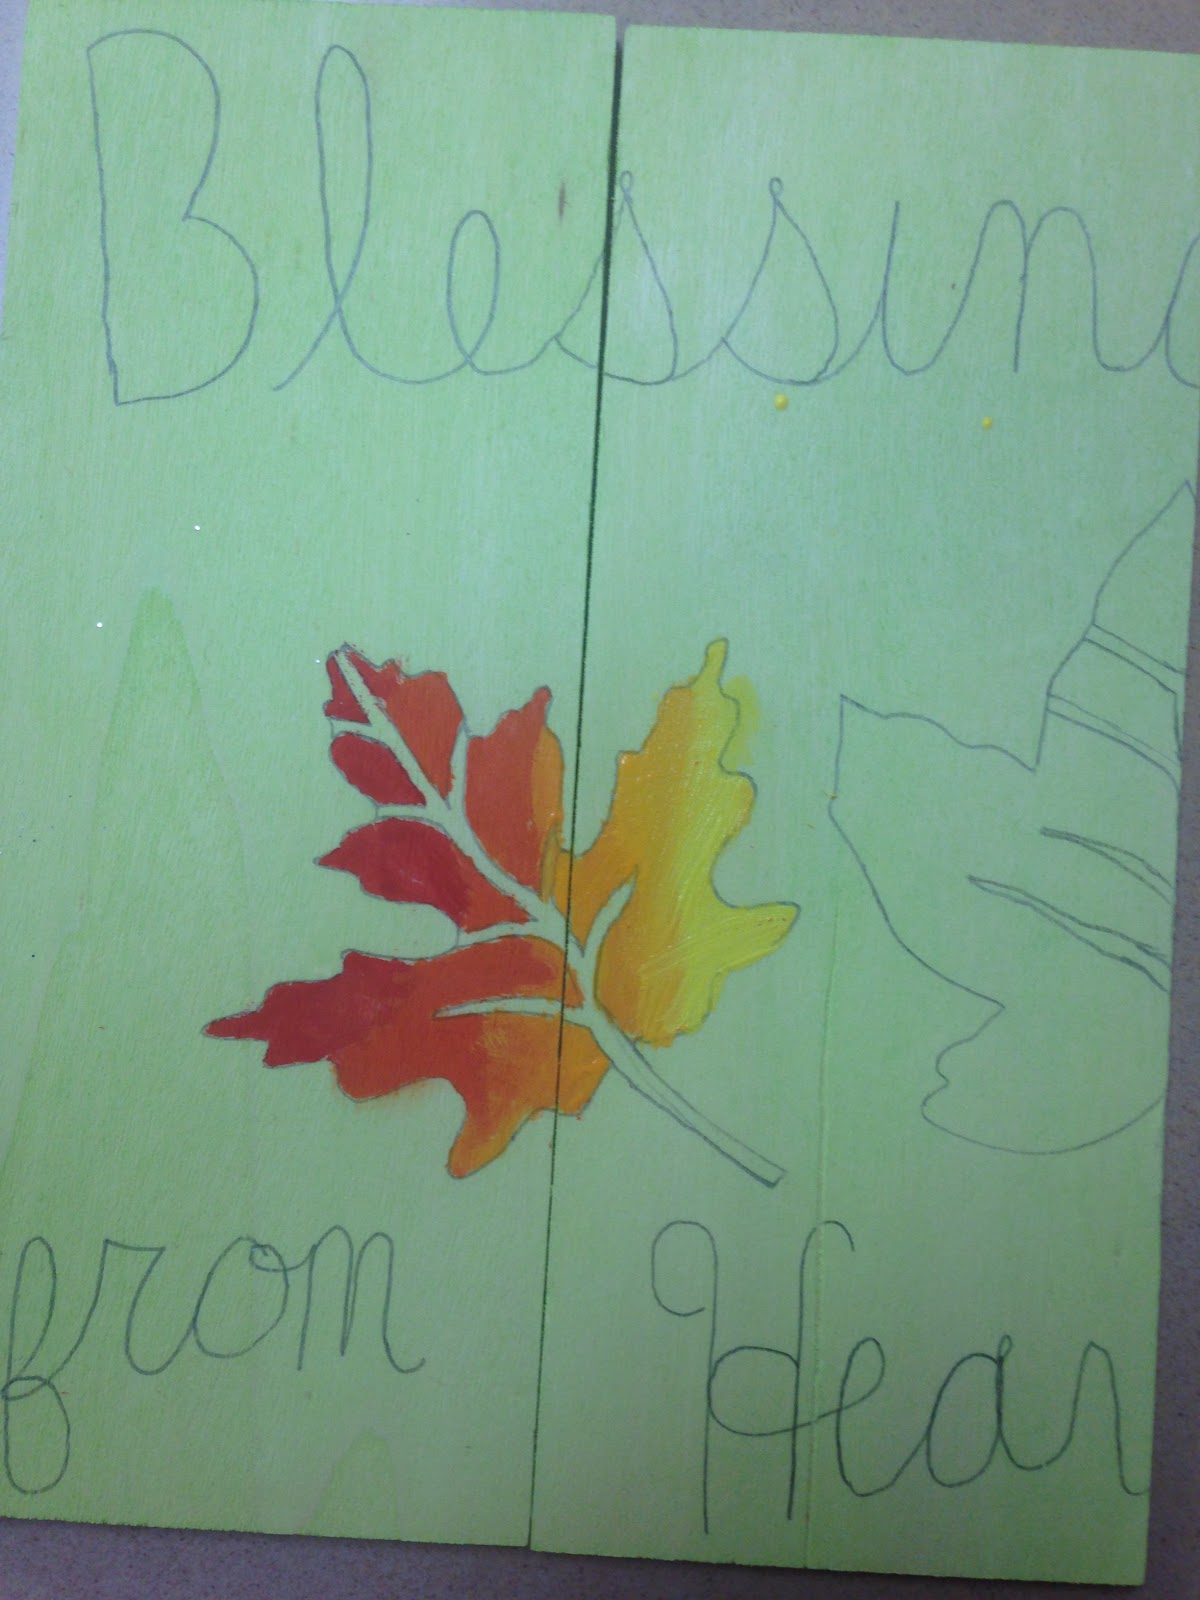
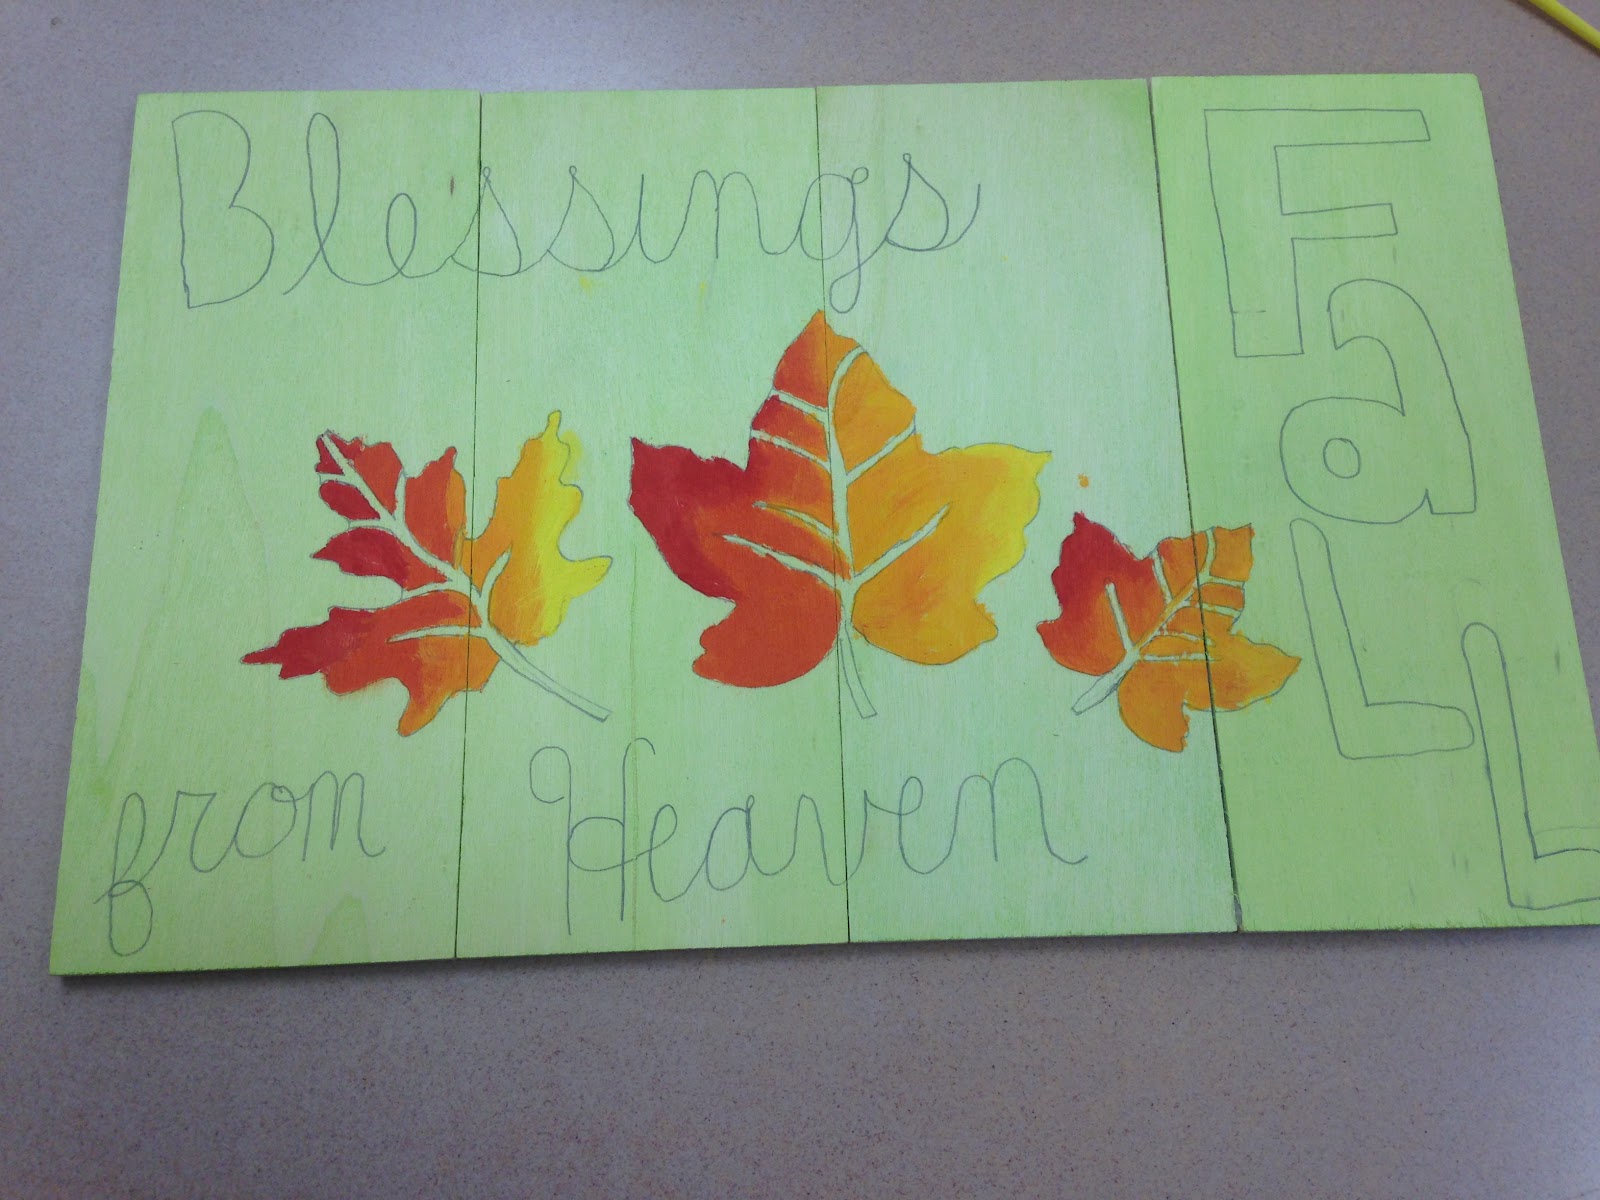
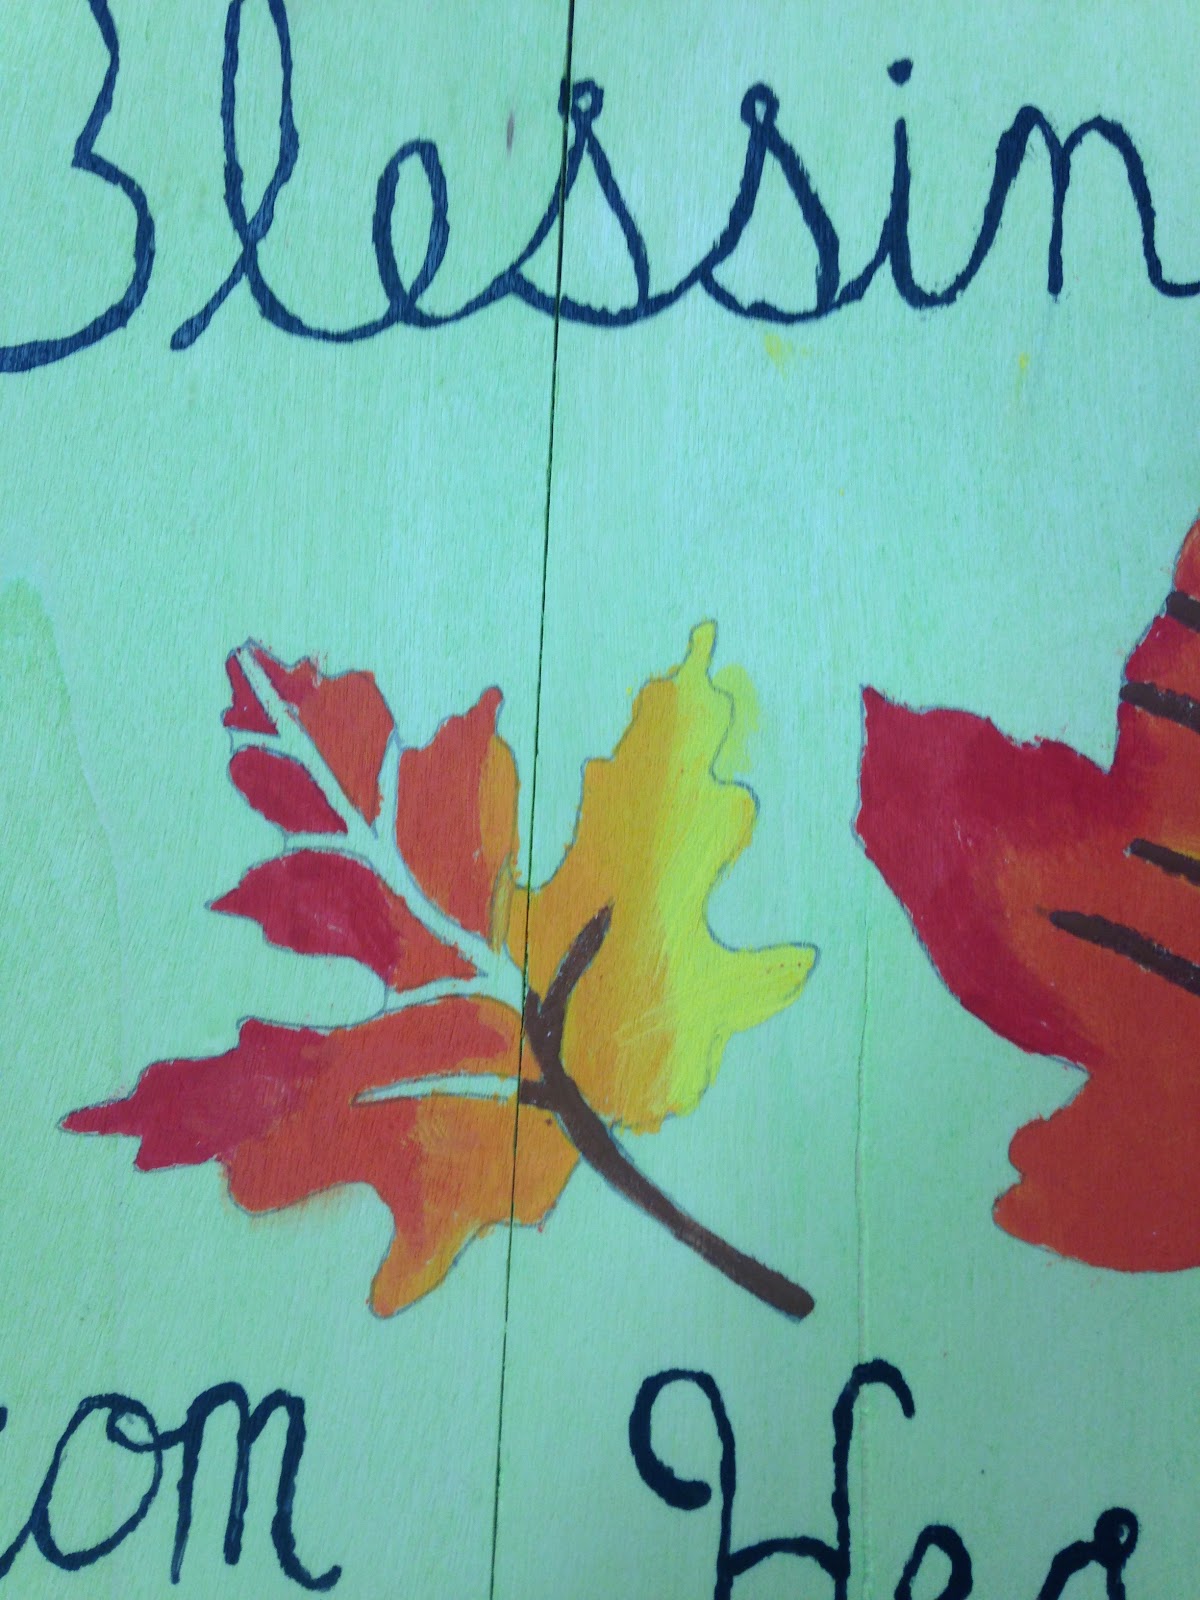
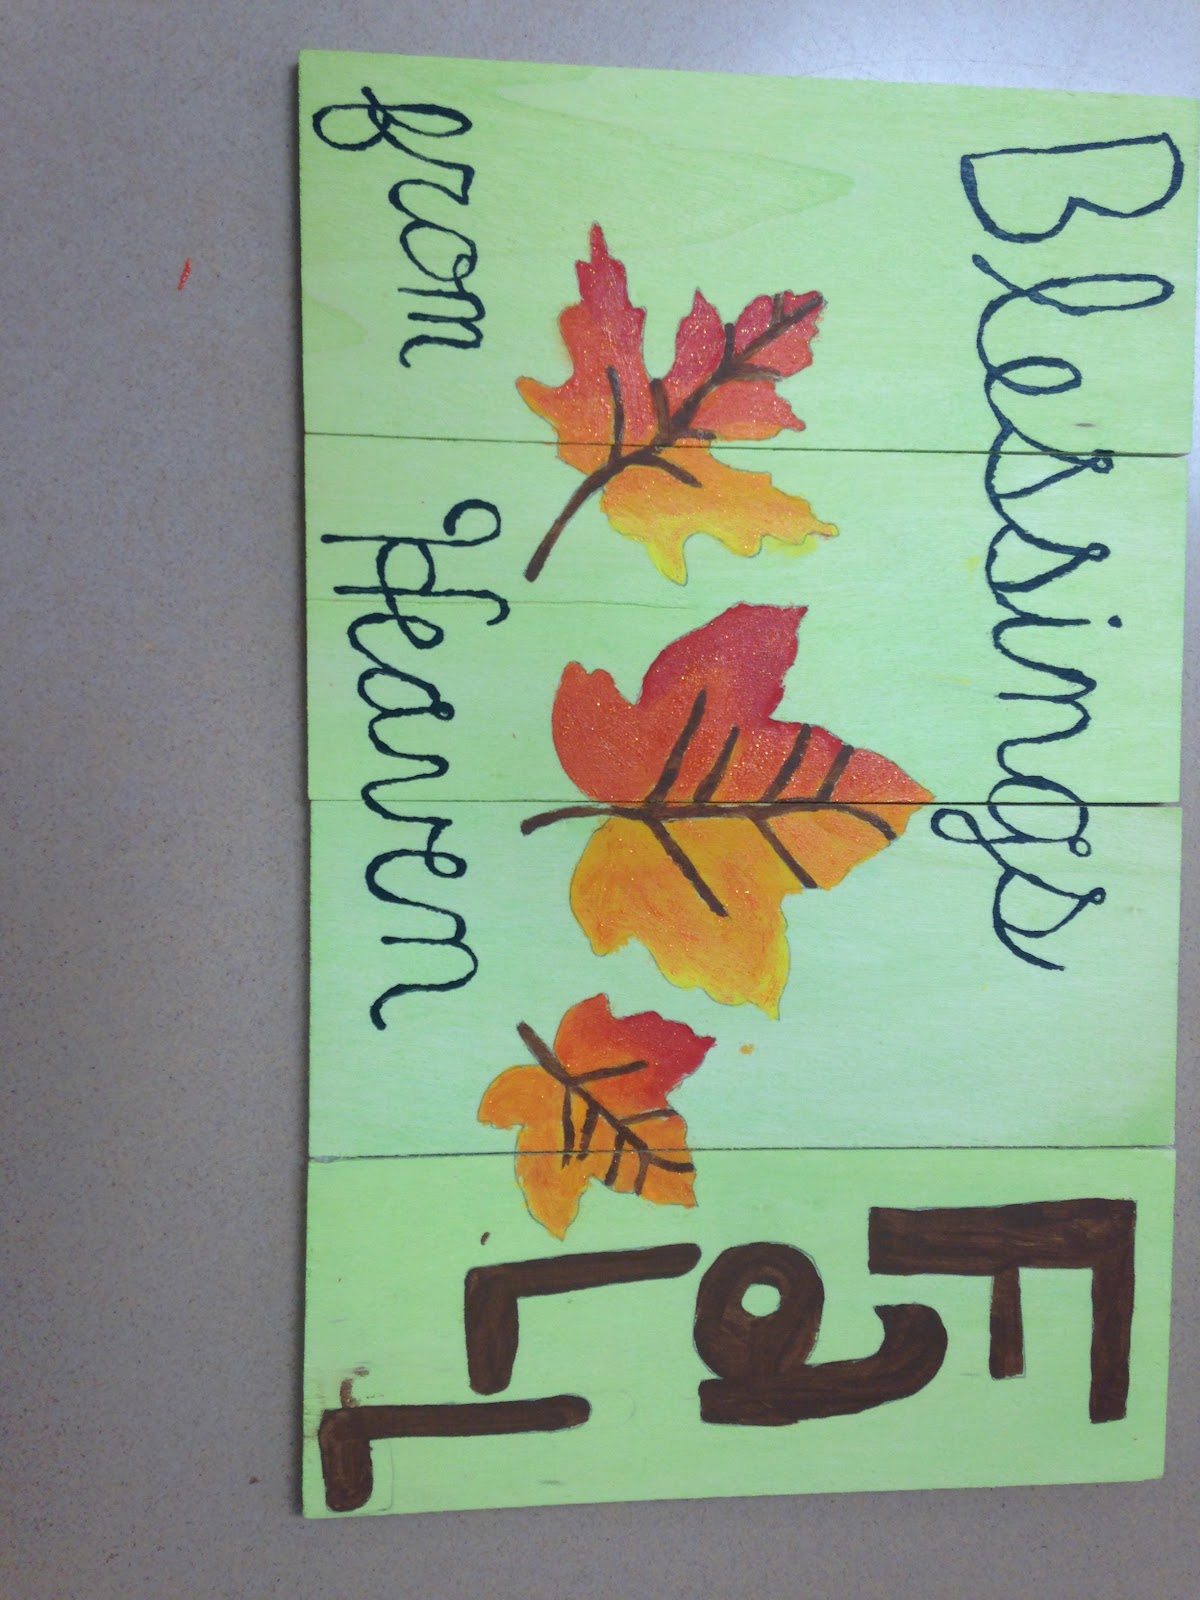
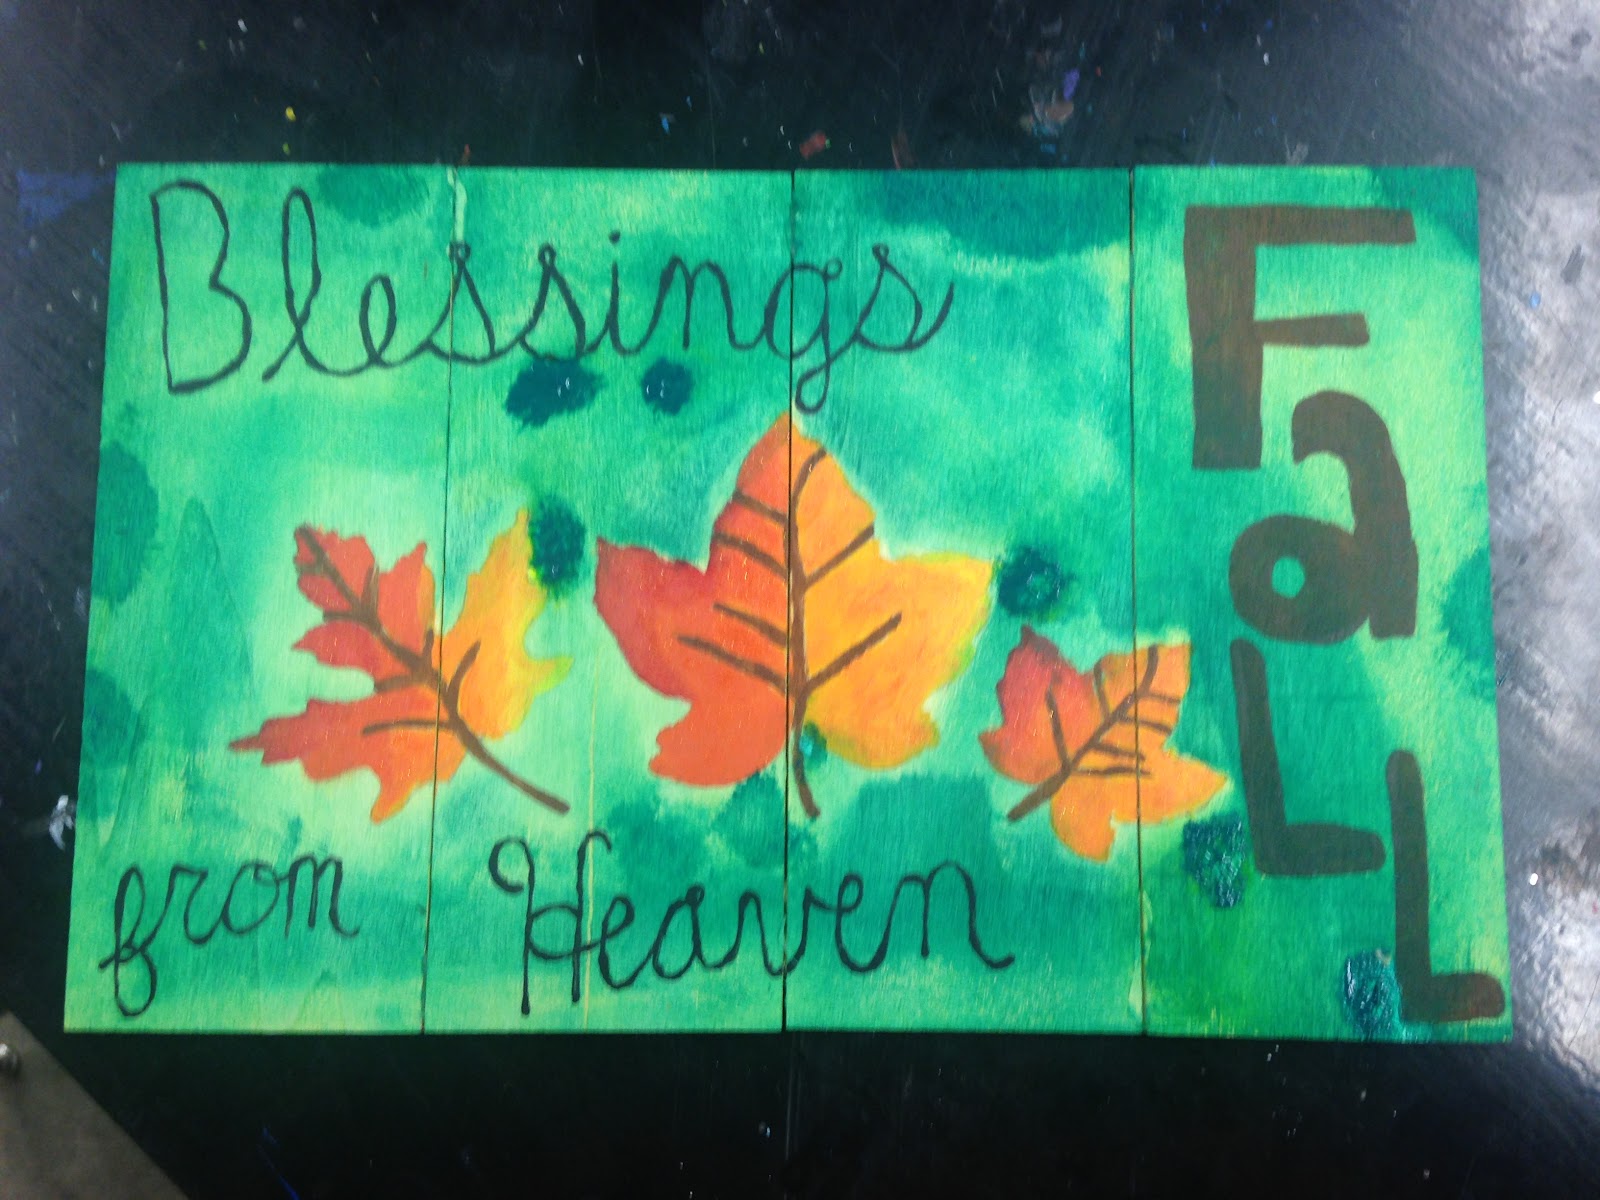
Once the paint is dry, use a pencil and the stencil to trace a leaf. You can do many or just one. This is where your creativity comes in. For my project, I decided to have a large leaf in the center, a small one on the right side, and a medium sized one on the left side. After you decide on the leaves, you will want write “Blessings Fall from Heaven” around the leafs. Again, it is up to you and your creativity on where you put them. Once you draw them, you can start painting.
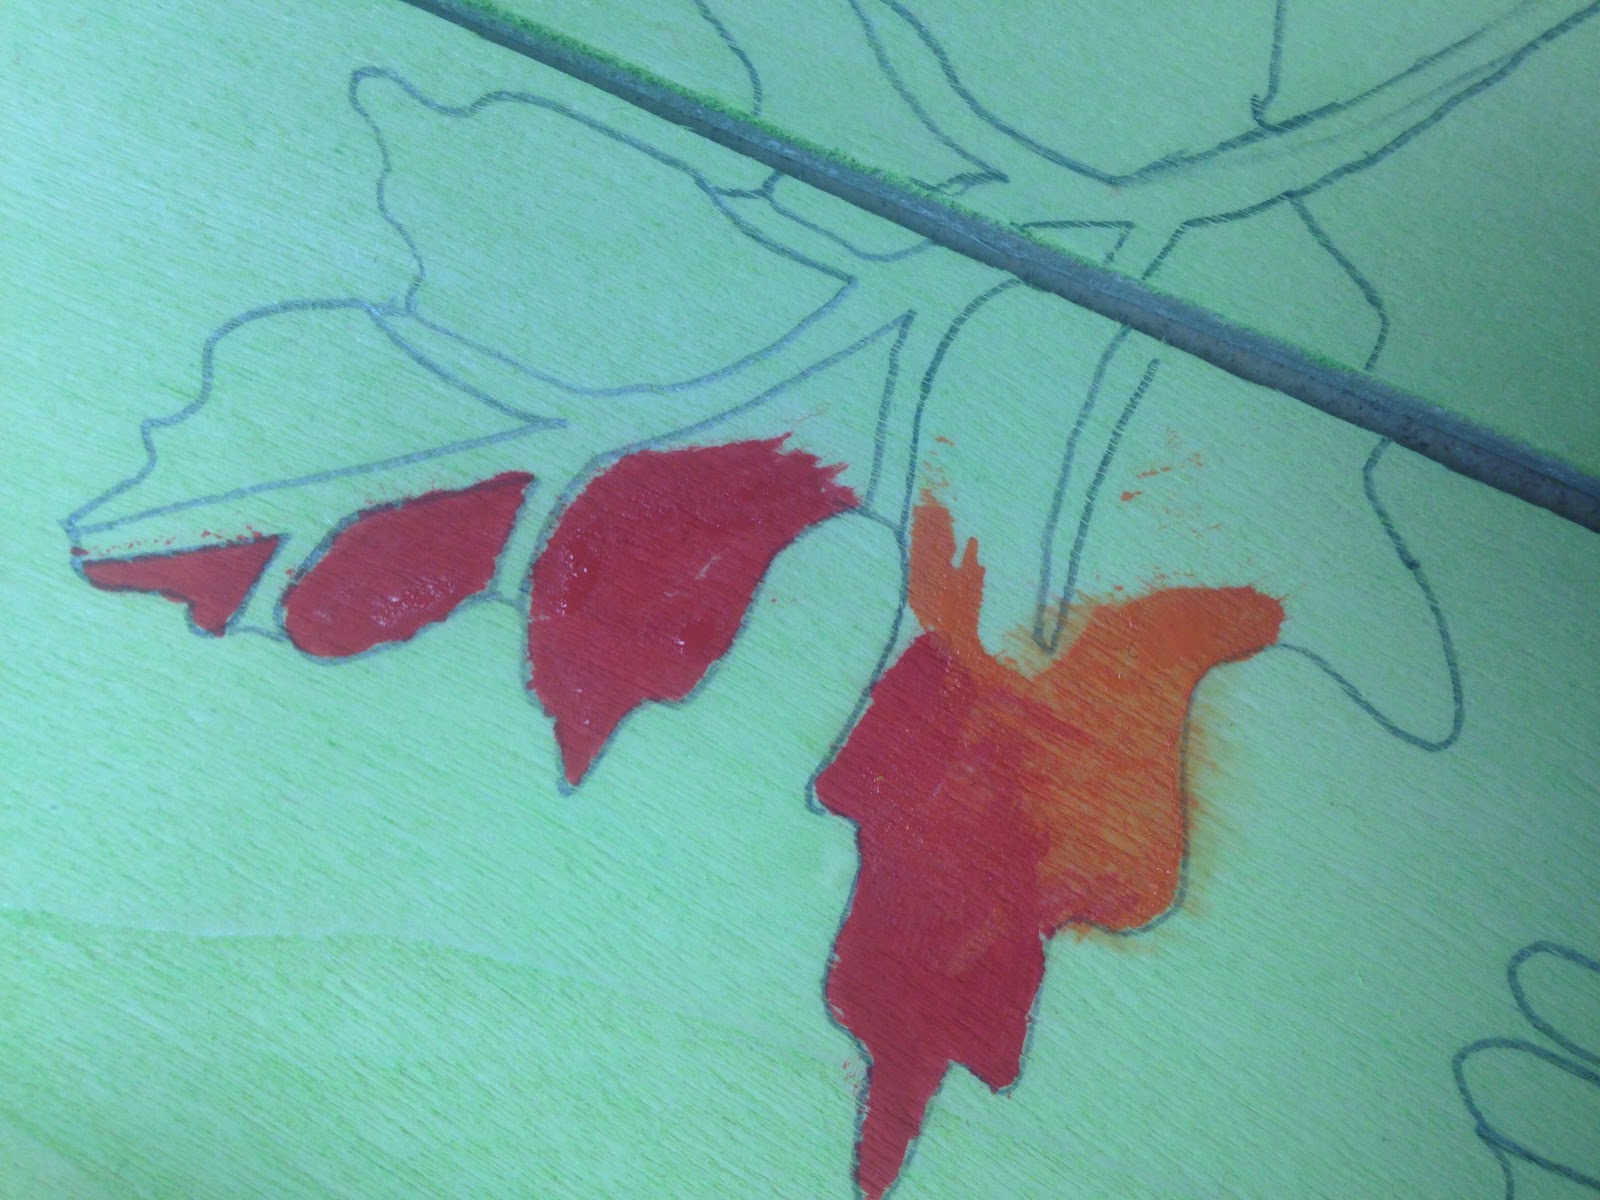
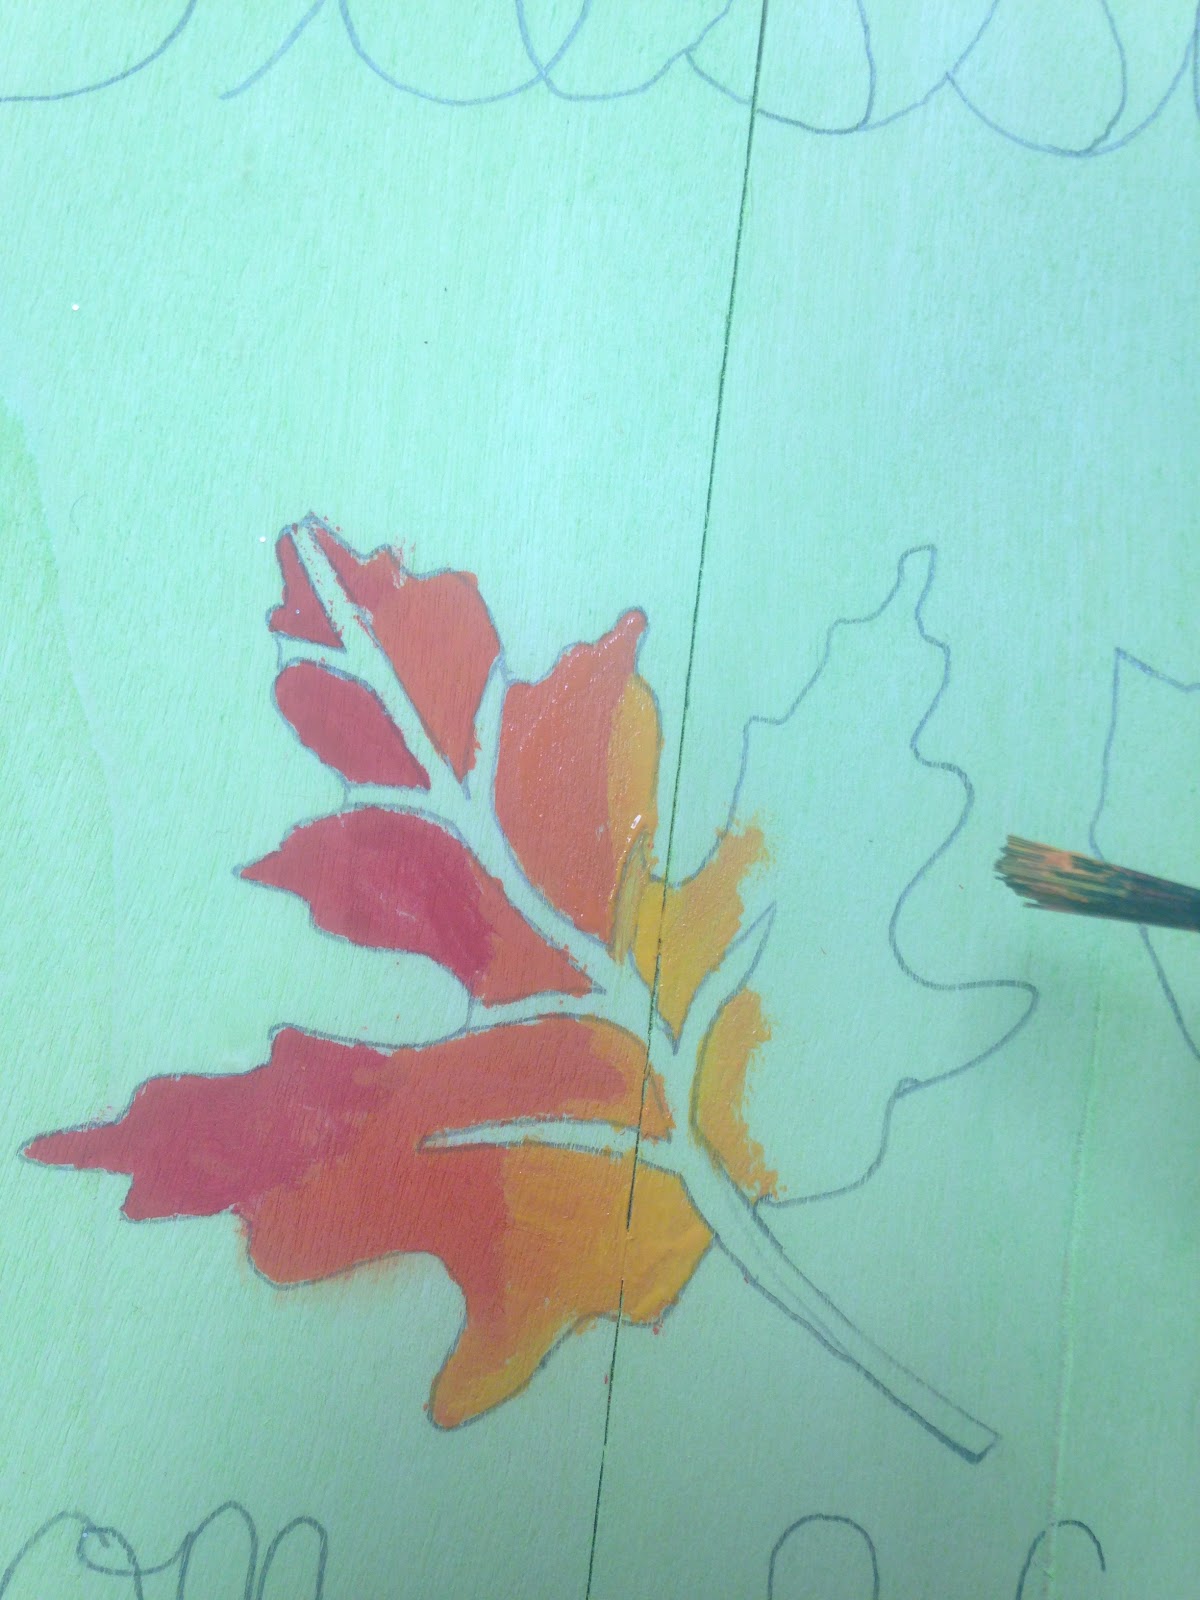
First of all, you want to decide what color you want your leafs to be. Again, it is totally up to you and your style of what you want your leaves to look like. For this project, I decided to have an ombre of red to yellow. I started out with the red paint, painted part of it, added orange to the red, painted more of the leaf, then I did plain orange. After the orange, I added a small amount of yellow to it, and painted more of the leaf, and finally, I finished it up with plain yellow. I then used a clean paint brush to blend the colors together so it created a more natural look. Once the colorful part of the leaves are done, I waited for them to dry.
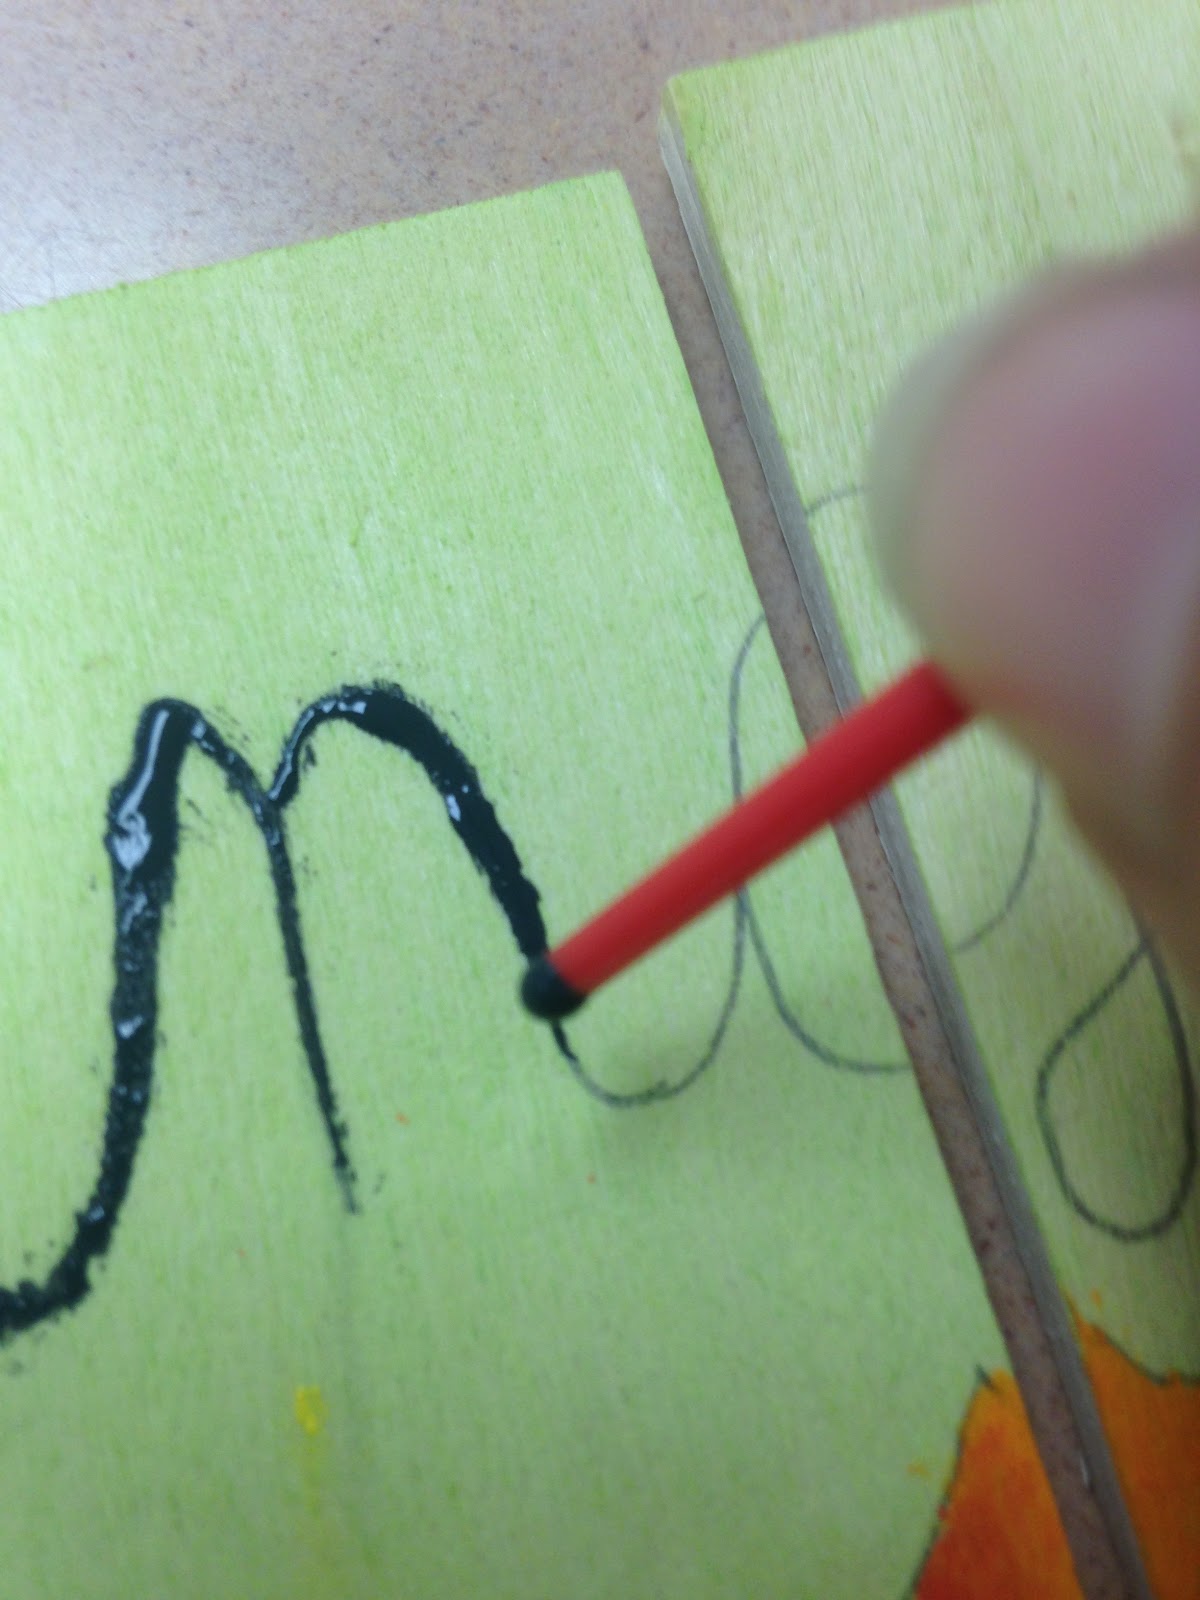
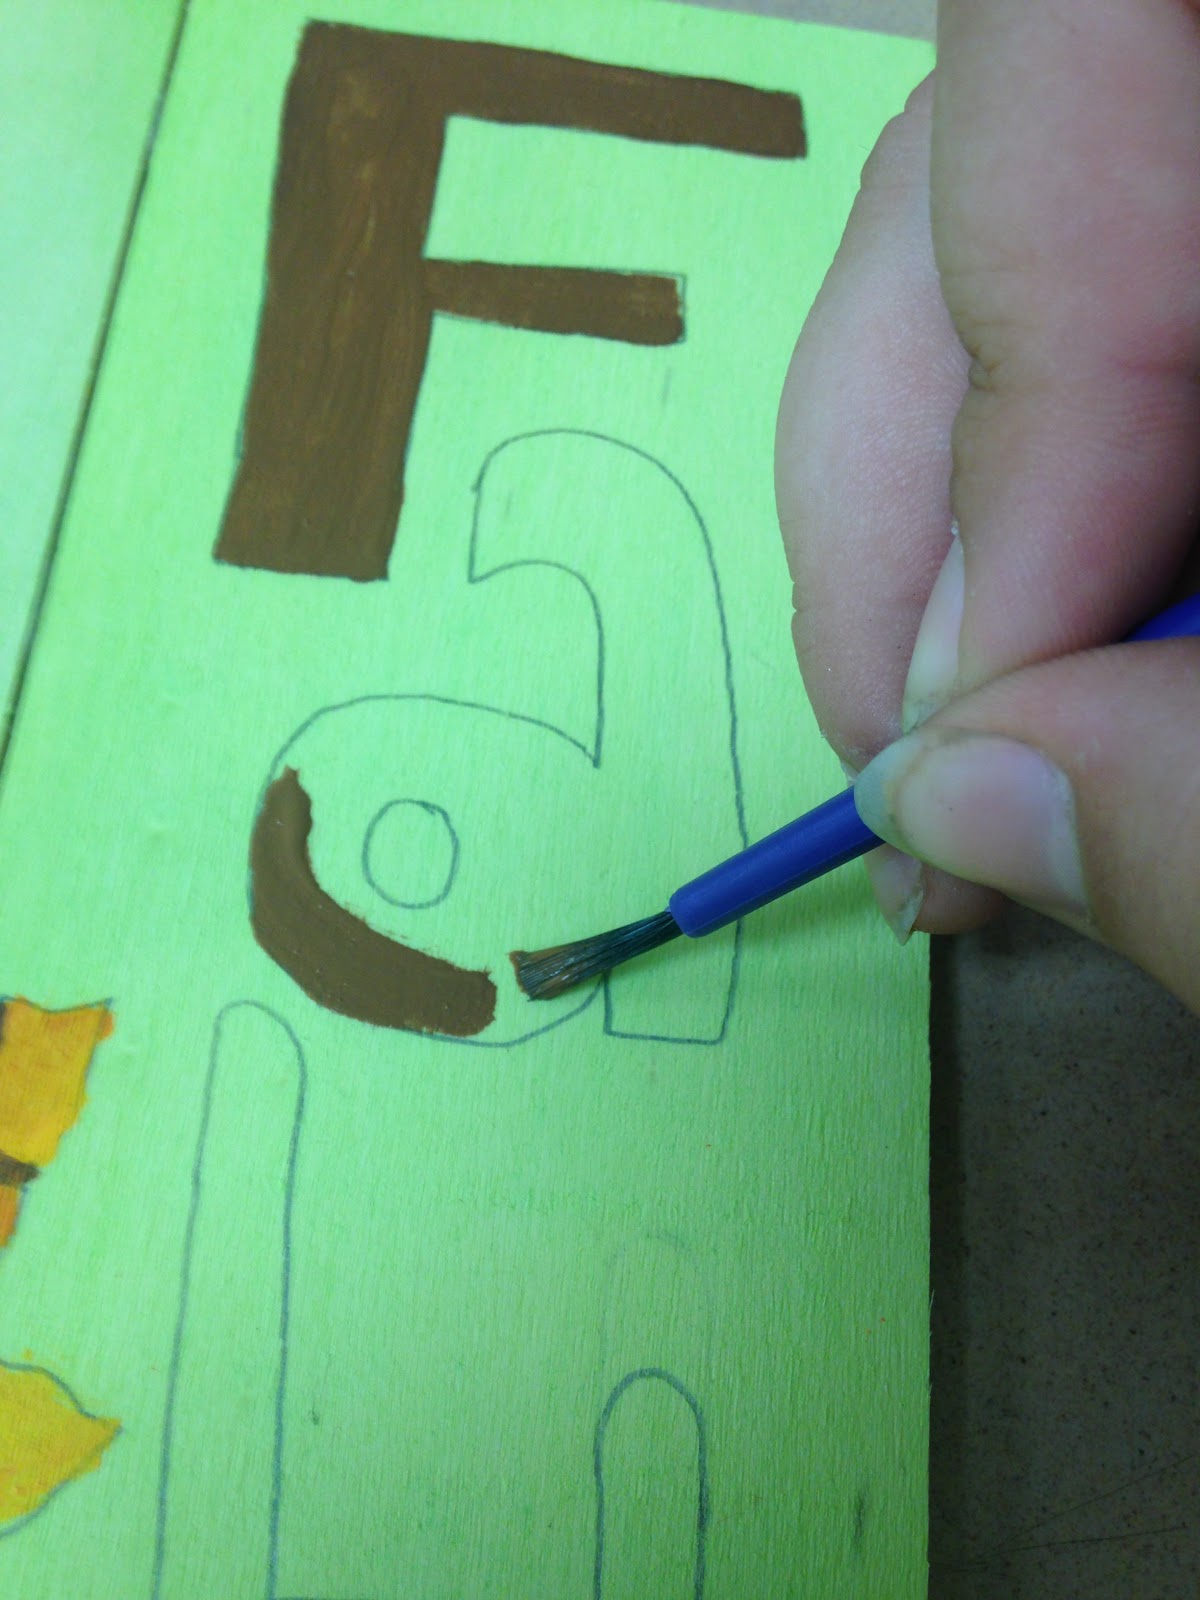
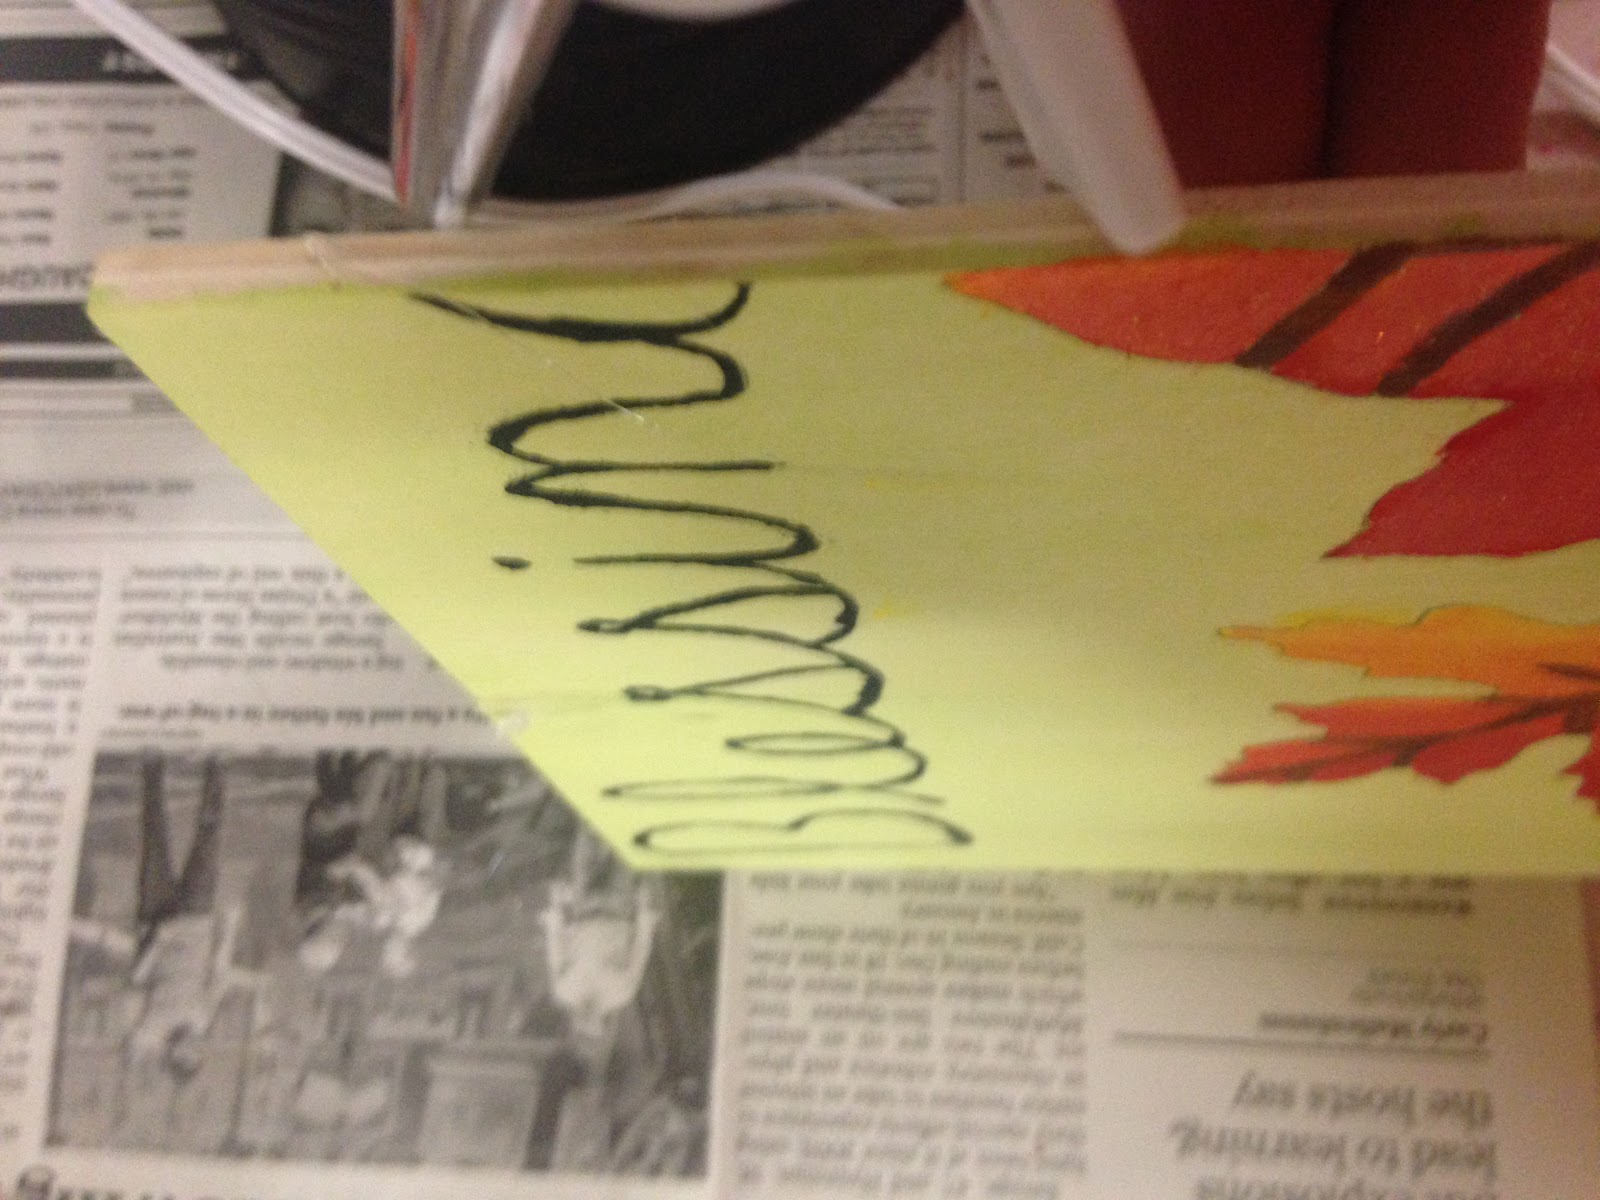
Once the colorful paint was dry, I started to paint the words “Blessings” “from” and “heaven” with black paint. I figured out that if you use the end of the paintbrush, it helps you control the letters better and where the paint goes. Also, the paint became thinner so it didn’t look blotchy for the words. I then let the paint dry.
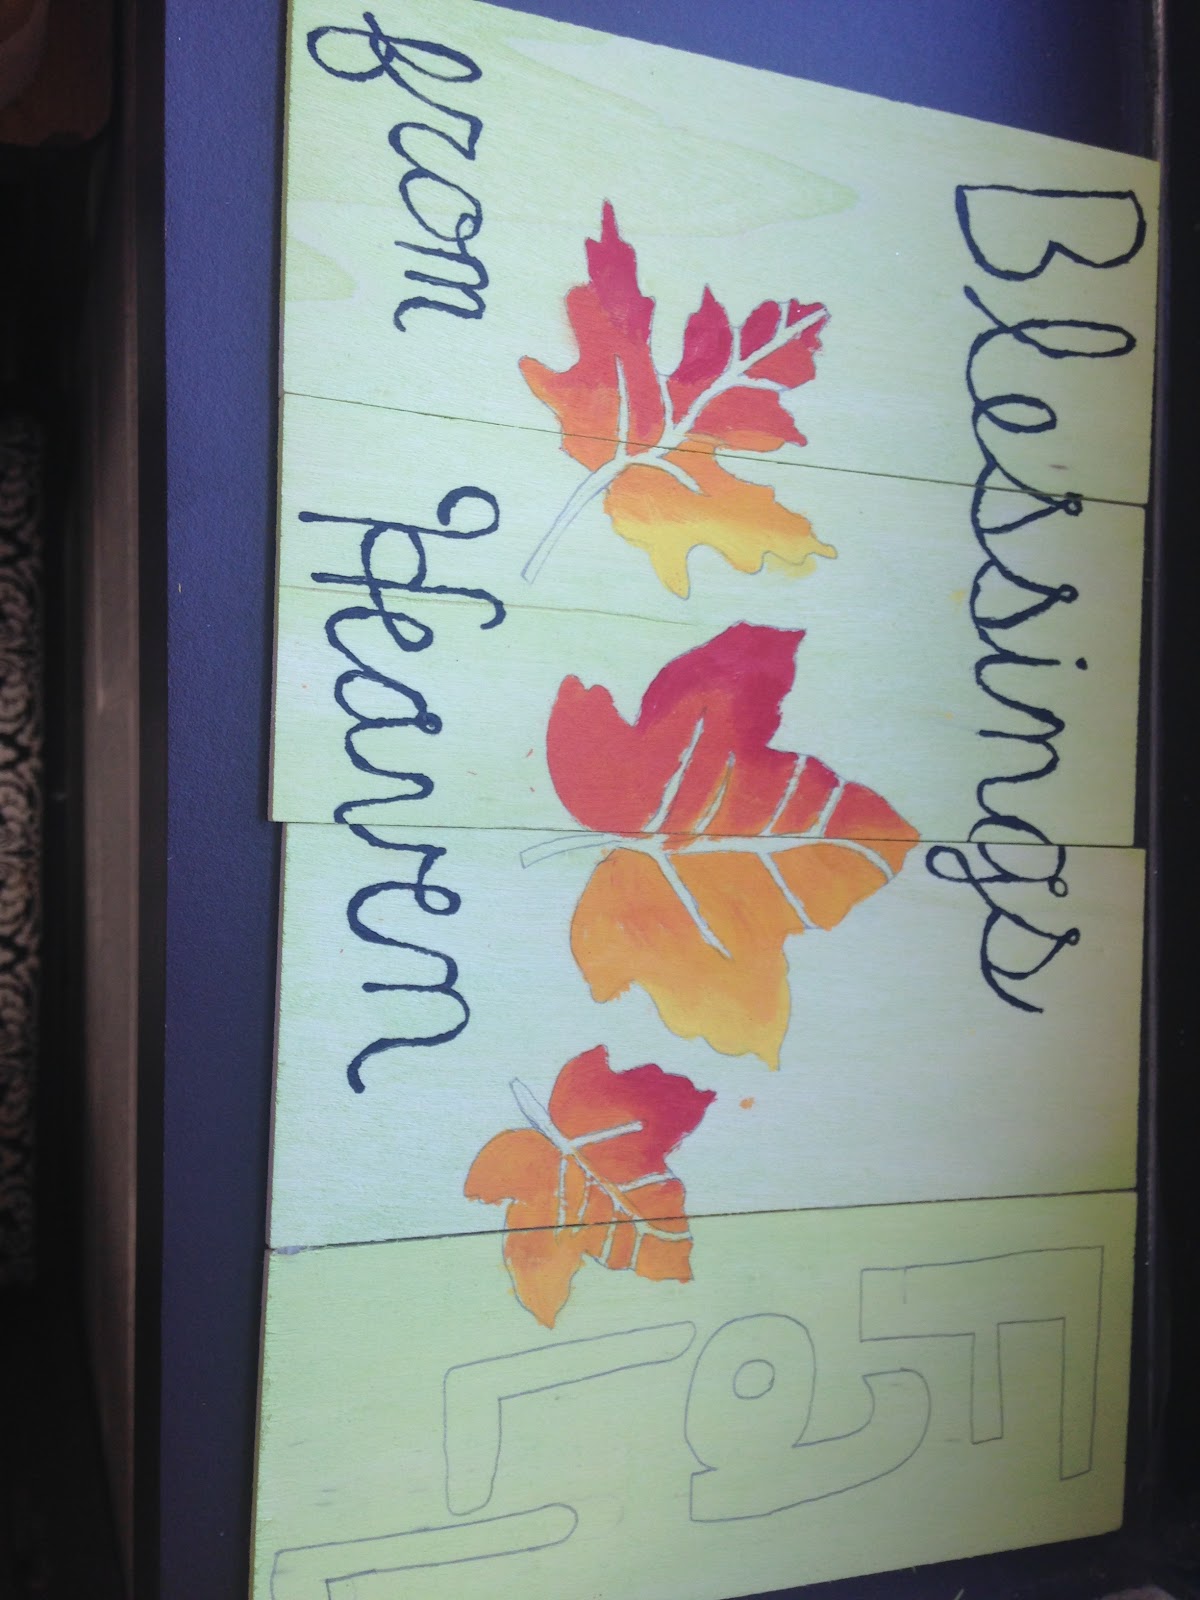
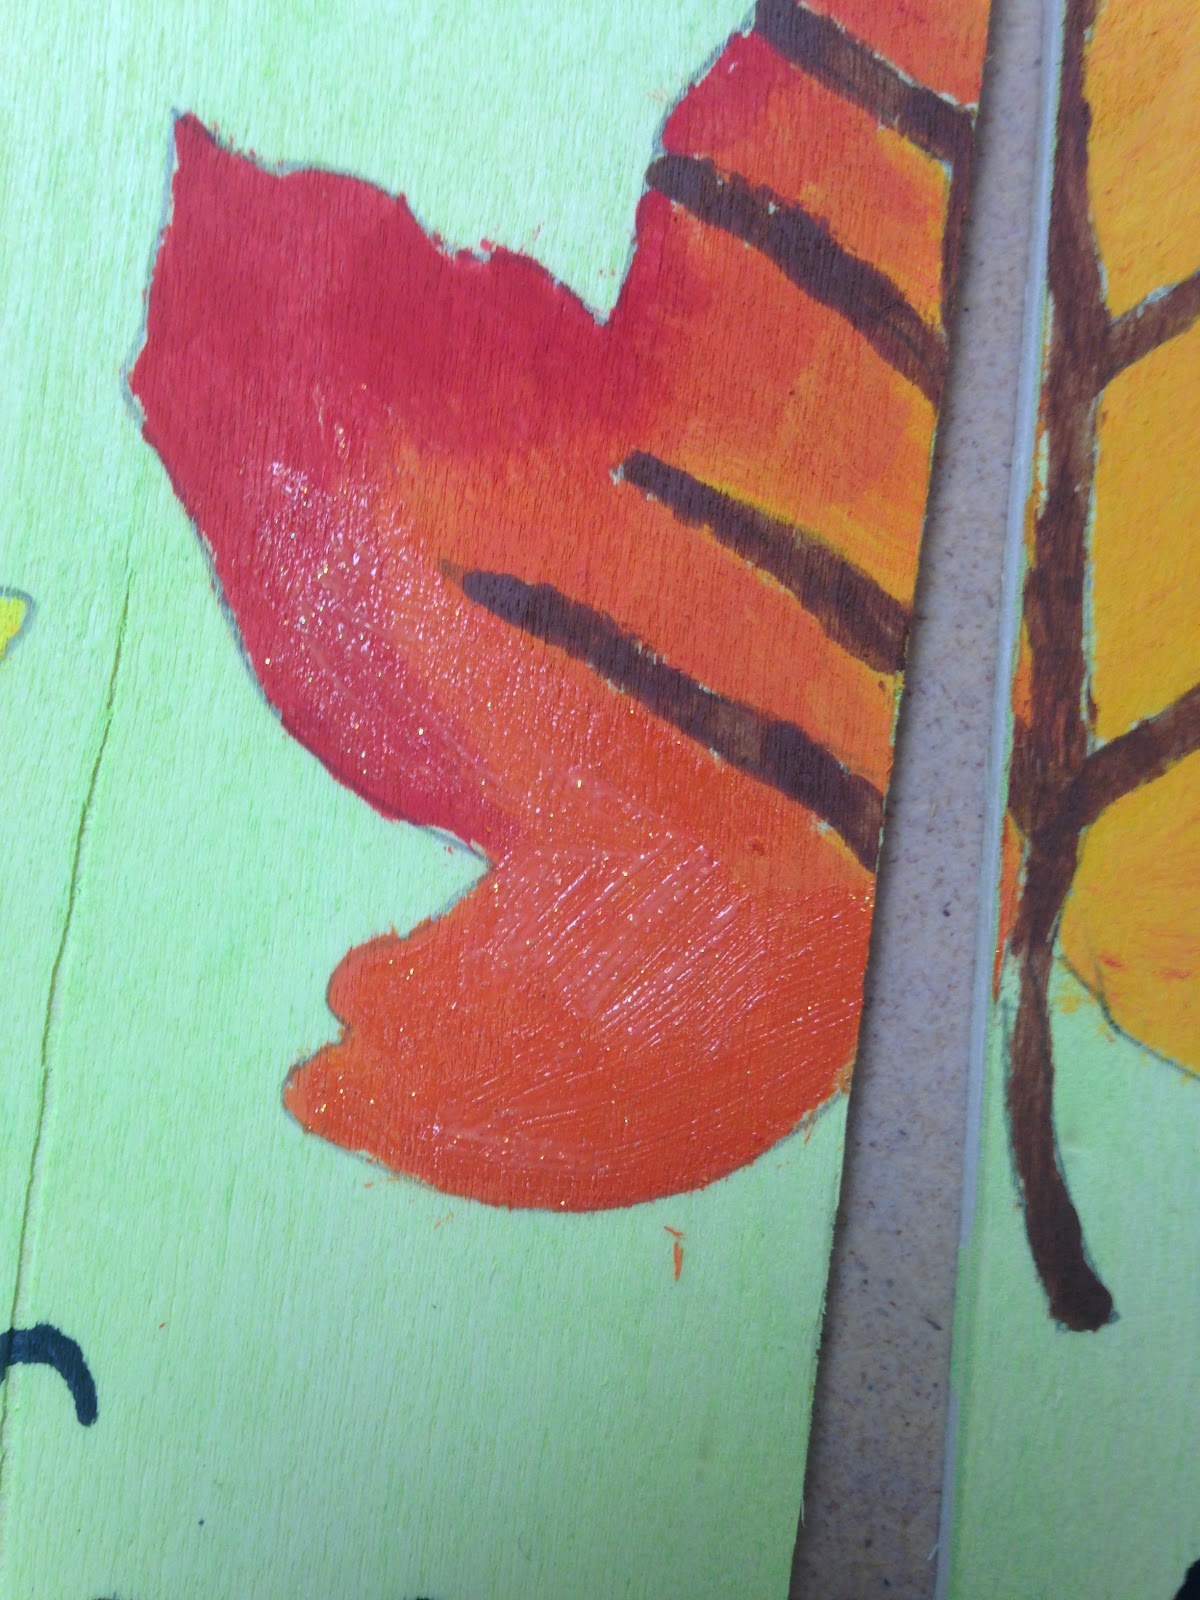
After the words dried, I used the brown paint to go in and paint the insides of the leafs. This made them look like real leaves and it also will tie into the brown that I used for the word “fall”. I then used the brown paint to color the “fall”. I did not wait for the brown letters to dry before I started adding orange glitter paint to the leaves. This was a mistake because the paint started to smear, and that meant that I would have to restain the wood with the green.
Next I used the hot glue gun and added a bit to the edge of the wood. I then lined it up with the other pieces and secured the boards together.
Then there you have it, your everyday reminder of where your everyday blessing come from.
No comments:
Post a Comment