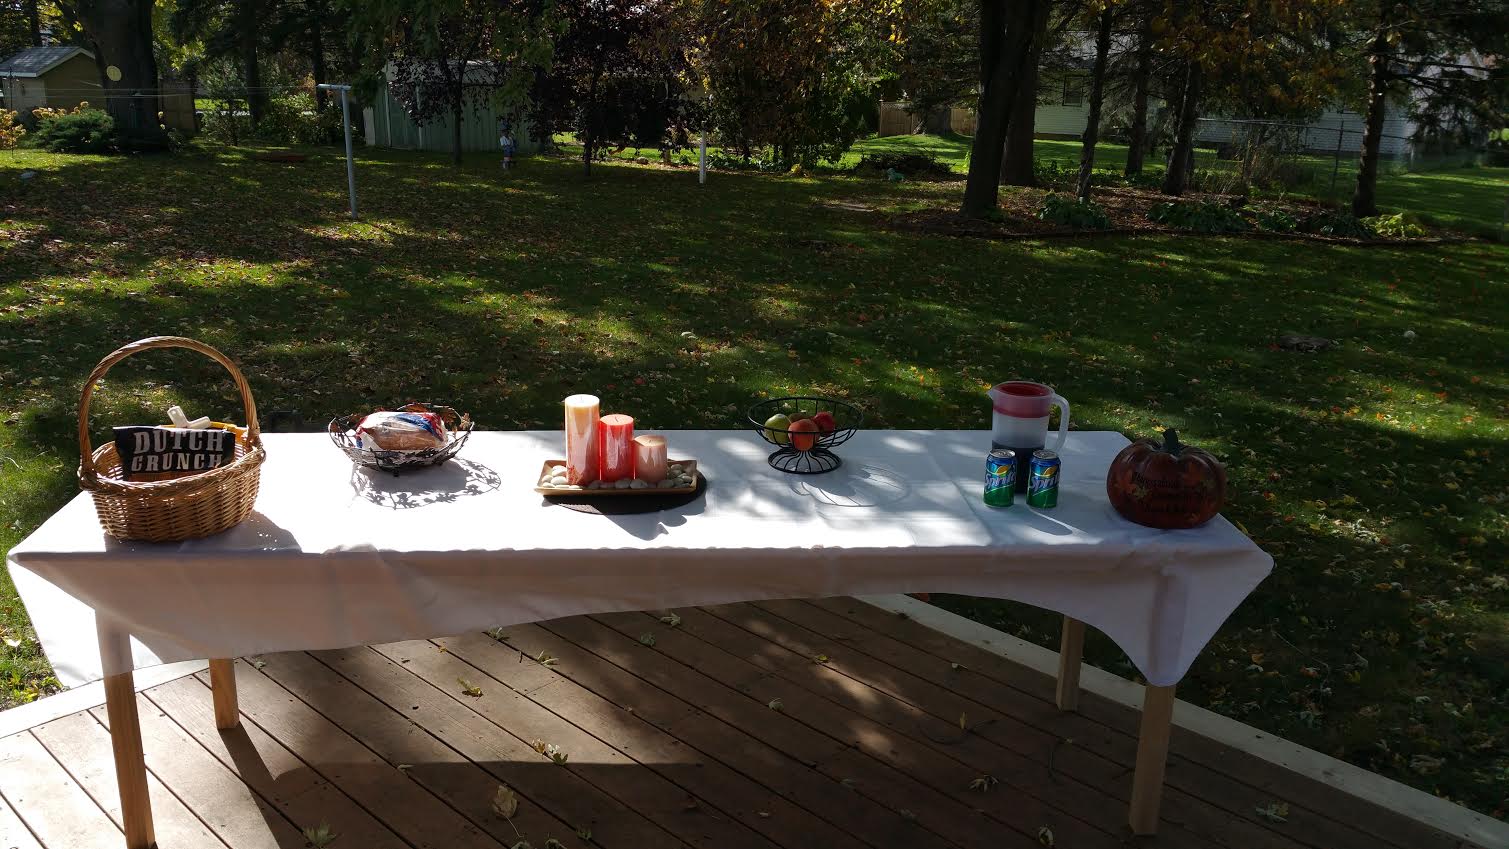
Recently, my grandma asked me to make her a nice table to serve food on for Thanksgiving this year. At this same time, my friends and I needed an idea for a project in our blogging class. So we decided this would be a great opportunity to kill two birds with one stone. We are a group of high school students who have a fair amount of experience in shop classes and enjoy building things. This table was a simple design and easy to build. It took us about a week, but we only got to work on it in one class each day. We hope this post serves as a great lesson on how you can create a table for your family.
Materials
Table Top- Oak Veneer (8 feet long, 30 inches wide, ¼ inch thick)
Table Legs- Oak (29 ¼ tall, 2 inches wide)
Table Leg Supports- Long (86 inches long, 2 inches wide, ¾ inch thick)
Short (20 inches long, 2 inches wide, ¾ inch thick)
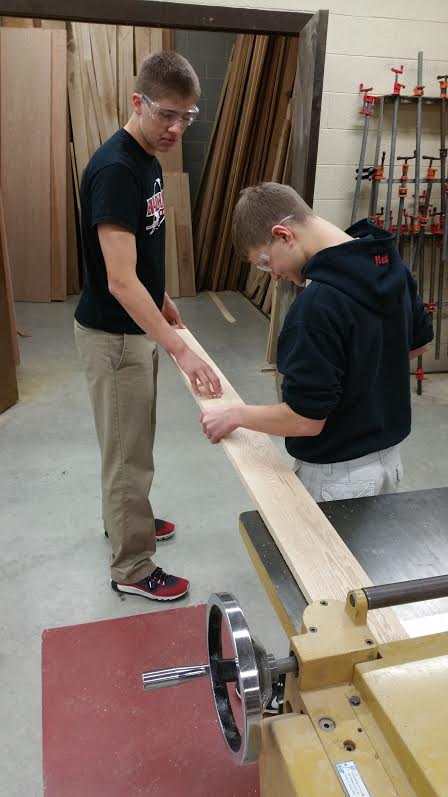
Step 1- Plane all of the boards, plane each part to its thickness.
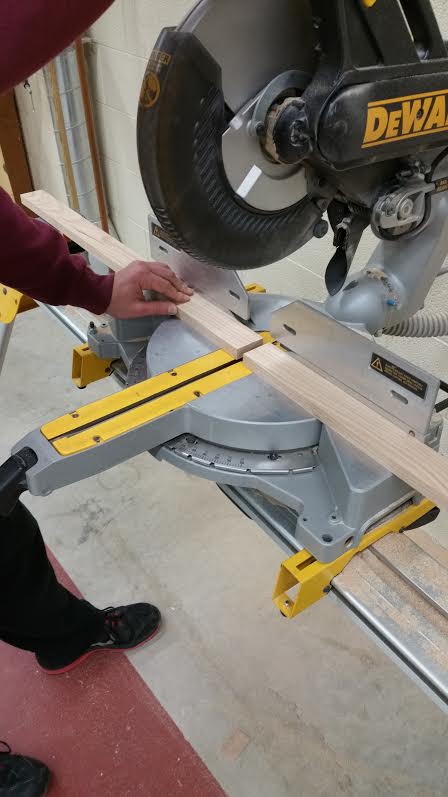
Step 2- Cut each board to the length as needed. Use a table saw and miter saw.
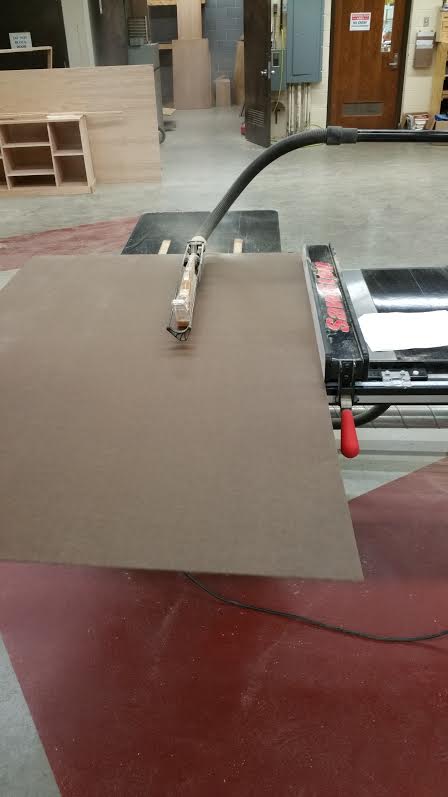
Step 3- We then used the table saw to cut the top as the desired length and width.
Step 4- We then used the joiner to joint the edge of the board which makes it flat.

Step 5- We then glued our table legs together because our legs consisted of two pieces of wood that are 29 ¼ tall and 2 inches wide and then glued together for sturdiness.

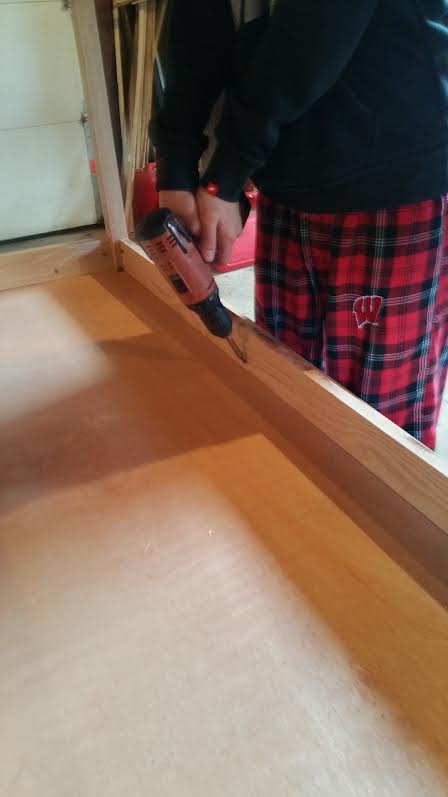
Step 6- Now that are legs were glued together and we had cut our table top and supports it was time to assemble it. To assemble we glued and pocket hold the legs to the top and sides.
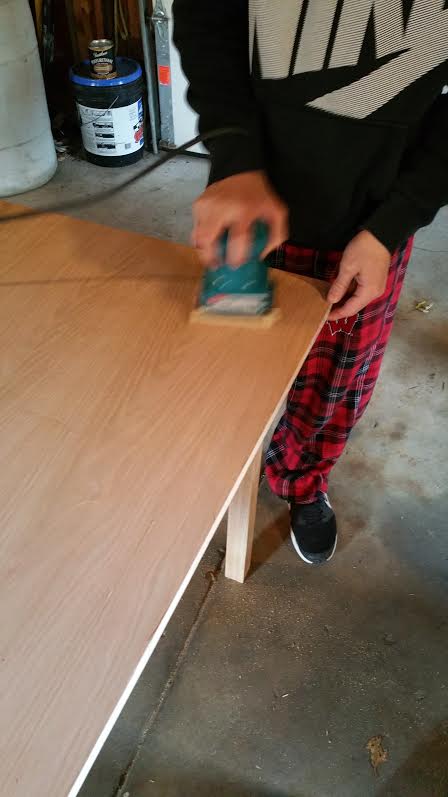
Step 7- After we successfully assembled it we then sanded the top and
varnished it.

In the end it turned out to be a great table, and as you can see it is fairly simple to build. You could use this table for multiple uses or events. We hope this was helpful to you and that you use it in future.