Thursday, September 28, 2017

Three Cheers for Tutus


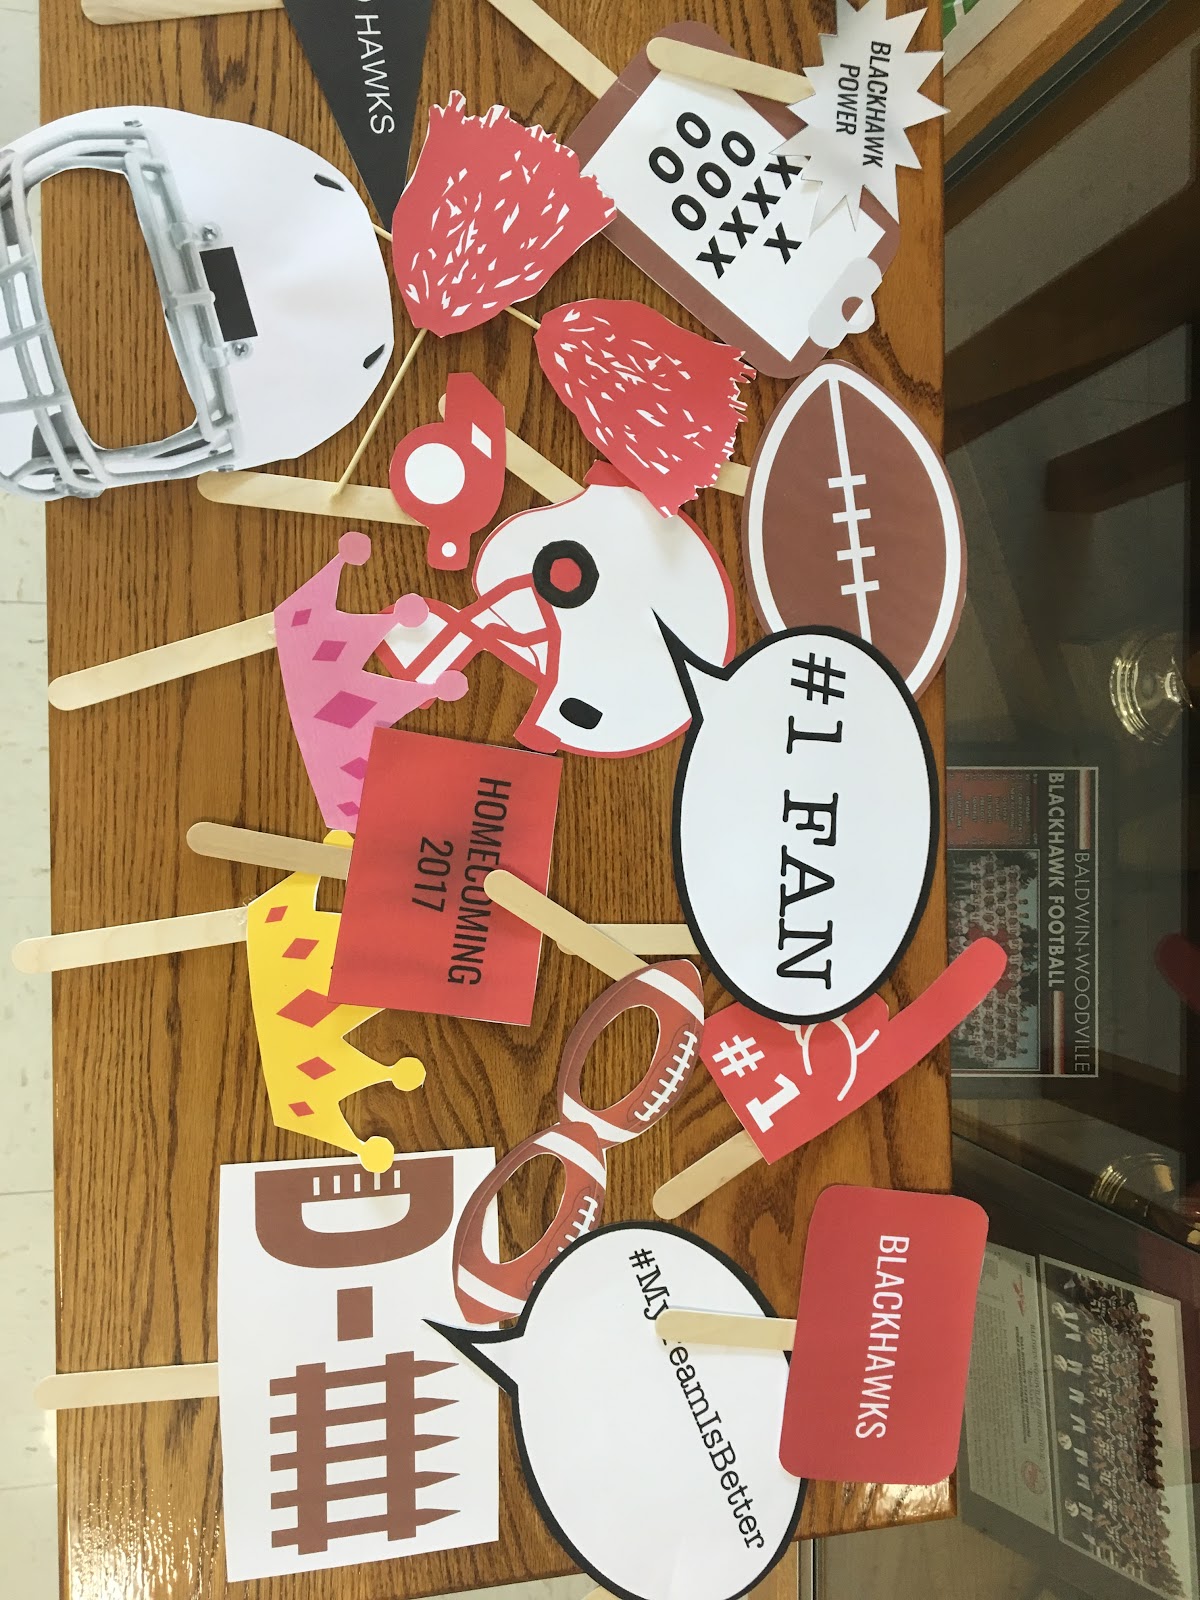
Everyone has their own idea of what homecoming means to them. For me, it means tutus, lots of sparkles, and even more school spirit! Being a cheerleader, and especially a captain, school spirit kind of has to be exploding out of me. Luckily for you (and me) it explodes out through costumes. This week is our homecoming week, and what better way to show school spirit while still looking cute than with a tutu!
I made one a few years ago for cheer that was similar, but I couldn’t quite remember how to do it. (Let’s be honest, I can barely remember yesterday!) Thanks to www.auratreasury.blogspot.com for the awesome reminders!
Now, it’s my turn to teach you. It’s easy, I promise! It all starts with a few simple things:


LIST OF THINGS YOU WILL NEED:

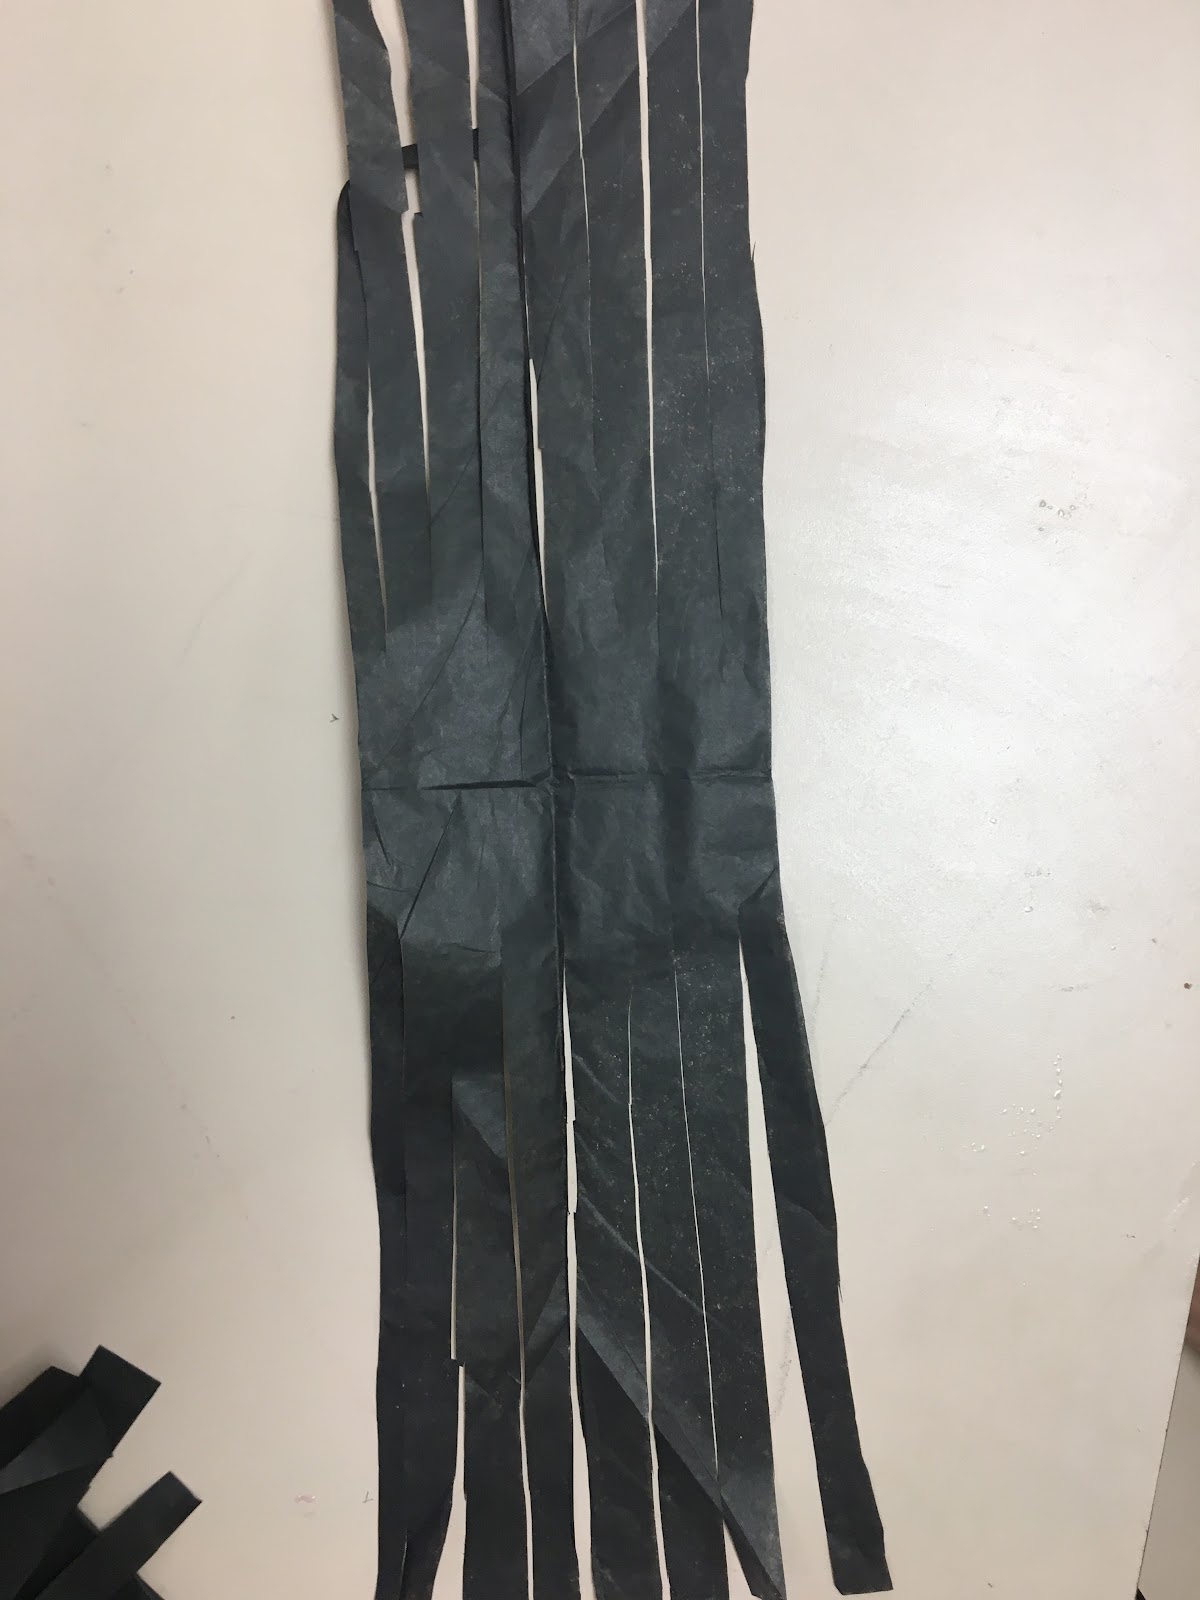
  • Ribbon -You will want a thick ribbon- anything over 1.5” will do! Also any color will work, I chose to do black as it is one of my school colors. (You pretty much cover all of it up)
  • Tulle- I found that the 6” X 12 yd worked best, but it’s up to you!
  • Scissors

Your first step will be to measure your ribbon around the waist of the person you are making the tutu for. Be sure to cut it long enough so that you can tie it at the end.

Now we move on to the actual making of the tutu. You can either choose to keep your ribbon flat, or tie it and
have it rounded. I found it is easiest to do the first few flat and then tie it.


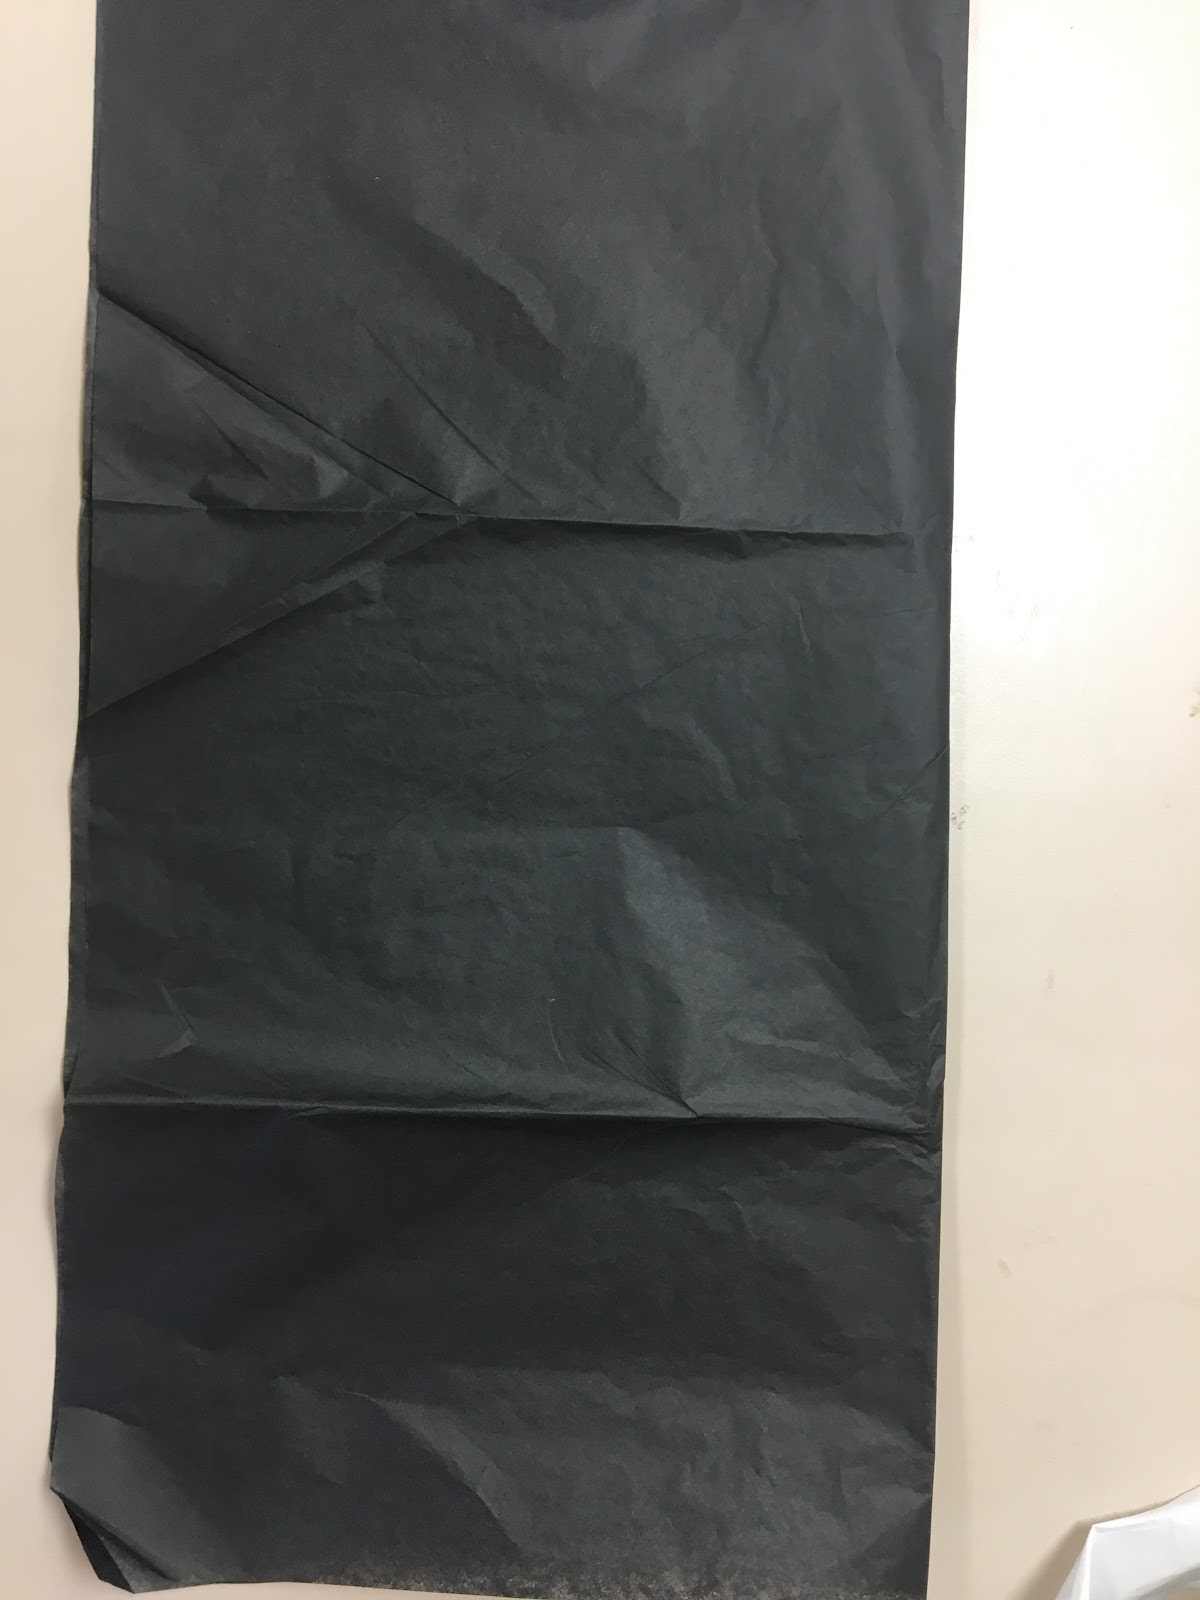
You will begin by making sure your ribbon is flat.

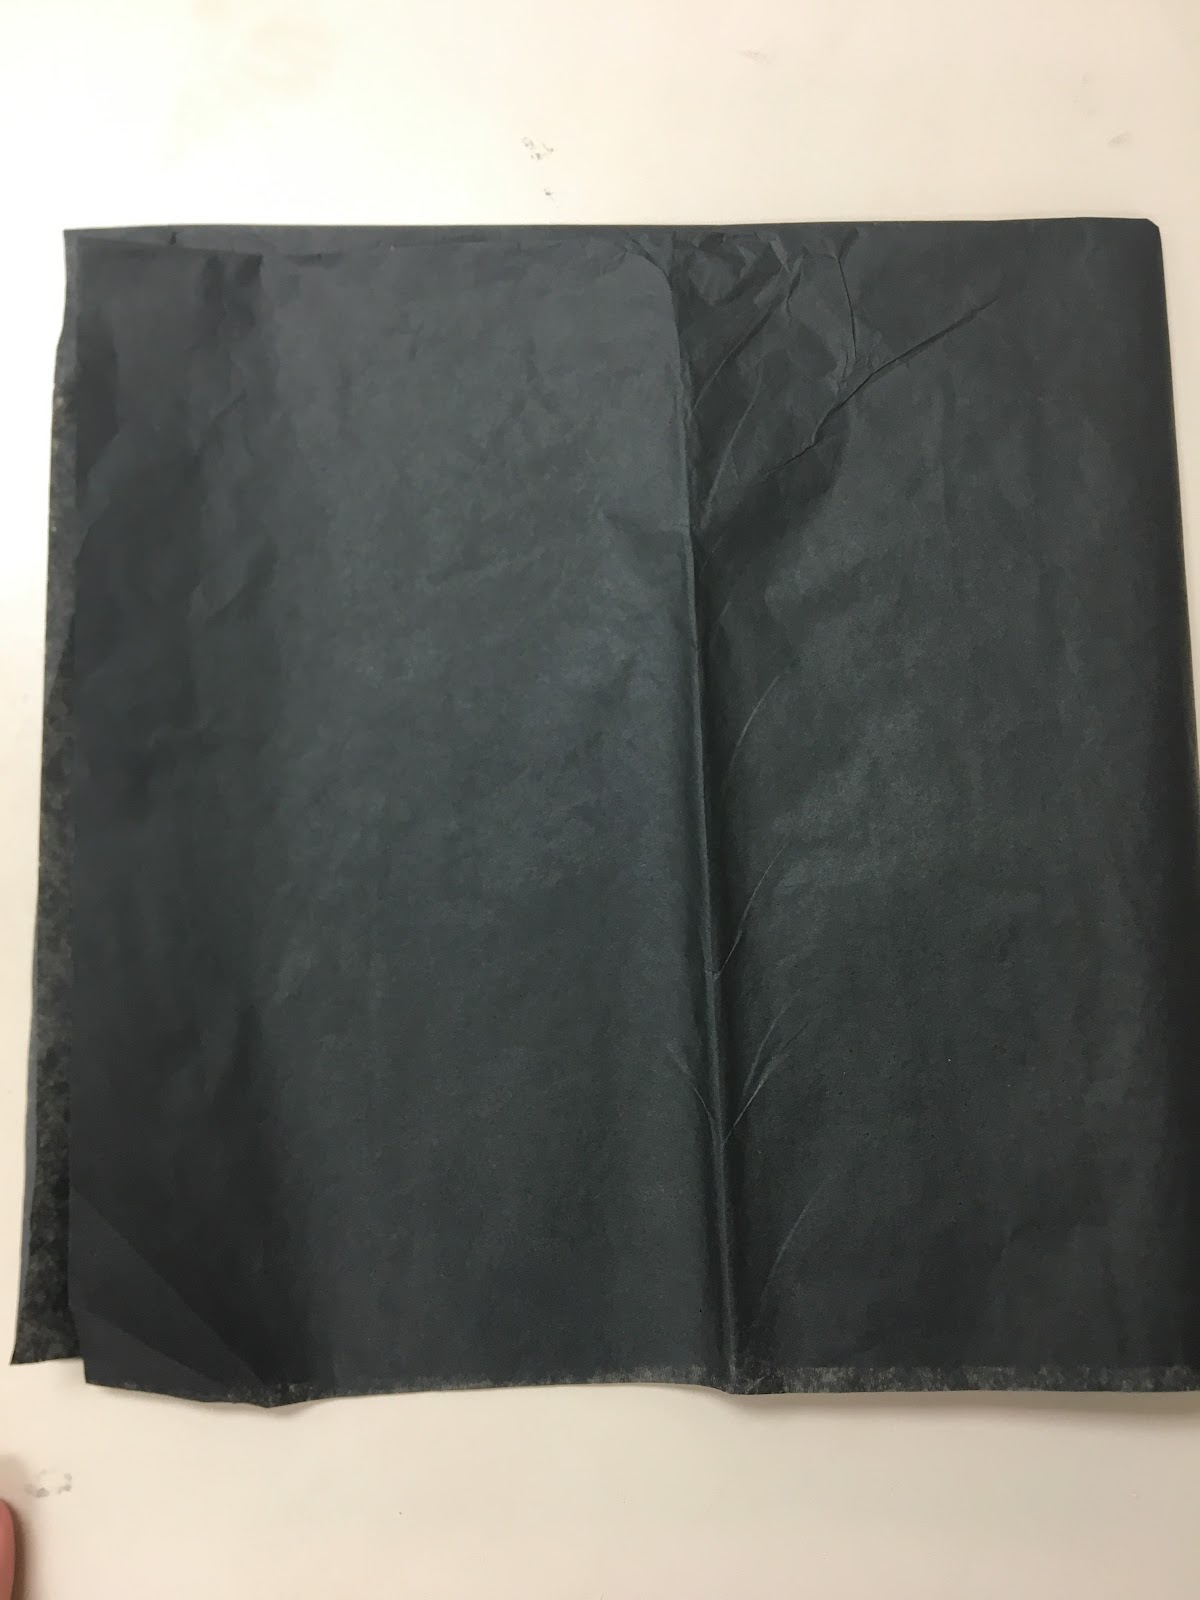
Then, you will want to take one of your colors (it doesn’t matter which) and make it the length you want.made
Once you have your length, you will want to fold it in half and then cut it.


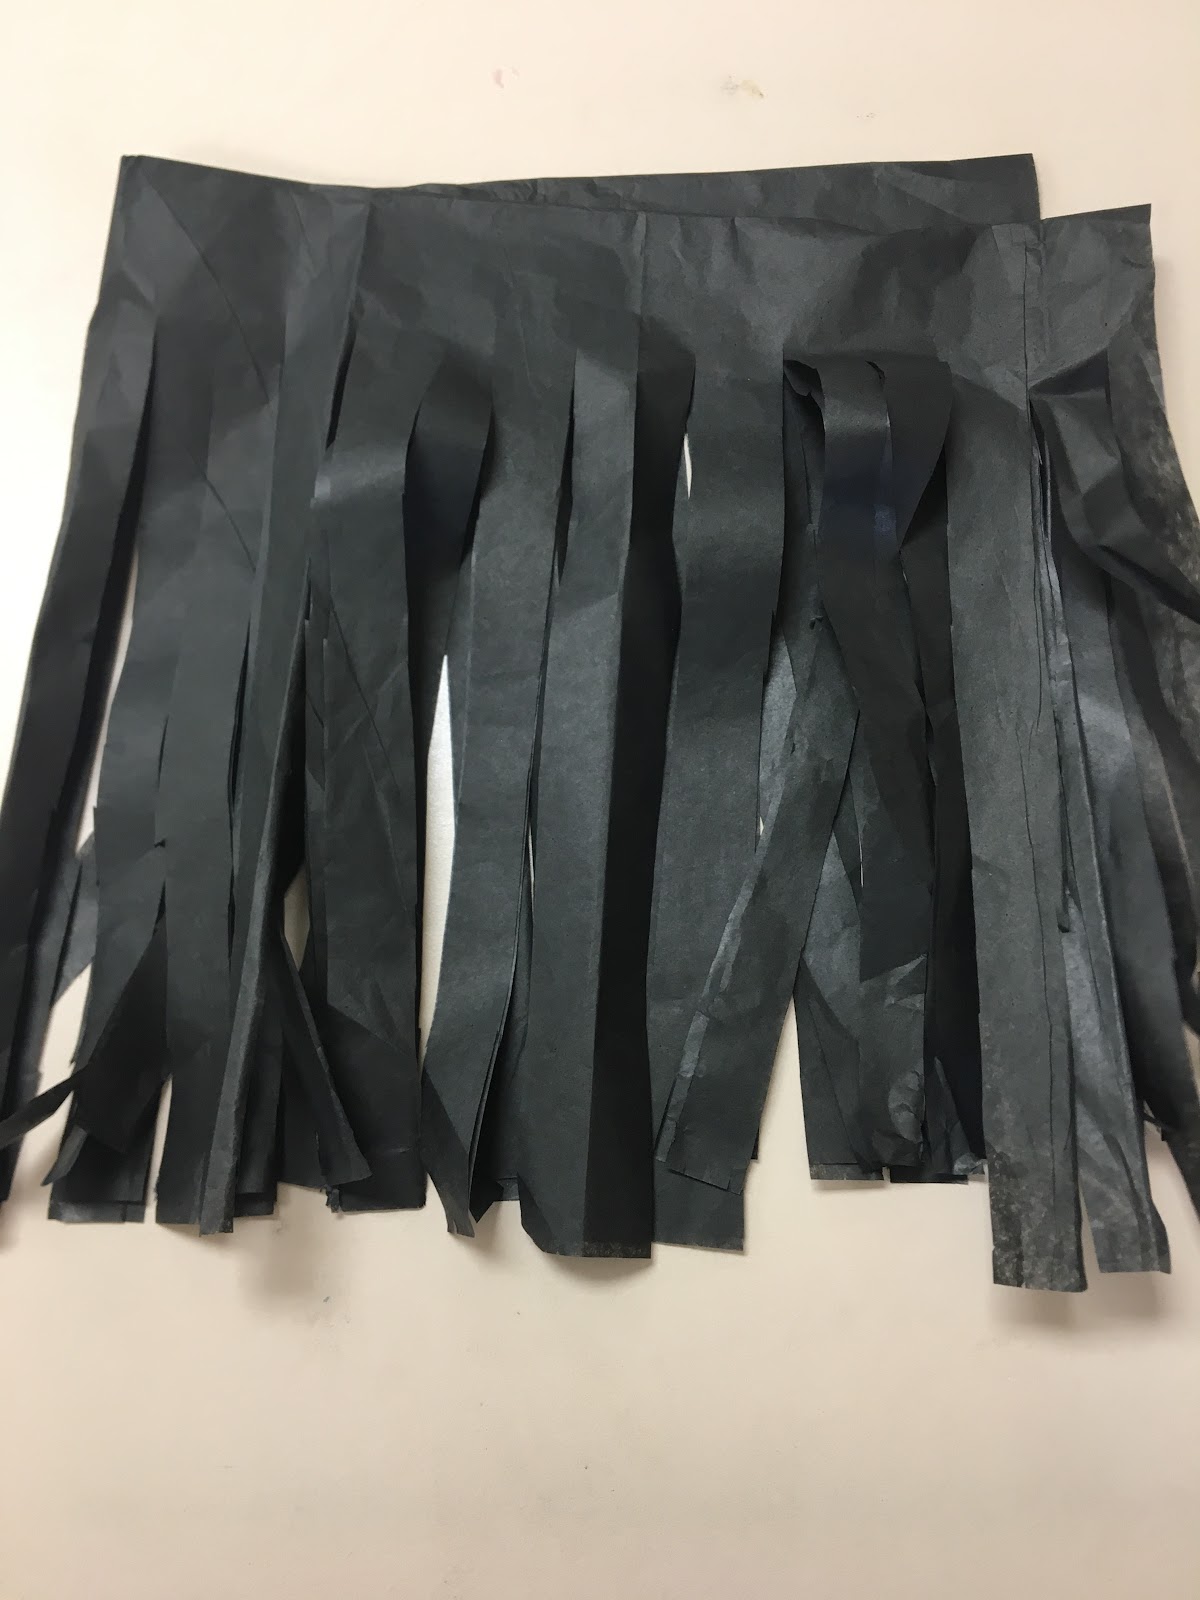
Now you want to take the folded piece of tulle and tuck it under your ribbon.


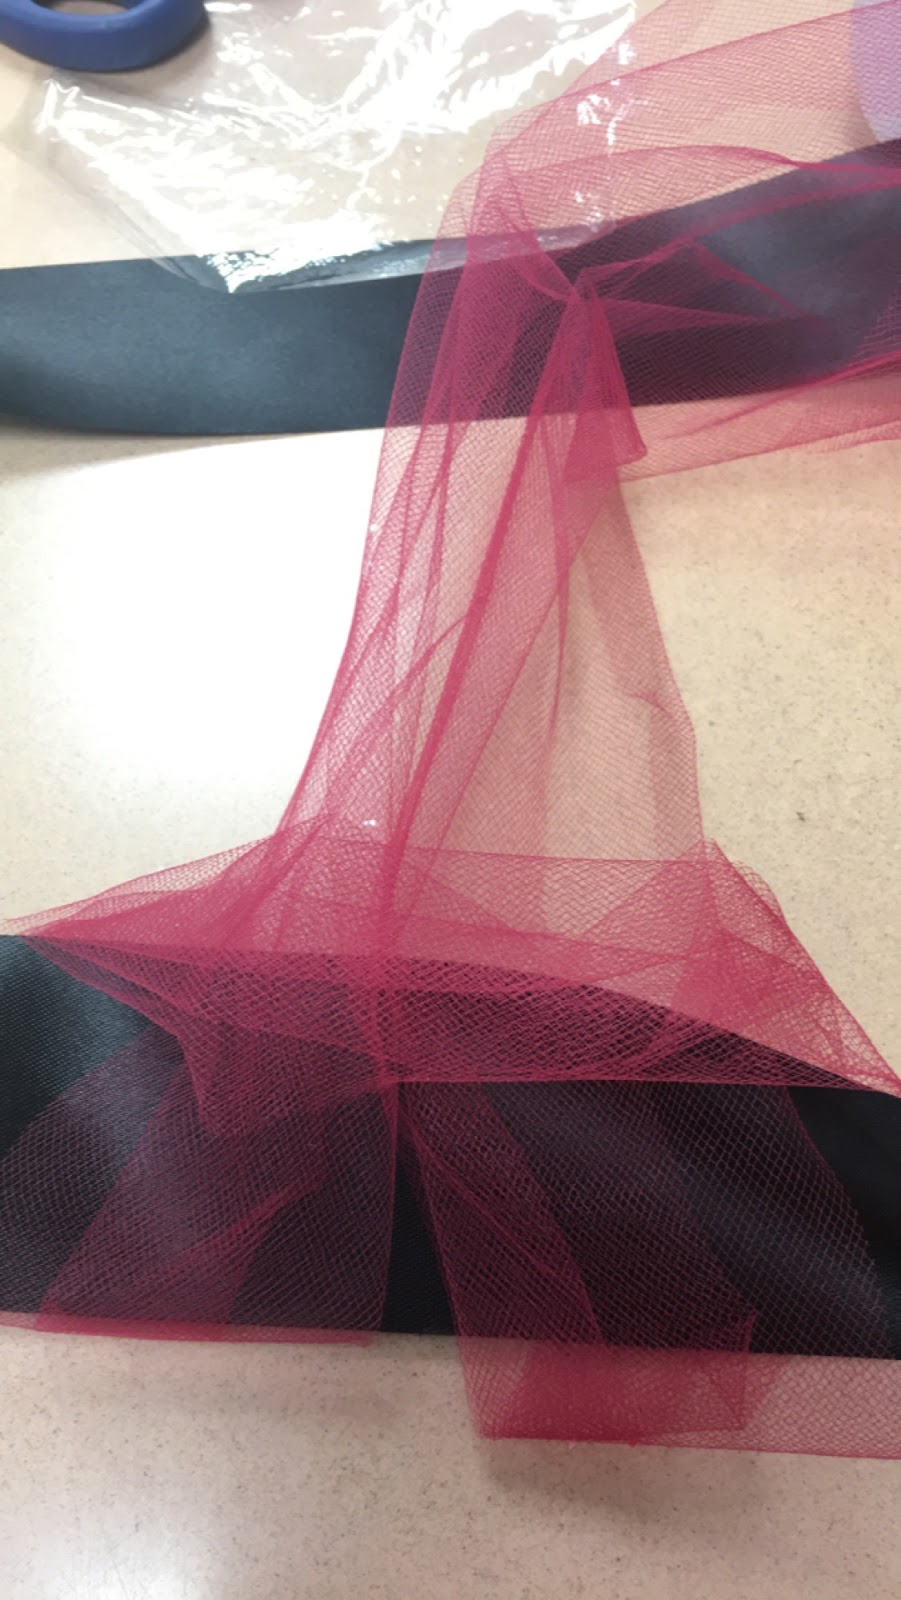
Now your tulle should be separated by the ribbon with two ‘halves’. The folded half and the tails. You will want to take your two tails (Hold them together) and bring them up through the loop on top.


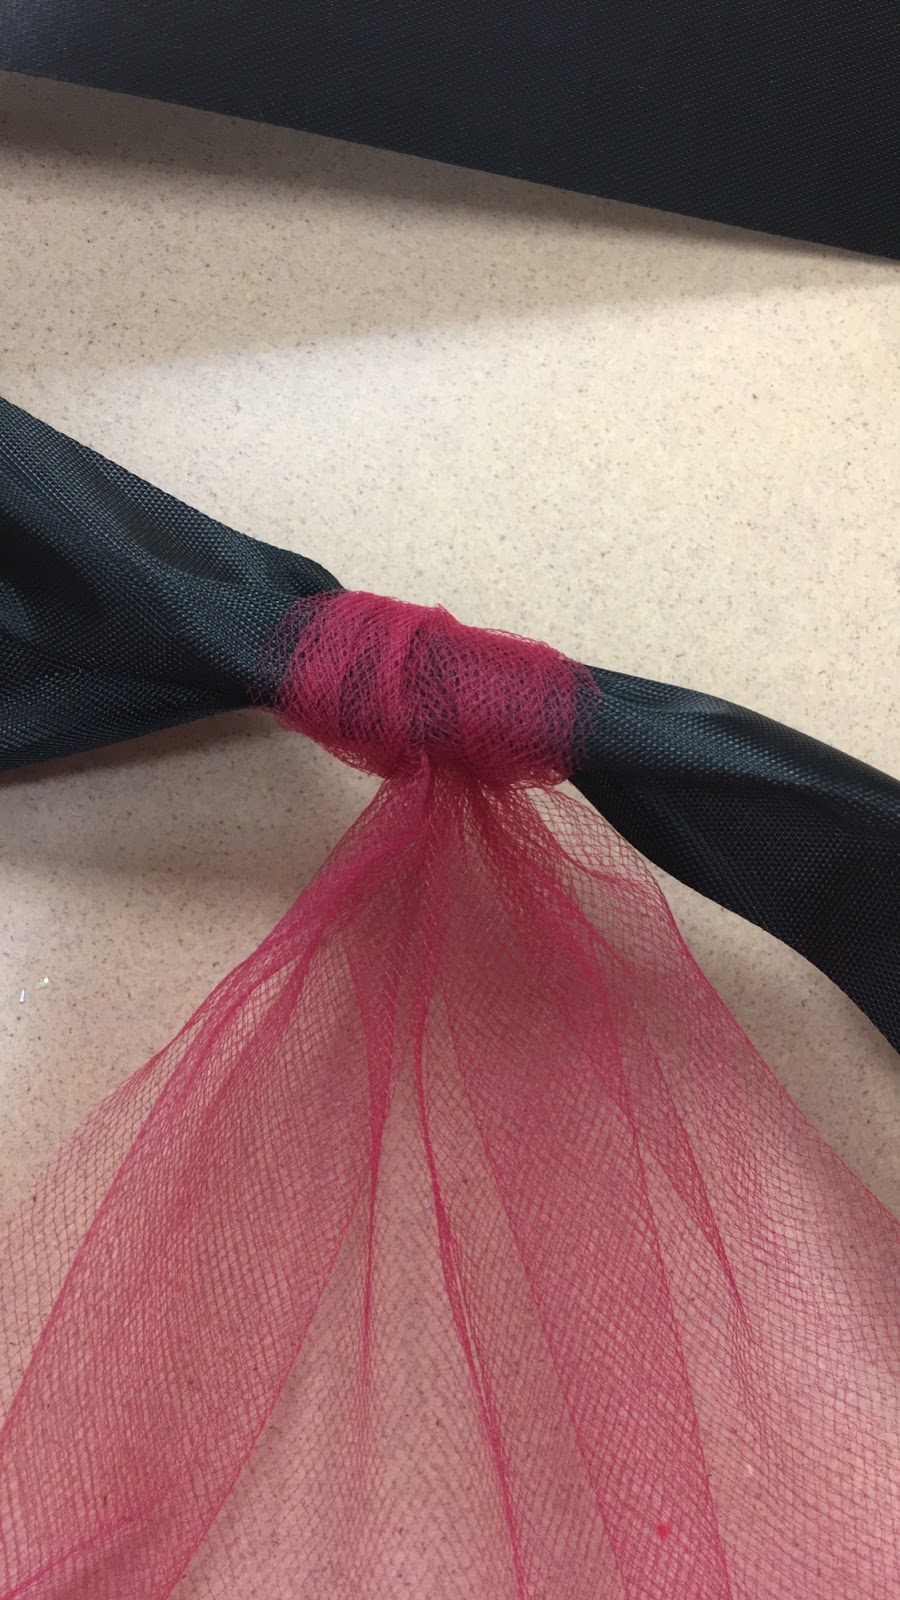
Finally, pull tight!


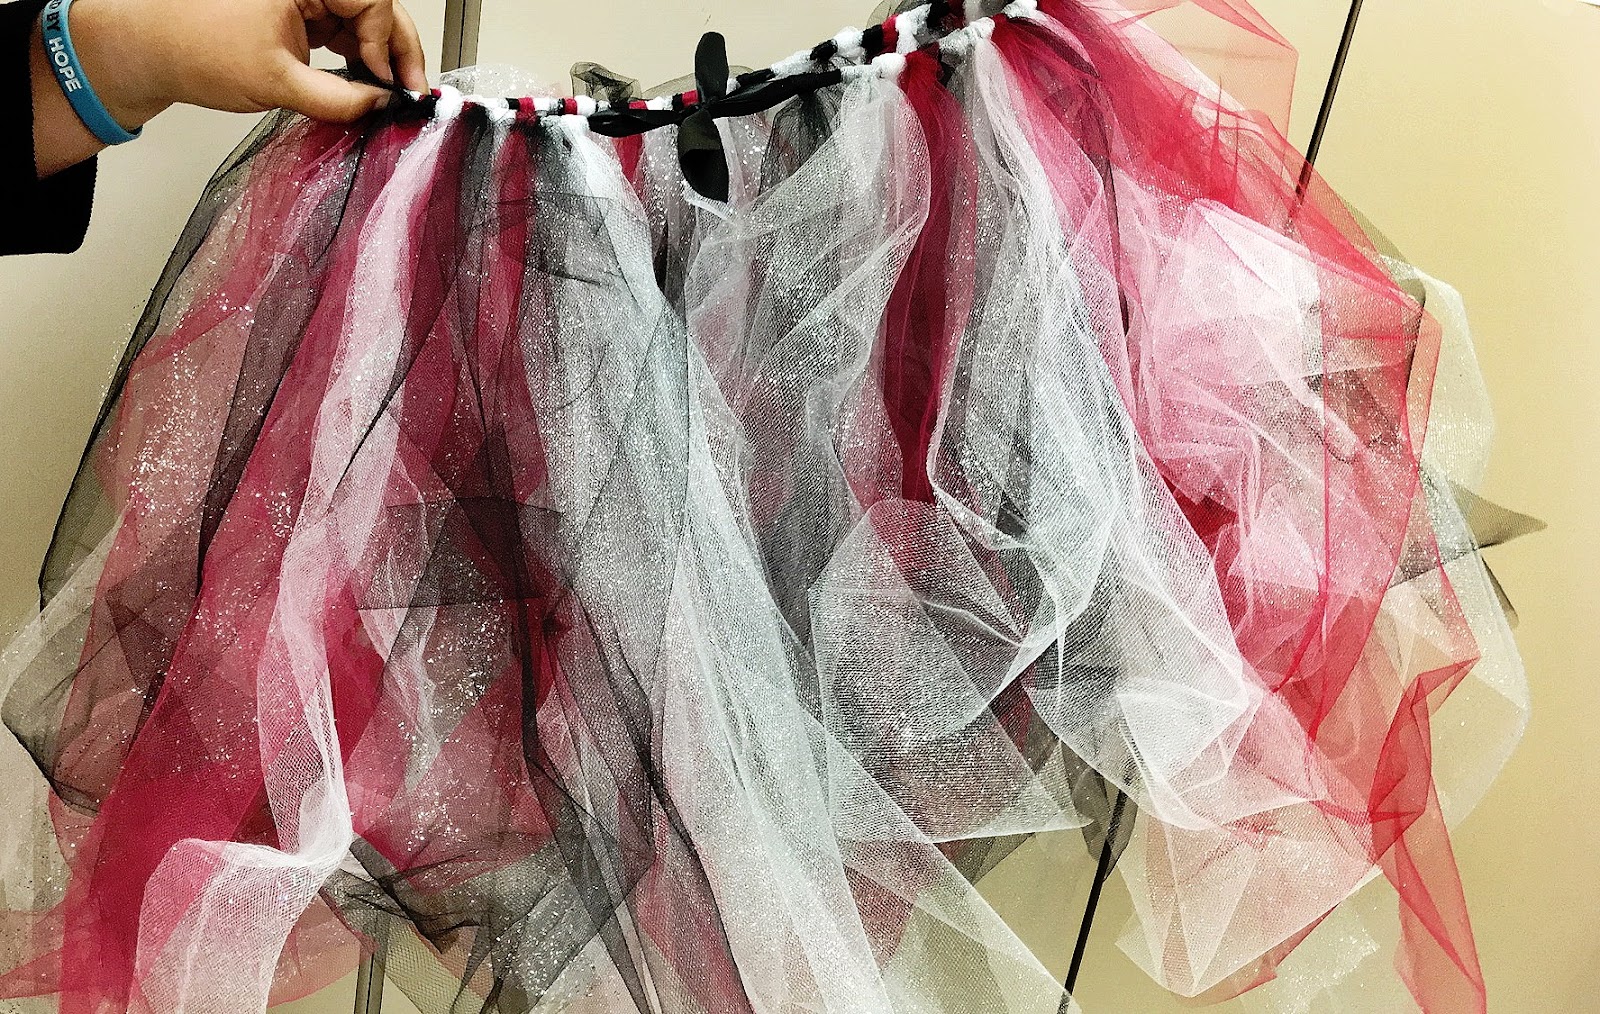
Keep repeating this with all of your colors until your tutu is completely finished!

To finish I just tied the end of my ribbon into an easy to take out bow, and you’re set for the perfect homecoming tutu!

Wednesday, September 27, 2017

Homecoming Brownie Bites


For many high school students Homecoming is one of the busiest time of year. With bonfires, prep rallies, dress up days, and a little friendly competition between the grades. And also enjoy some cute little treats to eat while watching the game. Here is a recipe for some cute and delicious brownie bites. Inspired by “What's Gaby Cooking”.
20170922_130838.jpg


Brownies:
  • 10 tbsp unsalted butter, room
  • temp
  • 1 ¼  cups sugar
  • ¾  cup unsweetened cocoa powder
  • ½  teaspoon salt
  • 1 tsp vanilla paste or 2 tsp vanilla extract (I will be using vanilla extract)
  • 2 large eggs
  • ½  cup flour
  • ½  cup Chocolate Chips
Cream Cheese Frosting:
  • 4 tbsp unsalted butter, softened
  • ½  package (4 oz) cream cheese, softened
  • ½  teaspoon vanilla
  • 1 ½  cups powdered sugar, plus more as needed

20170921_124918.jpg


Special Equipment:
You will also need a mini muffin tray any size you have is fine (The one I will be using has 24 holes.)


Batter:
Once you have gathered all your supplies, the first thing you will want to do is preheat your oven to 350ยบ F. Then you are going to want to make sure you spray your tray.

Now in your mixer, you will want to combine your butter, sugar, cocoa powder, and salt.  Mix for 2 minutes.

20170921_123527.jpg20170921_123830.jpg

Once you are done, add vanilla paste(extract) and eggs to the mixture until it is incorporated well. It will become very liquidy so don't worry.

20170921_124104.jpg20170921_124210.jpg

You then will add your flour and chocolate chips until the flour is no longer visible and you are now done with the batter. (The after picture is a little messed up so don't worry about the color).

20170921_124324.jpg20170921_124537.jpg

Baking:
Once you have finished the batter you are going to want to grab a spoon  and scoop the brownie batter into each hole you want to fill them about ¾ of the way but it’s fine if it is not perfect.

20170921_125109.jpg20170921_125459.jpg


You then put your brownies in the oven for 13-15 minutes and once done set them to cool on a cooling rack.

Cream Cheese Frosting:
Okay, while the brownies are baking we will make the frosting for the brownies. Now you can have any kind you want I’m just going to show what I used. This recipe is from Betty Crocker and not mine.

The first step you will do in your mixer beat softened butter and cream cheese on medium speed for 2-3 minutes, scraping the bowl occasionally, until smooth and creamy.  

Then you are going to want to stir in vanilla, then the powdered sugar. Add more powdered sugar as needed until the frosting is a thick consistency.

20170921_130652.jpg

Once you have finished making the frosting scoop the frosting into a regular plastic. Then you are going to grab a pair a scissors and cut a tiny corner of the bag in order to pipe the frosting.

Now you are finally done and have some wonderful little brownies for the big game.

20170922_130838.jpg


Homecoming Centerpiece


For me personally, homecoming has never been all that exciting. Much like how some aren’t as enthusiastic about Halloween as I am, football just isn’t my thing. However, upon browsing pinterest for football crafts, I was delighted by what I found. I realized decorating for homecoming isn’t much different than decorating for any other event or holiday. Others seem to really enjoy this time of the year, and I know Halloween will be here soon enough, so I figured, “Why not?”

Unfortunately, I’ve been pretty sick the entire week. That makes it pretty tough to be enthusiastic, but I’m still giving it my all. To make up for my inability to support school events and activities, I’ve decided to follow through with a football craft and donate it to the school. Maybe they can use it at the annual homecoming dance!  I’m sure others will enjoy it, and I will enjoy homecoming much more as a whole, through a kind act to start off the school year. How exciting!

Today, we’re going to make a football vase/centerpiece to celebrate homecoming. That’s something even I can enjoy, so let’s get to it!


First off, all you need is an old football and a glass vase, simple as that! I used one from when I went through my “girls can play sports too” phase in middle school. It was long forgotten in the pig pen. I also borrowed a vase from my mom’s collection, and fake flowers from the attic. So overall, a very cheap, if not free, project!


Before you get out the scissors, measure the top of the vase by tracing it on the football. This is the best way for a guaranteed fit.


Once you have the opening cut, remove the rubber lining from inside the football. Then, cut a similar line on the bottom of the football so it will stand on its own. I had to rinse out my football before continuing.


All that’s left now is to place the glass vase inside the football and add your flowers! You now have a gorgeous centerpiece for your next homecoming party!


Craft inspired by The Cofran Home


Monday, September 25, 2017

Picture Perfect Homecoming Photo Booth


IMG_1499.jpg


Two things I love are football and taking pictures with my friends. With all the social media apps people are always looking for cute pictures to post. I knew I wanted to make a fun football photo booth for homecoming week. It was pretty easy and fun to make! Keep on reading to find out to make a photo booth for your favorite team.


Supplies:
Garland
  • 3 colors of any color tissue paper
  • Twine
  • A hot glue gun
Backdrop
  • Anything or your choice IMG_1476.jpgIMG_1473.jpgIMG_1475.jpgIMG_1478.jpg


Props
  • Cardstock
  • Popsicle sticks

IMG_1484.jpg

First, start off by making your garland. Fold it lengthwise. Then fold it once widthwise and then a second time. Leave 2 inches at the top and cut from the bottom. After that, unfold cut and unfold again at cut. You will be left with 4 pieces. Once you have 4 pieces unfold them roll and twist into a loop and glue. I did one peice of each tissue paper so had a total of 12. Cut a piece a twine to liking and space and glue them to twine to your liking.

Second tape your backdrop to wall and tape the diy garland to the top.

Third make your props and have fun with it! I made some of my own and got some free ones online. To make your own use google drive and click insert drawing and play around with it. I was fun to make your own cause you could match your team colors and add their team name. My favorites online ones were...


Print the ones you like on cardstock so they are a little more durable. Cut them out and hot glue your popsicle sticks to the back of prop. I would recommend glueing them not in the middle because then they stick would be in your face.


This photo booth was a big hit at my homecoming and the kids were just having a blast with it. It was definitely not hard to make. Hope you try it and have as much fun with it as I did.

Creamy Football Cakes


IMG_2266.JPGHey guys, what season do you guys like the most?  My personal favorite is fall. Fall is just a good time for all leaves to start changing, the weather starts cooling down, the sound of the leaves rustling on the ground but better yet, FOOTBALL!! Who doesn’t get excited about football? I know my family does. We go all out with the appetizers, sweets, and a great supper. Here are the cupcakes I made for the big game. They are nice for a little dessert after supper or during the game.


Ingredients:
  • 2 cups flour
  • ½ teaspoon salt
  • 2 teaspoons baking powder
  • ½ cup butter
  • ¾ cup sugar
  • 2 eggs
  • 1 cup milk
  • 1 teaspoon vanilla
  • 2 cans vanilla frosting
  • 1 cream cheese frosting
  • Food gel (food coloring)


IMG_2199.JPG
You have to mix all the wet ingredients together and then put the dry in. make sure to mix good
. IMG_2200.JPG
Here is the food dye I used, I used brown to make it kinda look like dirt (didn’t wanna use chocolate)


IMG_2203.JPG
Get you cupcake papers and tins ready (you should only need two tins).


IMG_2206.JPG
Make sure to put 2 scoops of batter in the cupcake cups.
IMG_2207.JPG
Lastly, you stick them in the oven for 15 min to rise. To check if they’re done you poke them with toothpick.


IMG_2210.JPG
I mixed the blue and yellow gel into the frosting to make green for the grass.


IMG_2214.JPG
Your cupcakes are out of the oven!! We have to let them cool.  


IMG_2259.JPG
Cut holes in the cupcake so you can insert the cream cheese filling.
IMG_2260.JPG
Fill the cupcakes with cream cheese.
IMG_2262.JPG
Put the green frosting on top of the cupcake to make it look like grass using a Wilton grass pastry tip.


IMG_2263.JPG
Make the footballs on the cupcake.


IMG_2264.JPG
Make the lines like the lines on a field.


IMG_2266.JPG
Now you’re finished!!