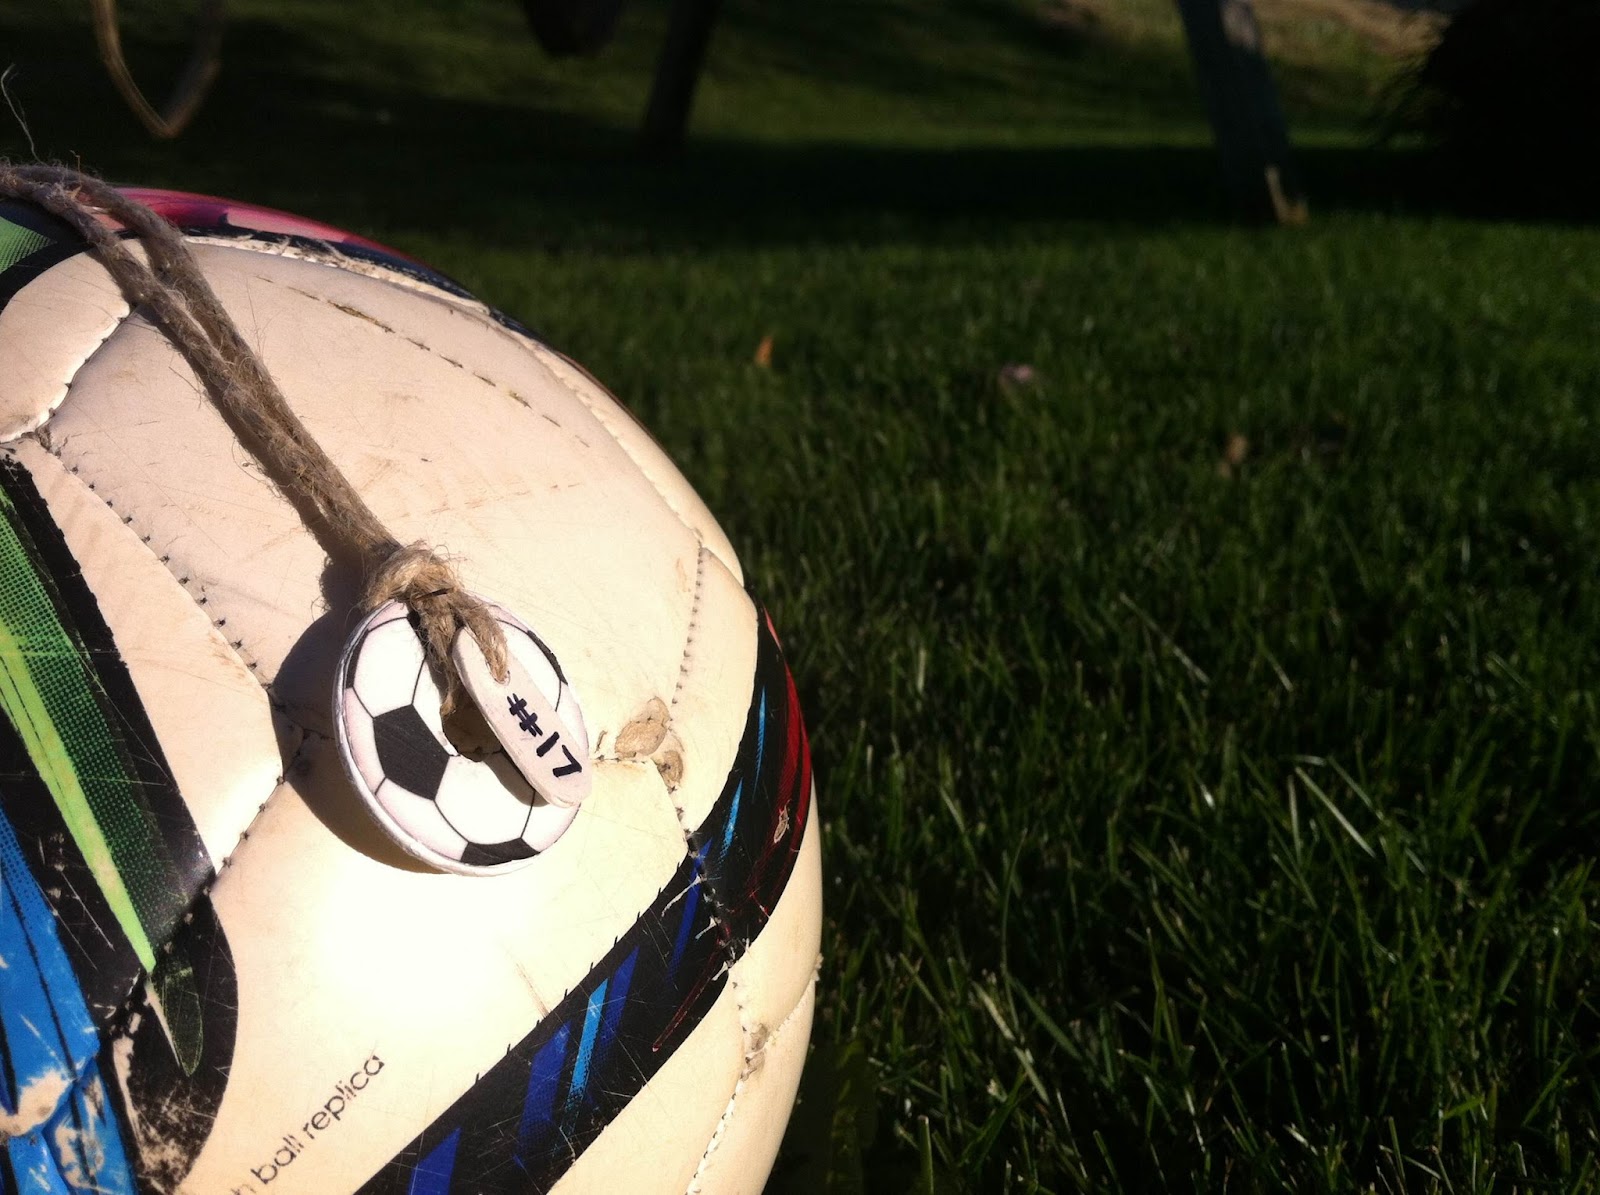
As November is getting closer, fall sports such as soccer are slowly coming to an end. But at the end of the season many teams like to have a party to celebrate another year of successful games. Team mates bring cupcakes, hot dogs, and many delicious treats to the party. But maybe like me you want to bring something a little more than food to commend your amazing team mates with. Instead you want to give your friends a gift that they will love and remember their outstanding season with. That’s why today I’m going to show you how to make this unique but simple soccer ball necklace. Let’s get kicking!

Supplies:
- Washers ( As many as you want to make)
- White Acrylic paint
- About 34” inches string
- White Molding clay
- Black Sharpie
- Printed Soccer ball picture
- Nori Paste
Steps:
- First thing you’re going to want to do is take your white paint and paint one of the sides of your washer.

2.) Once your paint is dry, apply a second or third coat of paint to your washer and then let that dry.

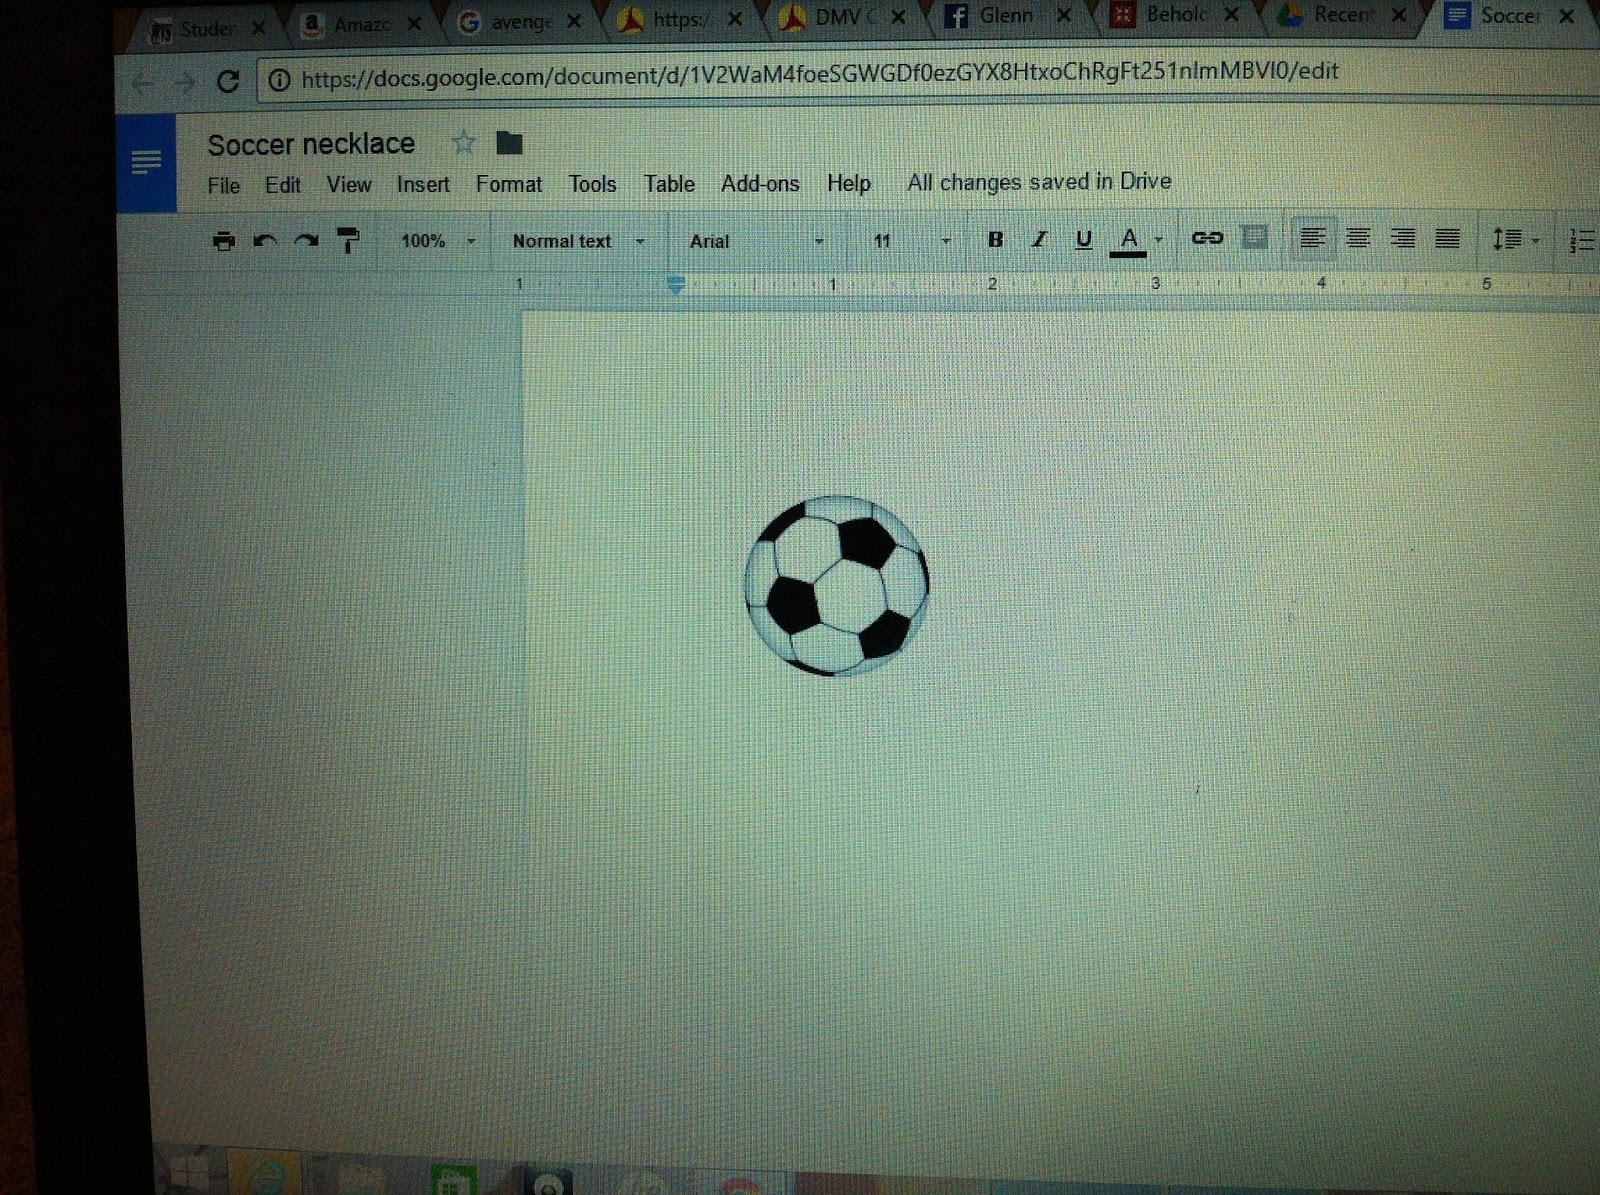
3.) Now we’re going to print out our soccer ball cutout. Go on google and find a picture of a clip art soccer ball. Next copy and paste it onto a document and try to size it so it’ll fit onto your washer.
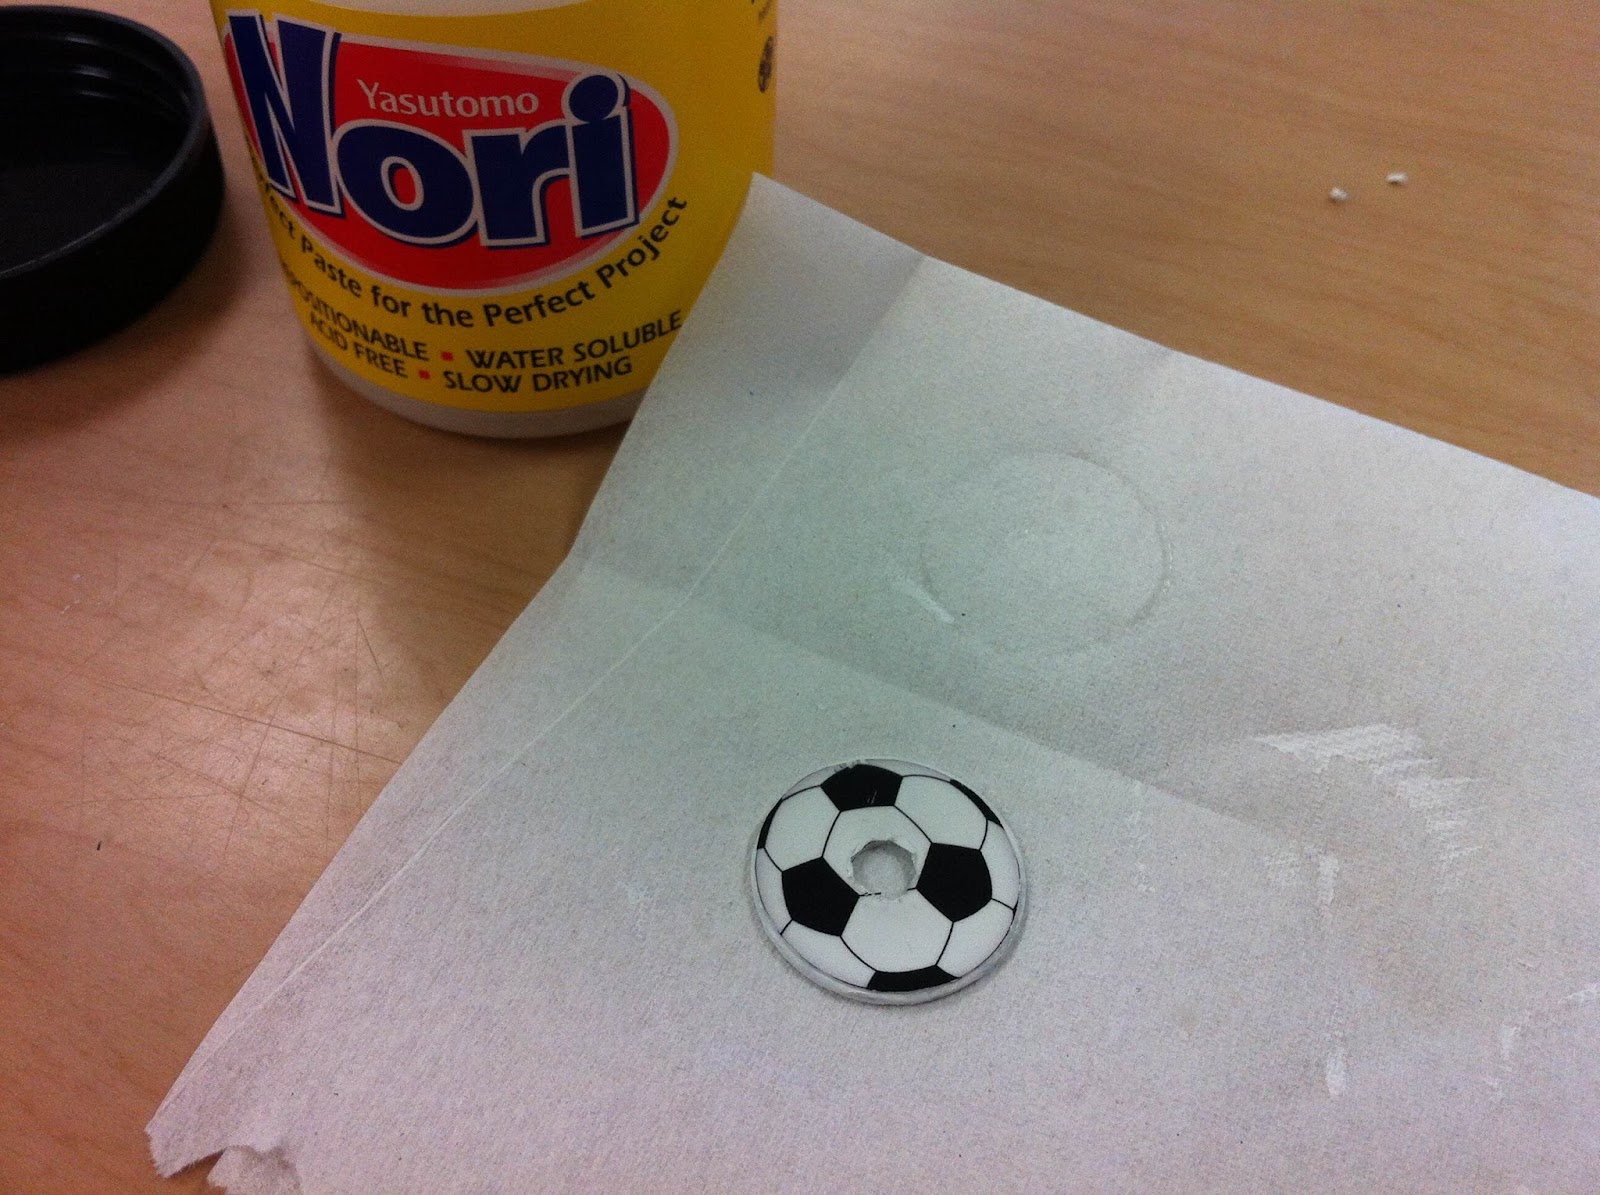
4.) Next print off your soccer ball design and take some scissors and cut out your soccer ball. I cut a hole out of the middle of mine also so it would line up with the hole in the washer.

5.) Now it’s time to glue the picture onto the washer. Take your Nori paste and paint it on the side of your washer without white paint ( I chose to paint both sides so that’s why my washer is white). Then take your cut out and press it onto the washer so the sides and holes match up.

6.) After you’ve glued on your cut out, take some more Nori paste and paint over the top of the design to give the paper a protective cover.

7.) While our glue is drying we’re going to begin making our little clay pendant. First take your clay and start kneading it so it’s soft, then roll it out flat making sure it’s not too thick.

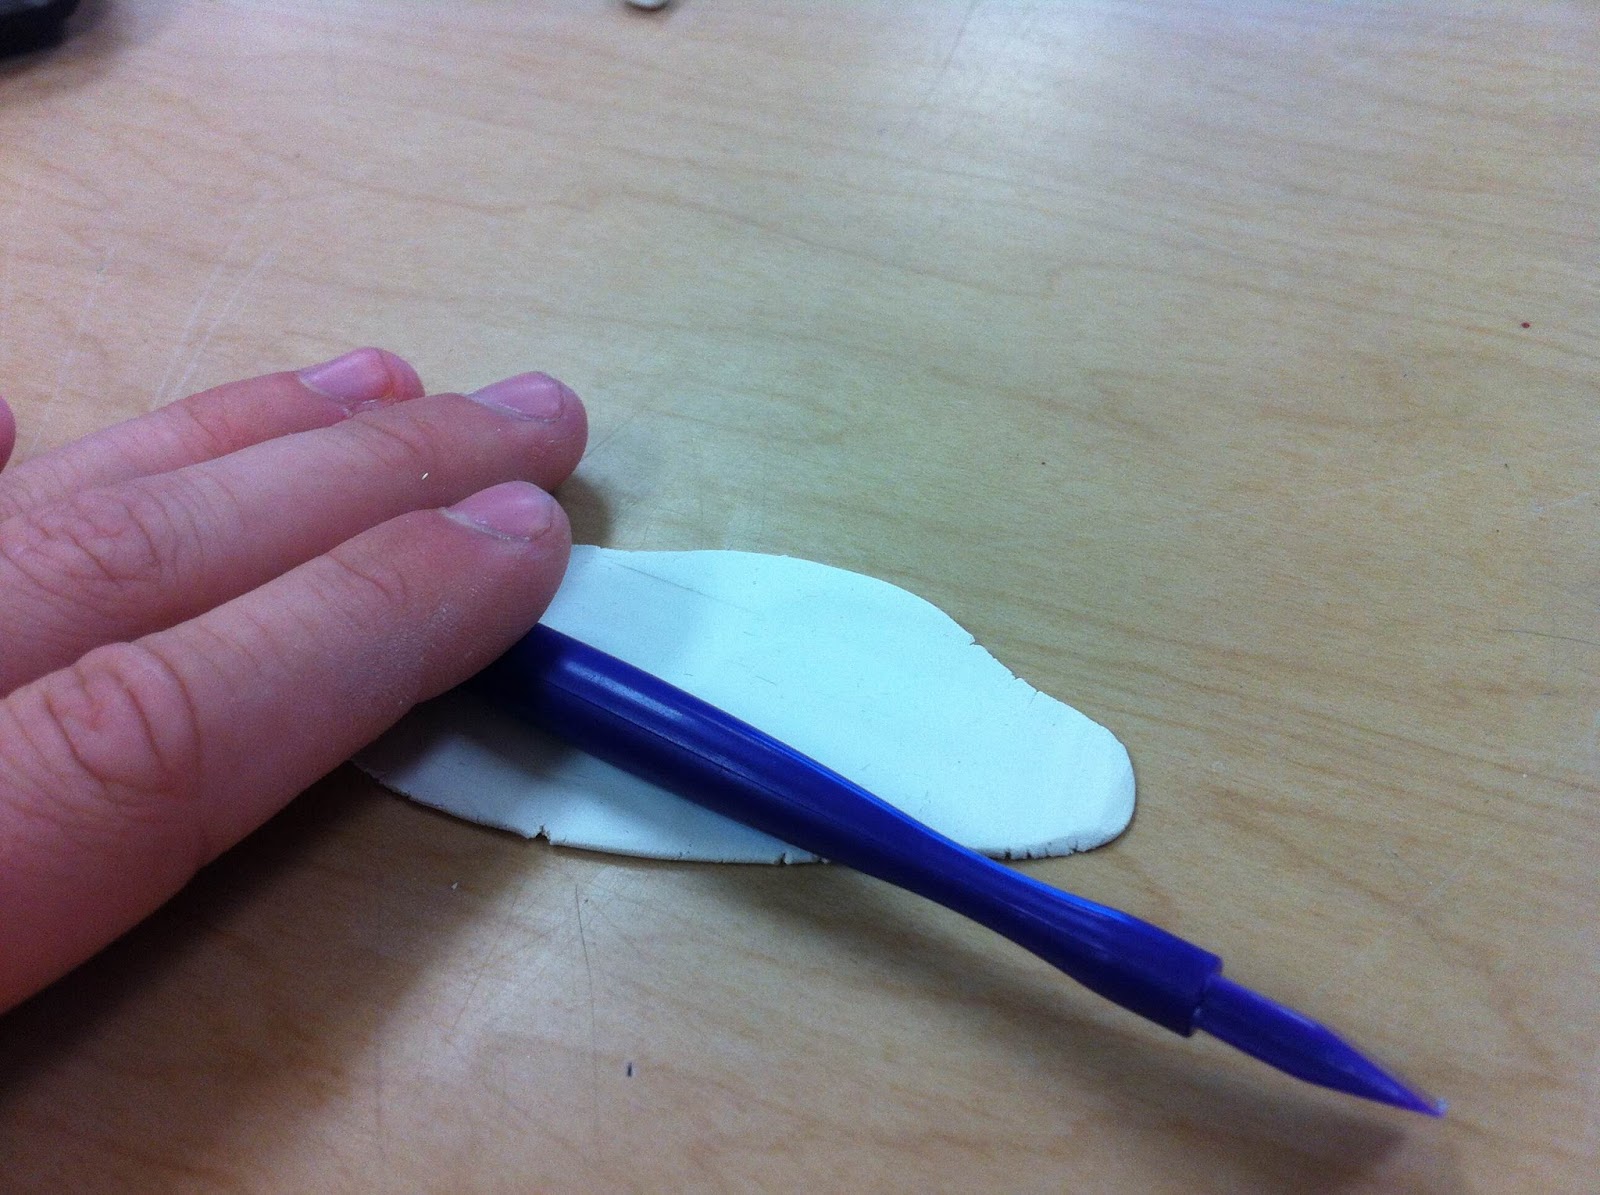
8.) Next lightly draw an oval shape a little shorter than an inch on the clay. When you like your shape cut it out.

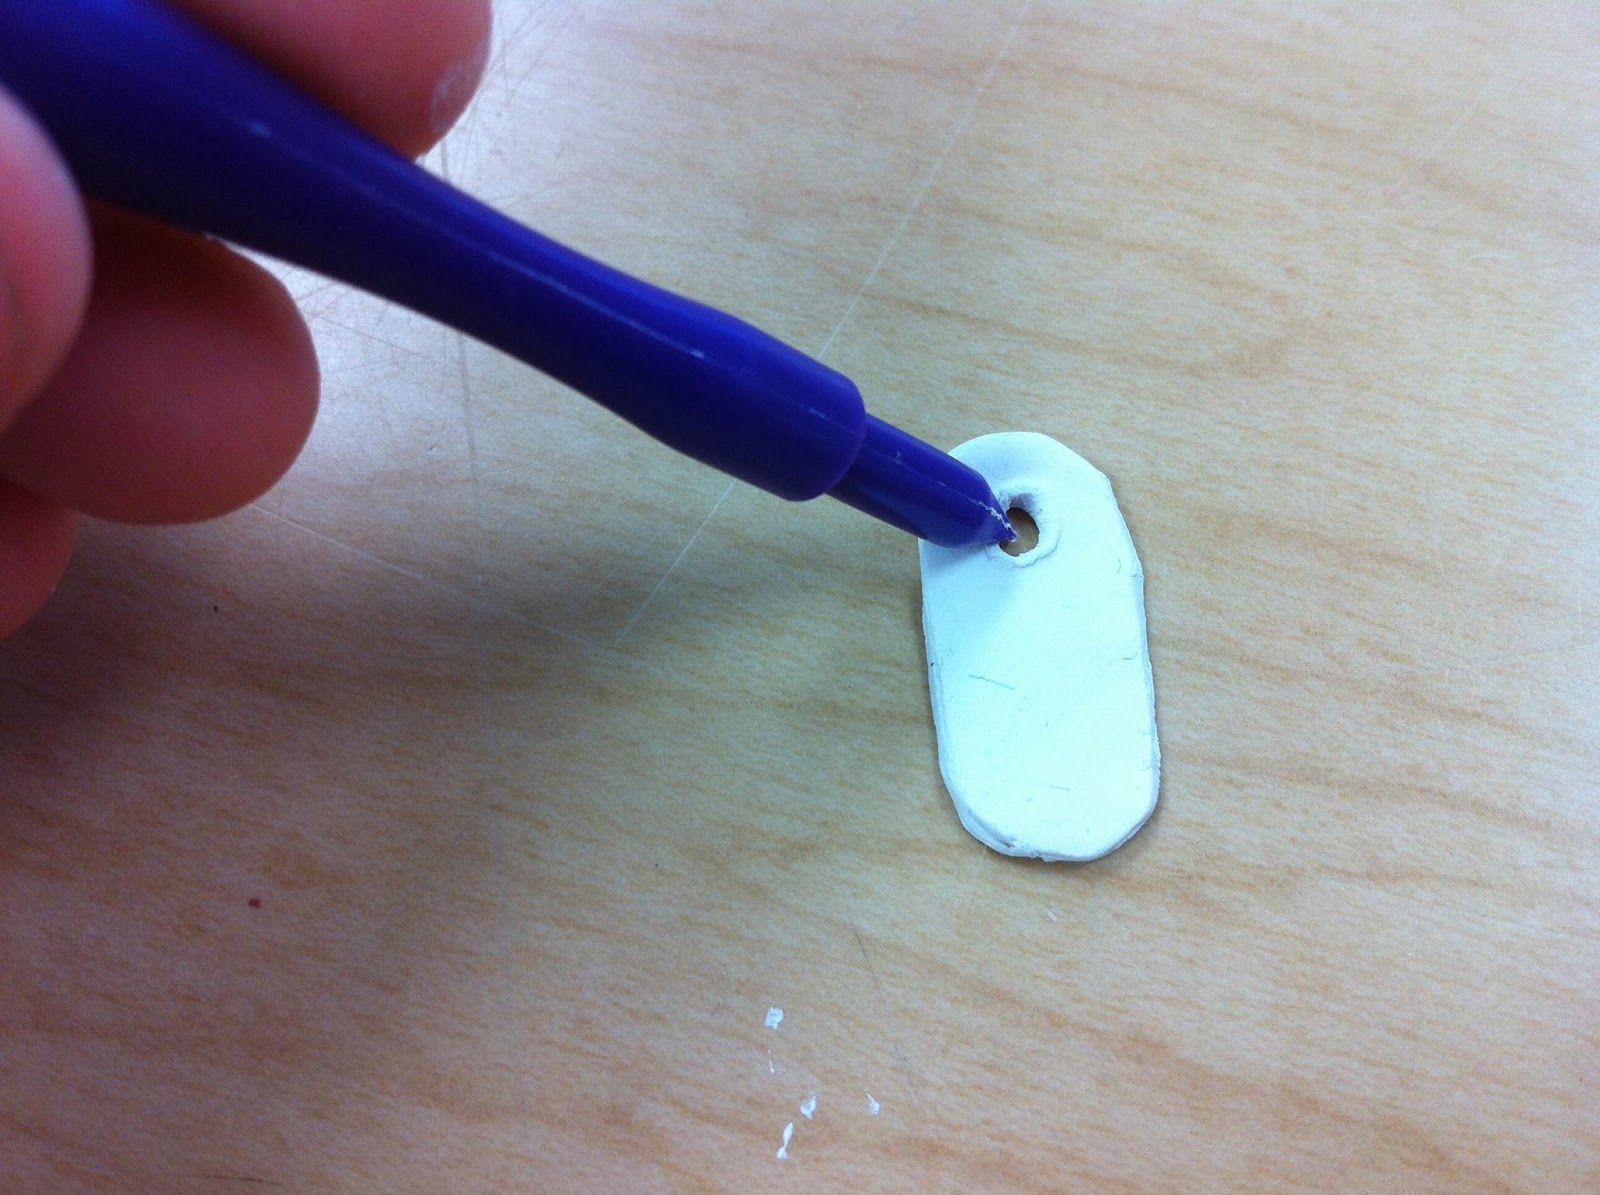
9.) Then take any type of tool with a point and make a circle on the end of the oval so the string can go through it.
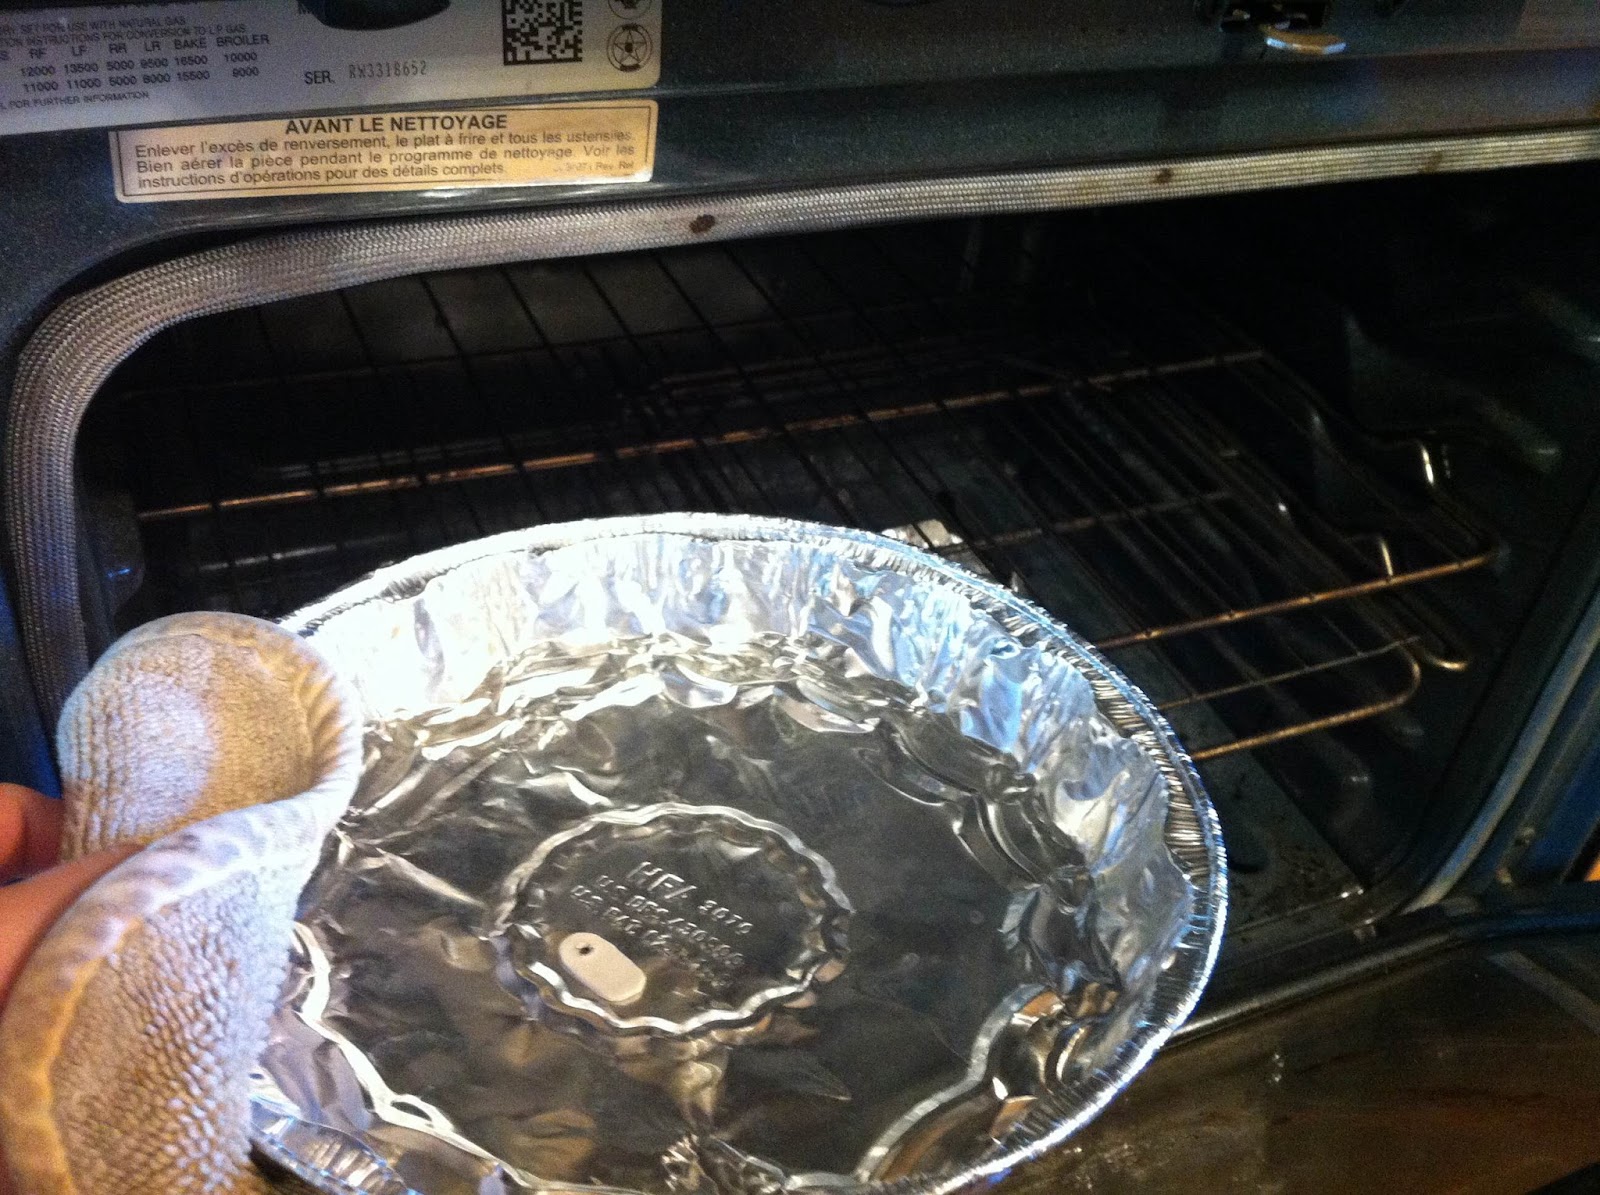
10.) Now you’re going to want to cook your clay. Pre-heat your oven to 275 F and when the oven is heated bake the clay for about 15 minutes making sure it doesn’t burn.
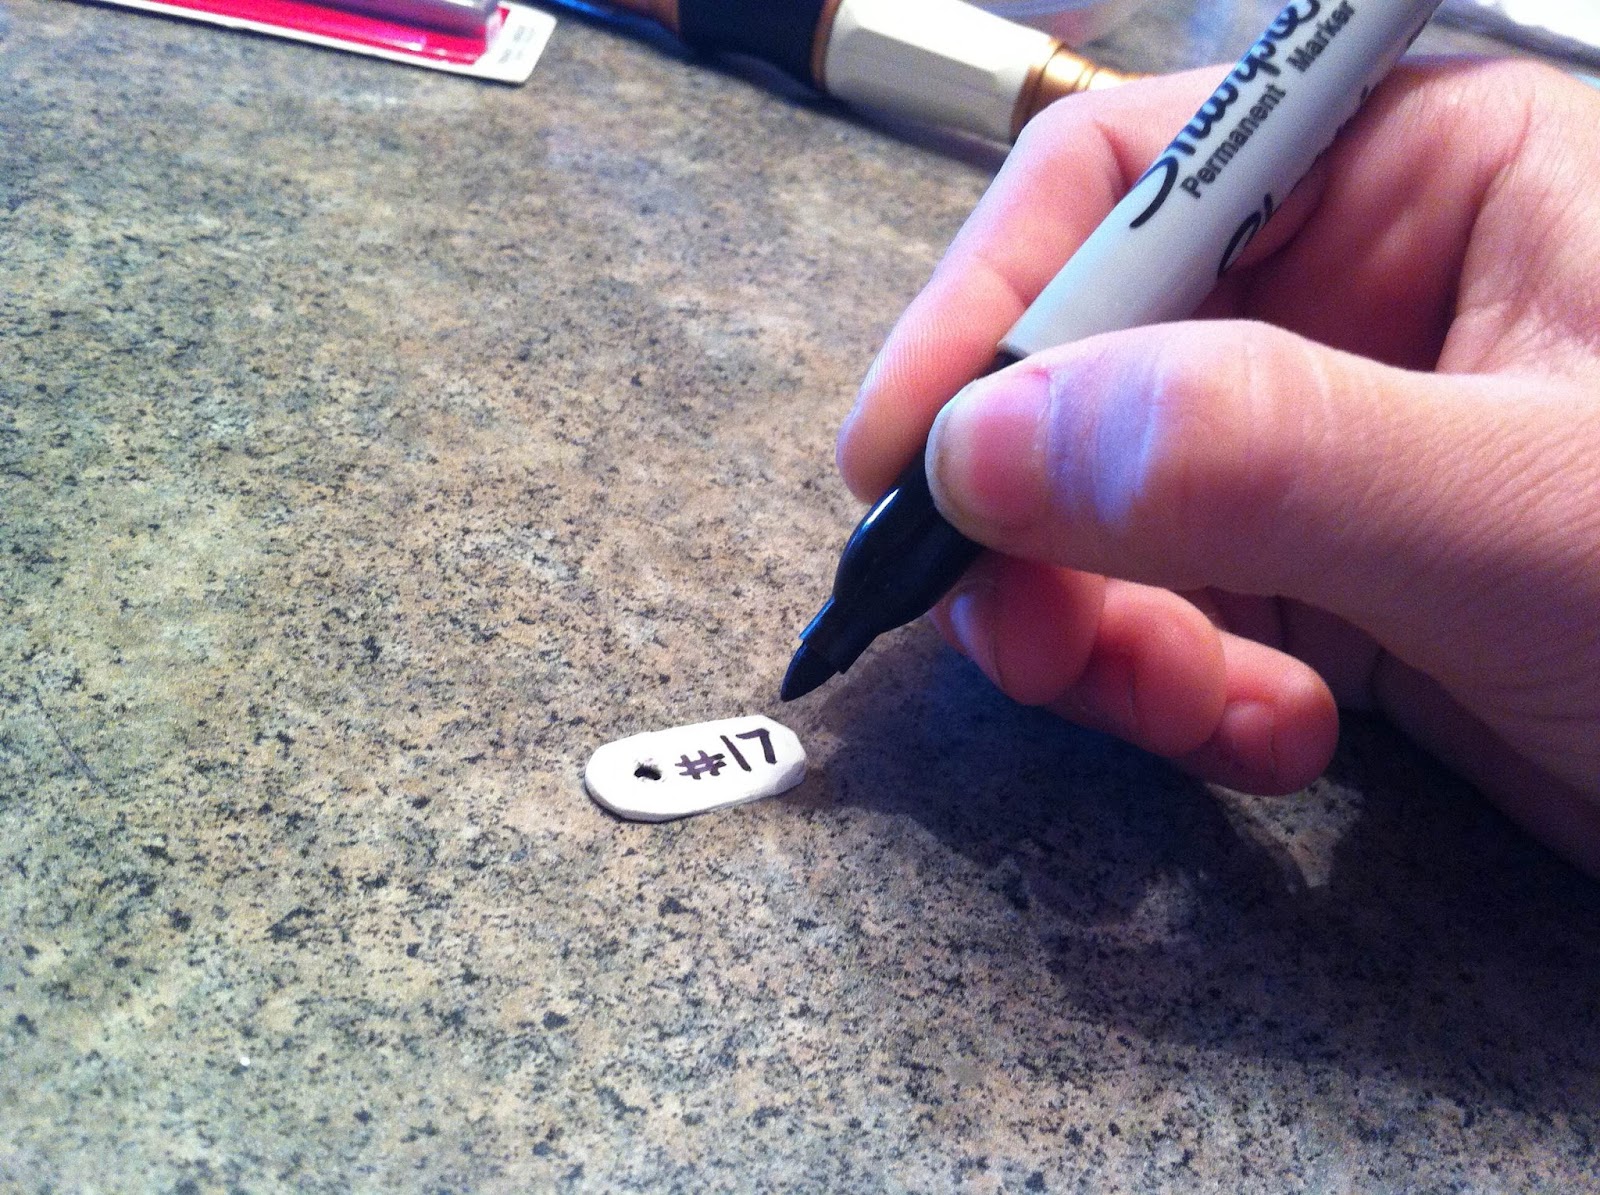
11.) Once your clay is cooked and cooled take a black sharpie marker and write either your team mates jersey number or a short word like play or run.
12.) Now that we have our pendant and soccer ball ready, it’s time to assemble the pieces together. First take your string and cut it to about 34” inches and fold it in half.

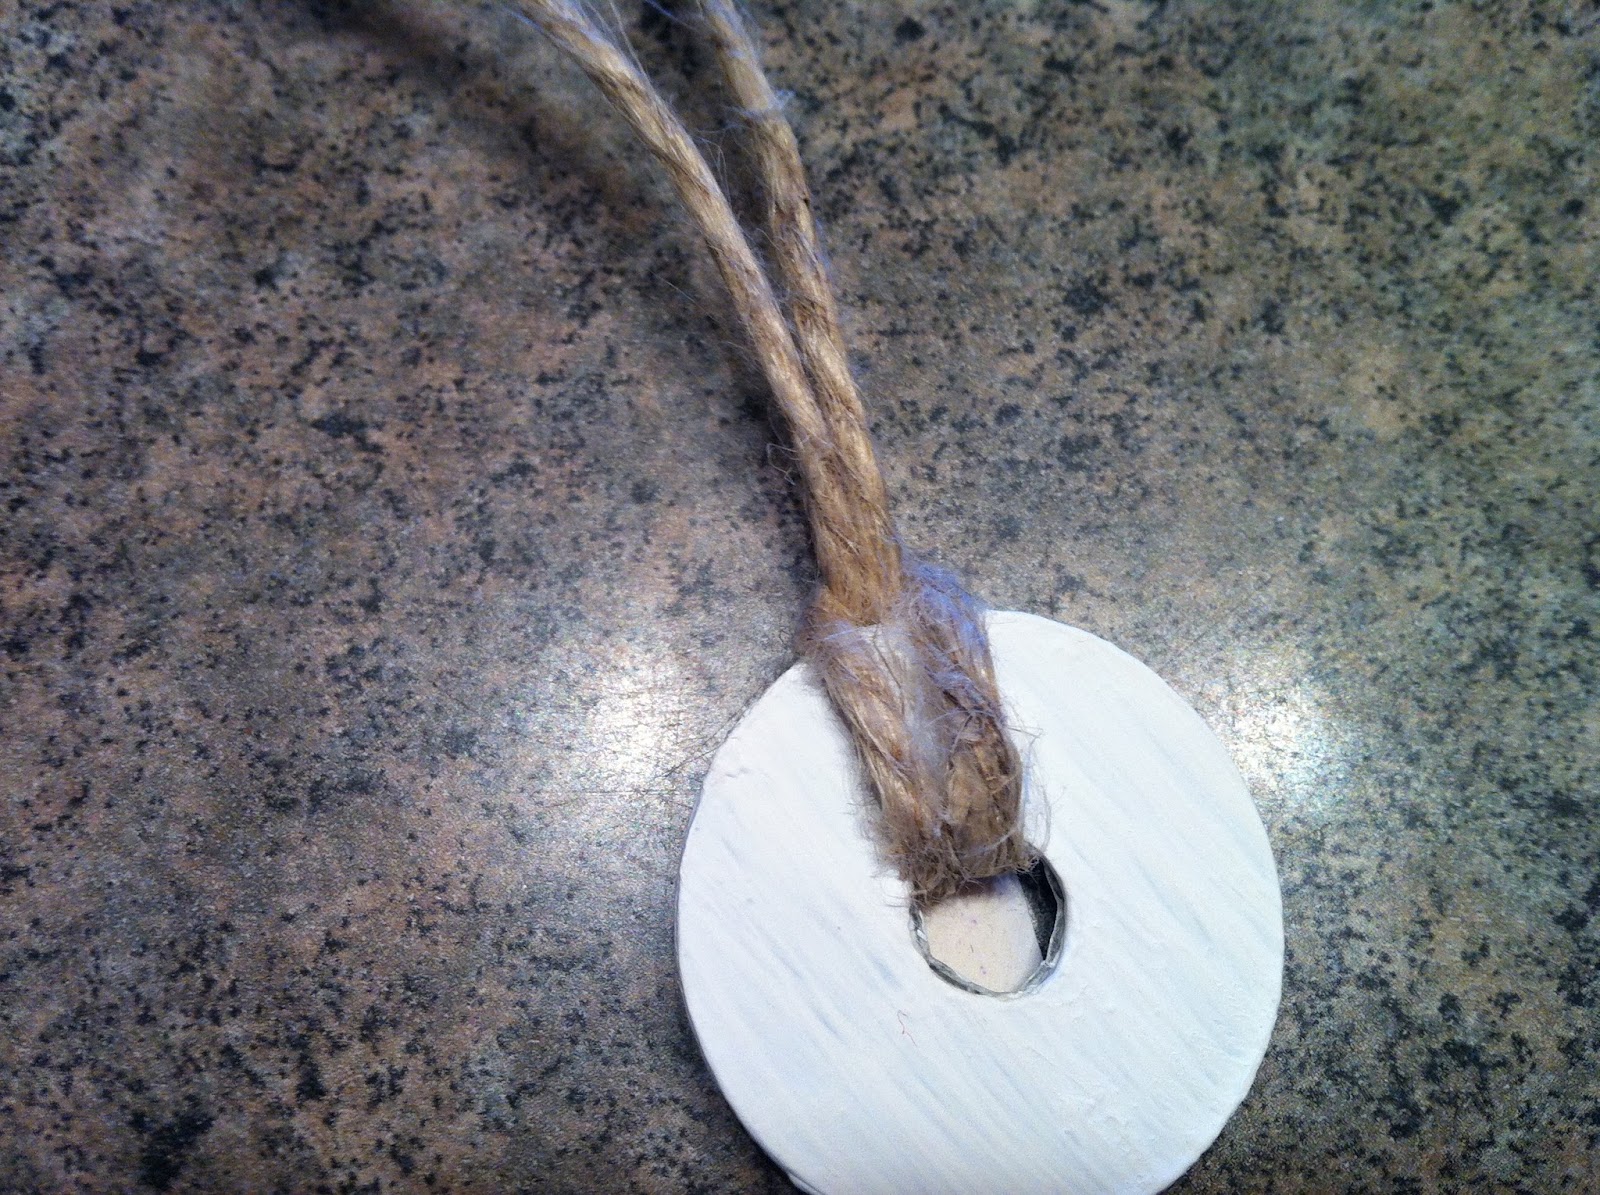
13.) Next take your washer and pull the loop through the middle of the it. Then pull your pendant down one of the strings until it lines up by the washer’s hole.
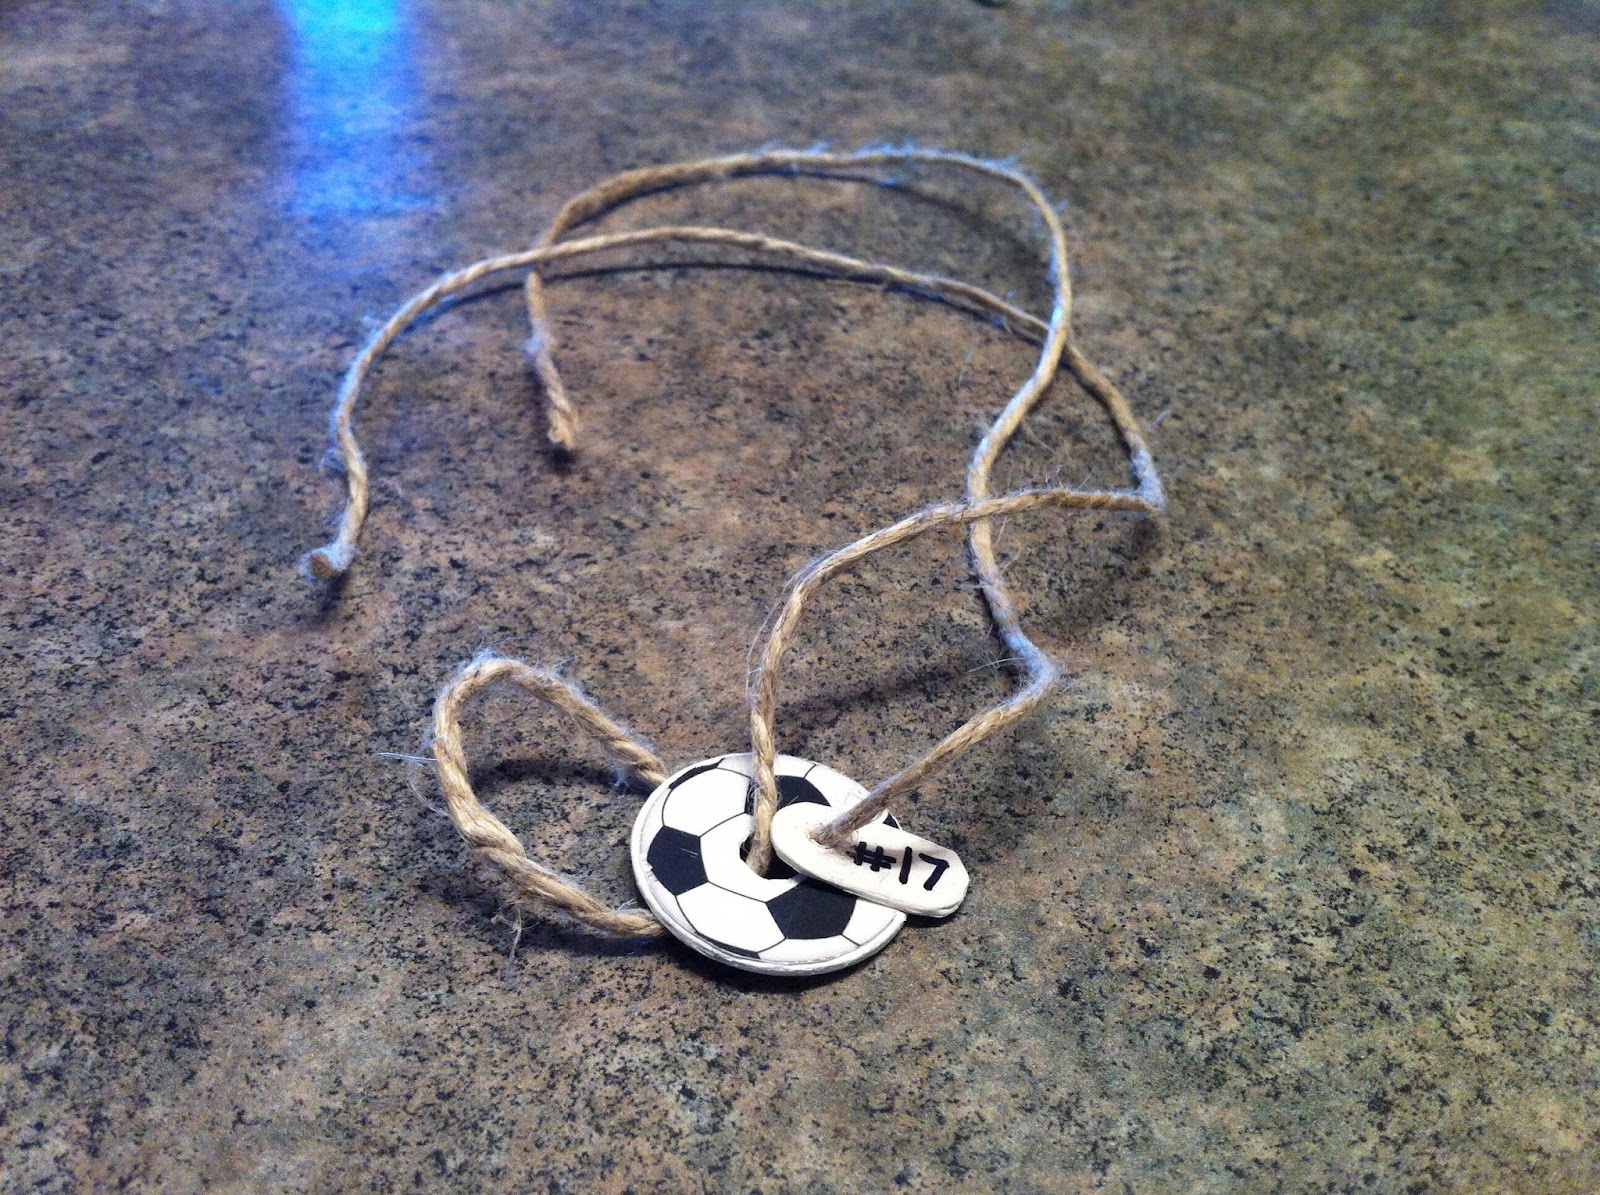
14.) Then pull the two end strings through the middle of the loop and tighten.

14.) To finish it off take the ends of your strings and tie them in a knot.

You now have made your first washer soccer ball necklace! All you have to do now is make enough for your teammates and you’ll have a fun end of the season gift. Also this craft isn’t just limited to soccer, you can use all different types of sport balls to use on the necklace. I hope your team enjoys their unique washer soccer ball necklaces!
No comments:
Post a Comment