Festive Fall Nails
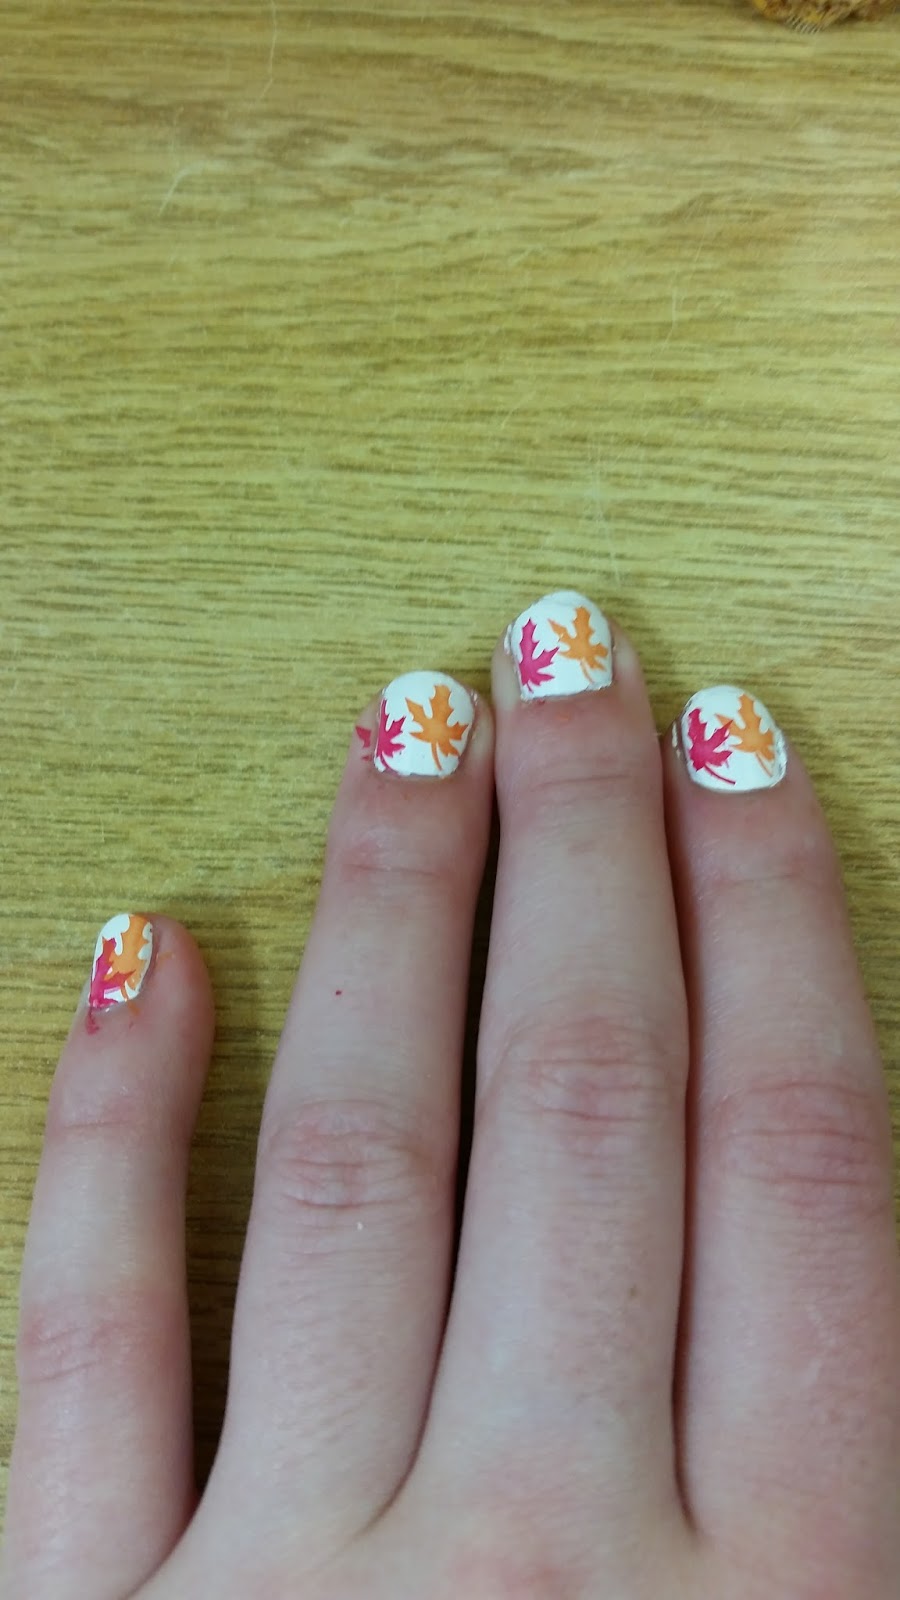
Fall is officially upon us! Keeping up with the seasons with fun fall outfits or buying a new pair of books. What better way to top off the look than with festive fall nails? Here is a quick easy tutorial that will look like you got a manicure.
What You Will Need:

- Nail Polish remover
- Nail polish remover wipes (optional)
- Nail buffer
- Nail clippers
- Nail file
- Cotton pads
- Nail Polish ( a background color and whatever color you want your leaves to be)
- Leaf stencil
- Plastic scraper
- Rubber stamper
- Favorite smelling lotion
How To Do It: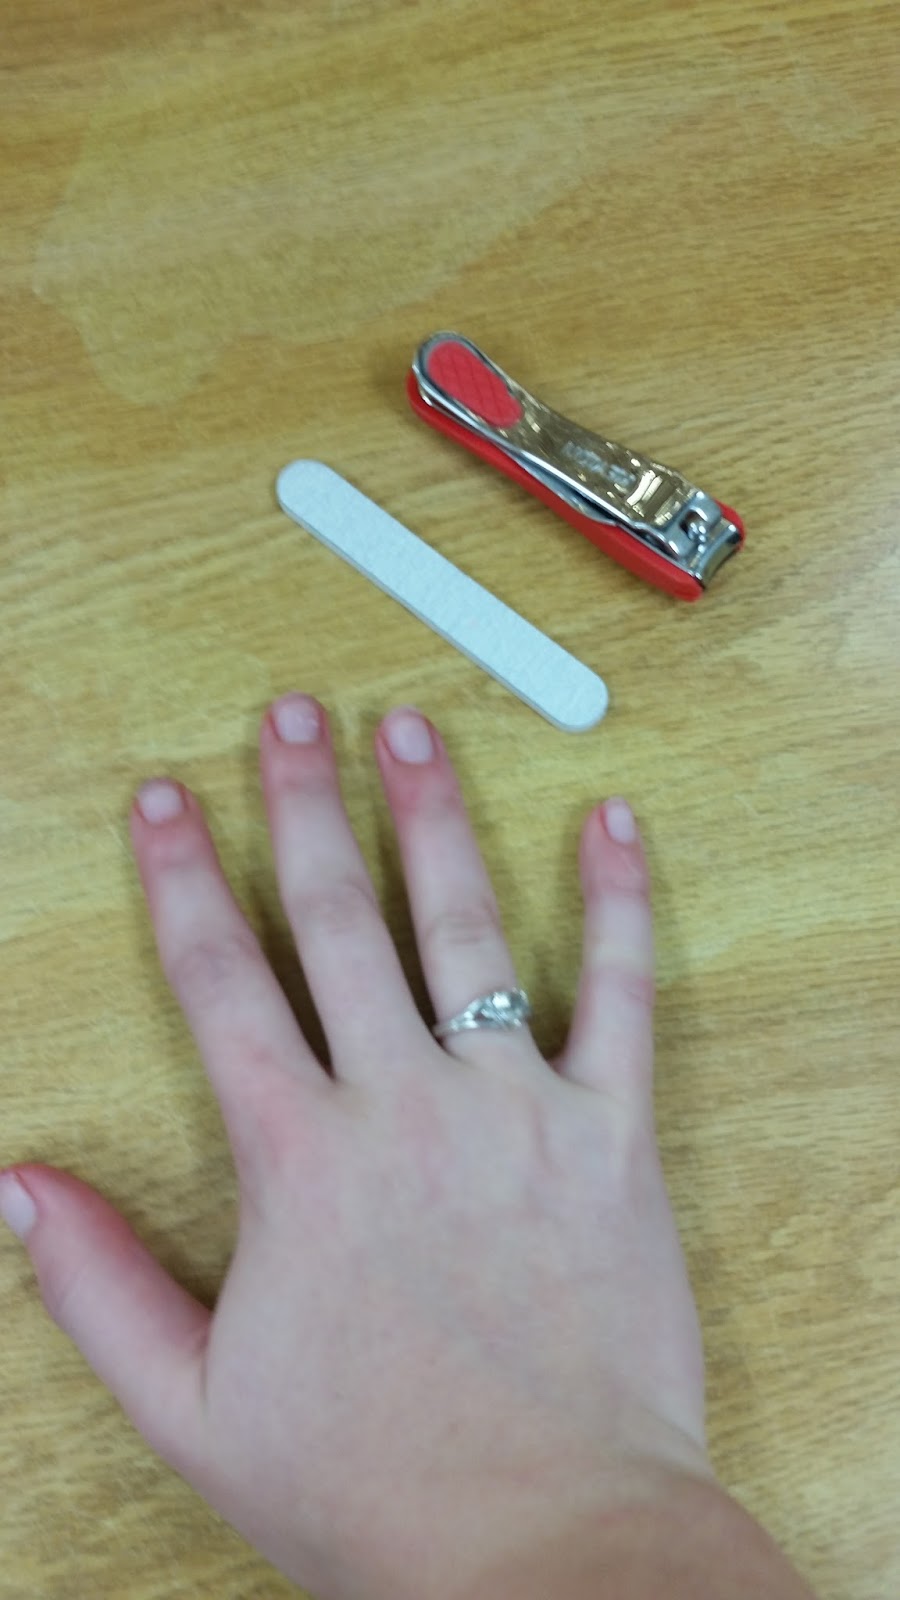
- Wash your hands, get all of the excess dirt off of your nails and hands. After that, cut your nails with the clippers and shape nails with your file.

- Next, use your nail buffer and smooth your nails. When all of your nails are smooth add a layer of clear polish. (Tip: The clear coat helps to smooth down your nails so the colored polish goes on smoother. Also the clear coat ensures that your nails keep the design on longer.)
- After you have one clear coat, paint your nails with the base color (in my case it's white), and let dry. Then a second.

- Now it's time to do the design.

- The first step in doing the design is filling the stencil with polish, by simply painting nail polish over the design you wish to have on your nails.
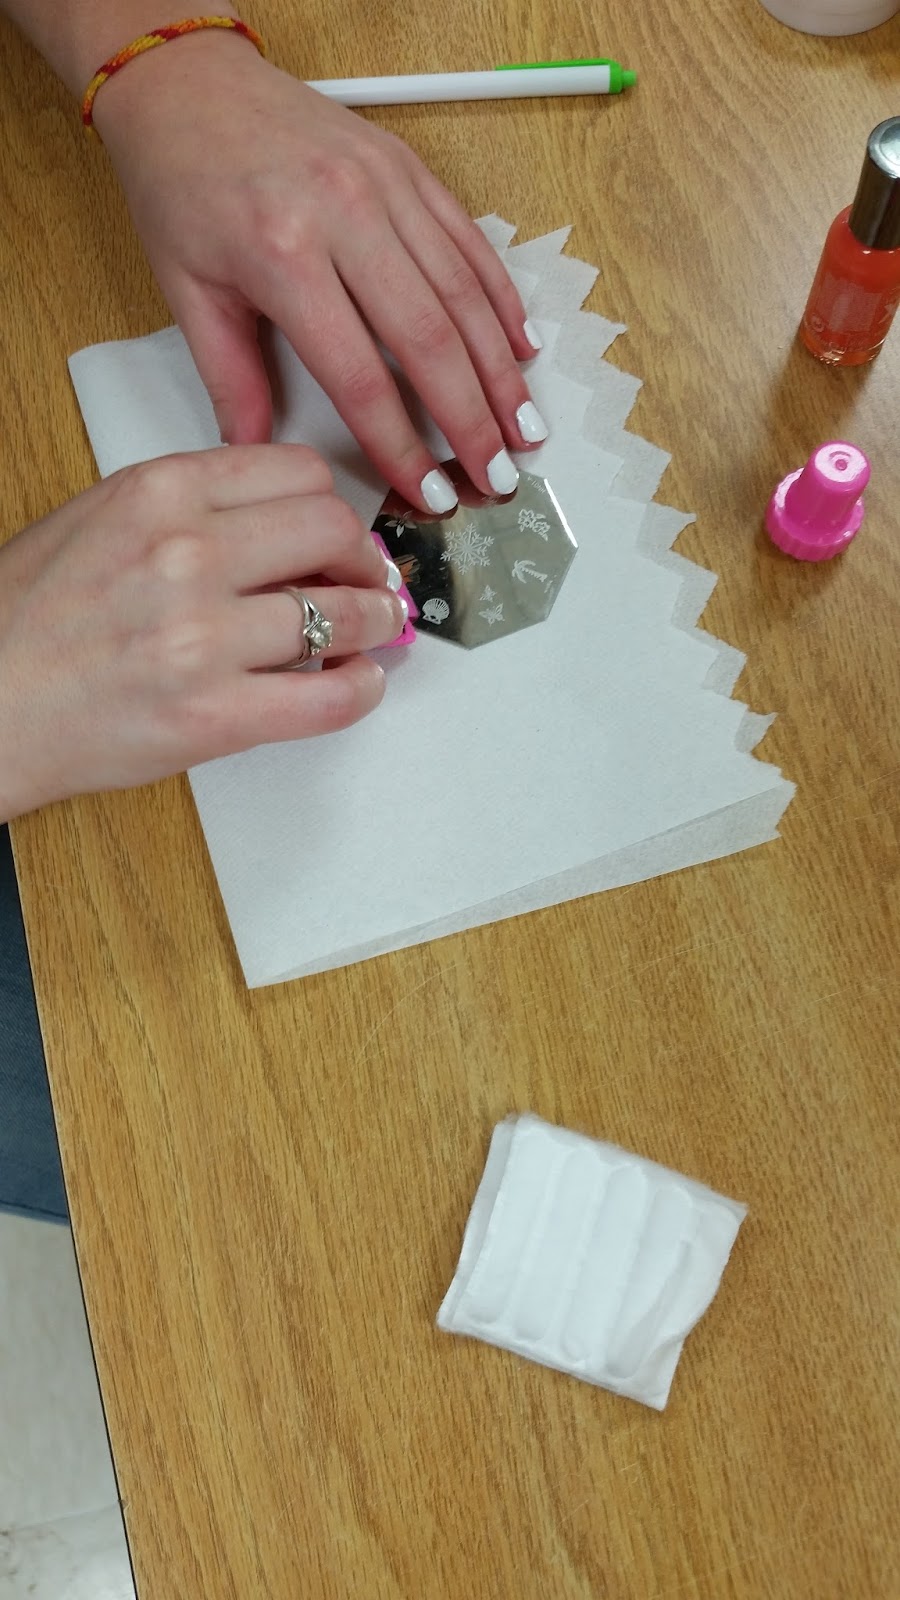
- The second step is scraping the excess polish off so there is only polish left in the design.
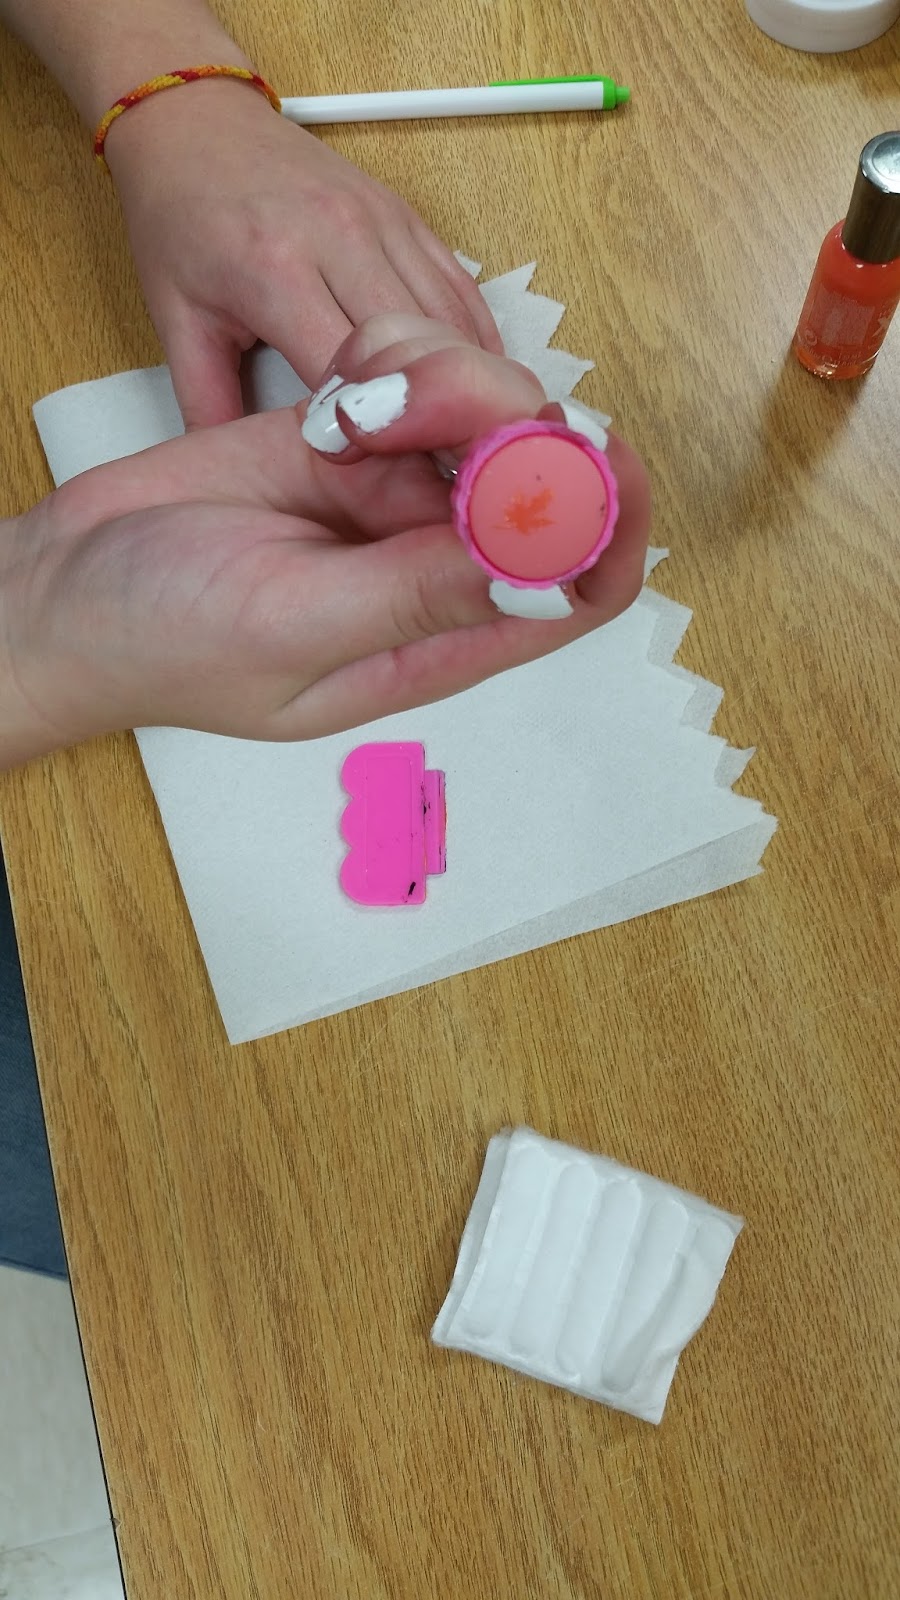
- The third step is taking your rubber dobber and lifting the design off of the stencil( press the rubber dauber down over the stencil.)
- The fourth and final step is to press the dobber (with lifted design) onto your nail (Tip: I do this in kindof a rolling motion. The design doesn't stick to well if you just bring the stamp straight down.)


- Let designs dry (they dry relatively fast) and then paint a clear coat on all of your nails.

- Your final step is to put some good smelling lotion on your hands. The nail polish remover tends to dry out your hands, especially the skin right around your nail. I found that lotion helps with the drying immensely.

Now you know how to paint your own salon looking nails at home.This process, overall is very easy and with more practice, the faster you will get and the better they will look. Not to mention you saved about 30 dollars depending on the salon you might go to. I hope you have fun trying these nail painting technique out.
No comments:
Post a Comment