Hero Worthy Captain America Earbud Holder

If you are like me then you usually will have a pair of earbuds with you when you go to school. But with carrying earbuds around comes the problem and risk of them getting tangled. You go to take them out of your bag and end up having to spend a minute untangling the mess that occurred in your backpack. Are you done with dealing with tangled messes and want a unique and tidy way to keep your earbuds organized? If so then this Captain America shield perler bead earbud holder is the perfect craft for you. With its quick and easy steps your earbuds will go from a jumbled mess to a hero worthy gadget.
Supplies needed:
- About 50 Blue, 120 Red, and 205 White perler beads
- Perler bead iron paper
- Perler bead circular/or hexagonal pegboard
- Tweezers
- Hot glue gun
- Earbuds
- Iron
- Small Bowls
Step 1: The first thing youŕe going to want to do is sort out your blue, white, and red perler beads in separate bowls.

Step 2: For this project you can either use a circular pegboard or you can use a hexagonal board so it can stand up. For this demonstration I choose to use a hexagon shape. So first take your white perler beads, and start making the star in the middle of our shield. You’re going to start with one bead in the middle, then 6 beads circling around that, and then 1 point on the top, 2 on the sides, and 2 on the bottom to complete the star shape.

Step 3: After we’ve made our star we’re are going to take the blue beads and make 2 rows surrounding the star.

Step 4: Once we’ve made our 2 blue rows were going to do one row of red beads surrounding the blue. After that do one row of white around the red, and then another row of red after the white.

Step 5: Now that you’ve made your design you’re going to pick a side of your hexagon and take out one bead out of the first 3 rows to create a little notch. Then repeat this process on the opposite side of your hexagon.

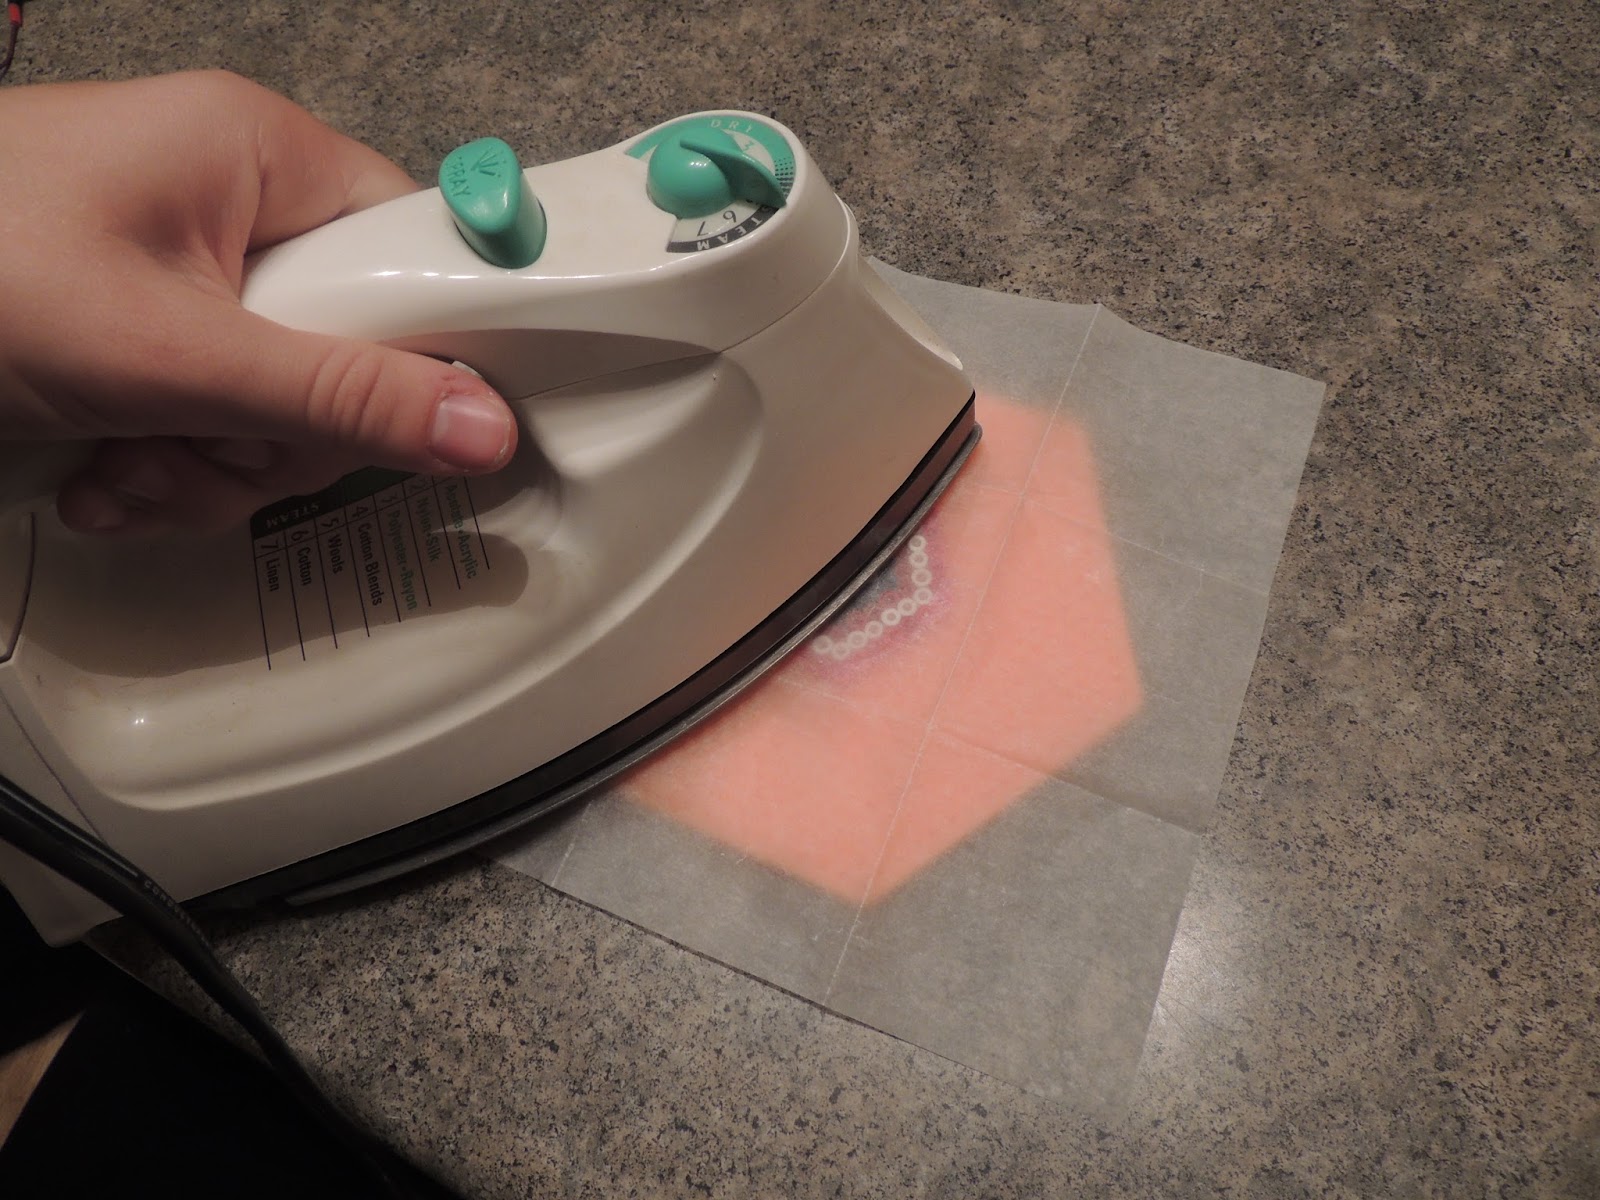
Step 6: Your project is now ready to be ironed so you’re going to want to preheat your iron to medium and take your iron paper and set it on top of your beads.

Step 7: When your iron is hot your going to iron in a circular direction for about 15 seconds. If you peel the paper off and the beads aren’t fused together then iron for an extra 15 more seconds.

Step 8: Once your beads are cooled, take your pegboard and remove your circle, then flip it over, and iron the other side for about 15 seconds.
Step 9: After you’ve ironed the shield, you’re going to repeat steps 2-8 and make an identical shield except you’re going to skip step 5 and leave the shape whole.


Step 10: Now that you have your 2 shields we’re going to create the 2 middle hexagons for in the middle. You can use whatever color you want but I’m going to use white for my middle. For this hexagon you’re going to want to make it two rows smaller than your big shields and then take one bead out on 2 sides to make a little
notch.


Step 11: Then just like you did with the other shapes you’re are going to repeat steps 6-8.


Step 12: We are now ready to assemble our pieces together. First you’re going to want to heat up your hot glue gun. ( I used hot glue but I’d suggest using super glue as later the hot glue didn’t stick and broke in my backpack ). Next, take your bigger hexagon with the notch and apply hot glue to one of your smaller hexagons and glue it to the big hexagon making sure the notches match up. Then glue your next small hexagon on top of that, and then finish it with the big shield on top.

Step 13: Once your ear bud holder is dried you can use it! First put the top of your earbuds in one notch, then wrap the cord around the middle, and then put the plug in the other notch.

You have now successfully made your very own creative way to carry your earbuds! Now I’m going to be honest and say that the finished product was cool but there were some flaws. The hot glue did not stick very well once dried and easily broke in my backpack along with some of the perler beads. I would suggest maybe trying super glue instead of hot glue and probably only carrying this is safe areas of your bag or purse. But if you enjoyed this craft then go and experiment some other shapes or designs such as emojis, fruit slices, or a cookie and maybe even give them to your friends! Enjoy!
No comments:
Post a Comment