How to Create an Unique Pop-Up Card
By: Nicole Lavelle
My mom’s birthday is coming up soon and if you’re anything like me, I am horrible at giving presents. It doesn’t help that my mom always says the same thing year after year- “You don’t have to get me anything!” She is also impossible to buy for. She doesn’t wear makeup or jewelry, doesn’t like clothes, is terrible at gardening, and always says she doesn't have time for hobbies, like reading or playing sports. This leaves me hopelessly searching Pinterest for a new idea for a present. The one thing she told me after I had asked a million times what I should get her is that she wants something to keep, cherish, and remember, is homemade, and from the heart. This made me think of creating a nice card for her.
Ever since I was little, I had a knack for making cards, although I stopped once I grew older and thought arts and crafts were only for kindergarten students. With an optimistic attitude, I decided to made a pop-up card to show how much my mom means to me. If you are ever scrambling to put together a last minute gift, remember that a homemade card can be just as satisfactory as a store bought present. I’m going to show you a fast and easy way to show your appreciation of someone you love in just five simple steps.
Supplies Needed:
Construction/ Scrapbook Paper
Scissors
Pens or Markers
Glue Stick
Ruler (Optional)
Stickers (Optional)
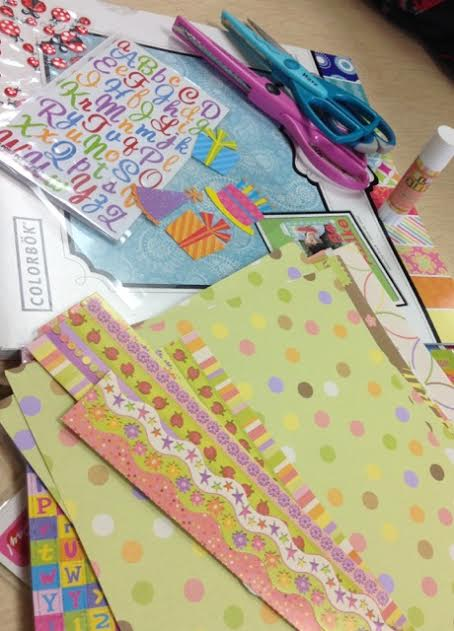 1. First, gather your supplies. I used scrapbook paper and stickers that my aunt had given me a couple of years ago. All of the other supplies, I had stored in my desk.
Then choose a paper that will be used for the inside of the card.
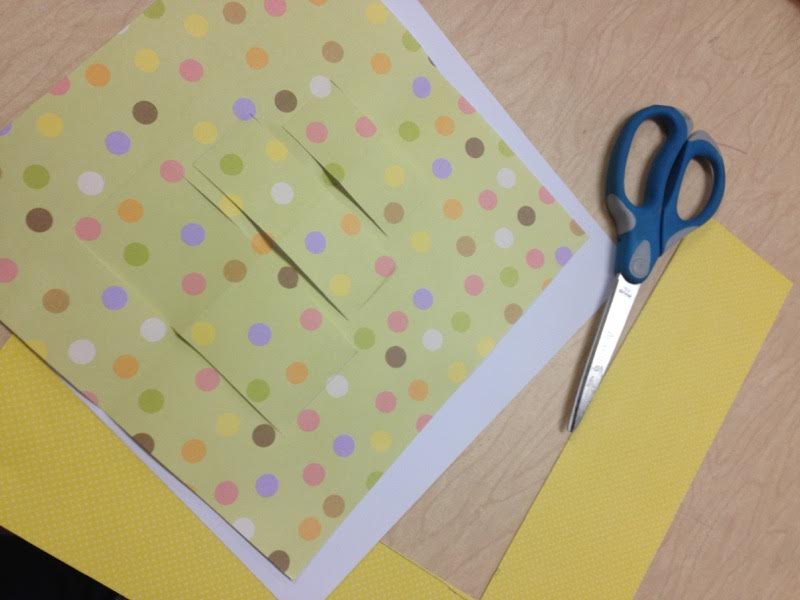
2. After you choose a piece of paper, fold it in half the long way (hotdog bun style), making sure the pattern is inside. 
Then with your paper turned vertical, draw two horizontal, parallel lines that are about as long as 1/4 of the page on top of the paper. Next draw the same thing a space below, but this time have your lines measure as long as 1/3 of the page. Draw a third set of lines reaching to the middle of the page. The width between the lines is up to you. I measured the first set to be 1 inch apart, the second to be 1 1/2 inches, and the third being 2 inches. Make sure you are drawing the lines on the side of the paper that does not open.

Then cut the horizontal lines (not the vertical lines!!) with a scissors.


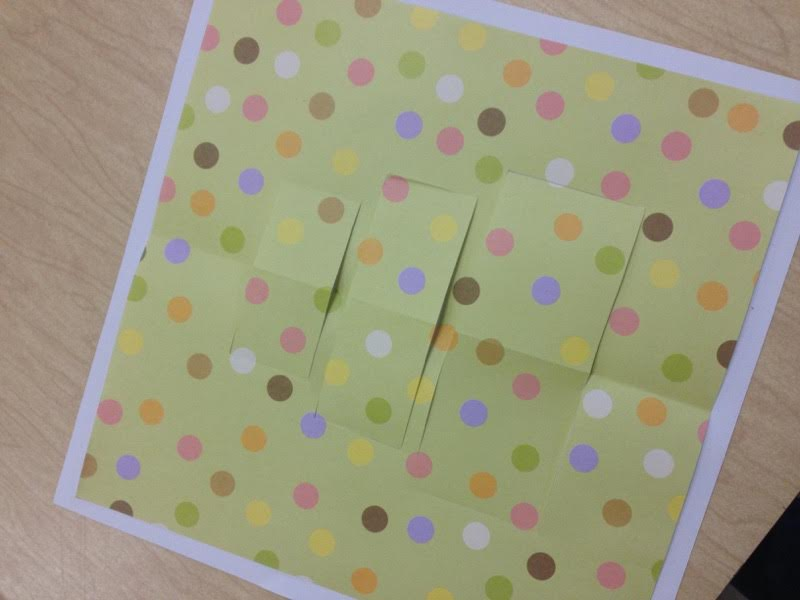
You can then push on those three sections and it should look like boxes are on your paper.
3. Next you can choose a paper to be on the outside of your card. 
Cut this paper to fit your other paper. I made my cover a little bit bigger so the inside would have a border.
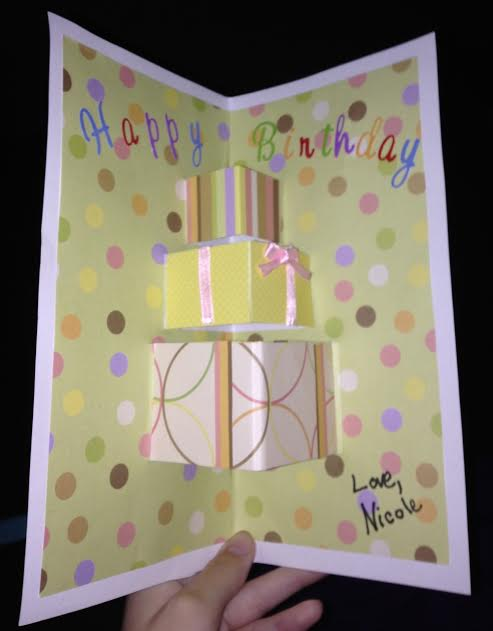
4. For the next step, you can decorate the cover of your card. I used stickers that surrounded the center of the card and a pen to write Happy Birthday in the middle. 
5. Next, I decorated the boxes on the inside of the card to look like presents. I found pieces of paper with different designs on them, cut the papers to the size of each box, and used a glue stick to glue the “wrapping” to the box. I also found some ribbon and a bow. I used it on the second section, gluing strips of ribbon on each side with the bow above one ribbon.
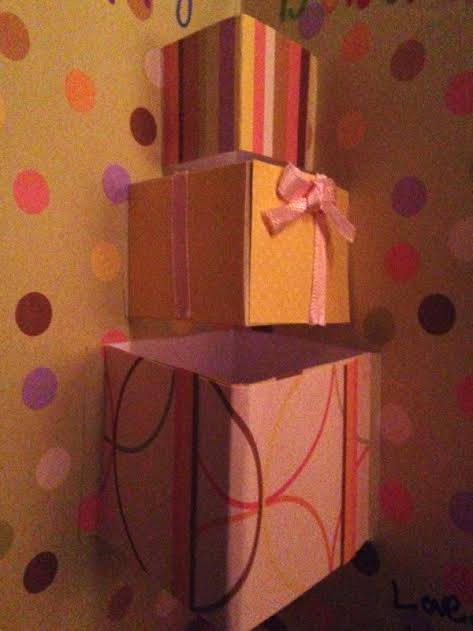
I used to stickers to spell out Happy Birthday. Pens or markers could also work. 
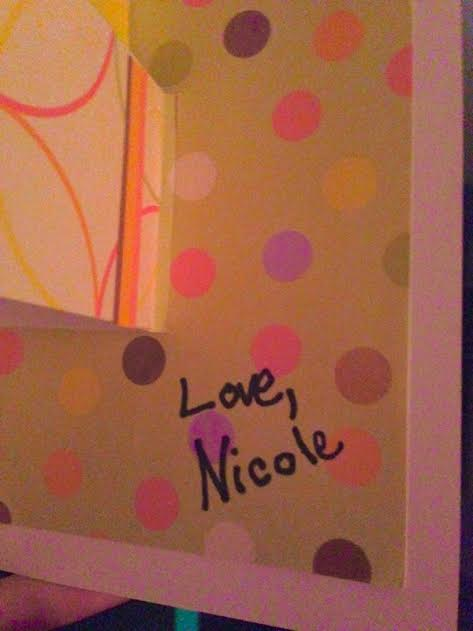
The very last thing I did was sign my name!
I hope you enjoyed creating a festive card. I’m sure the receiver will love it!

No comments:
Post a Comment