Thursday, October 12, 2017

Packer's Painted Pumpkin


My three favorite things in Fall are hunting, football, and Halloween. I was thinking about what I could do to decorate for the colorful season. So I decided to combine football and Halloween to make the perfect outdoor decoration. Today I will be showing you how to paint a pumpkin to display your favorite football team.


To start off you are going to need spray paint, paper for a template, toothpicks,  and a pumpkin. The spray paint should be the colors of your team’s logo, in my case white, green, and yellow.

 
Next paint your base coat and the background color of your logo.

   
When the base coat is dry, cut out your template of the logo and stick it to the pumpkin with a few toothpicks and paint that. If needed add a few touch ups to give it a cleaner look.


Fun Fall Jar


Do you love fall but don’t have much time? Are you really busy and don’t have much time, but love fall decor. I have the perfect thing for you, I will going to tell you how to make an adorable fall jar. It will a cute touch a fall in any room. This only take 4 simple supplies.

IMG-1580.JPGIMG-1595.JPG

Supplies

-Mason Jar

-Fall leaves

-Little candle
-Spray Adhesive

First spray a thin layer of glue and place the leaves where you like. You might have to fold them down a bit to make then fit.

IMG-1601.JPGIMG-1598.JPGIMG-1600.JPG


After that put as any leaves around the jar as you would like but leave some glass not covered so the light will shine through.

If I would do this craft again, I would use mod podge so they would stick better.

When it is dry, you could write on it or decorate it.

I was happy with my look so I choose to use some twine and add a bow.

To add a light glow, I put a tiny candle inside. I would recommend using a led candle for safety reasons.

This is a great craft if you are super busy and need something in a pitch. Most likely you will have all the supplies needed, already in your house. I love how much fall it brought into my room.
 
IMG-1580.JPG

Front and Center{piece}

IMG_8314.JPG


A centerpiece set atop the dining or living room table certainly sets the tone of that room and adds personality to it as well. With tiny fall pumpkins, stalks of wheat, and vibrant yellow sunflowers you can set the mood of your very own home to a cool and relaxed fall atmosphere that offers the ‘just right’ autumn feel you need!

IMG_8304.JPG

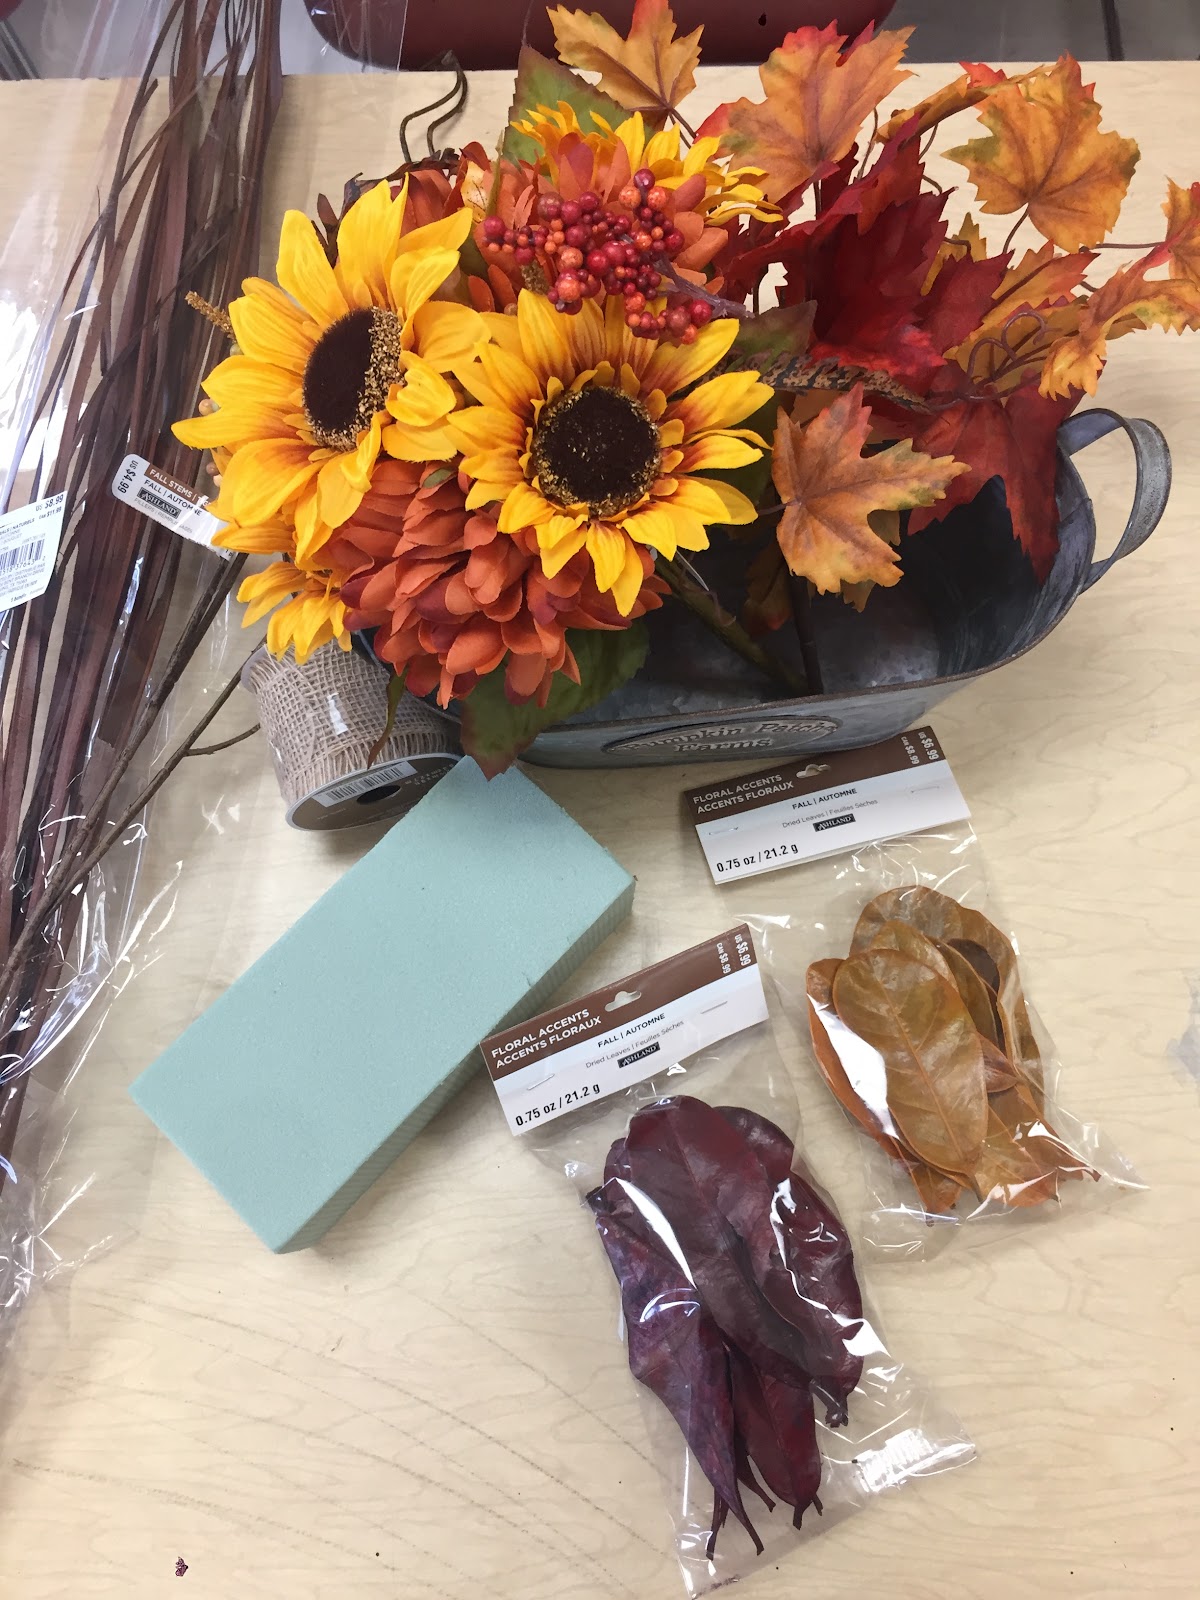
Let’s begin with some supplies you’ll need:

Faux flower bouquets of your choice
Burlap ribbon
Styrofoam block
Metal tin/container

IMG_8305.JPG

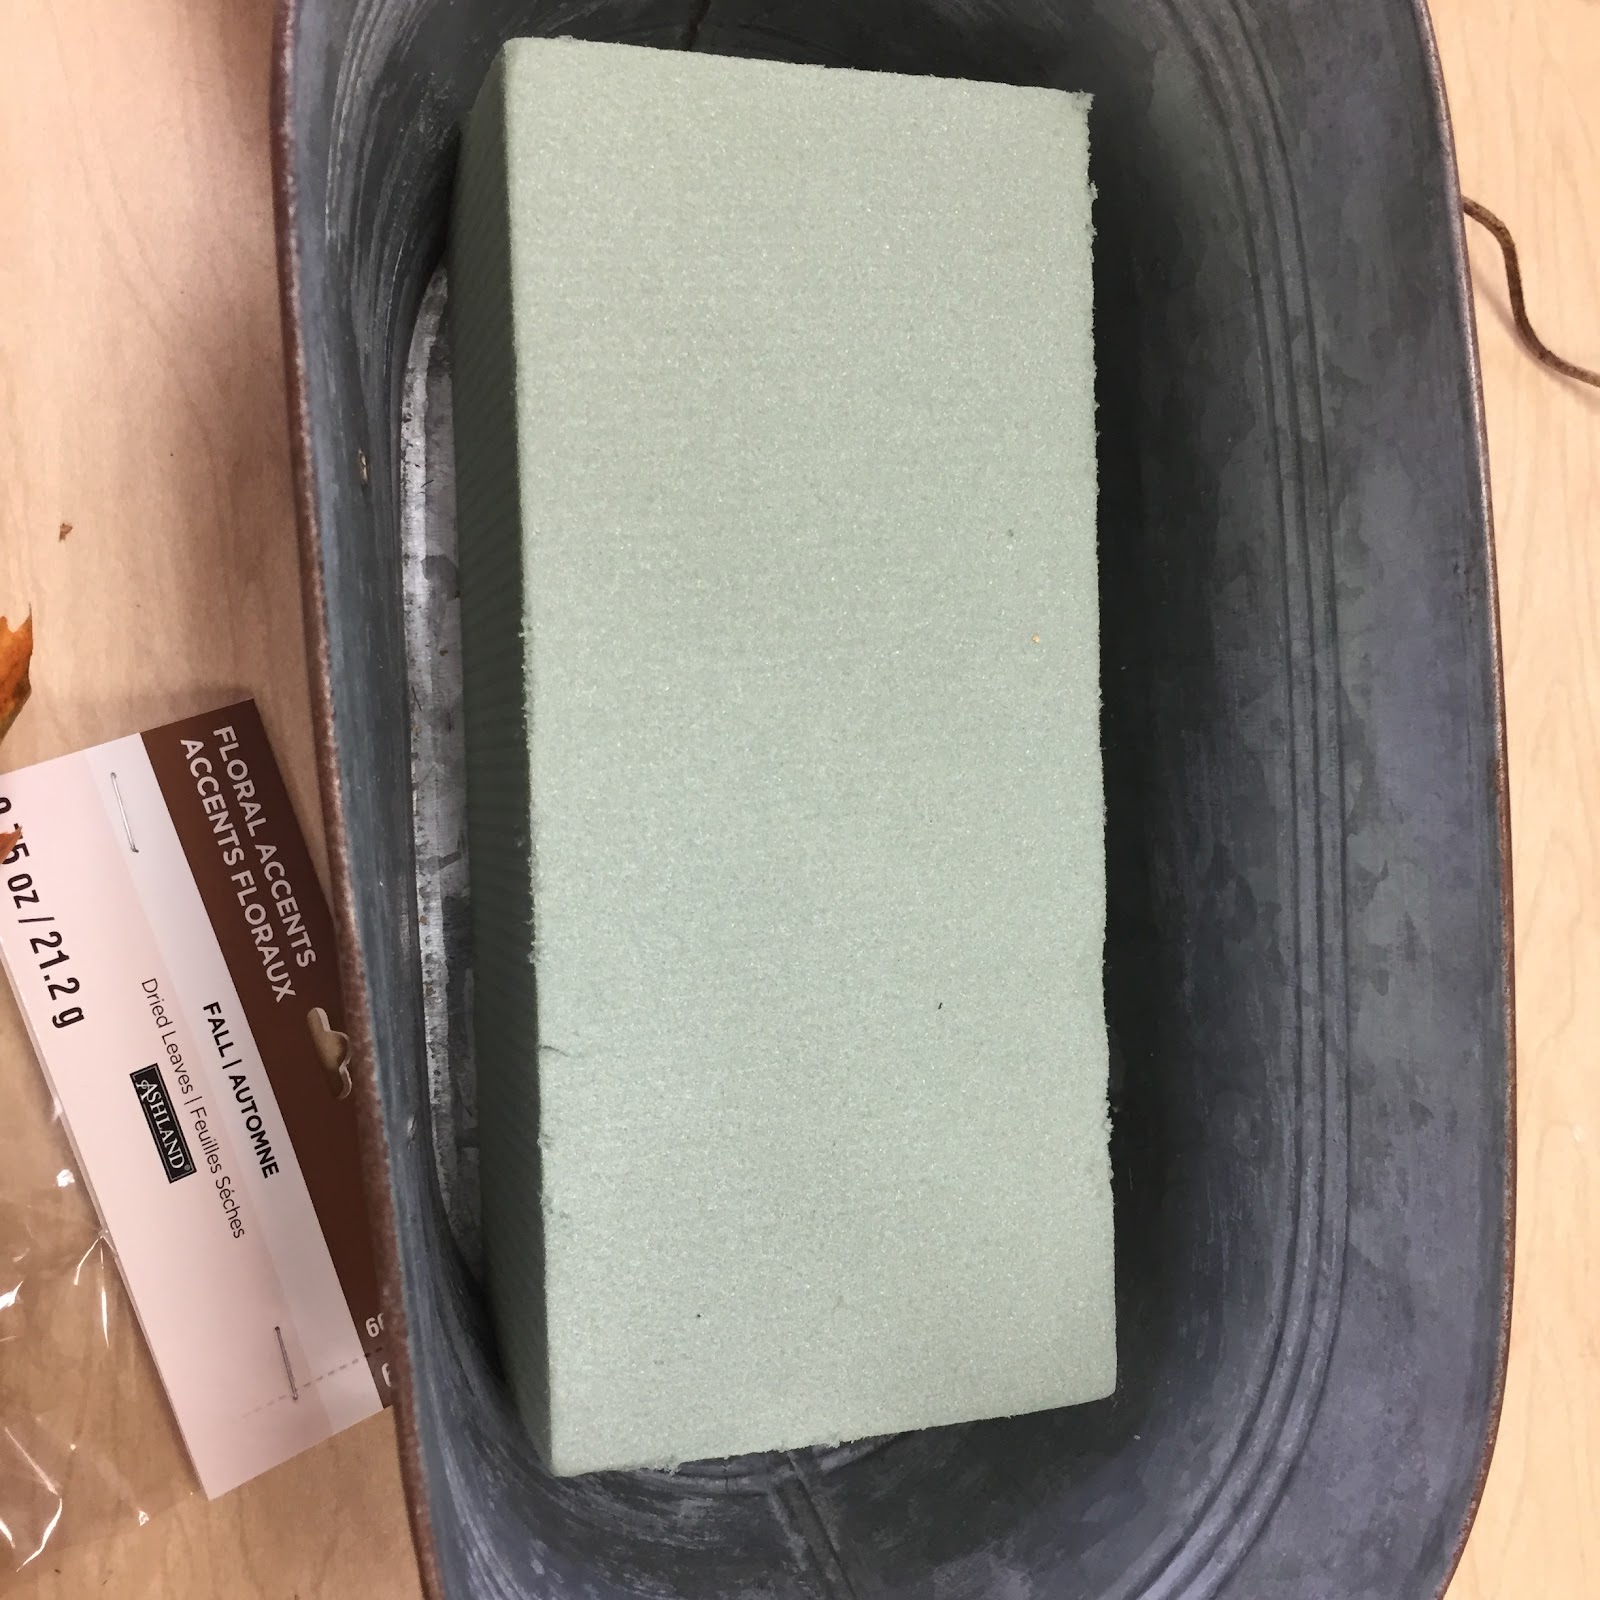
After grabbing the vase or container you’ve selected to hold your handmade centerpiece, take your styrofoam blocks and cut them/shape them down until they fit nice and snugly into the bottom.

The following steps are easy, I promise! Starting off you’ll want to cut apart the faux fall bouquets you’ve selected to star in your centerpiece. (If you have only individual flowers or decor, just ignore this step!)

IMG_8311.JPG


Now you can start placing the wire stems into the foam blocks to bend and shape the floral pieces to how you’d like them.

After I placed all of my supplies for the actual centerpiece arrangement and finished getting them into position, I took a spool of burlap ribbon to line the top of my little pumpkin tin!

WIth a statement piece to talk {and maybe even brag about) and a crisp fall atmosphere in your home, take the time to enjoy the weather and maybe even share the story of creating your very own bouquet centerpiece with your friends!

IMG_8314.JPG