Wednesday, October 21, 2015

Colorful Halloween Wax Pumpkin

20151020_205708.jpg


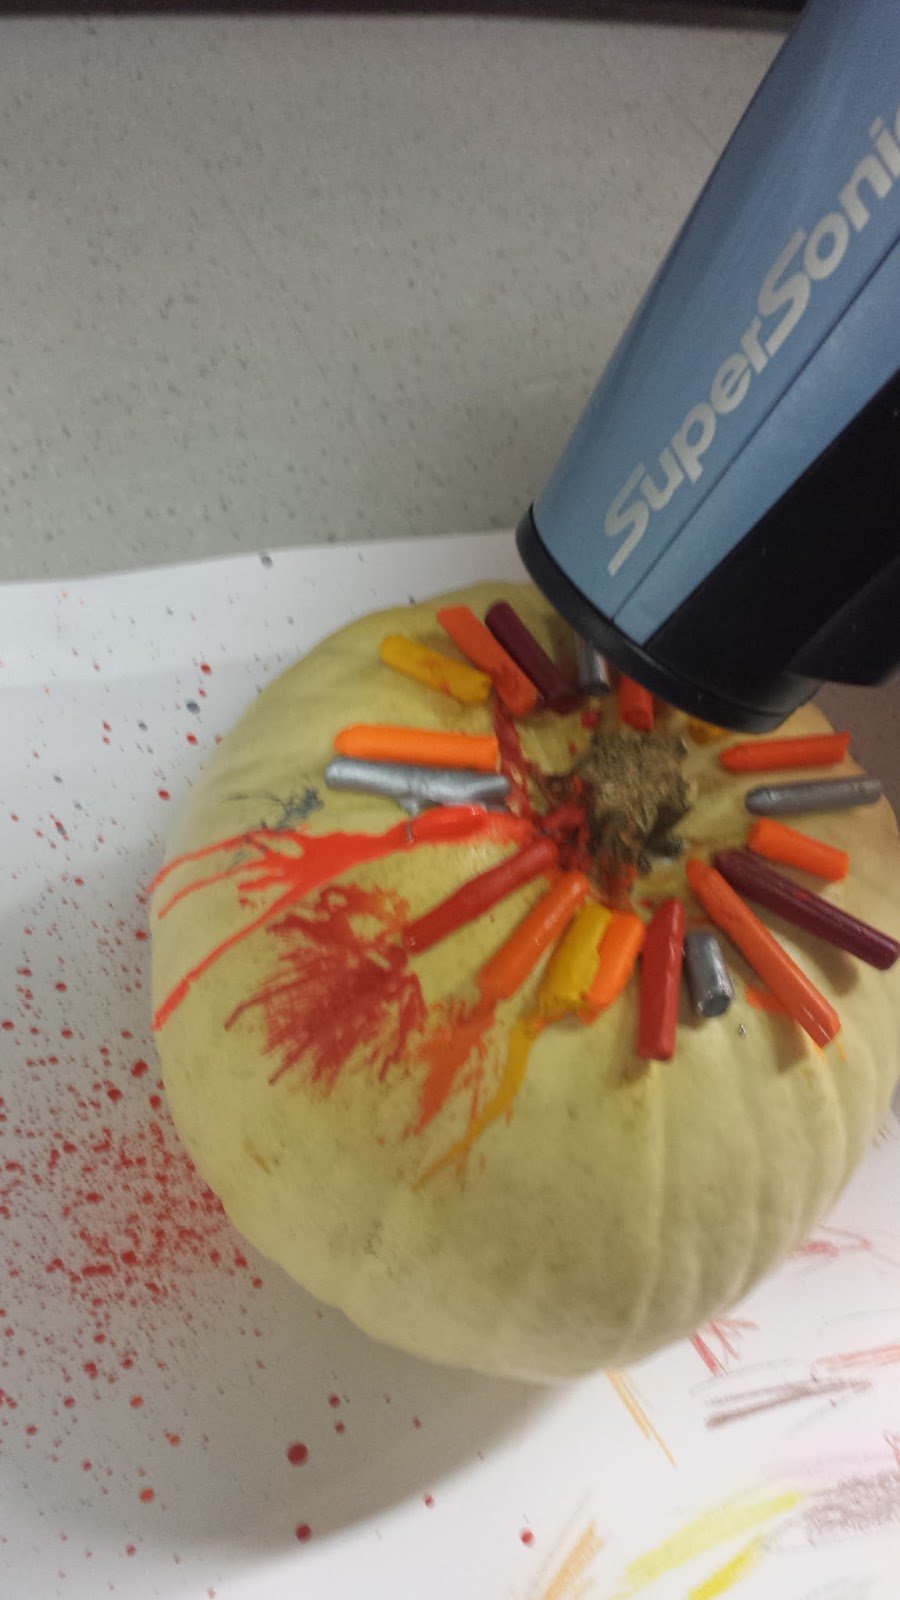
Halloween is coming up and I am super eager to make decorations for the season. I was looking around the internet for a fun project to do. I found a picture of a white pumpkin with crayon wax dripping off all sides. It looked super fun and easy to do. This project looks very colorful and fit for the season.


What you will need:20151020_190910.jpg

  1. Crayons of your choice
  2. Glue
  3. Blow dryer
  4. White pumpkin
  5. Newspapers


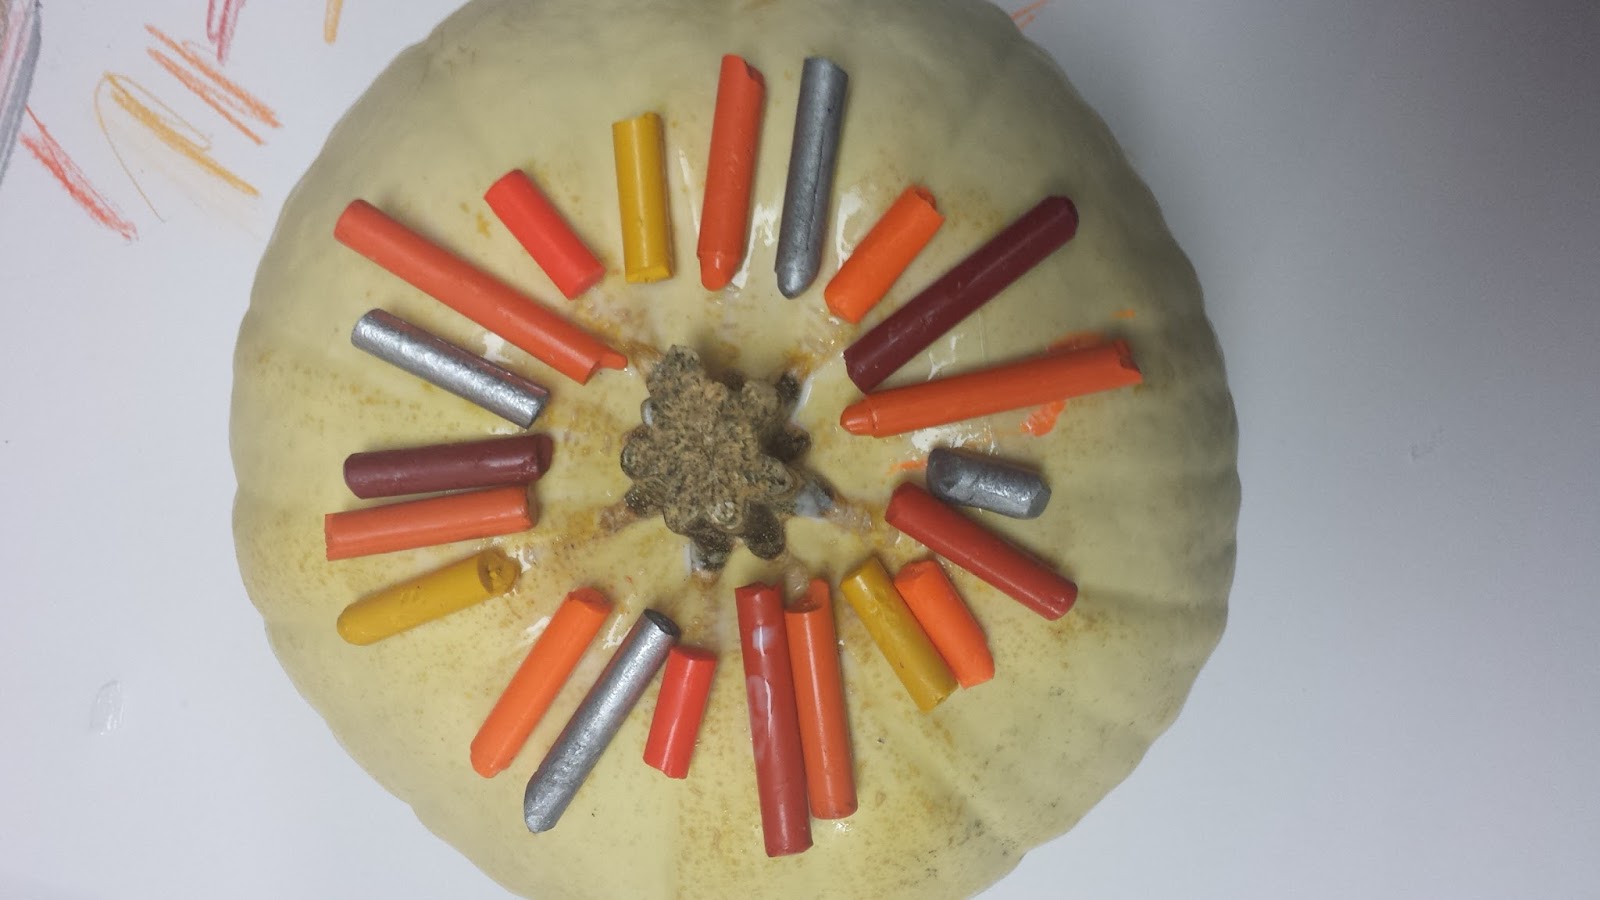
  1. First, take your crayons and glue them in a circle around the stem of your pumpkin.

20151020_193212.jpg


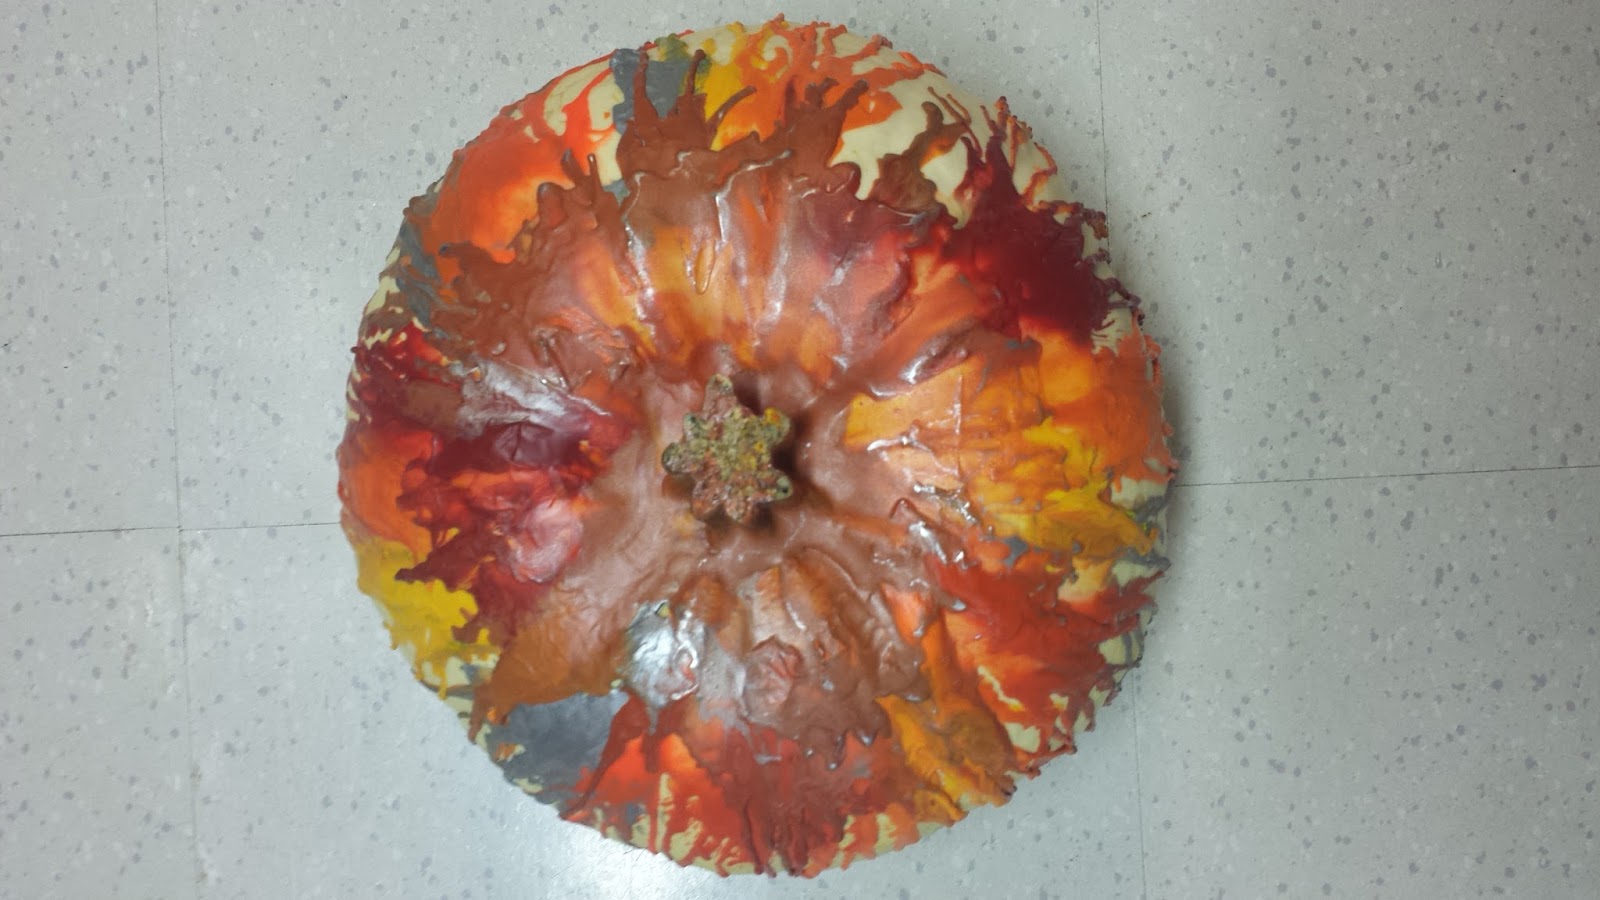
  1. Next, take your newspapers and lay them under your pumpkin. Take your blow dryer and on the hottest setting, blow on your crayons. It will take a while for the crayons to start melting and once they do you can tip the pumpkin to help the wax drip down the sides. Melt to your desired look, then you are done.
20151020_210016.jpg

20151020_202315.jpg
20151020_205708.jpg


Tuesday, October 20, 2015

Puffy paint: are you done with smudges, uneven lines, and projects not turning out how you wanted?

Snapchat-6471881581865437693.jpg


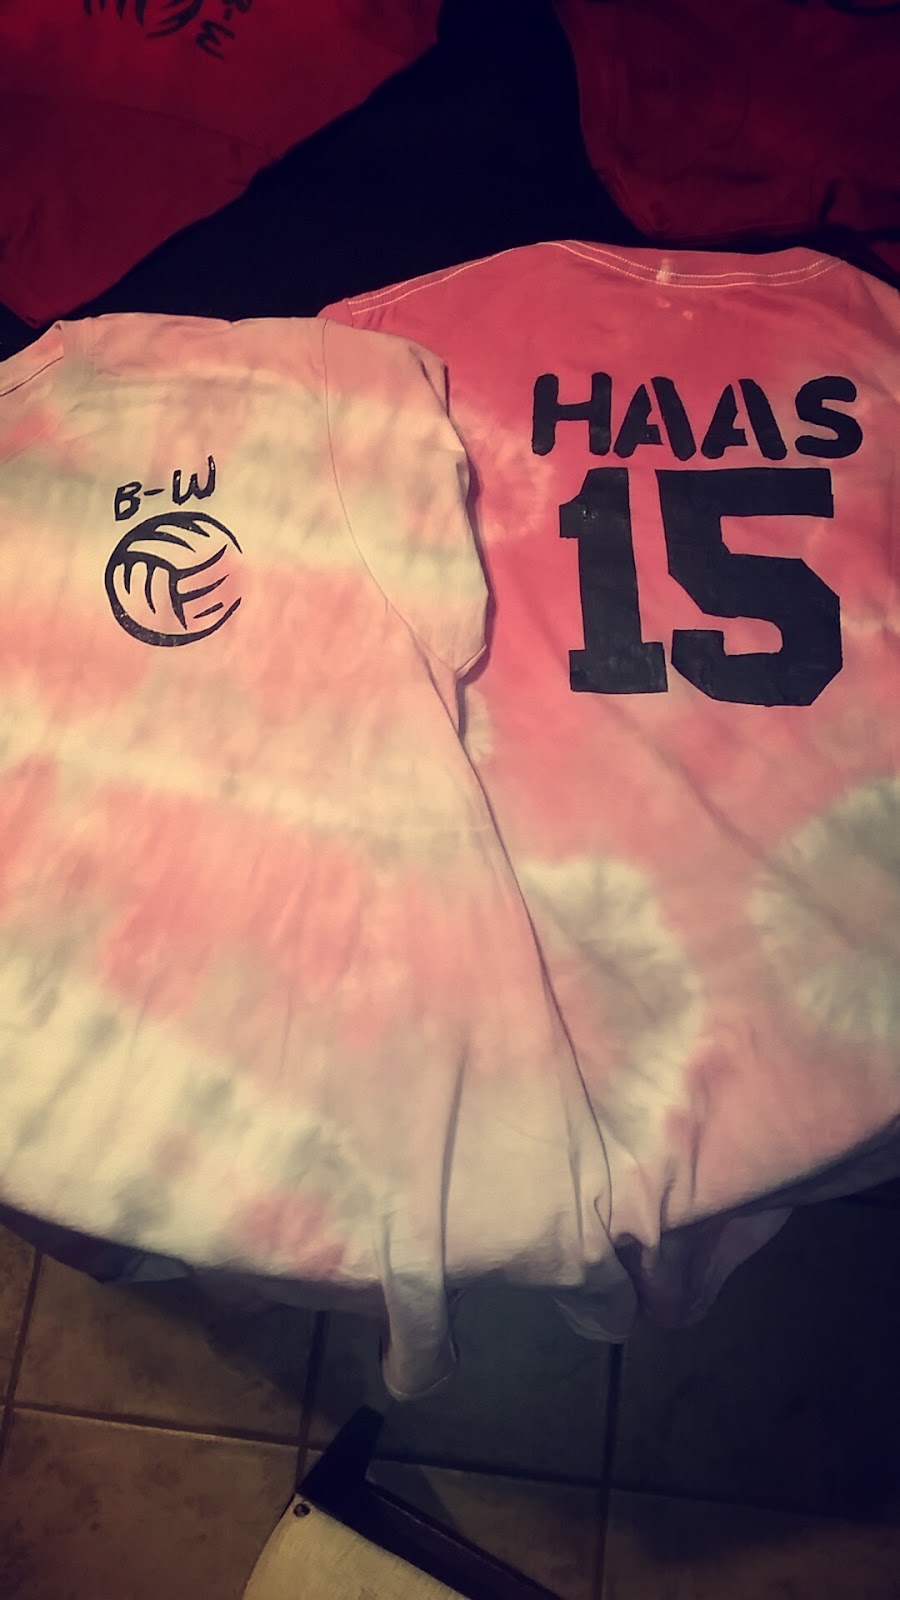
Puffy paint, are you ready to be done with the smudges, uneven lines and shirts not turning out the way you thought they would? Because I have the perfect solution.

You will need:


  • Plain, solid colored t-shirt or a tie dyed shirt.
  • Black fabric paint
  • Freezer paper
  • Exacto knife or scissors
  • Pencil and design of your choice
  • Iron
  • 1 Sponge Brush
  • 1 paper plate

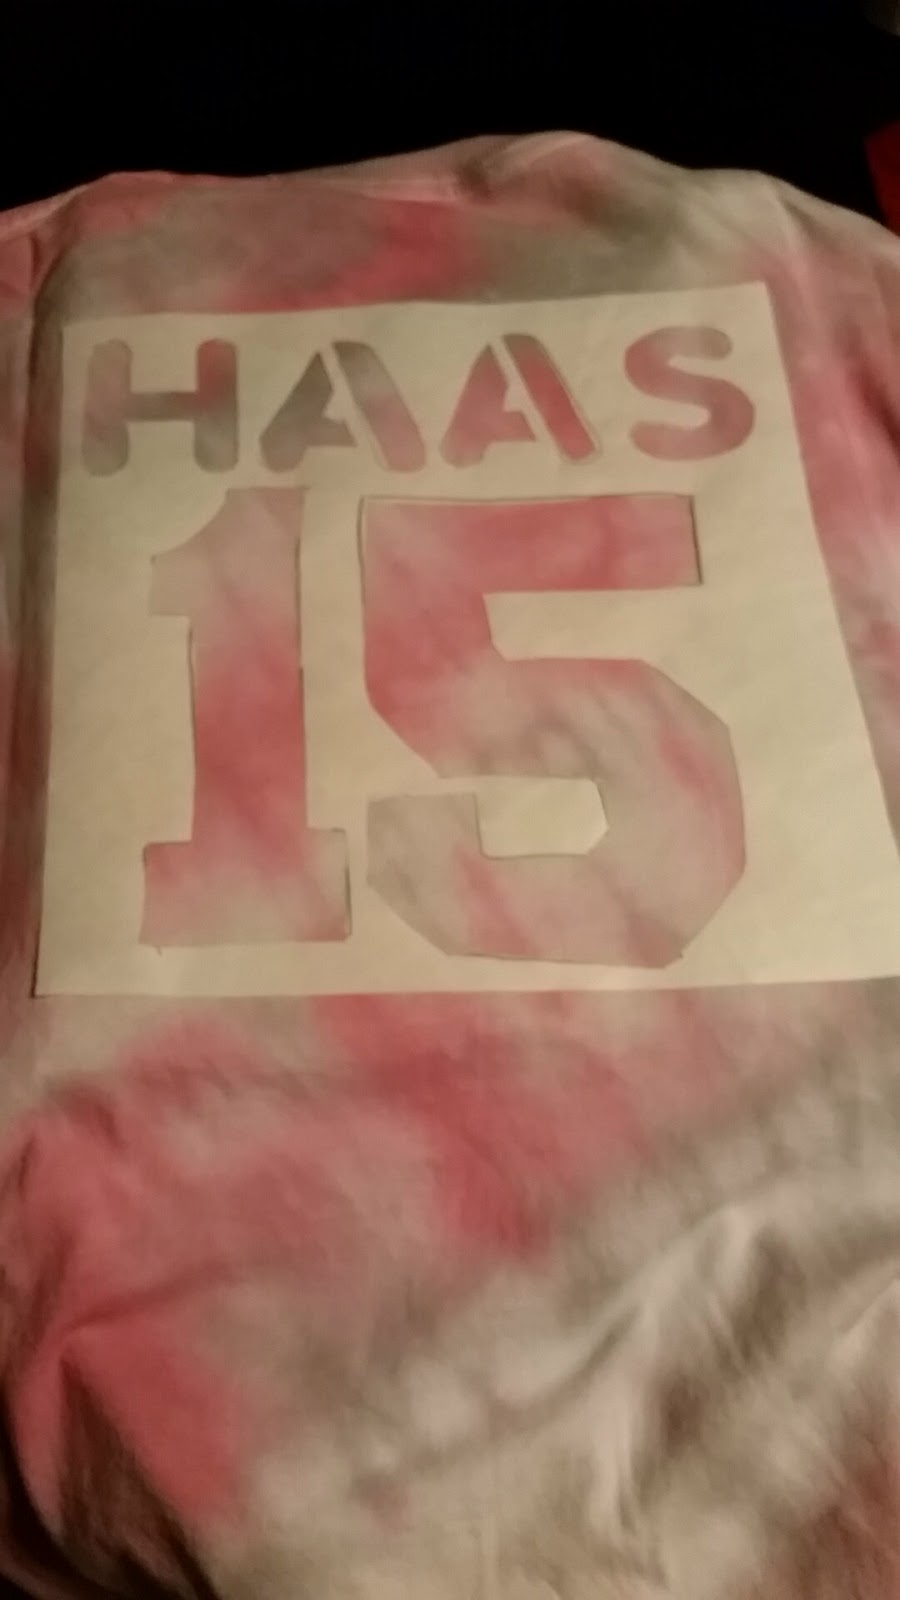
First, you will need to print out or freehand the design of your choice. Then, you will copy that design onto the freezer paper, on the non-waxed side. After tracing your design onto the waxed paper, you will need to cut out your design.


Snapchat-8292950521629381068.jpg

Next, you will place the design in the location of your choice, onto your shirt. Once you place the freezer paper, waxed side down, you can iron on your design.

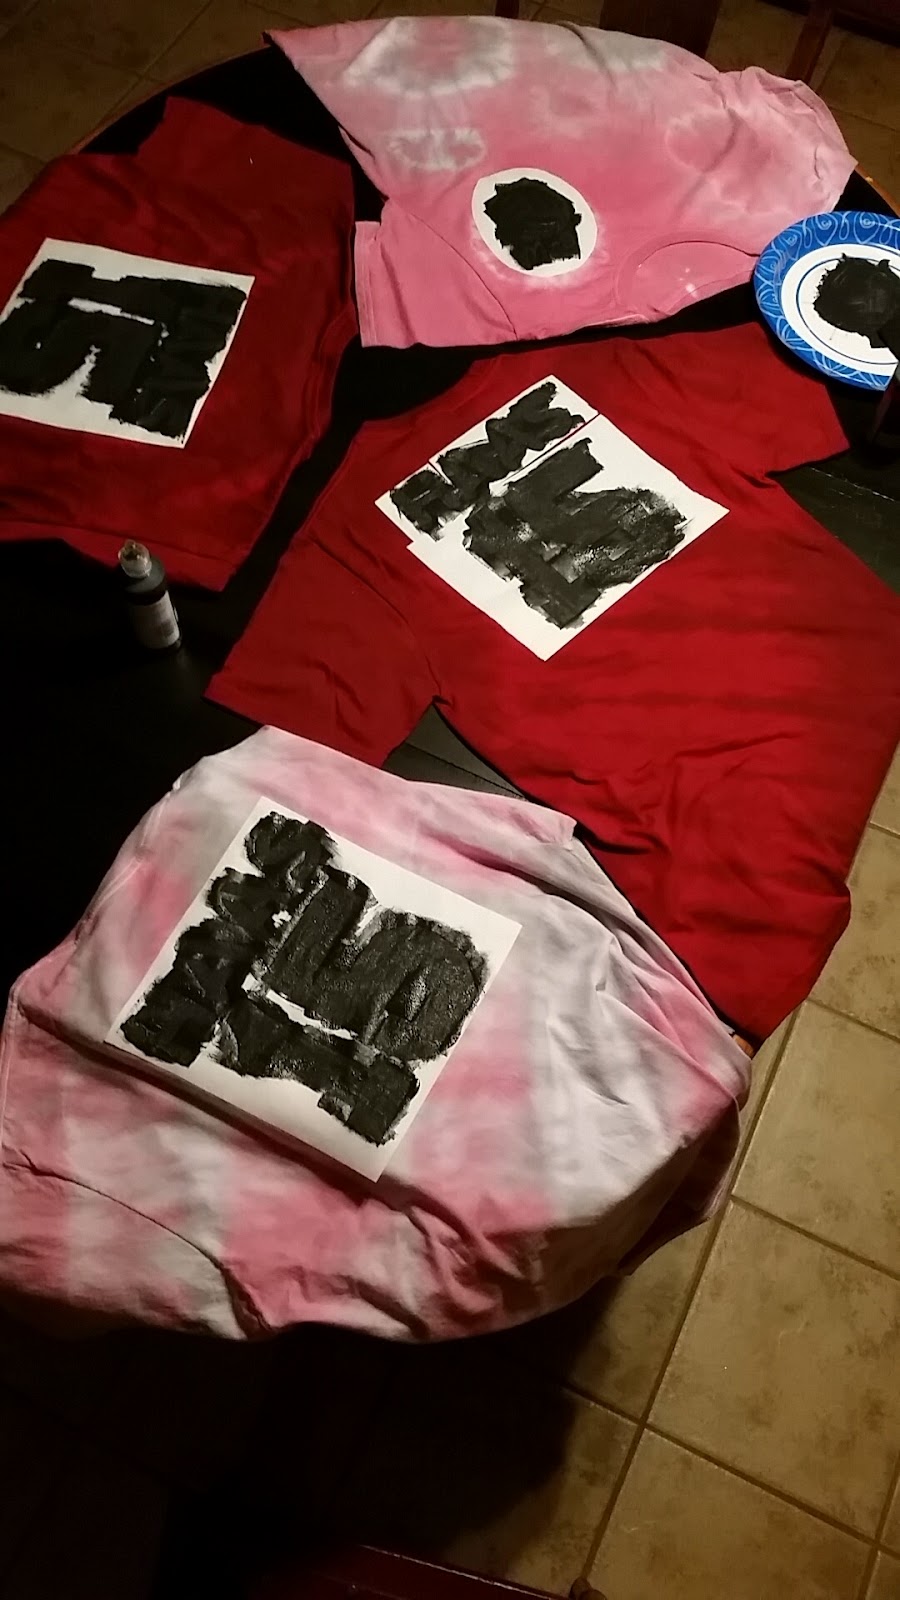
Following, you will need to iron on your design. Make sure that the freezer paper is stuck down thoroughly. Pour out the paint onto the plate. Now, you can sponge brush the fabric paint onto the corresponding areas of your choice.
Snapchat-6800614651880339248.jpg


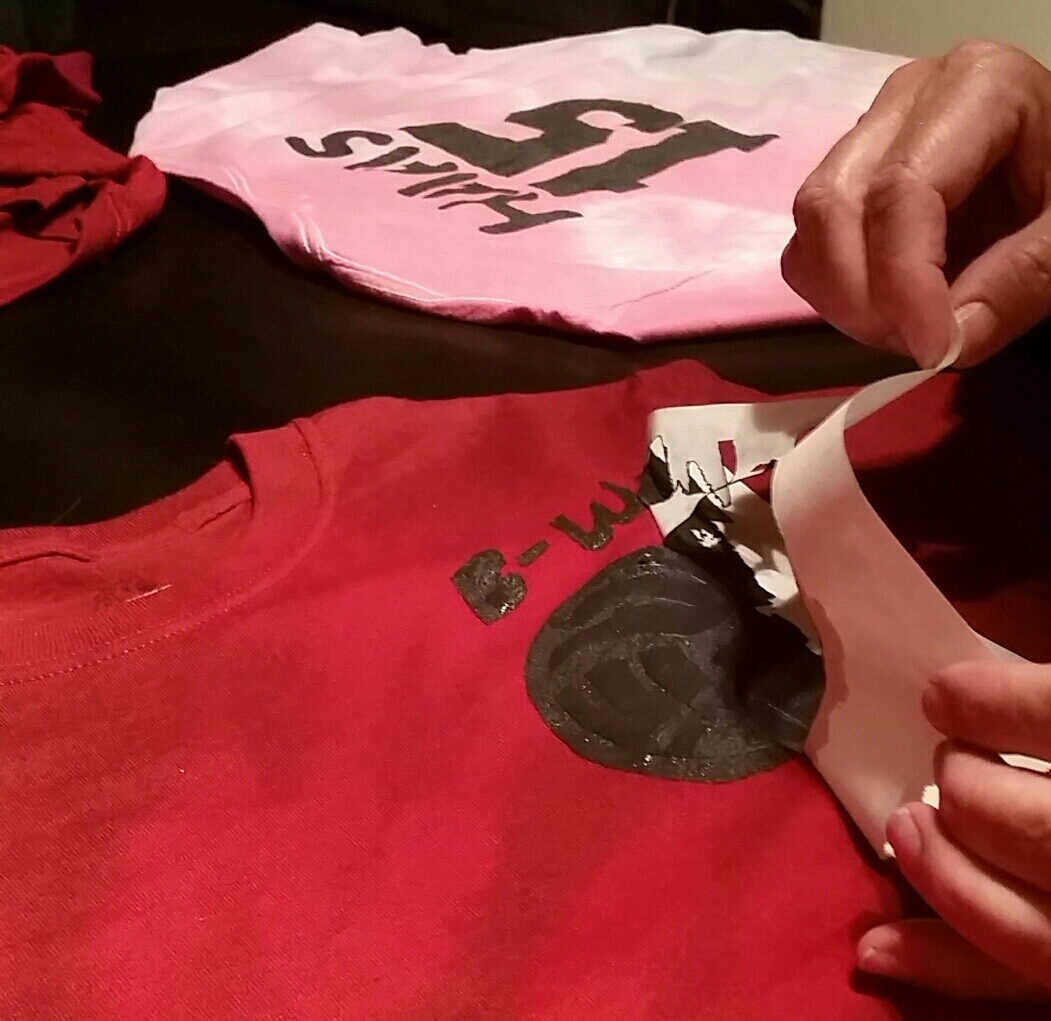
Then, after you paint your designs, carefully remove the waxed paper. Make sure to start from the corners and make your way to the middle.
Note: Make sure to peel off while the paint is still wet.  Snapchat--6019166123653963388-1-1.jpg


After completing all of these steps, let your shirt dry on a flat surface. Once it dries, you are completed. Now you can wear your shirt for the occasion you made custom.

Snapchat-6471881581865437693.jpg


Creating mazes

IMG_0081.JPG
I find myself getting bored at times, with so much going on everywhere around us these days but nothing being easily understandable, sometimes you just need a break. A maze can be a great way to cure boredom while remaining productive.


To draw a maze you need minimal supplies:


Supplies:
Blank Sheet of Paper
Sharp Pencil
Pencil Sharpener


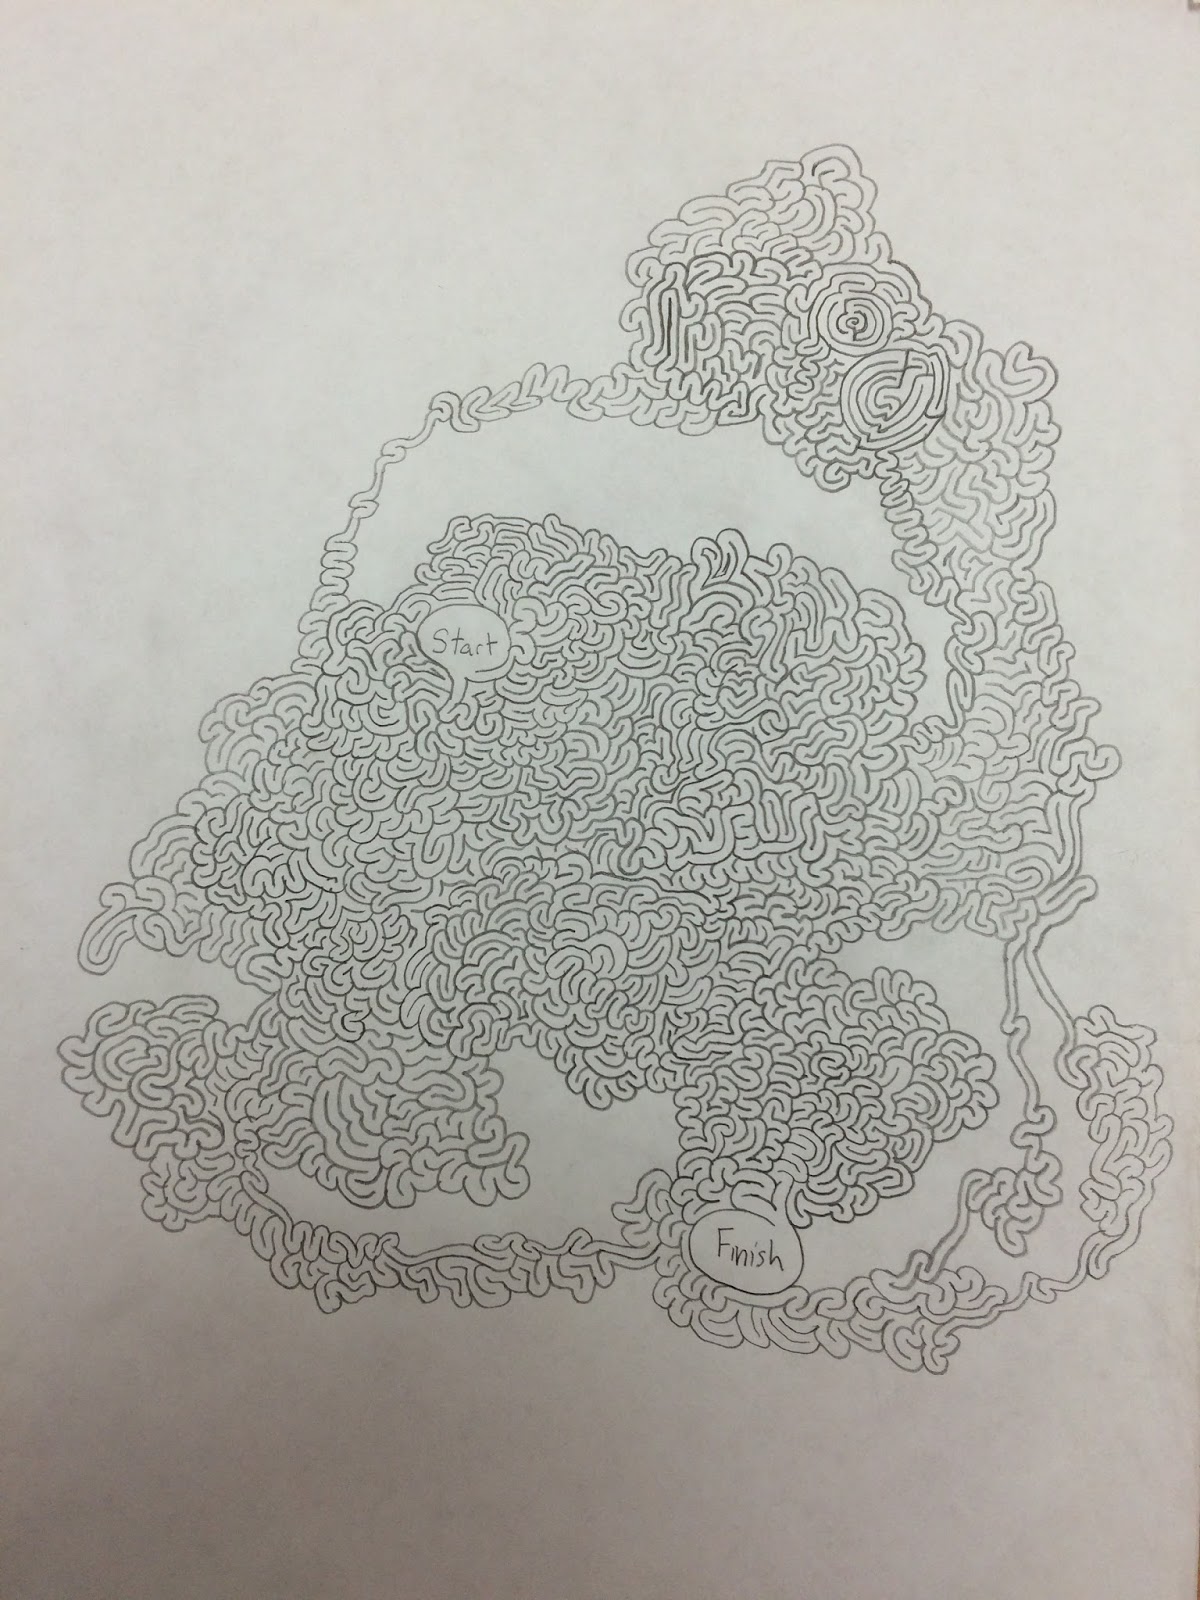
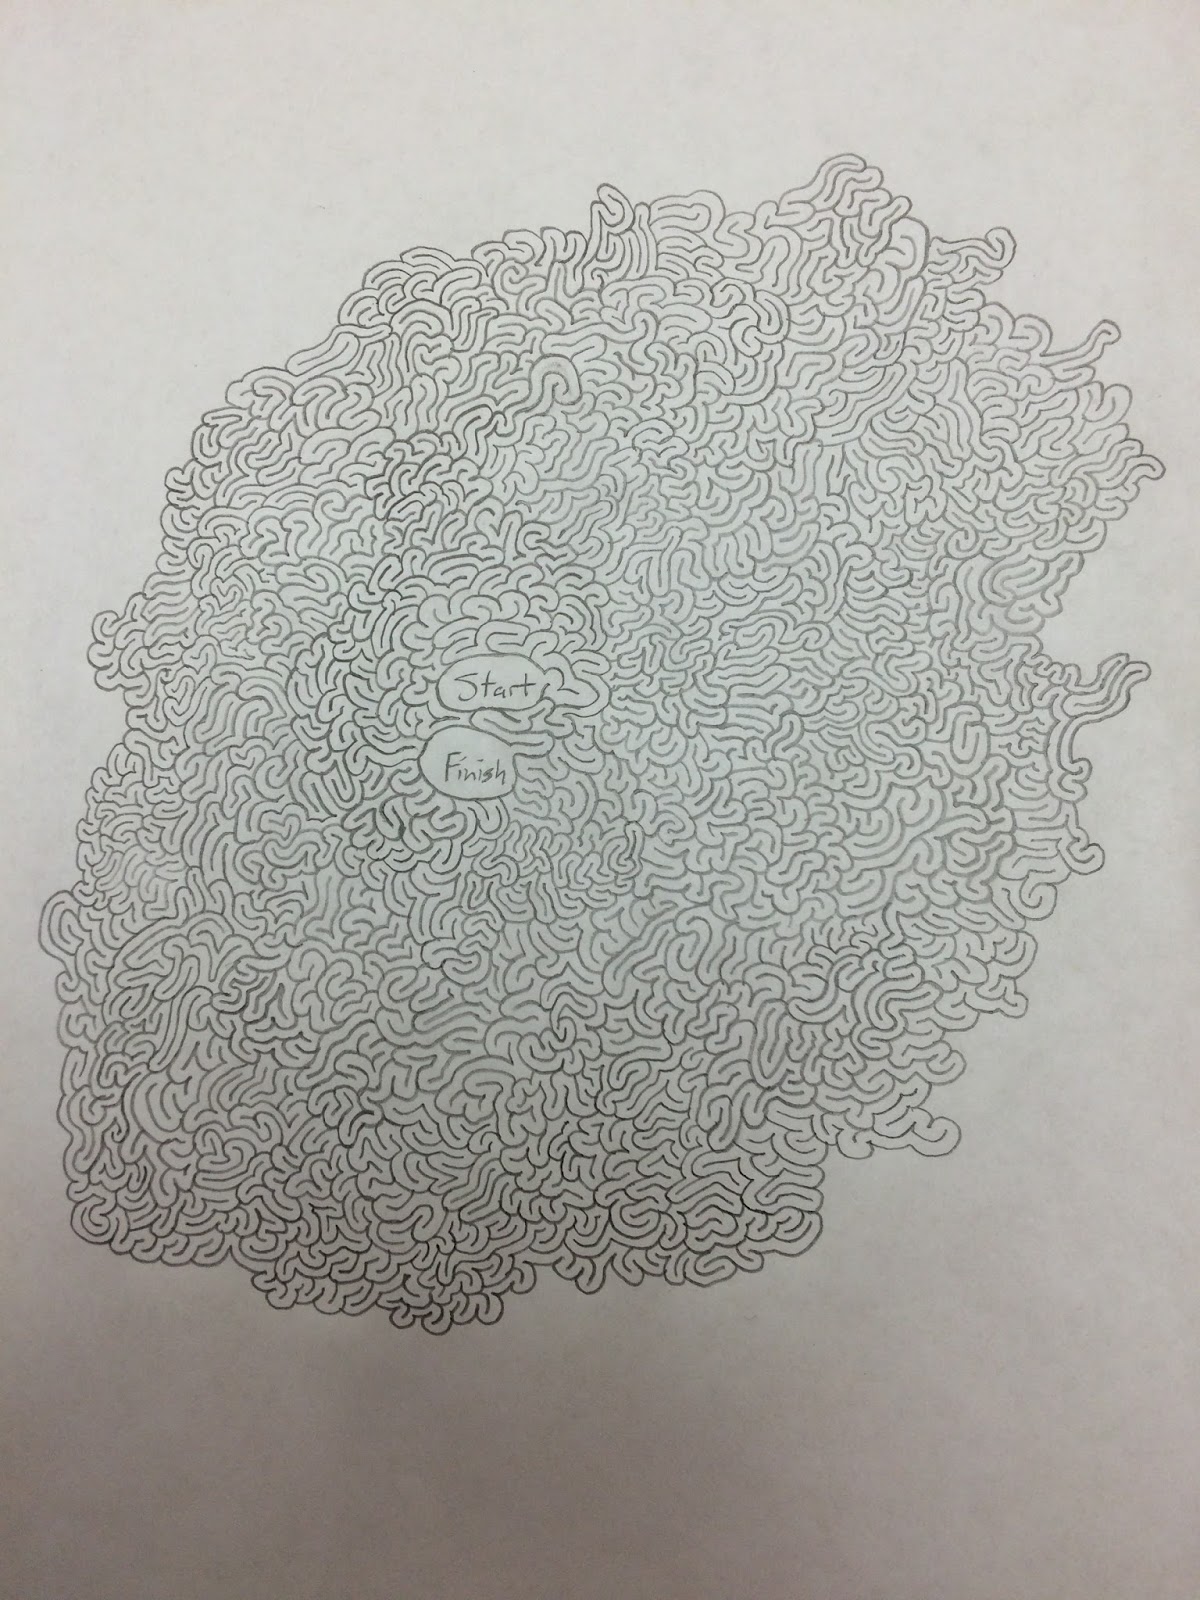
I begin drawing mazes with a bubble for Start and a Bubble for Finish.


Next you decide what type of maze you would like; either one trail that takes a long time to solve or many trails that may be confusing and full of dead ends.


IMG_0090.JPG
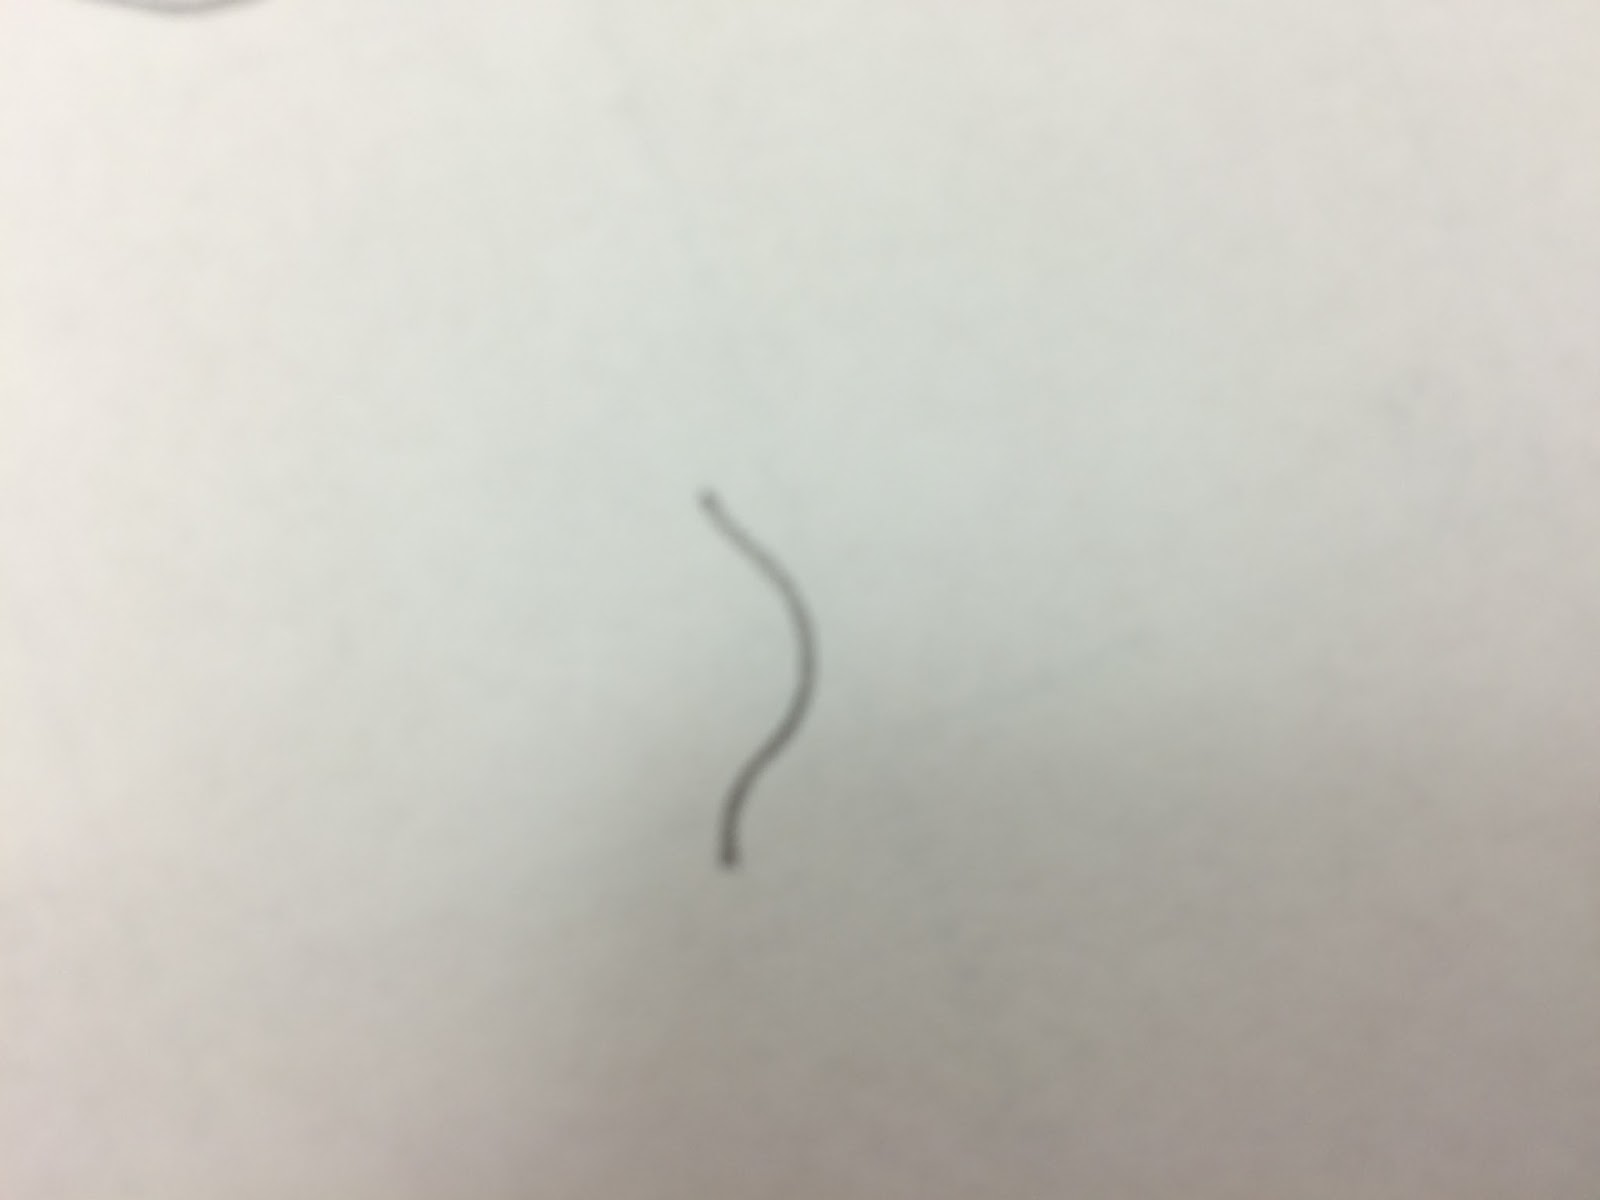
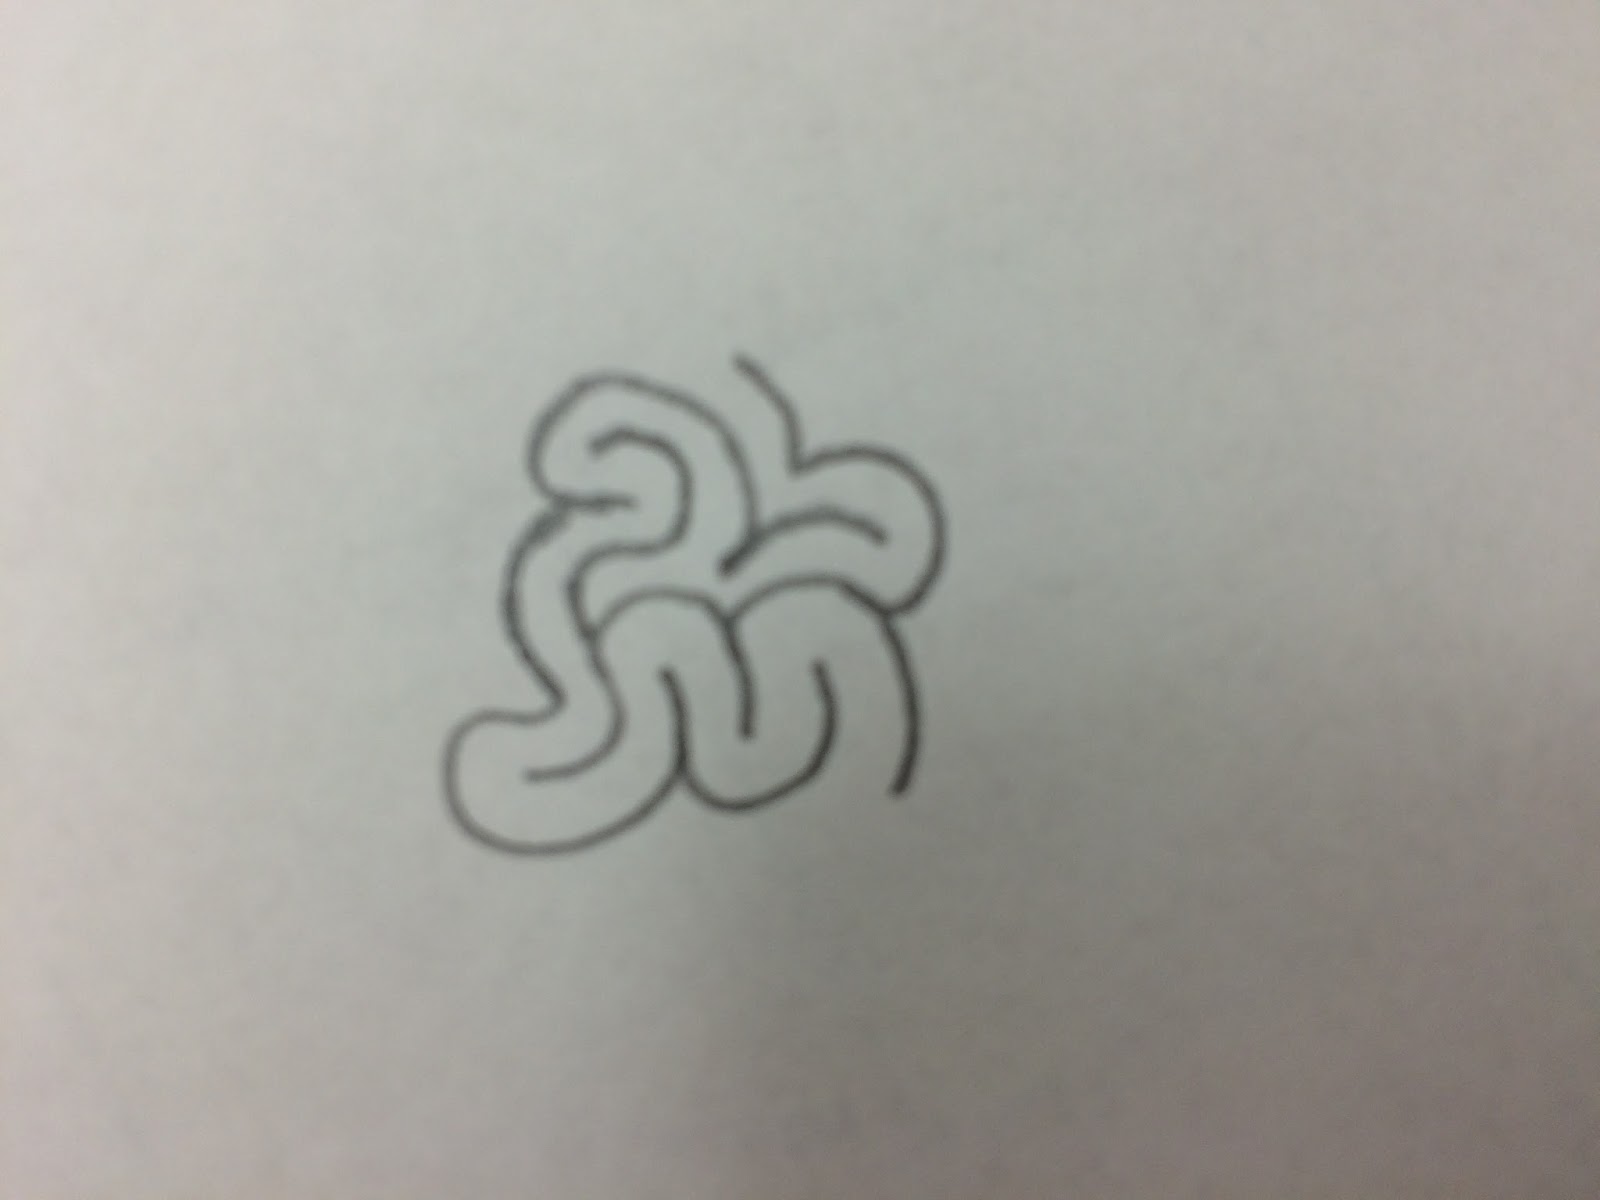
To draw the maze use all organic shapes, usually curved line segments work best. Keep track of where your maze trails start and end.


IMG_0092.JPGIMG_0091.JPGIMG_0093.JPG
Connect one or more trails together to complete the maze and close off the open space.


The time the maze takes to draw usually correlates with the time it takes to complete.

IMG_0082.JPG