Friday, September 22, 2017

Homecoming Football Party Jars


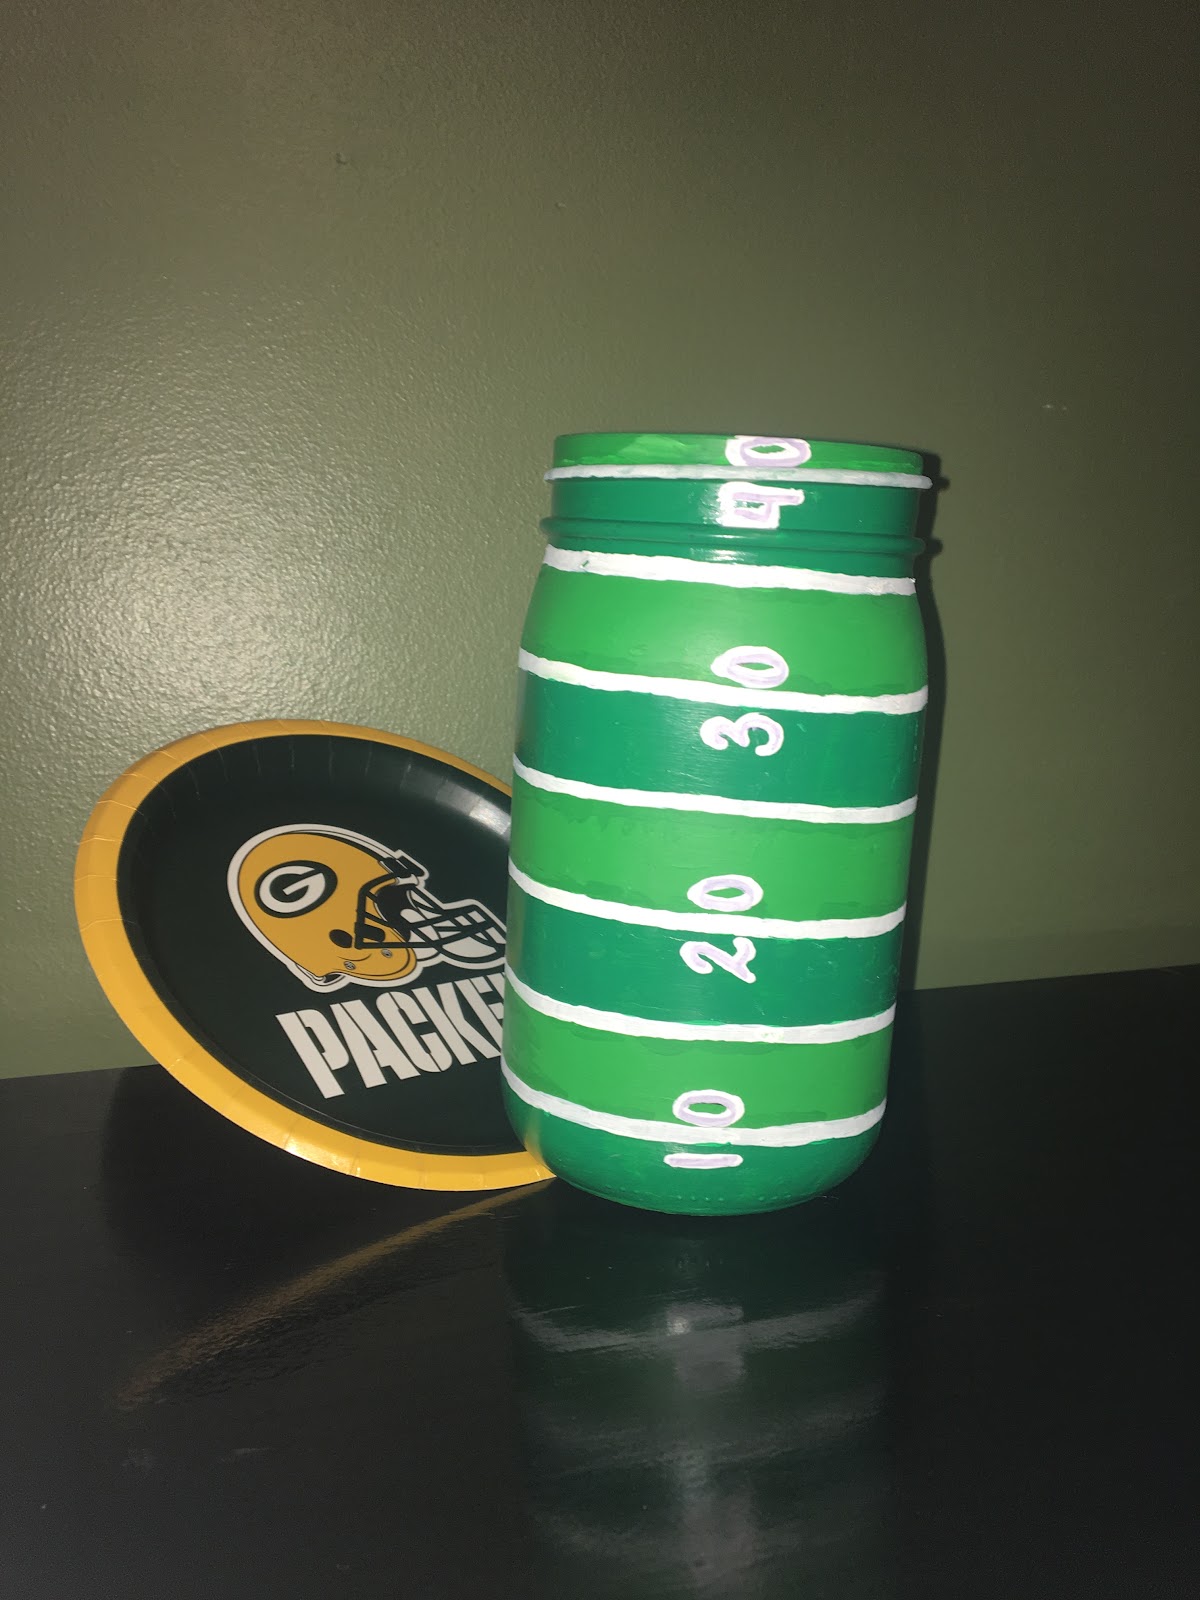
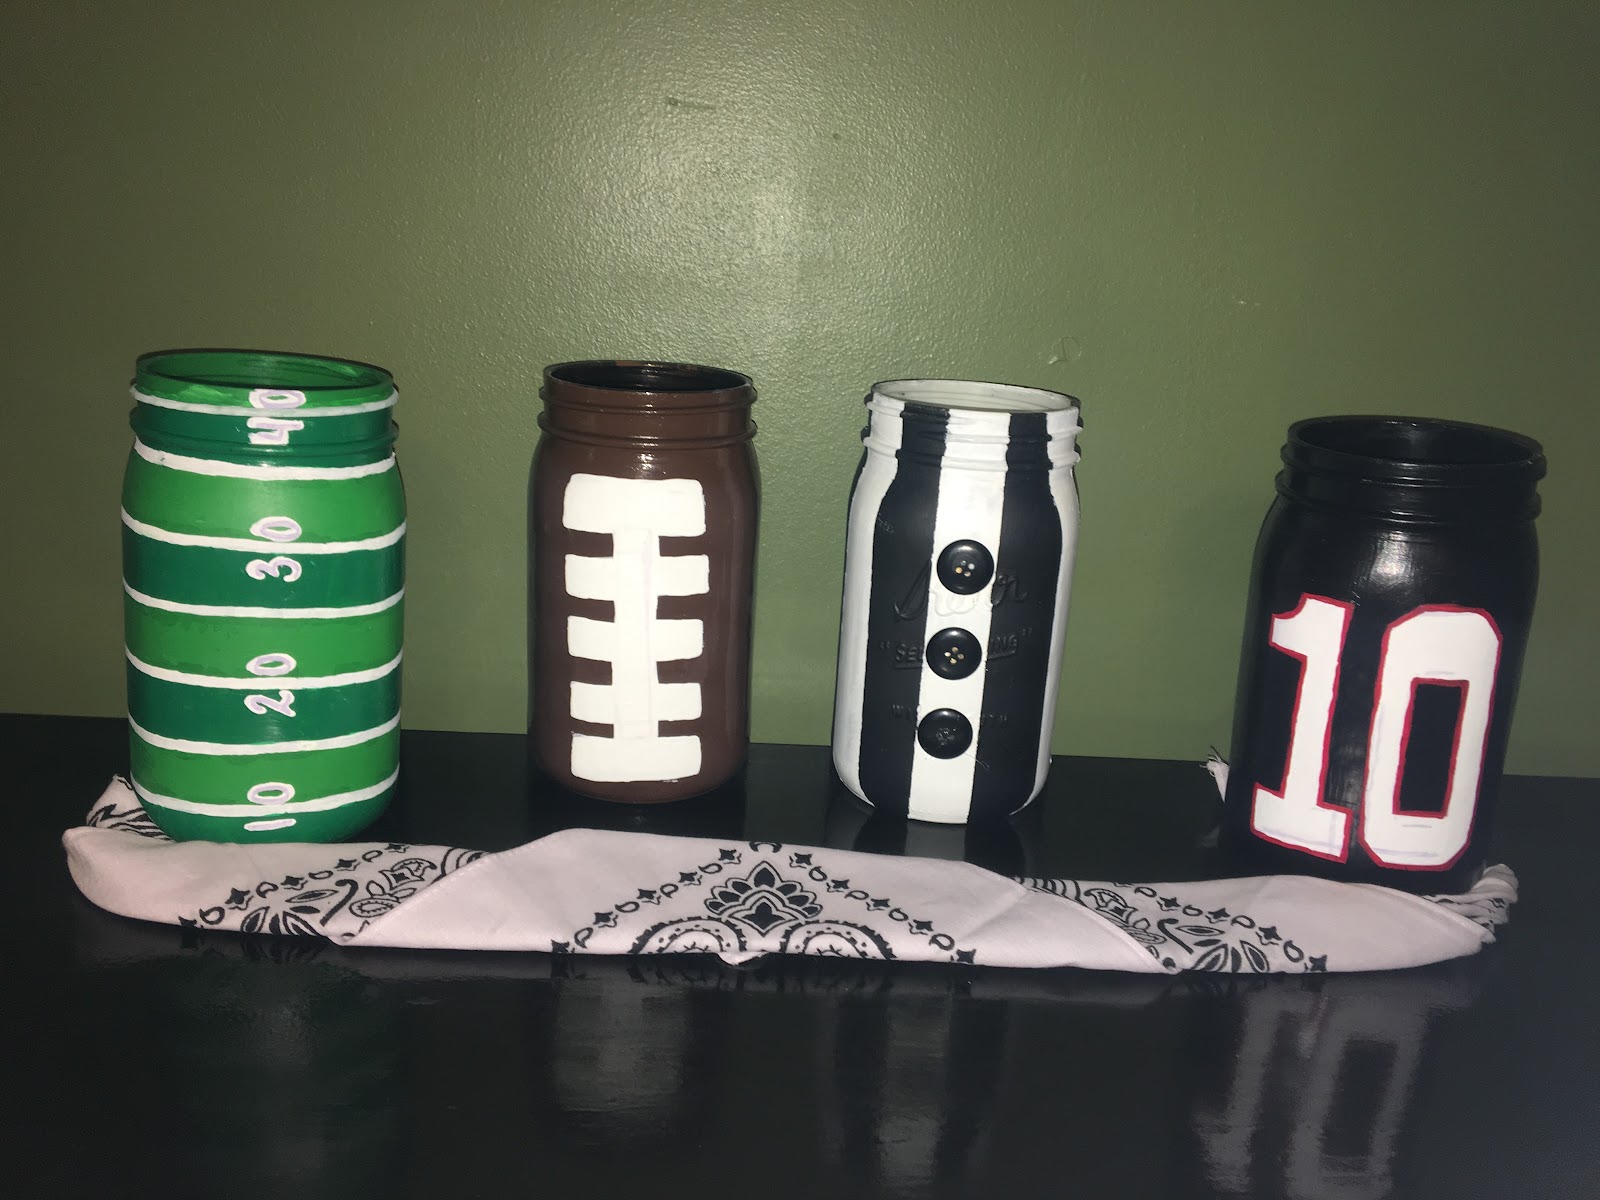
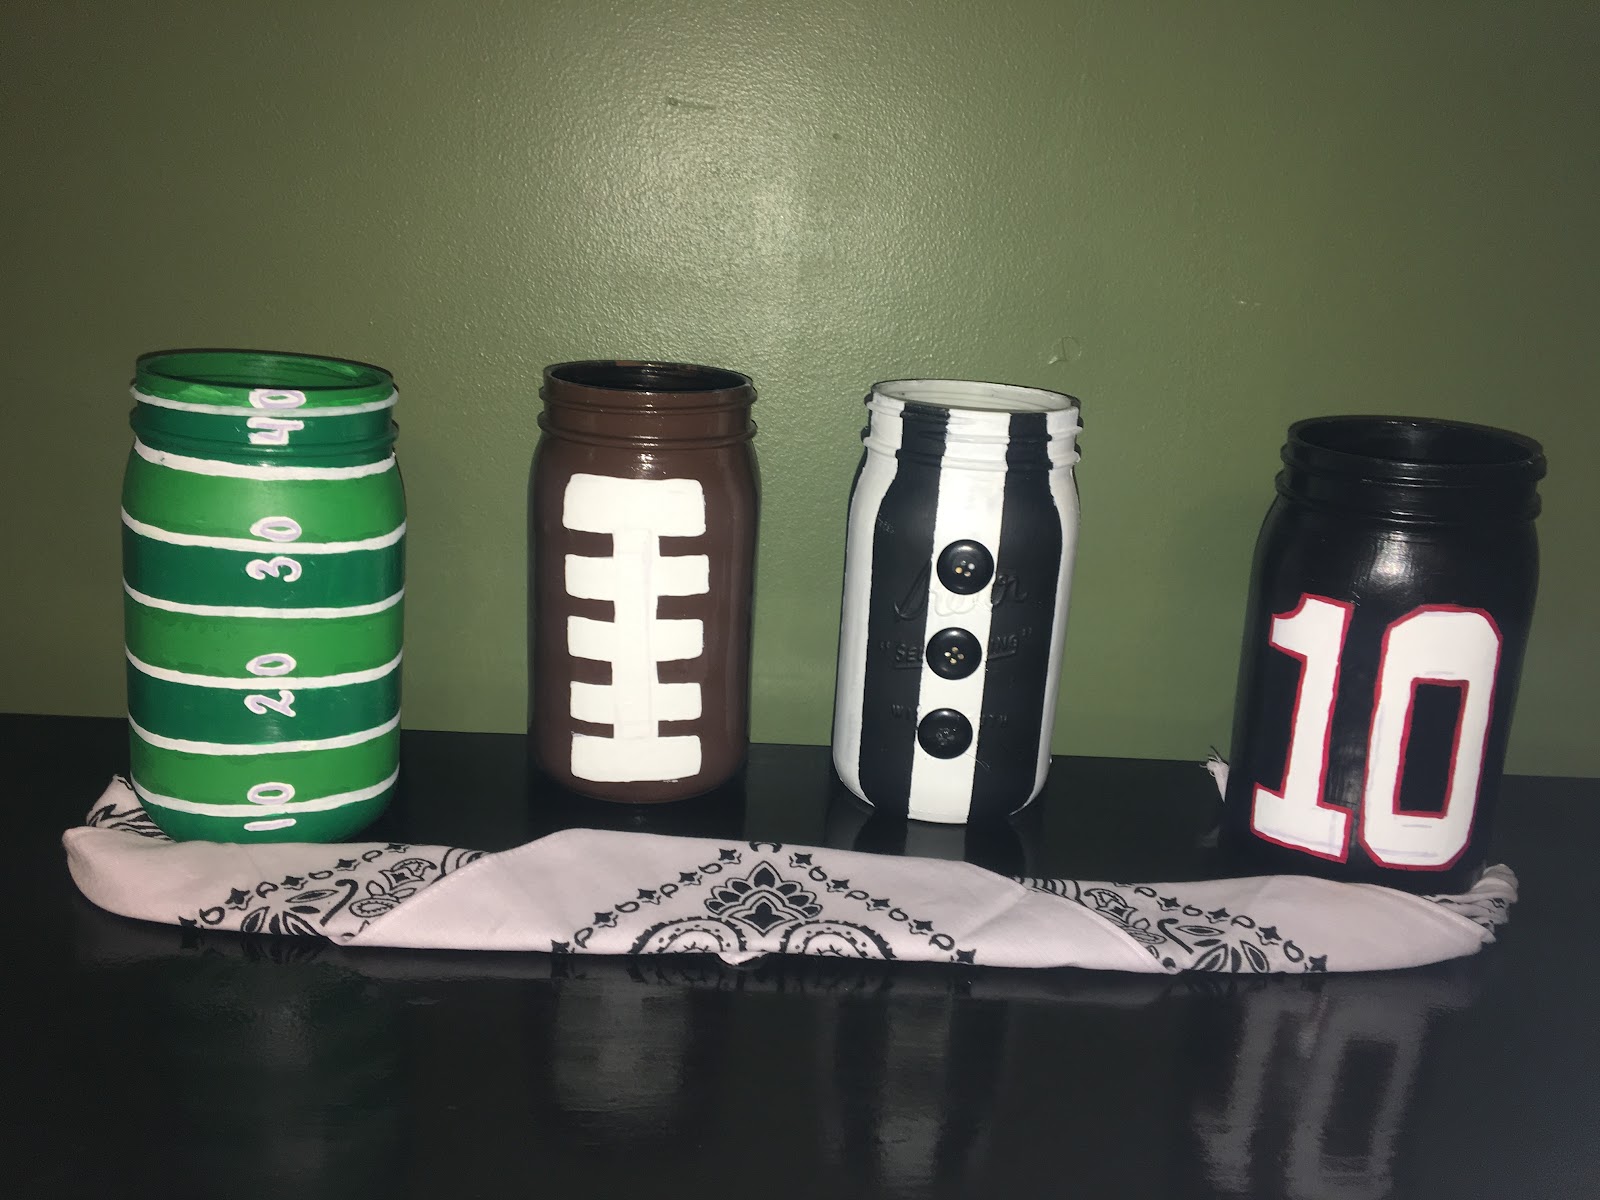
As the leaves begin to gently cascade off their branches and fall to the ground, a snap of a football is sure to soon follow. With the autumn season steadily approaching, the peak of football season is now in sight. Filled with dozens of greasy food options, screaming fans filling the stands by the dozens, and dedicated players lining up to give their everything to a leather skinned ball; it is a sport we all cherish dearly. However, after what feels like a year's worth of sweat, tears, and blood, the score clock finally comes to an end, but that does not mean the party ends there. One of the most exciting parts is the afterparty, definitely worth all the gameday hype. A creative way to spice up your after party is with themed crafts to decorate that game day table. Like these adorable football party mason jars. Painted, distressed and ready to decorate any football game day party table!
IMG_1377.JPG

HOW TO MAKE FOOTBALL PARTY MASON JARS

MATERIALS*

4 Pint Size Mason Jars
Paint Brushes
Black Paint
Green Paint
White Paint
Red Paint (optional)
Brown Paint
Washi Tape
Clear Sealant
IMG_5469.JPG
Of course the type of jar designs you can choose to do are optional, as well as the style of your jersey. But first, start with your base coat. Paint each jar their primary color; one white, brown, white, and then light green. Give it two coats of paint and let dry overnight in between coats. If the color is still too thin, try once more before sitting overnight.
IMG_5990.JPG
Both the referee jar and the field jars use two colors. For the referee jar, the one painted white, start by taking your washi tape and tape vertical lines varying around the jar. Proceed by painting in between the washi tapes a black color and set it sit overnight. Once dry, gently remove the tape. You can touch up the lines in which the paint may have seeped under but be sure to let the paint dry afterwards. Finally, glue down three black buttons in one of the white stripes going vertically to initiate the buttons on the referee jersey.
IMG_5598.JPG
You will repeat the same beginning steps for the field jar except this time, use the light green jar and paint a darker green with washi tape in horizontal lines, letting it dry. Once dry, gently remove the tape, touch up any lines, and set to dry. Next, take a thin paint brush and white paint, going over the lines in between each color for the grid lines and then adding numbers to them.
IMG_5421.JPG
IMG_9262.JPG

In my hometown, our jerseys are plain black with white numbers in a red outline. For this jar, we will take the black jar and a paintbrush with white paint. On the jar, paint in the number of the jersey you want and wait overnight for it to dry: it might take multiple coats. Then, simply take a thin brush, coated in red, and outline the number.
IMG_1073.JPG
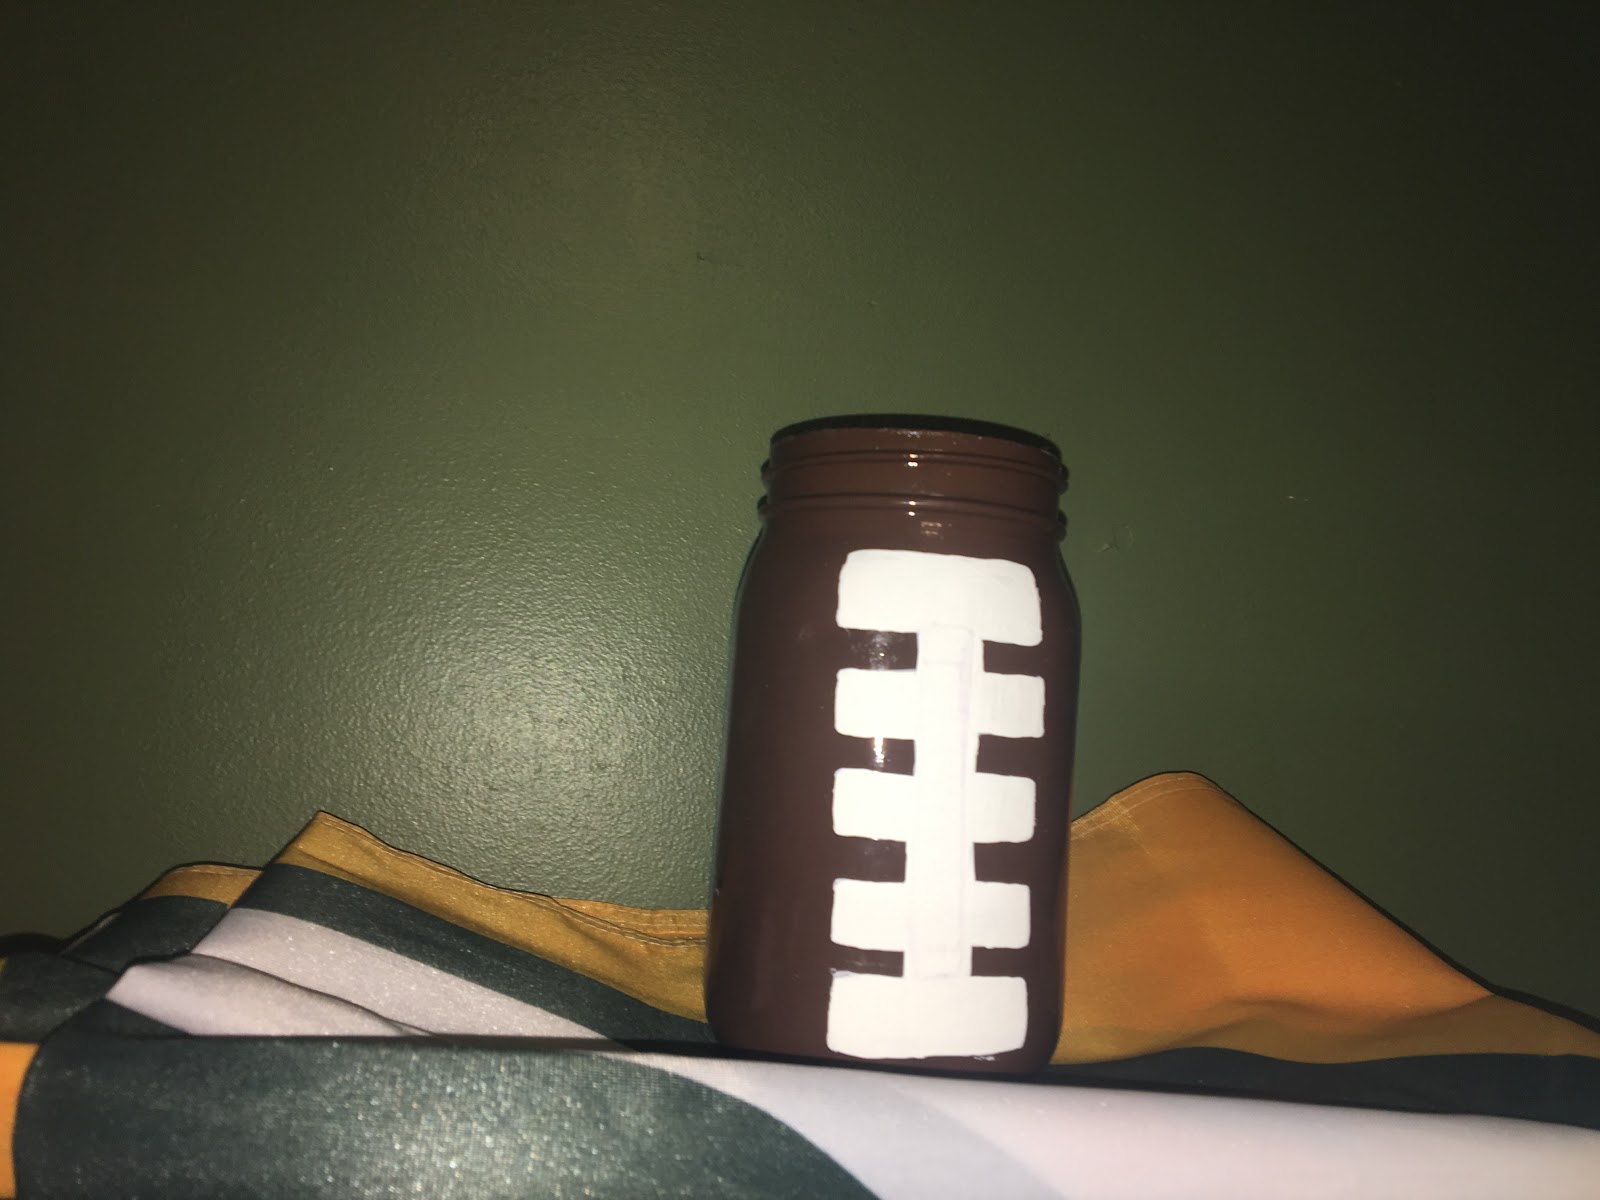
Finally, take your brown jar and a thick paintbrush with white. Simply draw one large vertical line with multiple horizontal lines interceding it to mimic the thread lines. With a couple coats, this will be done very quickly and easily.
IMG_8947.JPG
Finish them all with a clear coat sealant.
And that’s it. They make great holders for straws and utensils – or fill with flowers or pennants and used as a centerpiece!
IMG_1377.JPG
http://masonjarcraftslove.com/football-party-mason-jars/

Spirit Hair

Spirit week is just around the corner and.. Oh no, what ever shall I do with my hair?! No need to fret. I have the perfect hair look that is absolutely stealer for homecoming. I use this technique a lot during the cheer season to really add that sassy but spunky look to our performance. This is a super hair do and everyone you just may be the star of the show! Without further ado, here is a step
by step process to create that rockin' homecoming look.


.
IMG_6783.JPG
Tools that you will need for this look are: bobby pins, hairspray, a teasing comb of sort, and a hair brush.
The first step to this look is to comb out the hair you are working with to ensure all tangles are out. This is highly important for getting that nice smooth look for our ending result.

IMG_6715.JPGFullSizeRender.jpg
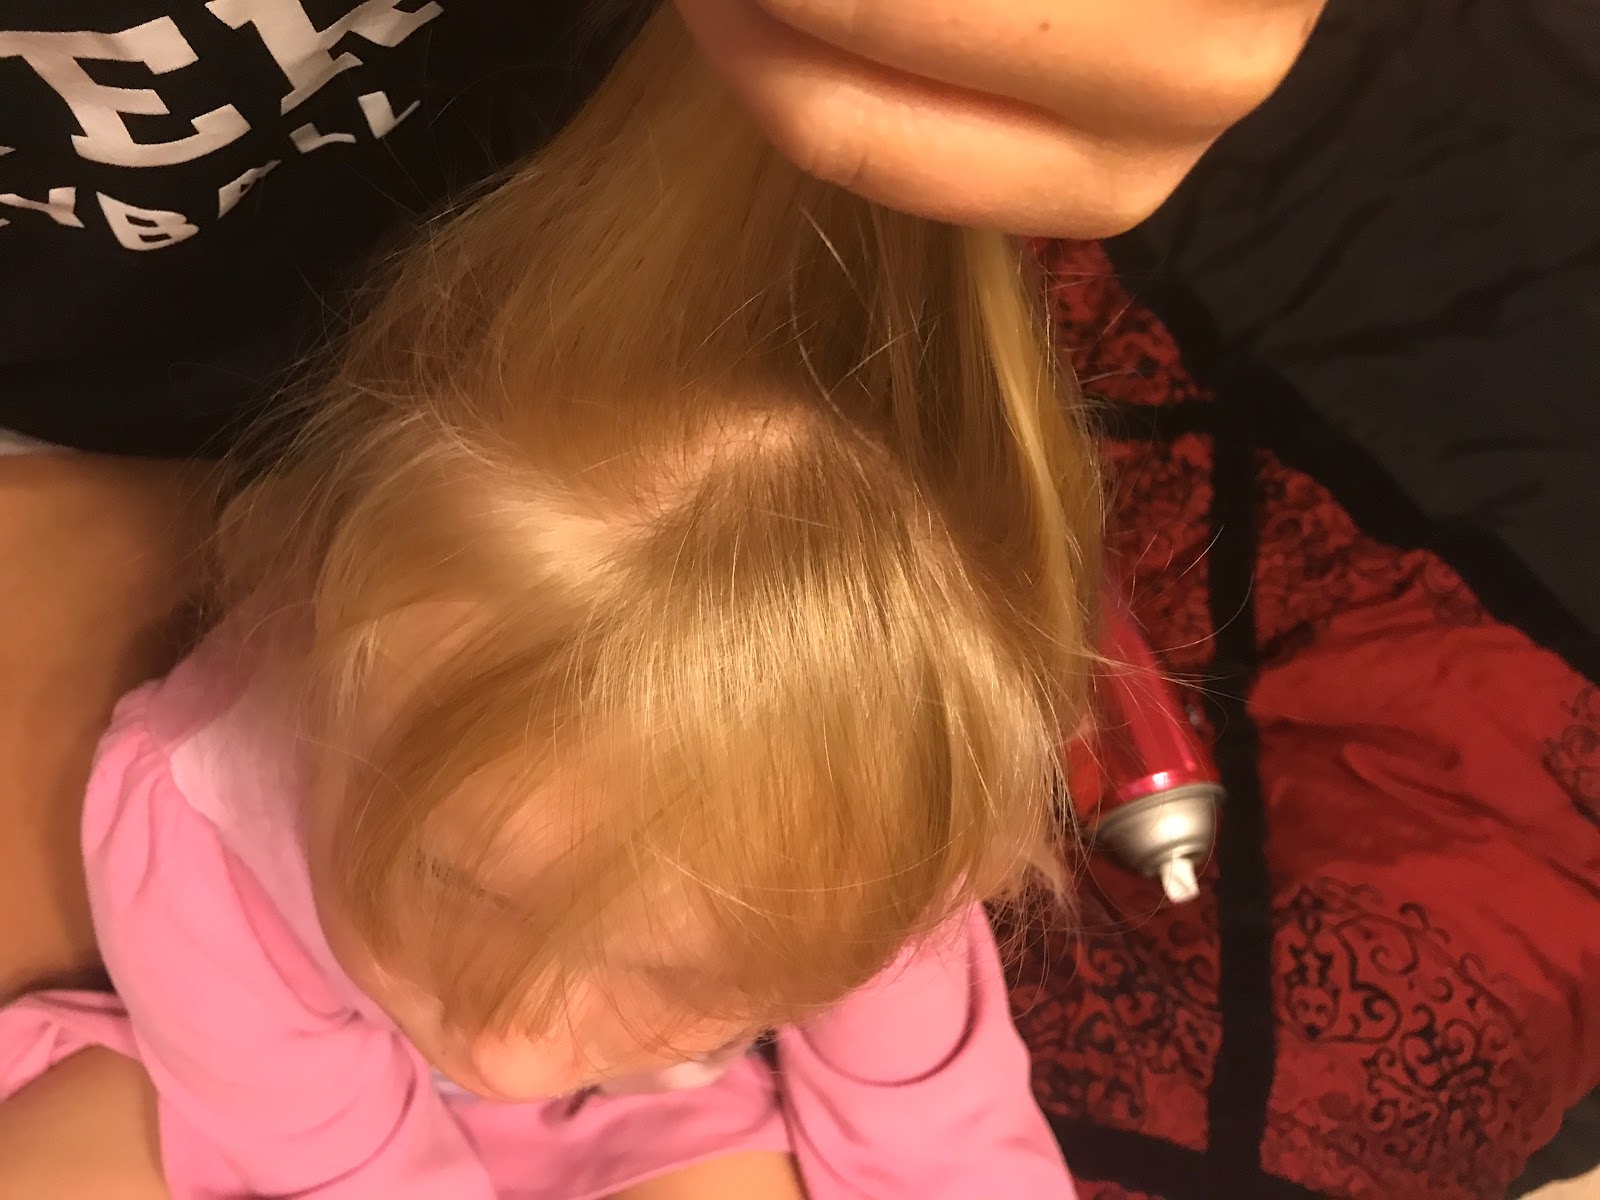
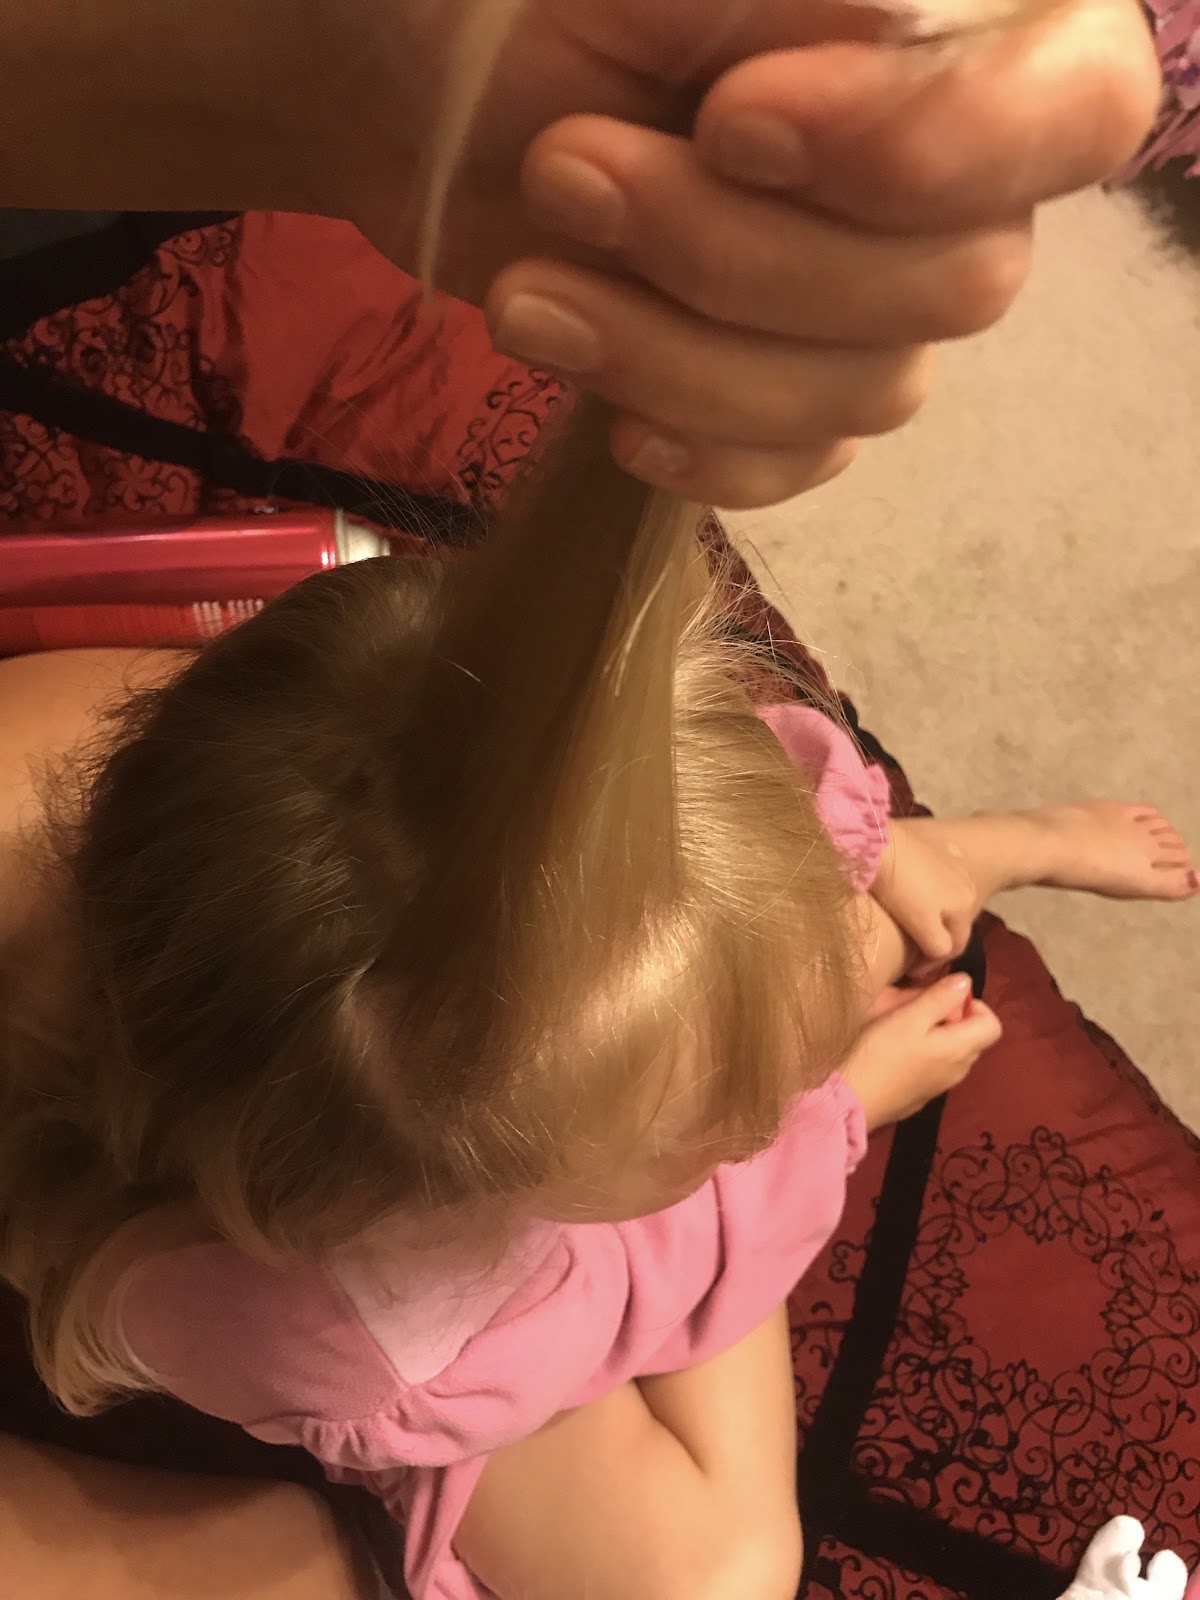
After the hair has been brushed through, take your fingers on each side of the scalp and run them up under a thin layer of hair until your fingers meet.  Gently gather that section of hair and try to make it as even a part as possible. Tidbit: this is just like how you would take your fingers to separate your part down the middle of your head for two braids or pony tails, only this time you are splitting the hair horizontally. Now, this is only a thin layer so you should have lots of hair left yet underneath. Our first section of hair we have just created will be used at the very end  so for now flip the hair in front of the face off to the side so it is no longer in your way.

IMG_6713.JPG

Following the steps we just did, we are going to now part the hair again. Taking your fingers or a comb to horizontally split the hair into another small section.
IMG_6744.JPGIMG_6746.JPG

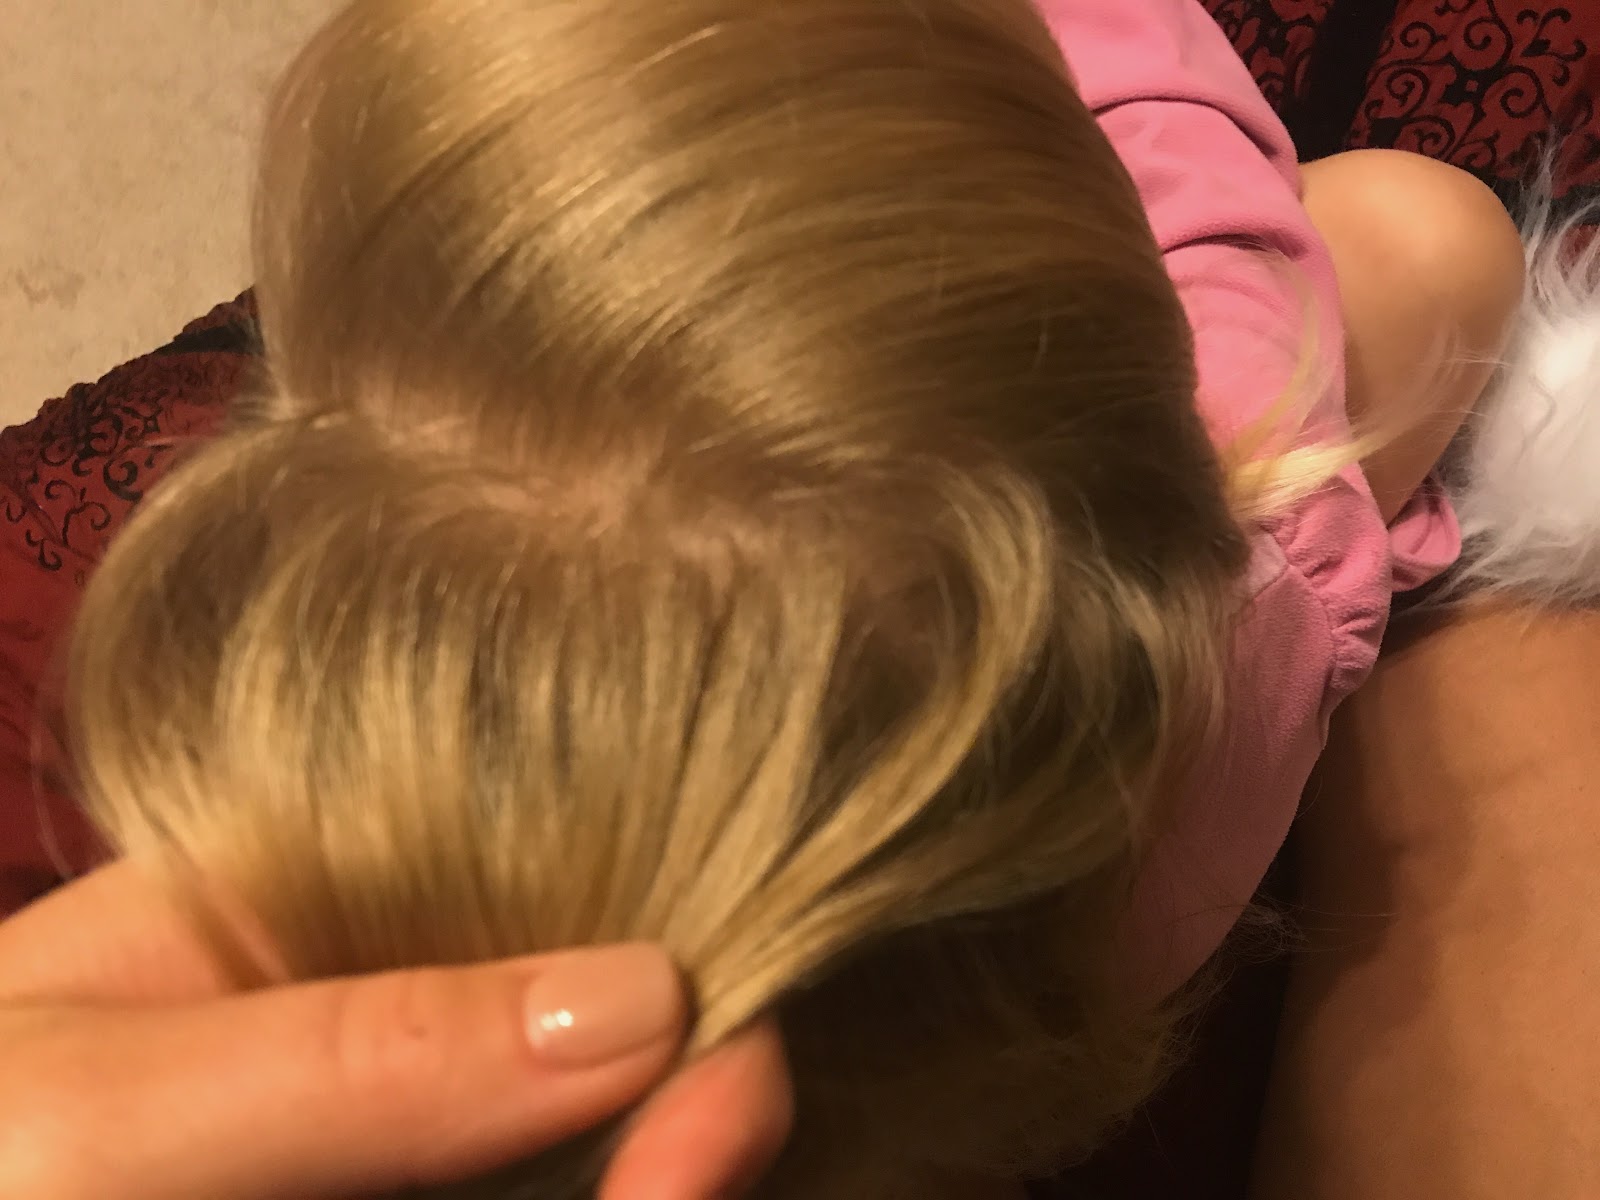
For the next part,  you are going to want to take your hairspray and spray the new section we have just created so when we begin to tease, the hair will hold that form. With the spray you don’t want to apply so much that the hair is all wet but you also want to make sure there is enough applied that it will hold. After you have sprayed your hair, you are going to grab your small teasing comb and a small strand of hair from the section. Take your small strand of hair in your hand and with your comb begin to comb down the hair to create a tease. This will start to look ratty and messy but it will all be covered up with our first nice section of hair we put aside earlier - no worries! You’re also going to want to repeat this step at least two more times to get a really good poof going.
IMG_6750.JPGIMG_6747.JPG

Once all that teasing is completed it should look really wild from the back as shown above. Gently flip the hair back over so it is no longer in your face but going down your back like shown in the second picture. The first section we took out should still be left in front of the face for now.
IMG_6755.JPG

After you have pushed the tease down you're going to take that first section we put aside and gently comb in back over the teased parts. This may be easier to work with if you use your hands to put the smooth section of hair over top to cover up the messy hair.
IMG_6770.JPG
Next you are going to want to bunch up the extra hair in the back like shown in the picture. Gathering the smooth hair over top of the teased section you're going to take your bobby pins and pin it together so it stays. With this process you can push your bump up to created a higher poof with our teased hair.

IMG_6754.JPGIMG_6756.JPG

Once you have pinned your hair and created a nice poof on top, you’re going to want to carefully gather all the extra hair into your hands and wrap a hair tie around it to make a pony tail. Once the ponytail is secured and everything is how you want it, take your hair spray and lightly spray the top of your head. With your comb go over it lightly just to get all the frizzies down.

IMG_6751.JPG

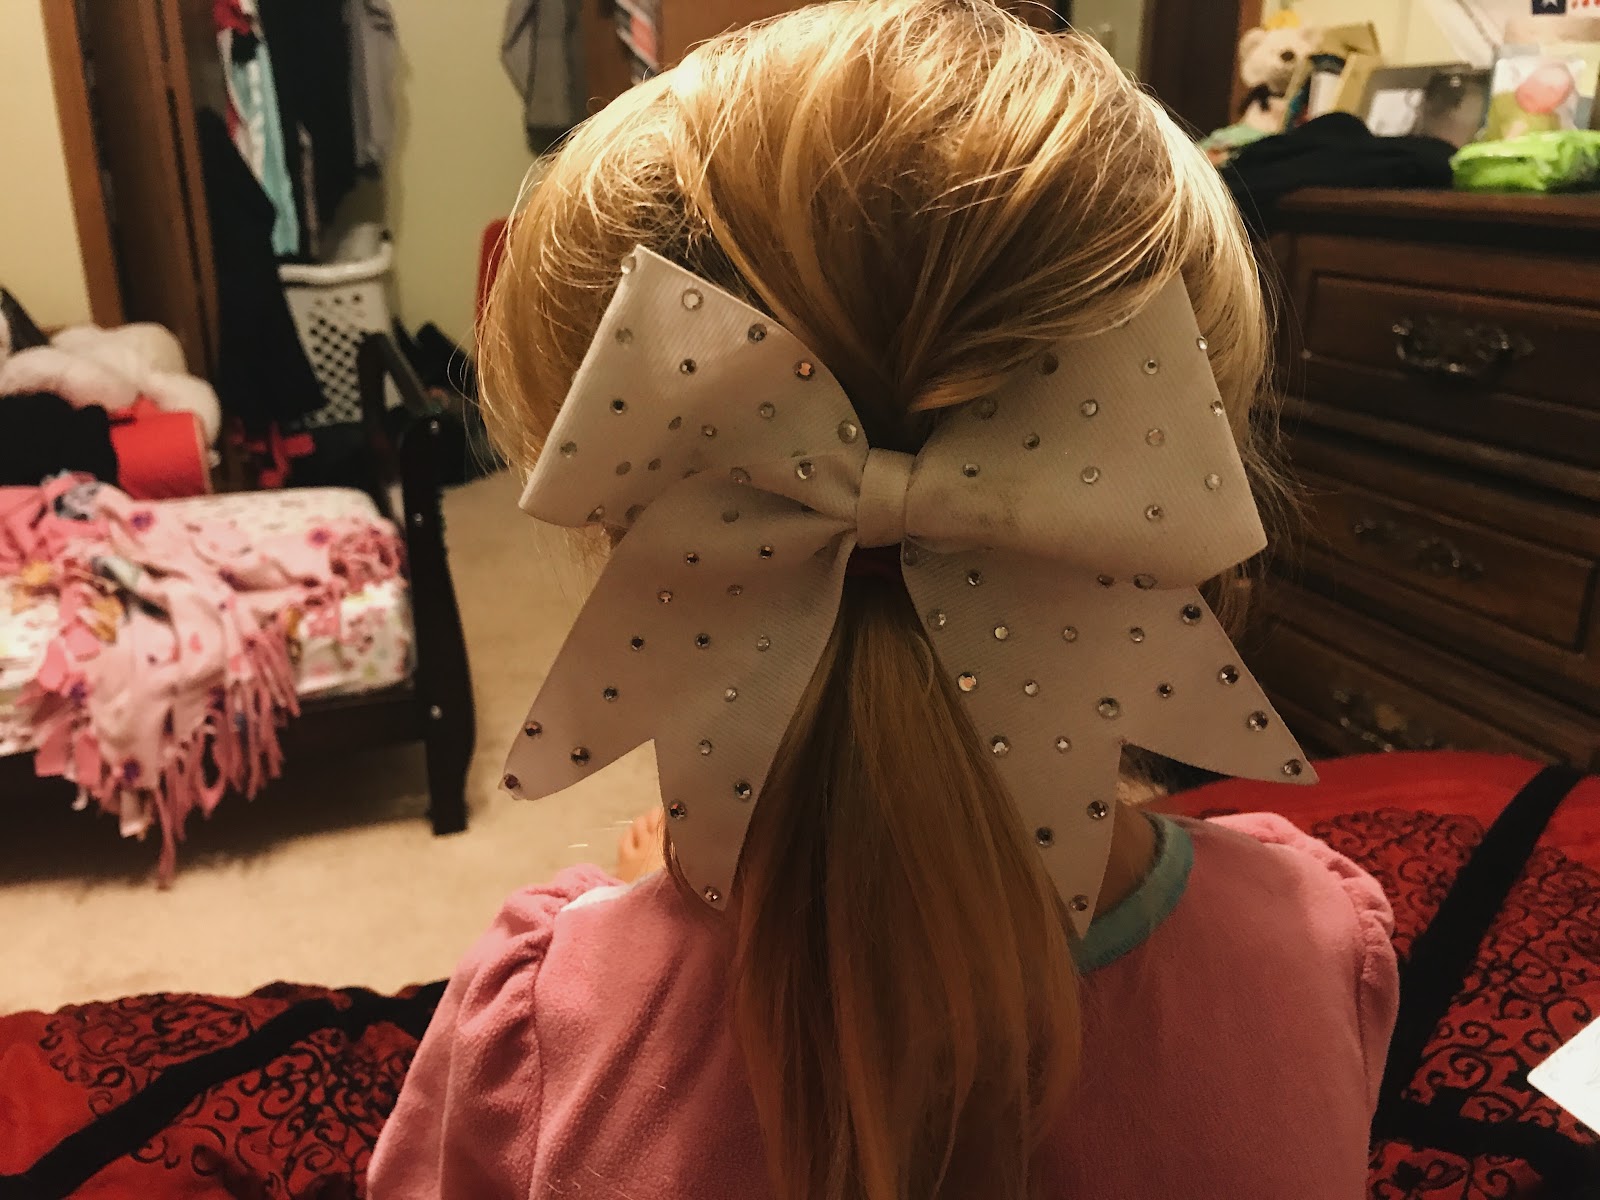
Finally, to add a little something I like to put a bow in the hair. You can add this right in the center of your pony tail. Wala, you have just finished putting together a great cheerleader hair look!

Homecoming in a Jar


FullSizeRender (12).jpg

As school starts up once again, we are reminded of the Friday nights that we long for. The Friday night spent with friends, laughing together, and making memories. The Friday night football games, where your team loses week after week, but you still love the game and supporting your team.
One week in high school in particular these things come to life. Of course, that is the week of homecoming. The crazy dress-up days, the competition between the grades, and the dance are all things that we look forward to each year. The pep rally and the football game itself are what everybody thinks of when they think of homecoming.
For me, homecoming is not about football. It’s all about spending more time off the courts with my tennis family. Sure, I do like football, but football is not my everything. The thing that I look forward to most about homecoming is the crazy memories I make with my amazing friends.

For this project, I thought about how I could incorporate the meaning of homecoming, football, and what homecoming means to me...spending extra time with my tennis family. With the help of a pinterest user, I came up with the perfect solution to my problem. Meet Homecoming in a Jar.


Supplies:
Mason Jar
Brown paint
White paint
Black paint
Popsicle sticks
Photograph from homecoming
Hot glue gun
Laminator and sheets (optional)
Black and red ribbon
Tinsile

FullSizeRender (5).jpg


This project does require you to have a few things going on at once, so let’s being. We will begin by taking our mason jar and removing the cover from it. We then will paint the outside of the mason jar using our brown paint. Once the jar is covered in an even layer of paint, set it off to the side in order for it to completely dry.

IMG_7437.JPG


While the brown paint is drying, you can take seven popsicle sticks and paint them black. These will make the field goal and it will be responsible for holding the picture. Make sure that they are covered in an even layer of paint as well. Place them off to the side, and let them dry completely.

FullSizeRender (6).jpg

The next thing you can do, while the paint is drying, is the photograph. Take your photo, and carefully laminate it, according to the directions on your laminator. Carefully cut off the excess laminate. Leave about ½ of an inch on each side of the photo in order to ensure that the lamination will not split apart. Leave this off to the side until the popsicle sticks dry. This process is not necessary but it will protect the photograph better with the lamination.

As you’re waiting for all of your paint to dry, you can work on making the bow. You will need two colors of ribbon. One color ribbon should be wider than the other one. For this example, the red is wider than the black. Take the two colors and cut them about 2½ feet long. Tie them together, forming a knot in the middle. Then tie them together as if you are tying a shoe. Even out the extra on each side of the bow and cut a “V” shape on each end. Set it off to the side.

FullSizeRender.jpgFullSizeRender (1).jpgFullSizeRender (2).jpgFullSizeRender (7).jpgFullSizeRender (10).jpg


Once the jar is completely dry, you will take some white paint and paint white lines, to make it look like the strings of the football. Once they are done, let it dry.

IMG_7442.JPG

While you are waiting for the paint to dry, hot glue your popsicle sticks together to make a field goal.

IMG_7443.JPGFullSizeRender (11).jpg

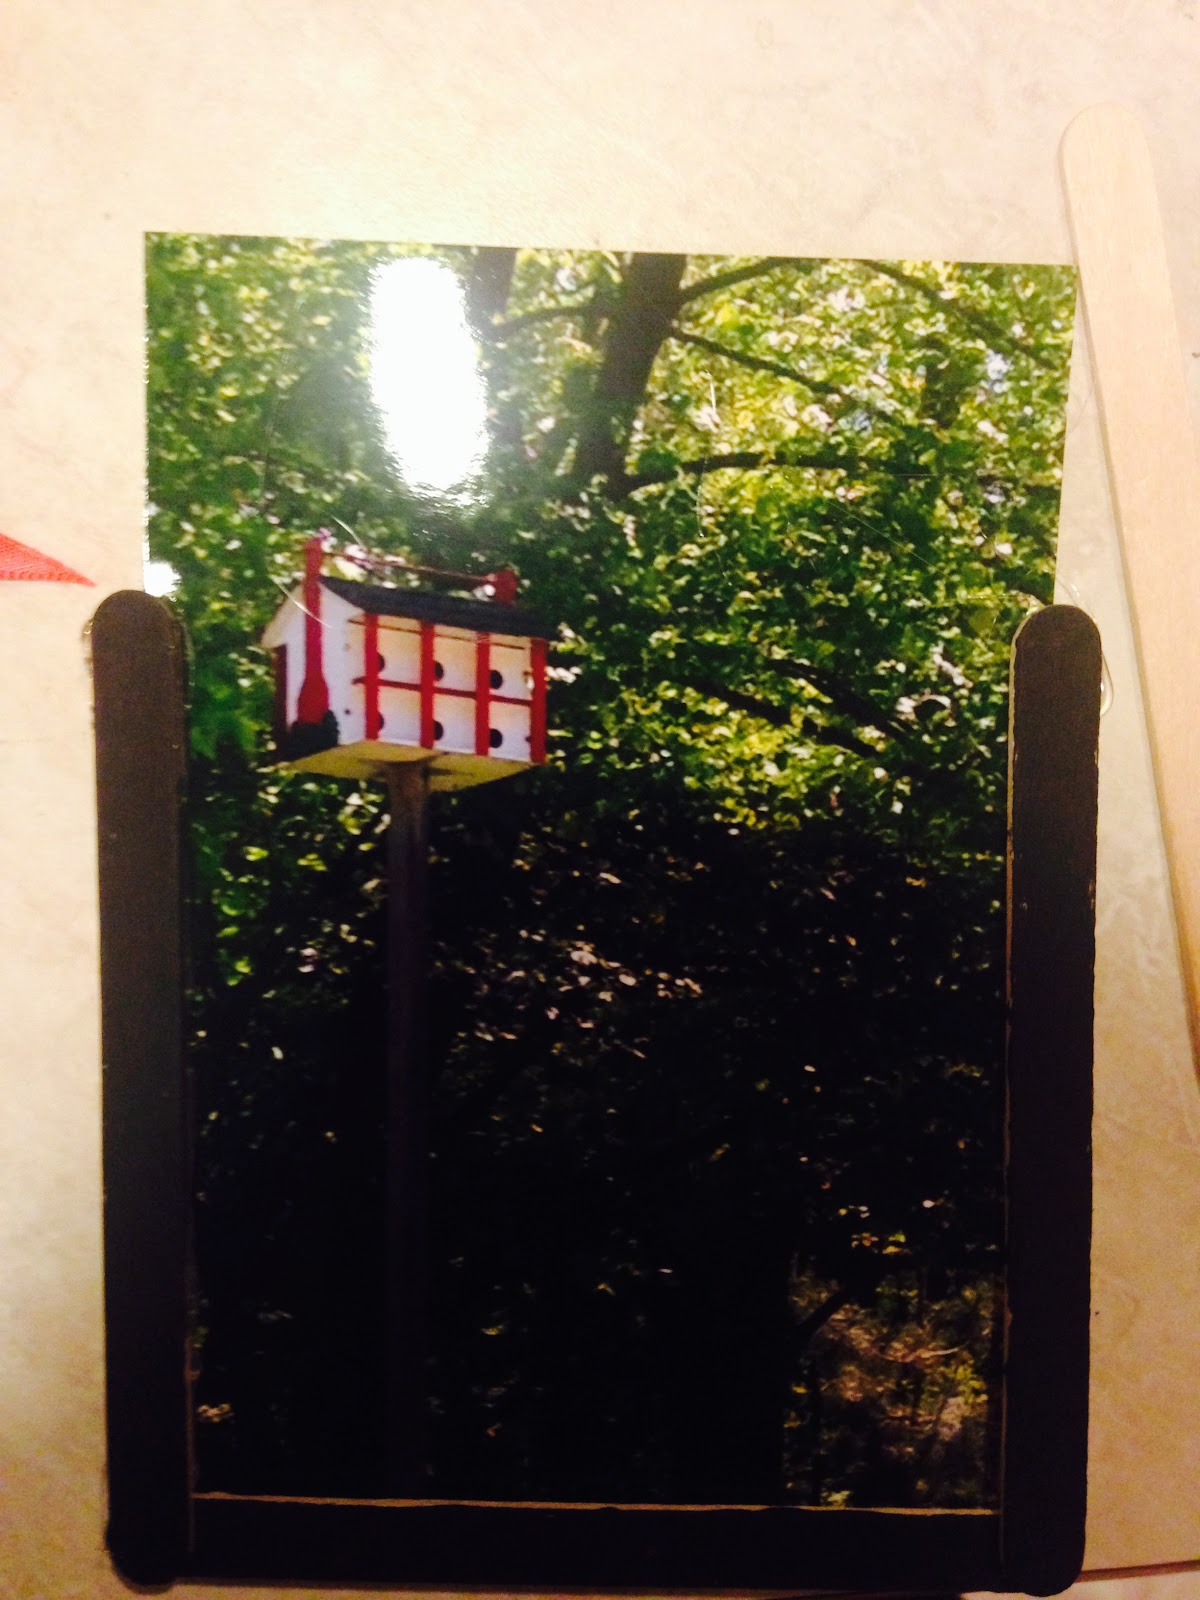
Glue the laminated photo into it, so it looks almost like a picture frame. Once the jar is dry, stick the field goal into the jar. Add a little bit of tinsel, and there you have it, homecoming in a jar.

FullSizeRender (12).jpg