Cute back to school hairstyle:
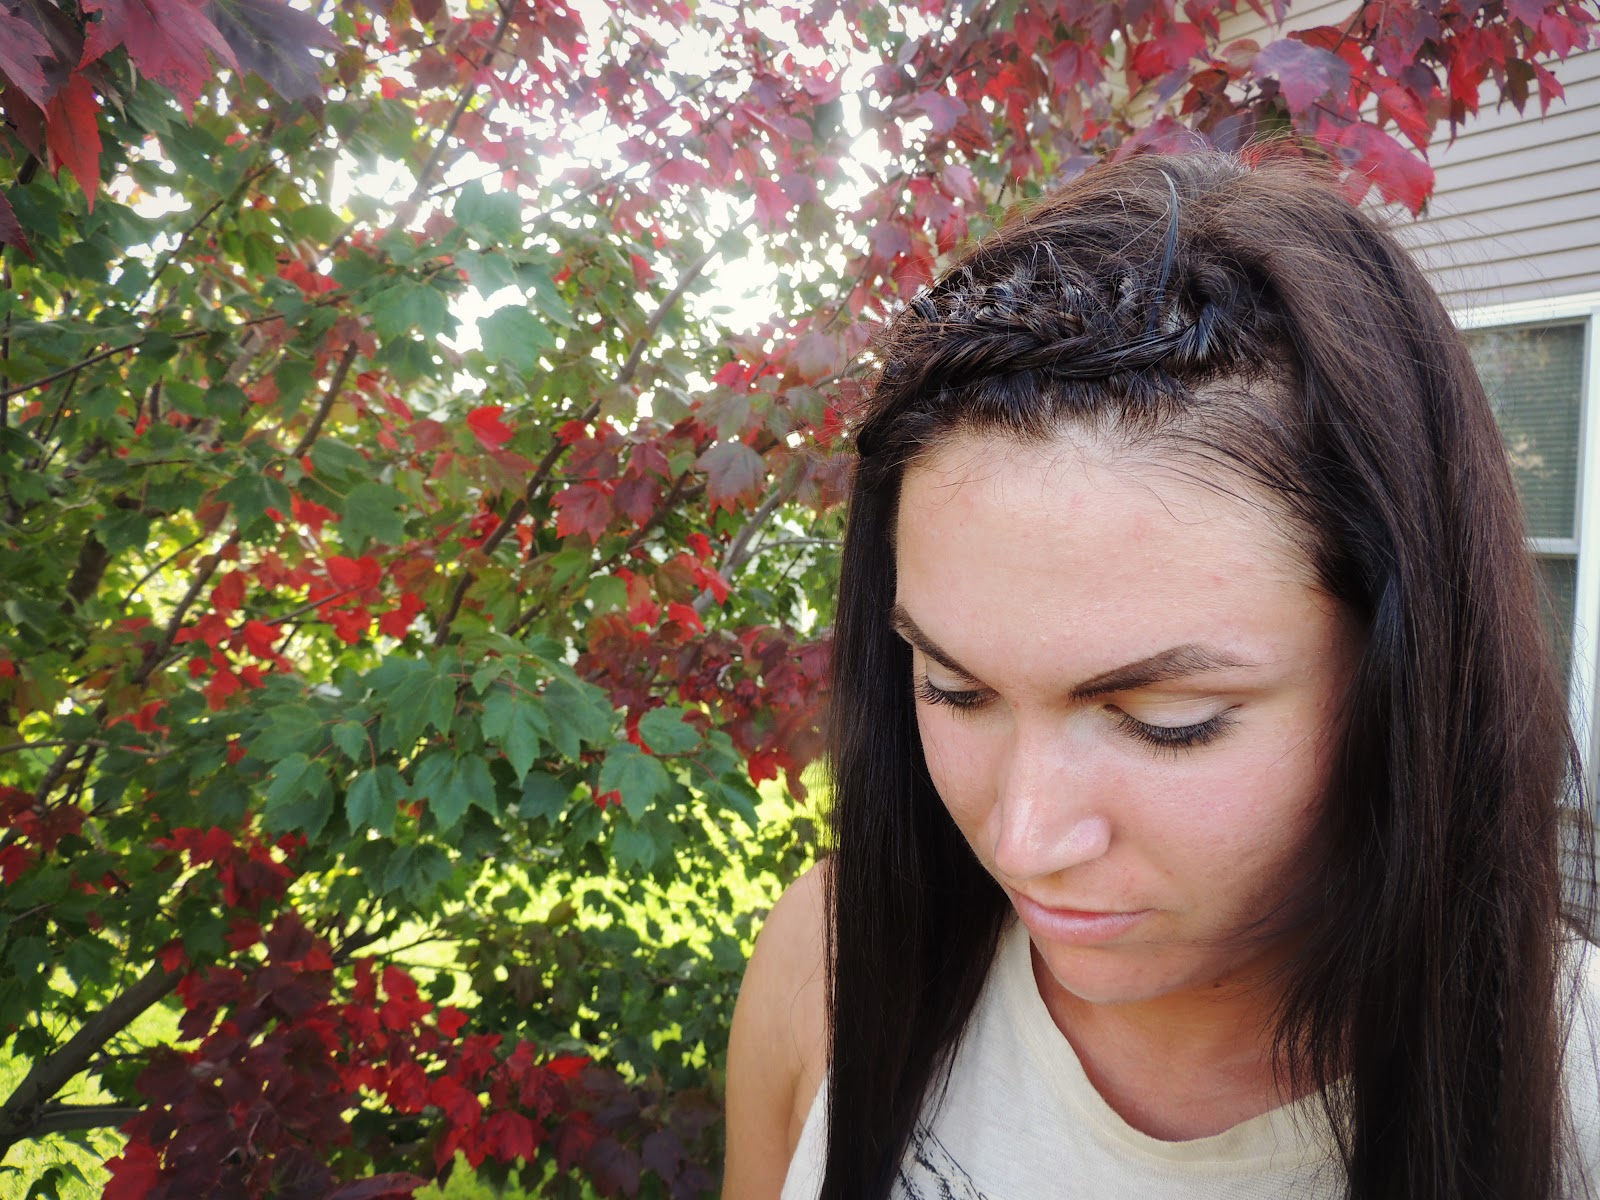
Knotted Headband Braid
How many of you remember going back to school and trying to look extra fabulous? You pick out a cute outfit, you pack up all your sparkly school supplies, and to top it all off you decide to try a new hairstyle. You go to your mirror and decide to do a fancy little bun with a braid around it and a flower headband. You’re convinced that everyone will think you’re the most stylish and creative. But as you walk into your first class and take a seat you look around and notice 3 other girls with basically the same “unique” hair style as you! Turns out you weren’t the only person with the same idea in mind. Are you bored of looking the same as every other girl at your school and want to stand out. Then this is the perfect back to school hairstyle for you! Not only is it a quick style but it also will keep your hair off of your face but keep you looking elegant.

Supplies needed:
- Hair brush
- Rat-tail comb
- An alligator clip
- 2 bobby pins
- 1 small hair elastic
- 1 Hair band
- Spray bottle with water
Steps:
- First step is to part the hair in the area you want the braid to start and then section off the half front of your hair. Then you’re going to want to take the rest of your hair and put it in a ponytail so it’s out of the way.

2.) After that you’re going to take your spray bottle and dampen the sectioned area of hair.

3.) Now starting at the hair closest to your part you’re going take the end of your comb and section off a small piece of hair, once you’ve sectioned that off you’re going to part your hair into 2 pieces.

4.) Next take the left piece of hair and cross it over the right piece and pull the end of the left piece through the right and then tighten it. You could compare this to tying your shoelaces. Then just lay the pieces flat across the head and forehead. ( You can also ask whoever’s hair you’re doing to hold down the front pieces as this will come in handy later. )

5.) You’re going to want to repeat that step 2 more times now and each time you can pull the other ties you’ve made and re tighten them to make sure they don’t come undone.

6.) Now we're going to take that first piece we used on the left and lay it under the other 2 strands and then take the remaining 2 strands on top and pin them down using your alligator clip.

7.) Next you’re going to repeat the processes you did in step 3 and 4 but this time when you section off your small piece of hair you’re going to include that front piece you just crossed under. Also do this with the front piece on the other side of the forming braid. Then you’re just going to take the 2 pieces and tie them like you did in step 4.

10.) Now you’re going to want to keep repeating steps 3 and 4, sectioning off hair, making 2 pieces, and tying it off until your braid goes far enough down the top of your head as you want or until you
run out of hair.

11.) Once your braid is complete you’re going to want to take your small elastic band and tie off the braid.

12.) At this point you can now take the rest of your hair out of the ponytail and let it fall around the
braid.

13.) Then you’re going to take your 2 bobby pins and pin the end of the braid down behind your ear.

14.) If your braid looks small and you want it to be bigger you can always pull on pieces and the sides of the braid to loosen it up a bit.

And there we are! You now have styled your very own knotted headband braid that is sure to be a unique hit style at your school. As you continue to do this style you can also experiment with different hair accessories and styles that could match any event like sports, a date, or just for fun. I hope you enjoy your braid and remember to keep experimenting!